Toggle Nav
 Inspire.
Create.
Stitch.
Inspire.
Create.
Stitch.
Search
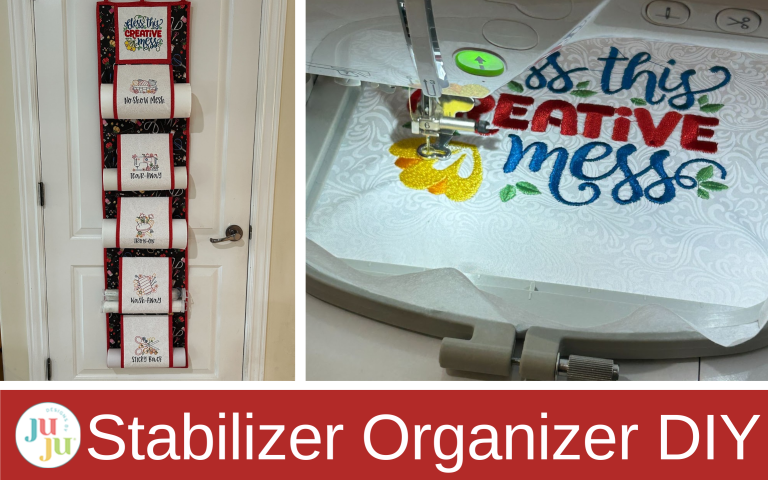
Tired of unruly stabilizers? Try this easy DIY organizer to bring order to your embroidery chaos!
If you’re like me, you love the idea of being organized, but your sewing room might tell a different story. After one too many battles with a tangled pile of stabilizers, I knew it was time for a change. That’s how this handy DIY stabilizer organizer came to life.
I’ll walk you through the one I made and give you some hints on how to make it customizable for your needs. Now that it’s done, I am no longer looking around for my stabilizer during my projects, and I feel so much more efficient.
Check out the DBJJ team’s favorite supplies in the Designs by JuJu Amazon store.
*If you plan on using an edge-to-edge design, it’s easier to do that first and then trim down to size.
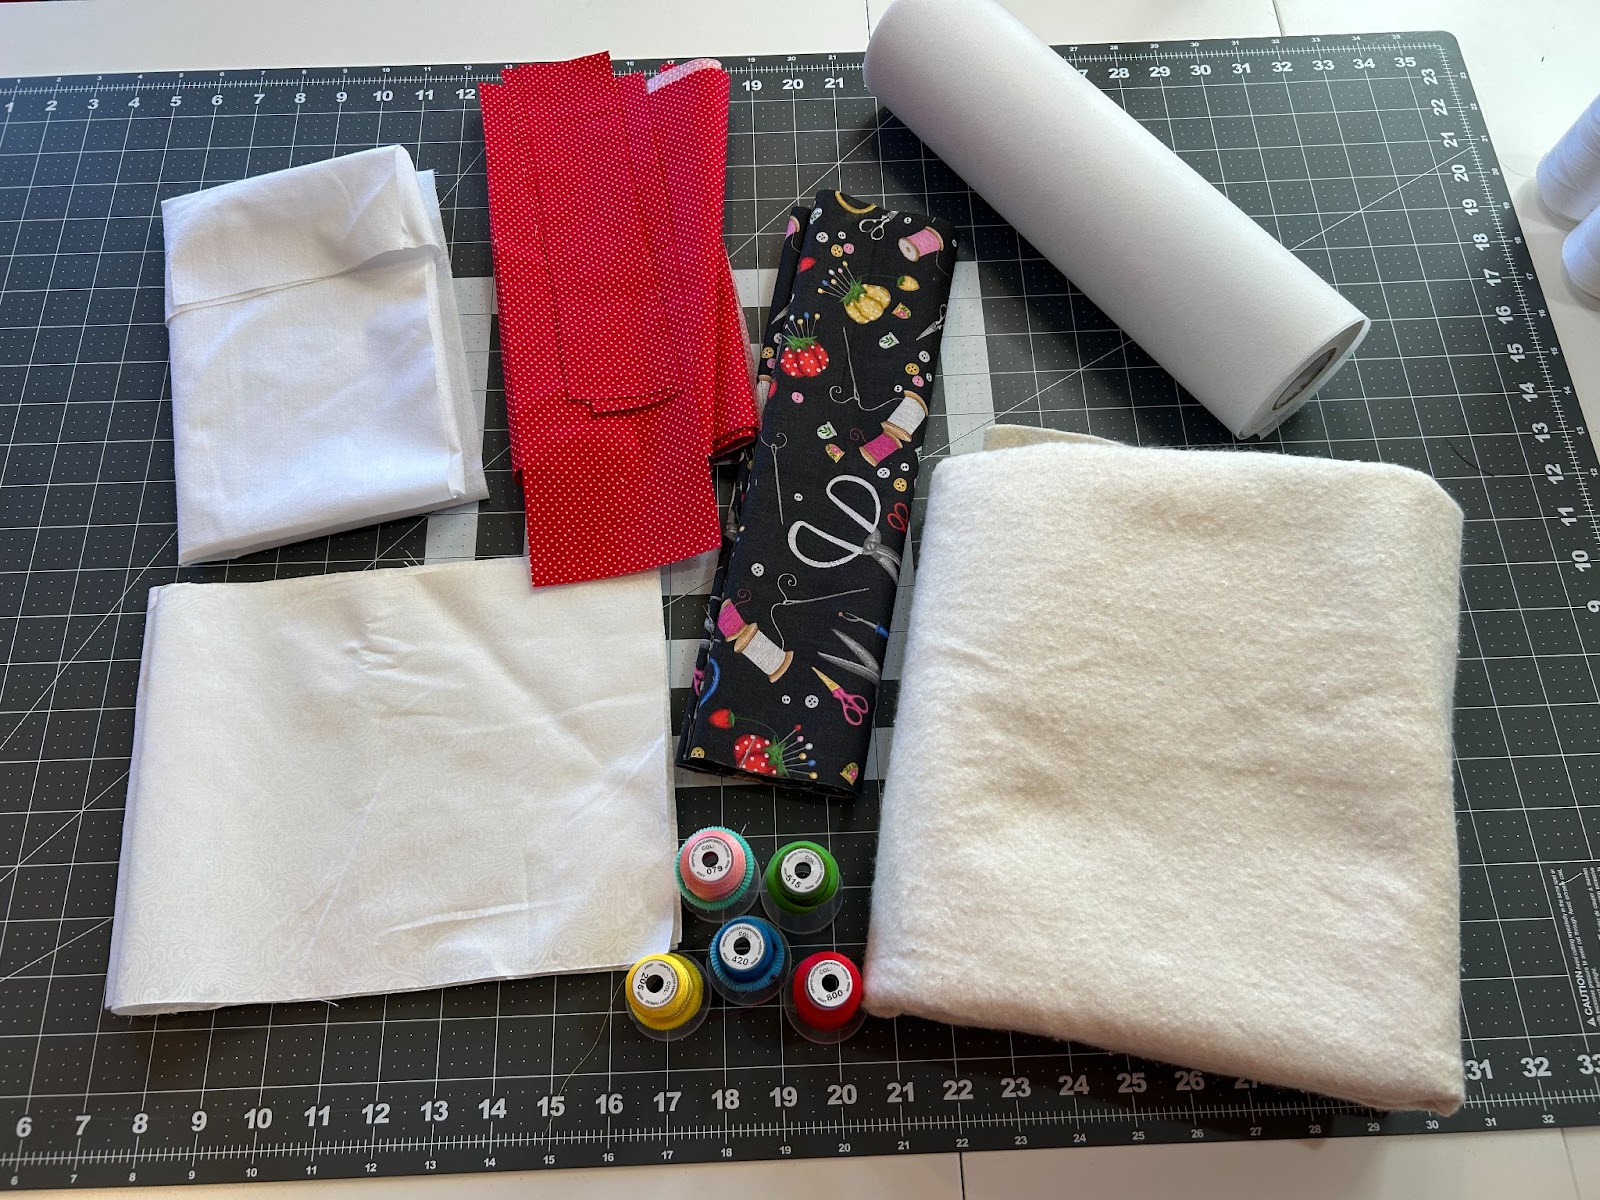
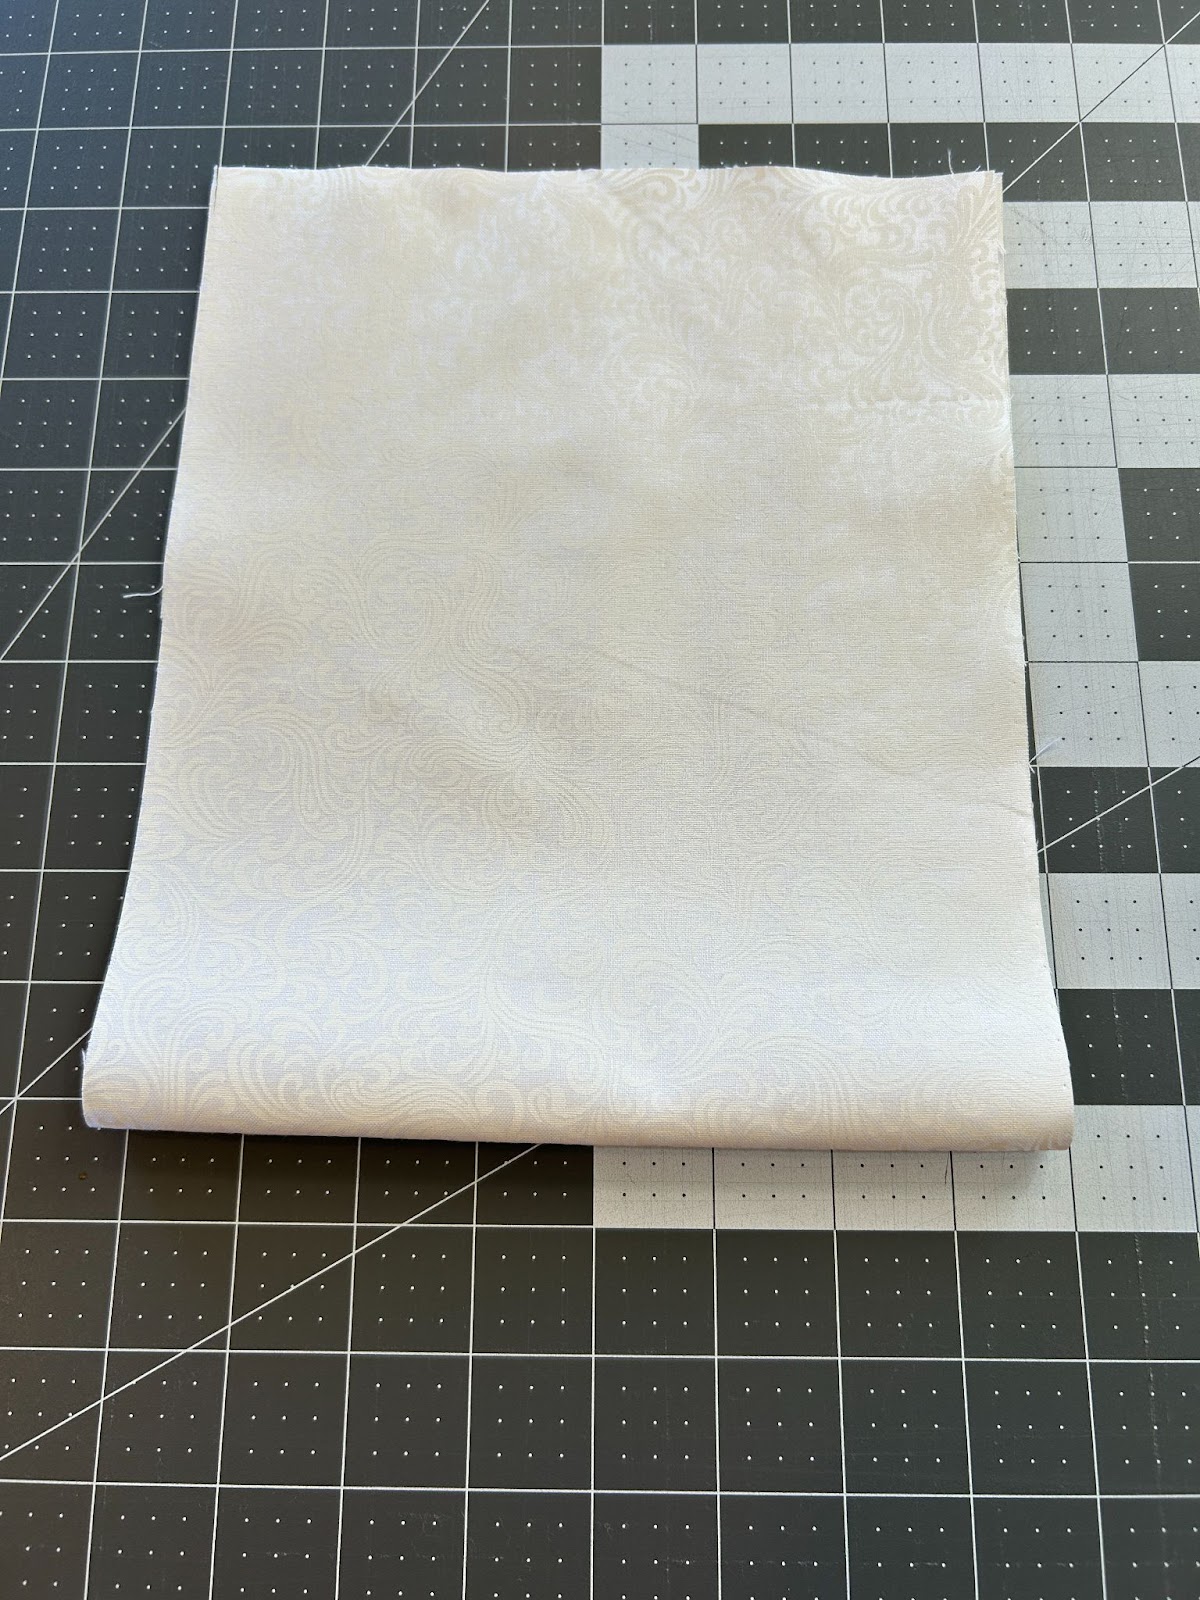
Make sure you’ve cut your fabric according to the supply list. If you’re using an end-to-end design on the backing fabric, it would be easier to quilt the fabric first and then cut it down to size. I didn’t and had to sew some leaders to my background to hoop it.
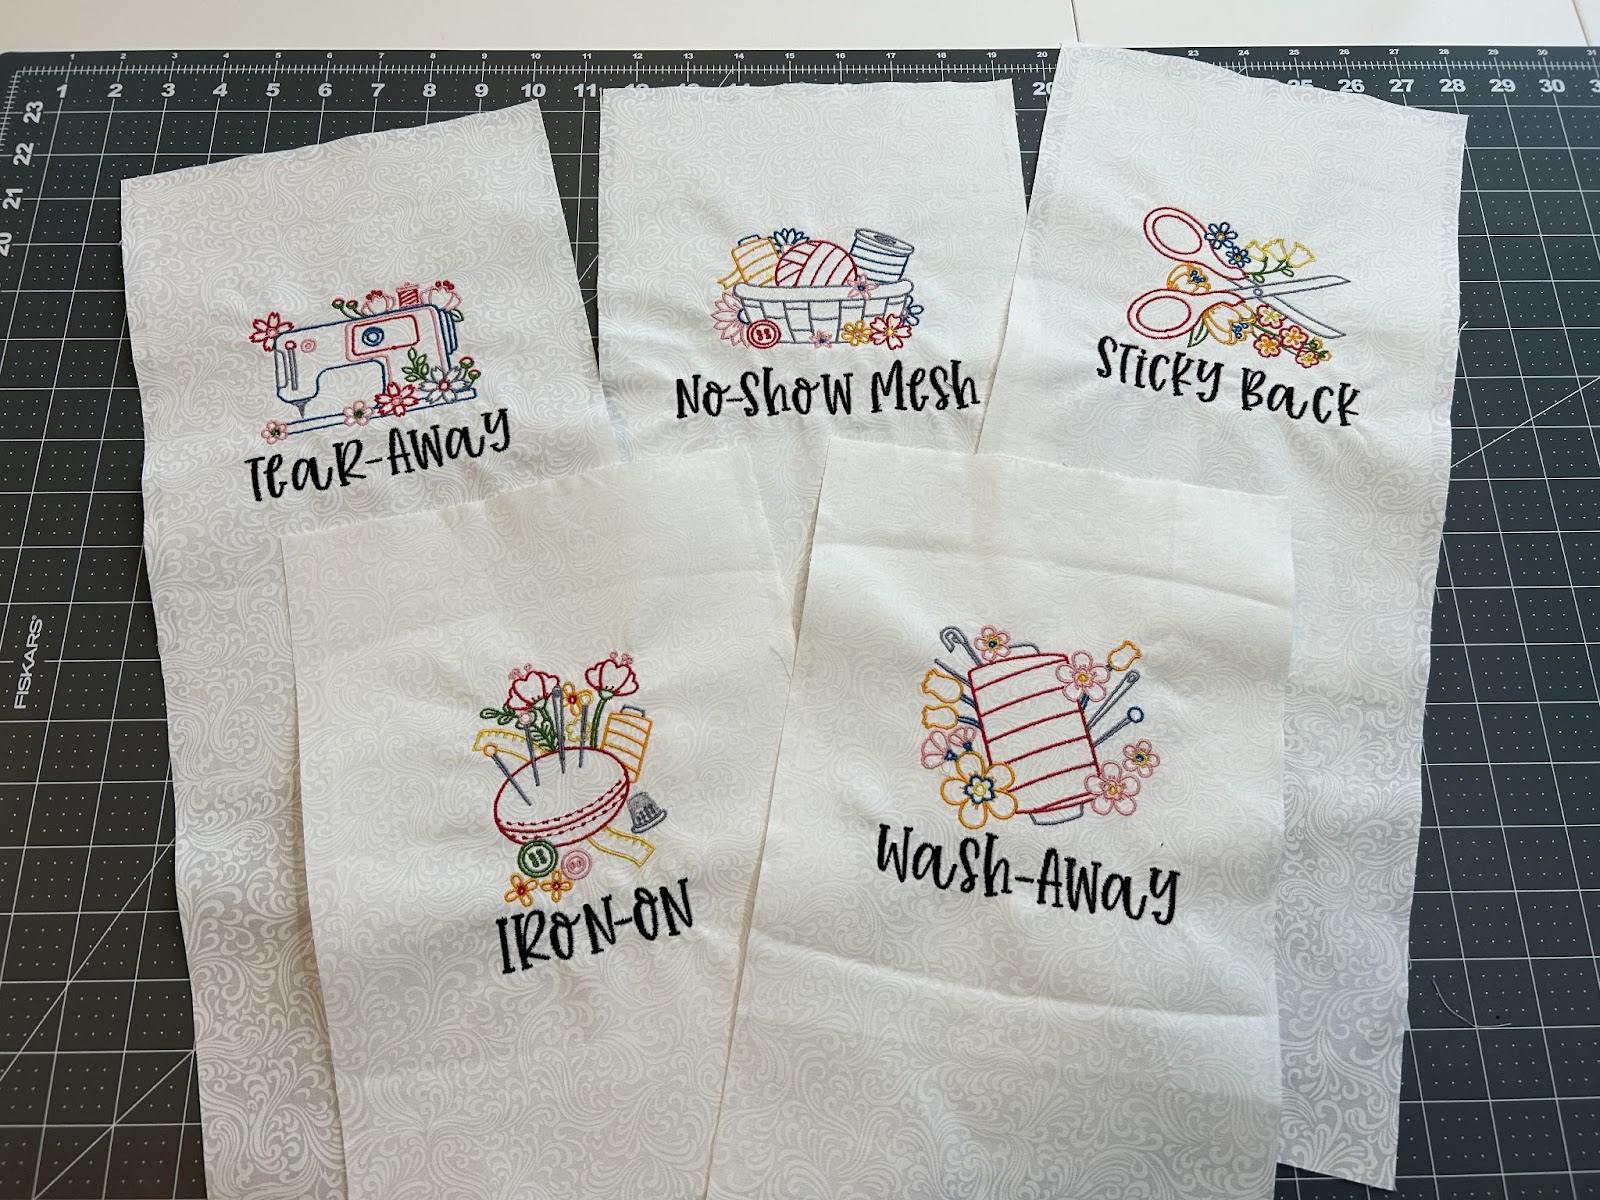
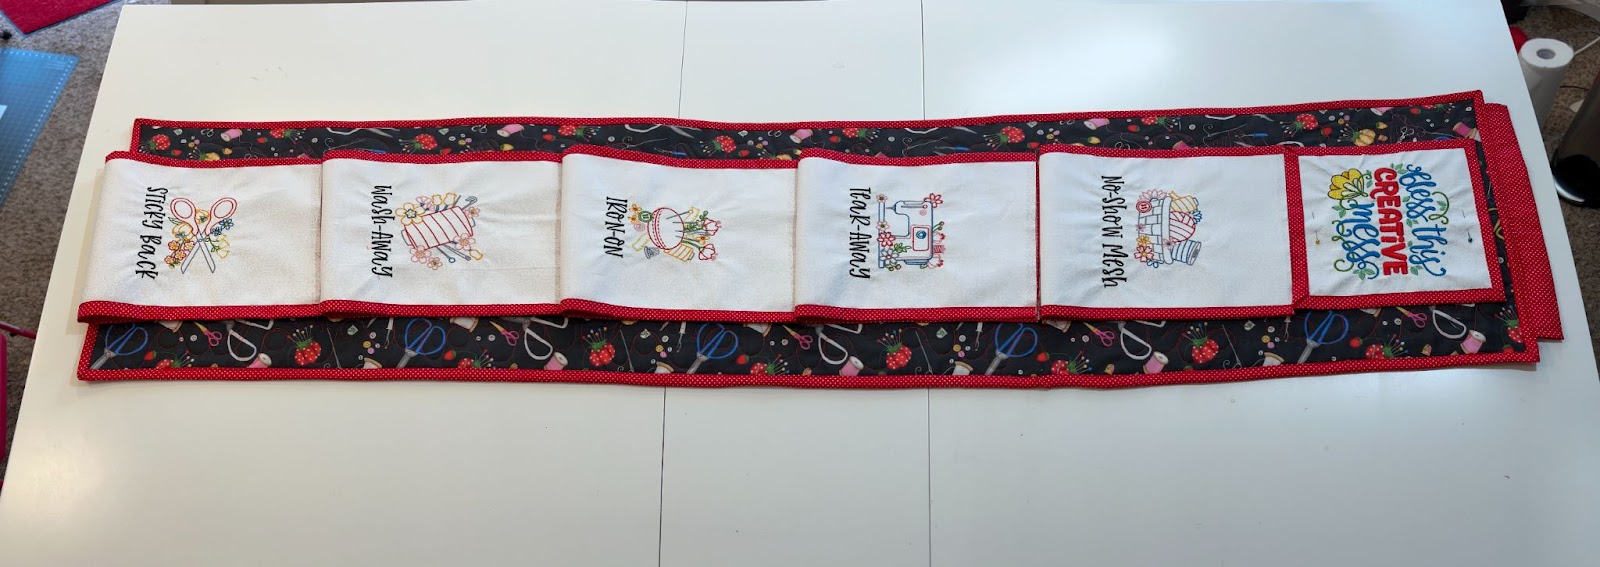
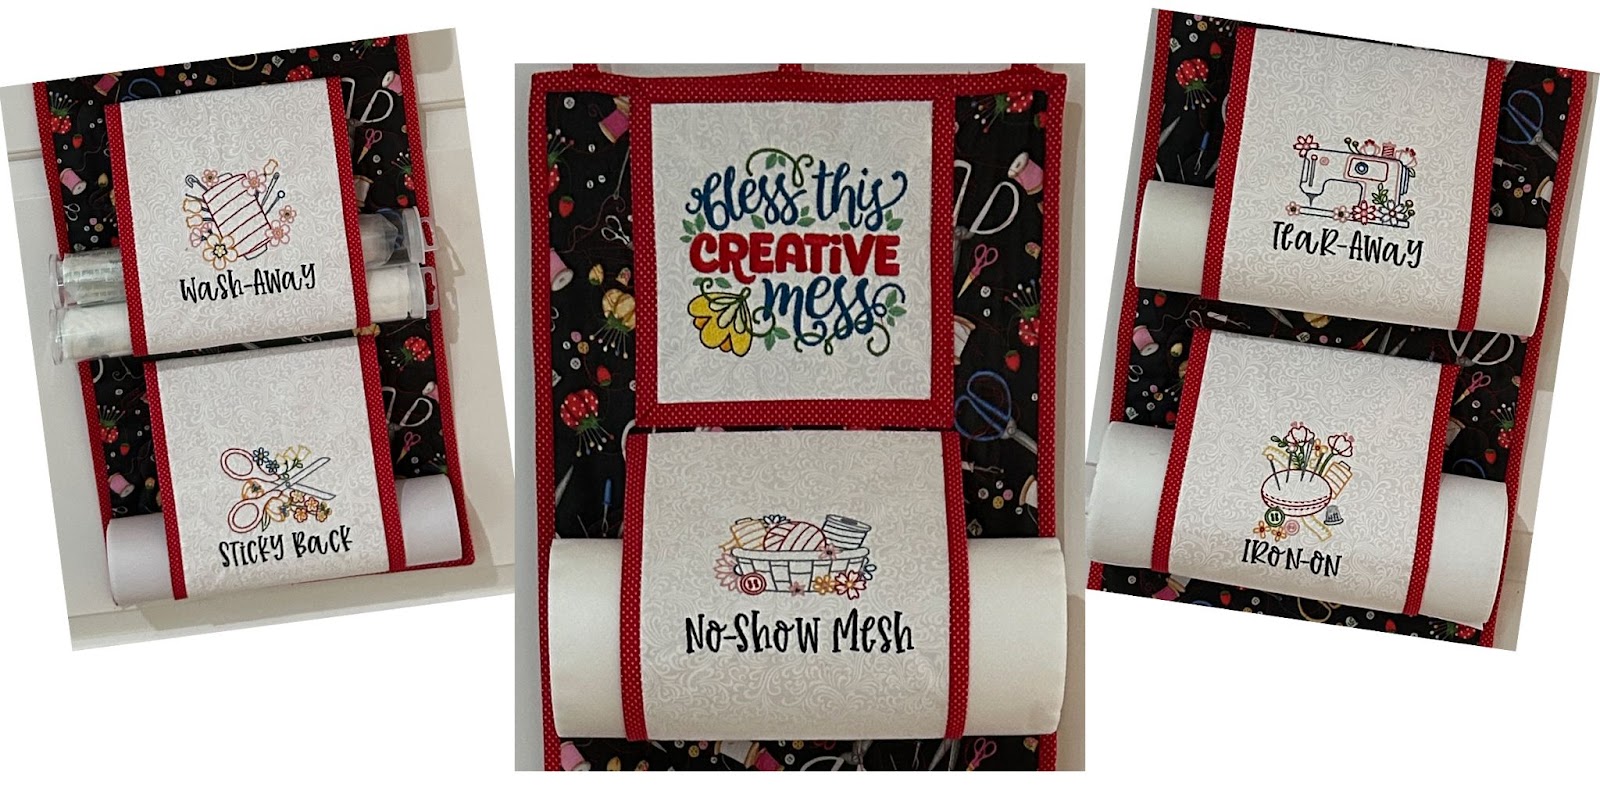
We will also need to figure out what types of labels we want for our organizer. This organizer will have five pockets. If you have more than five types of stabilizer and they are in the smaller tubes (vs a big, thick roll) you could combine two types of stabilizer in one pocket.
I used Embrilliance software to design my pockets. If you’re new to Embrilliance, this post is for you.
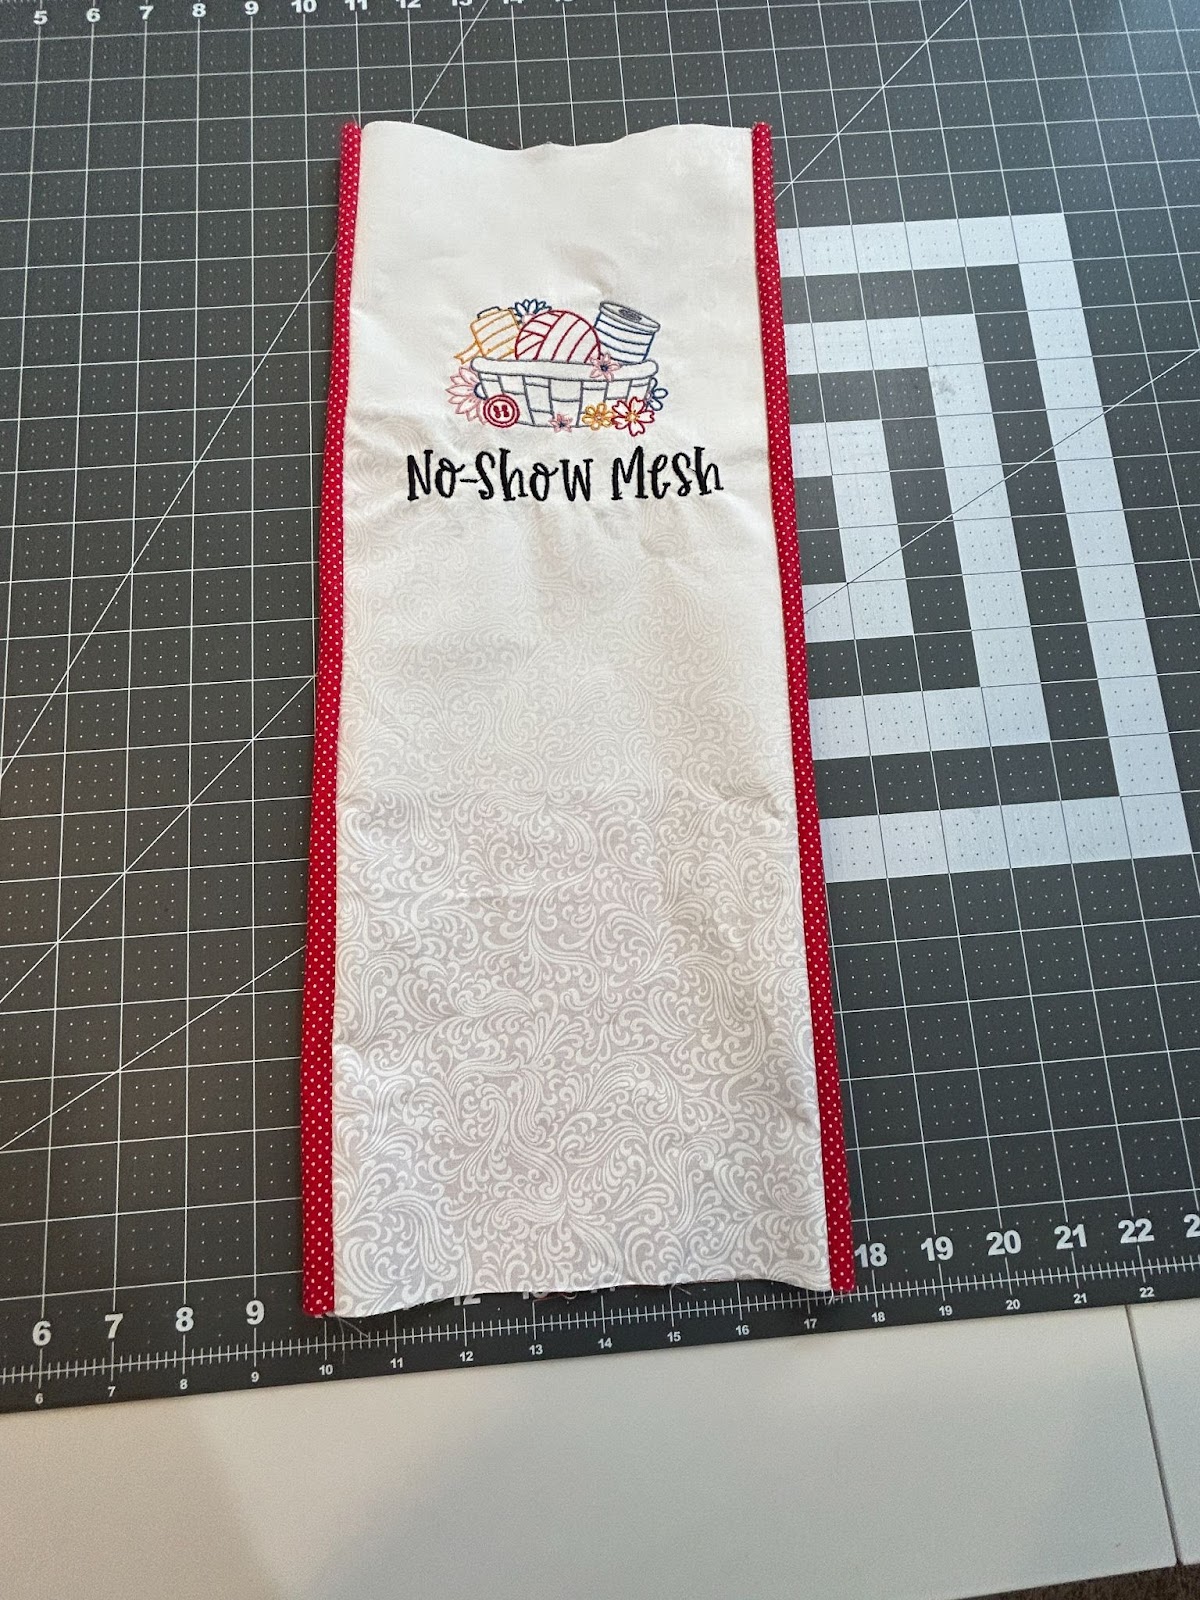
The pockets will end up measuring about 7” x 9” so you will want to make your labels so that they fit in that area.
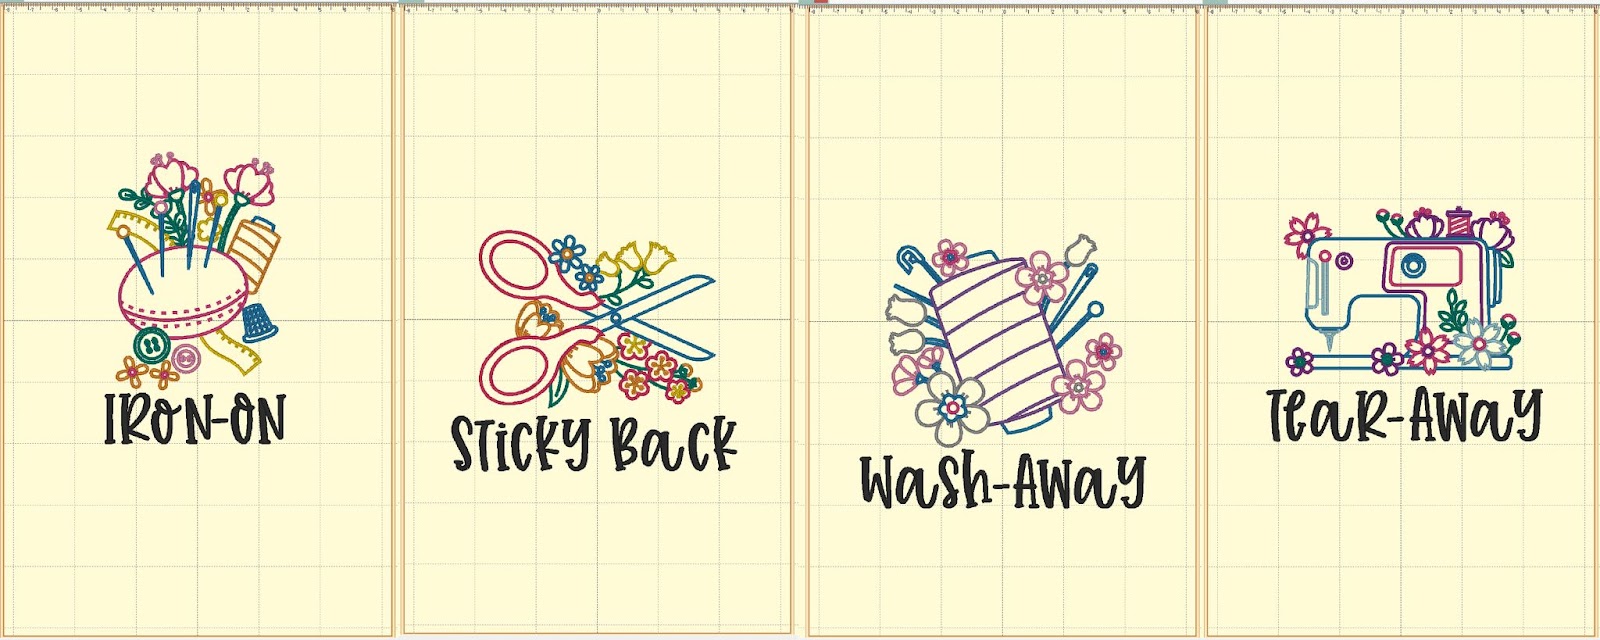
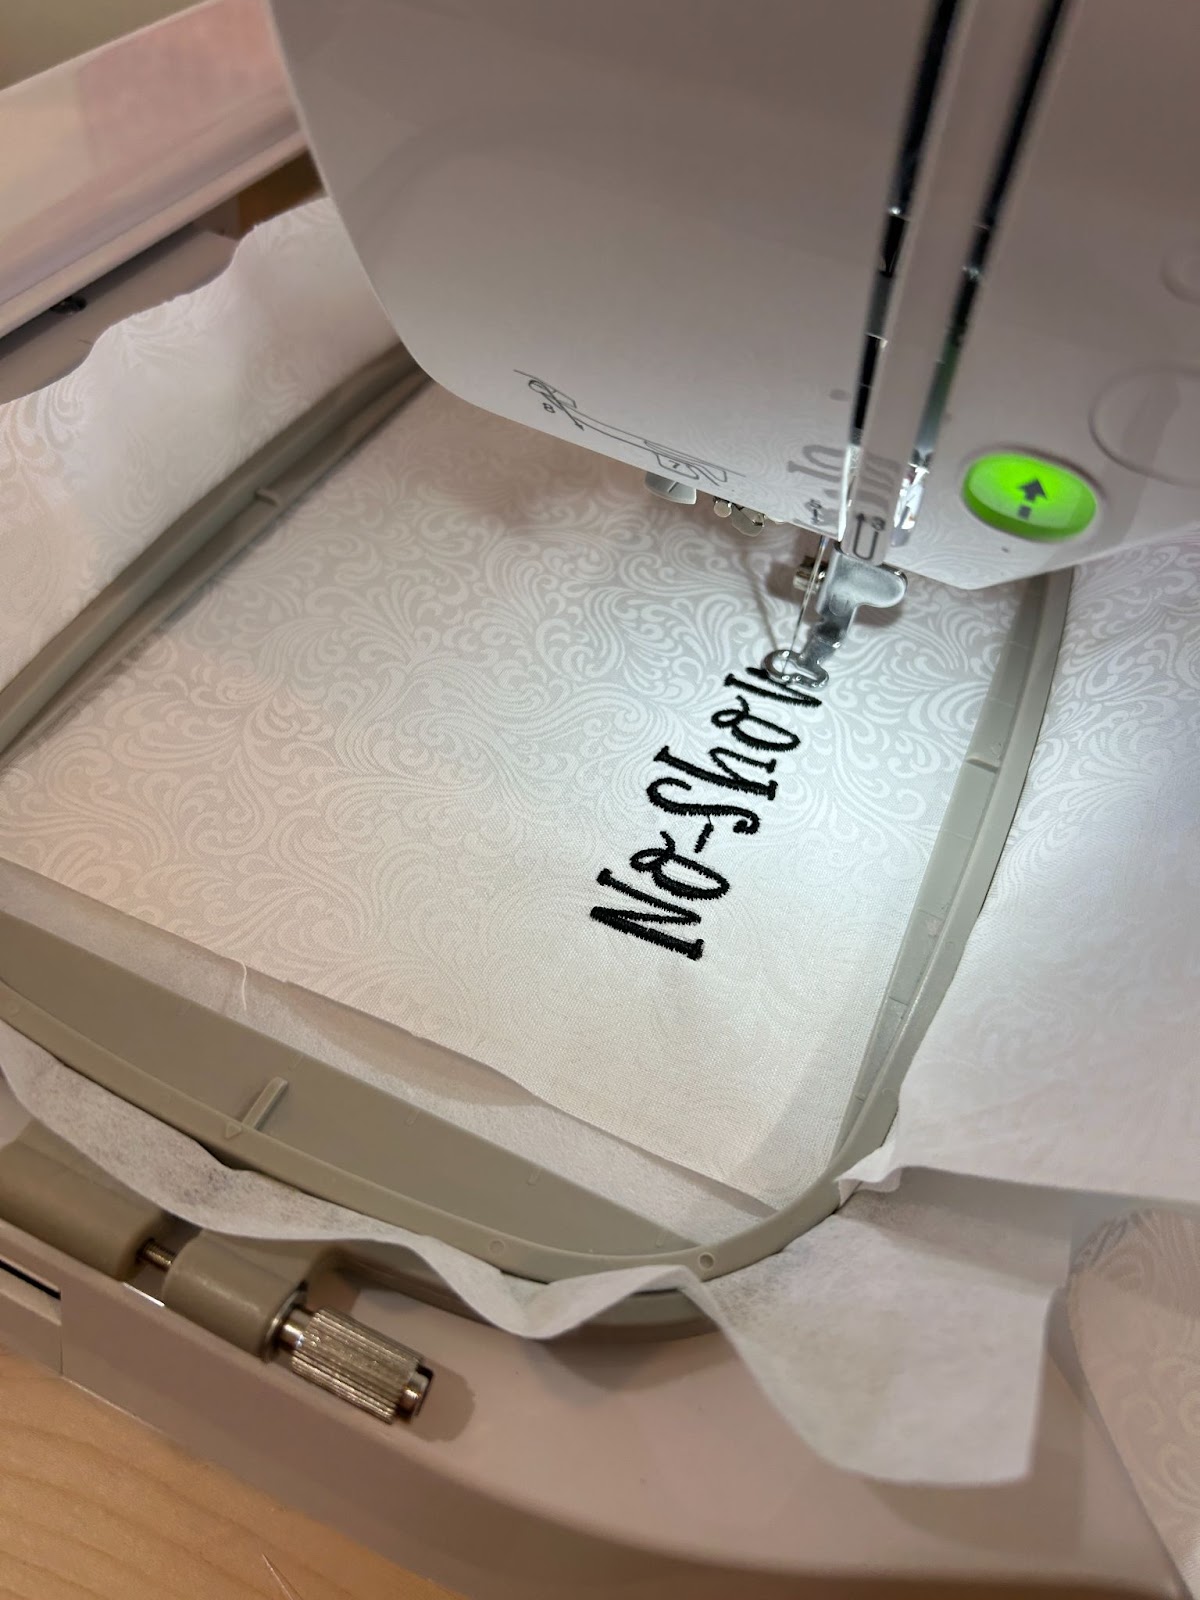
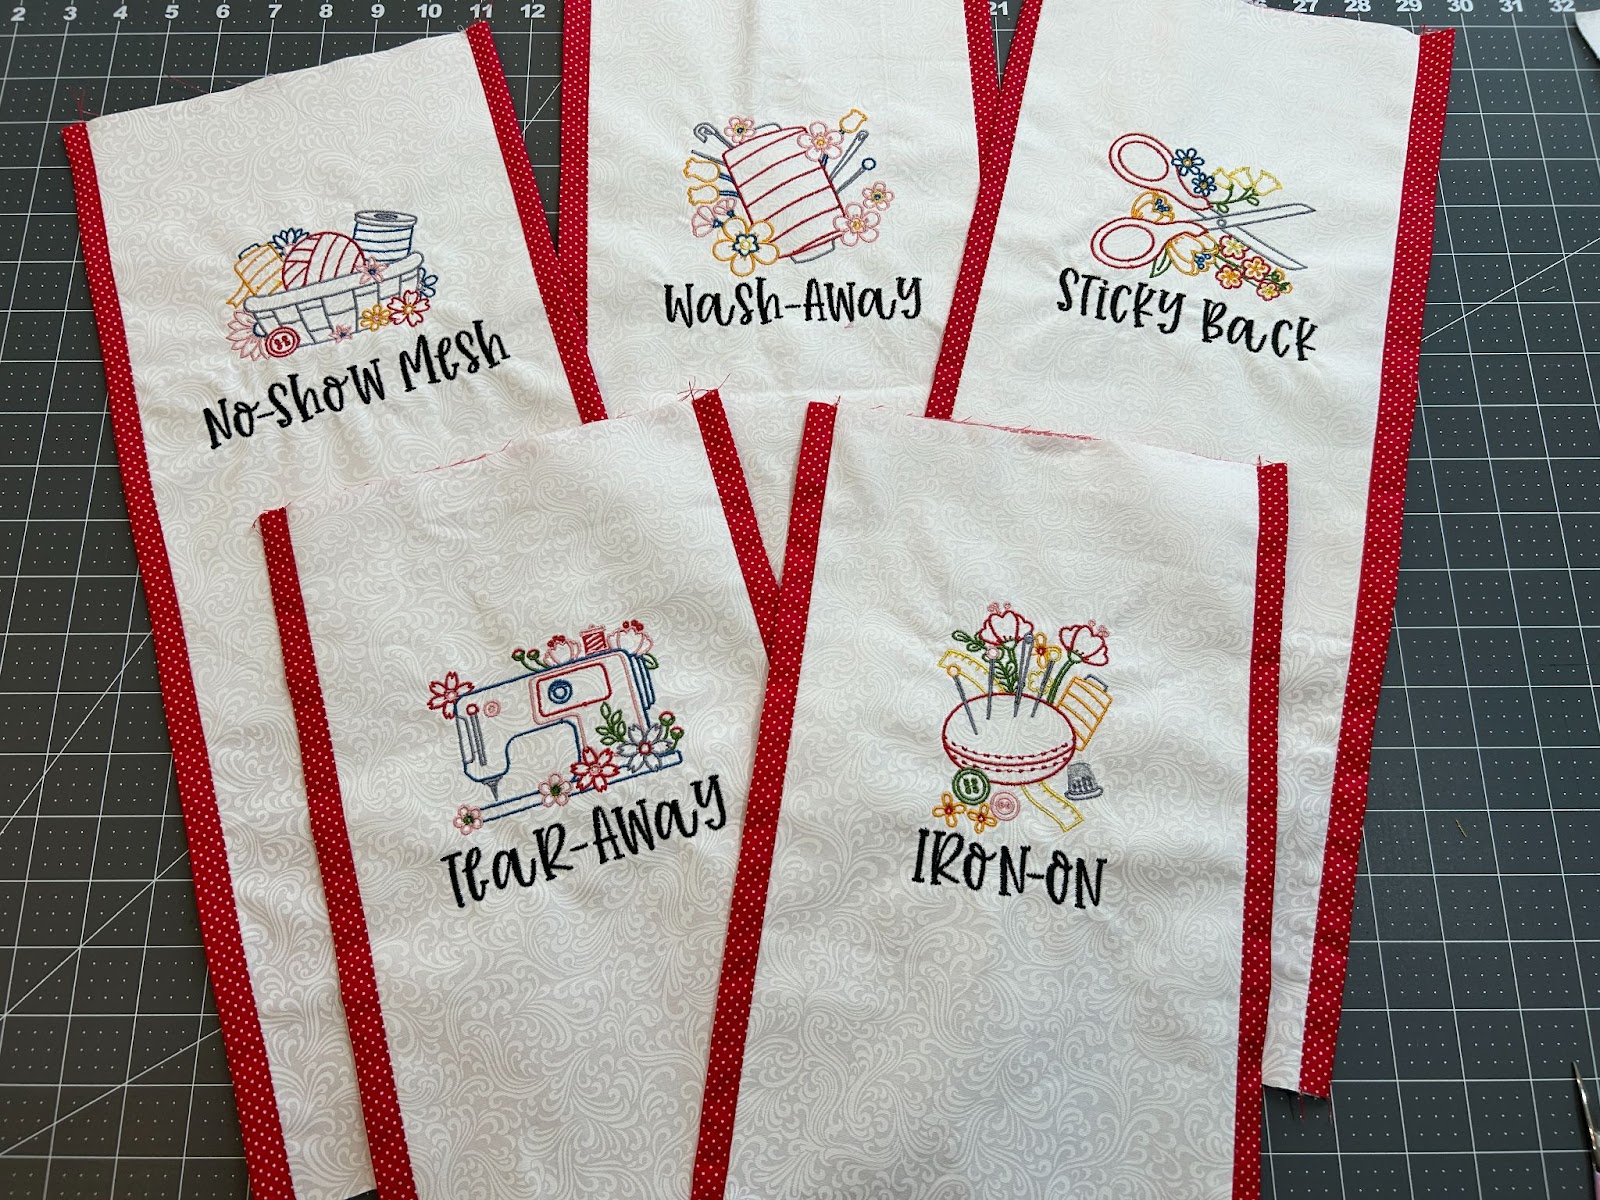
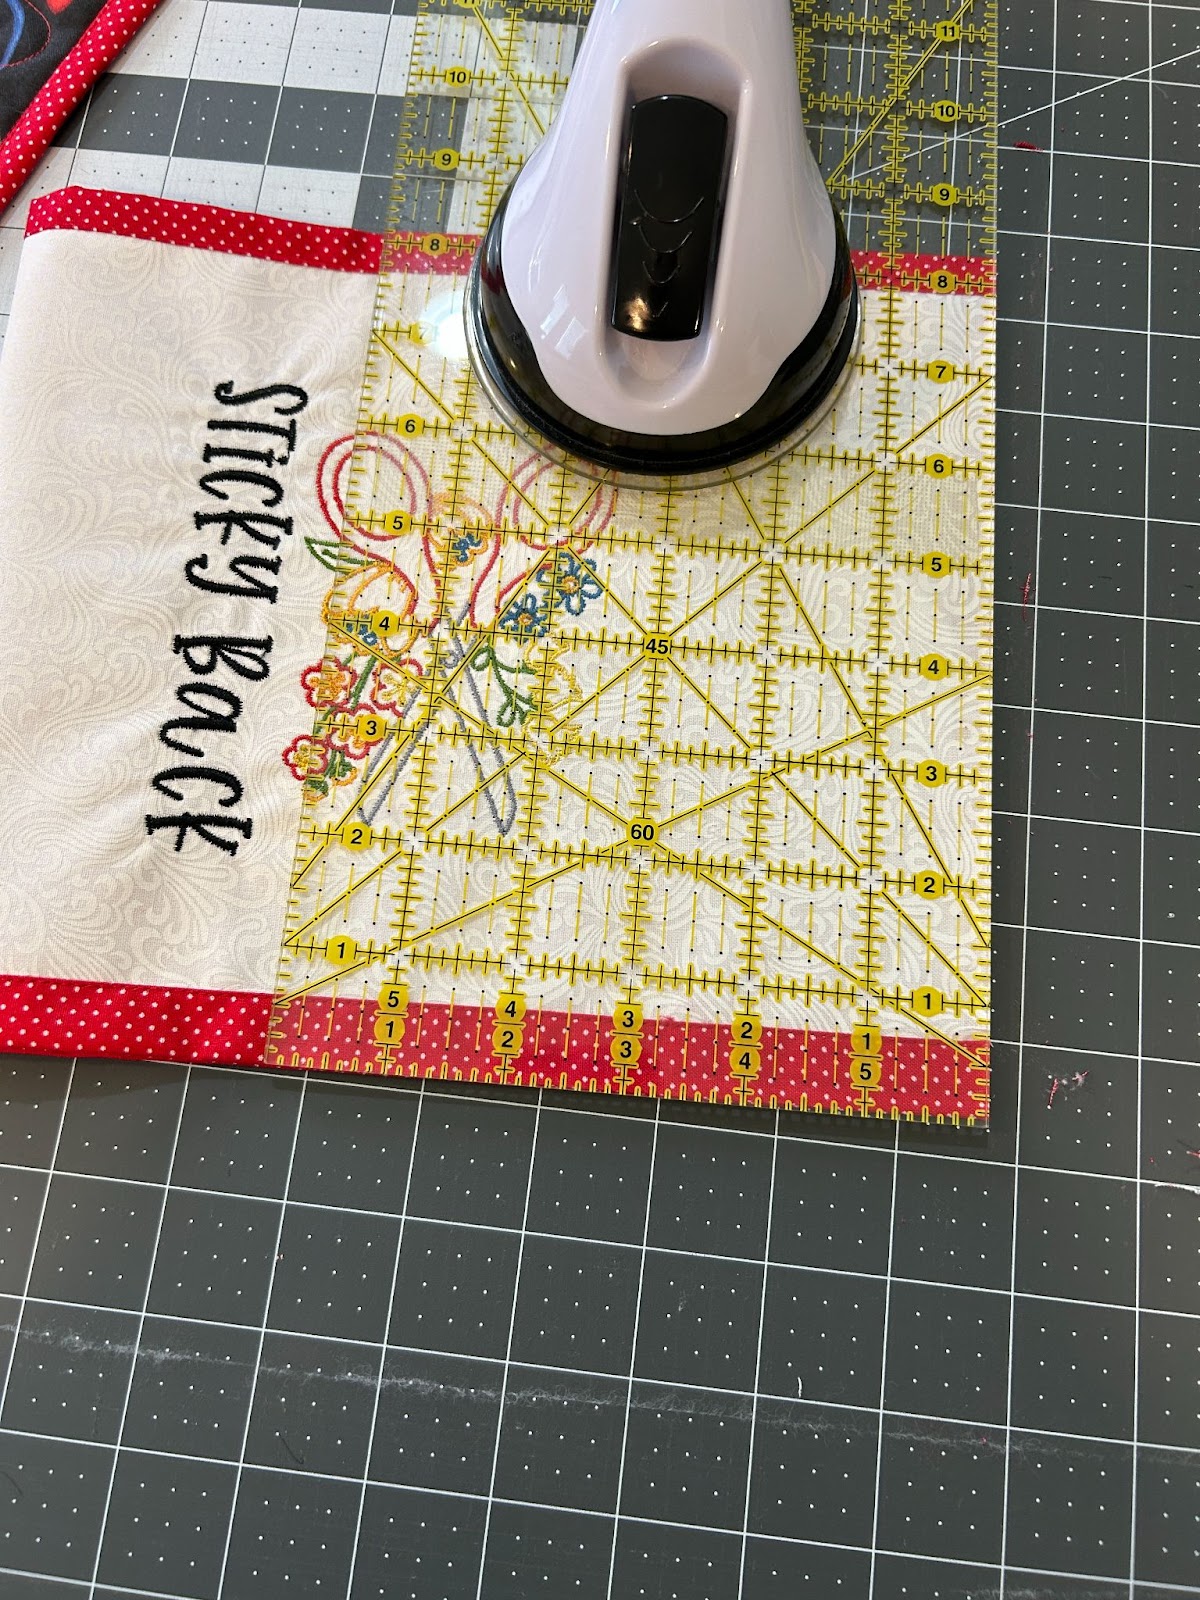
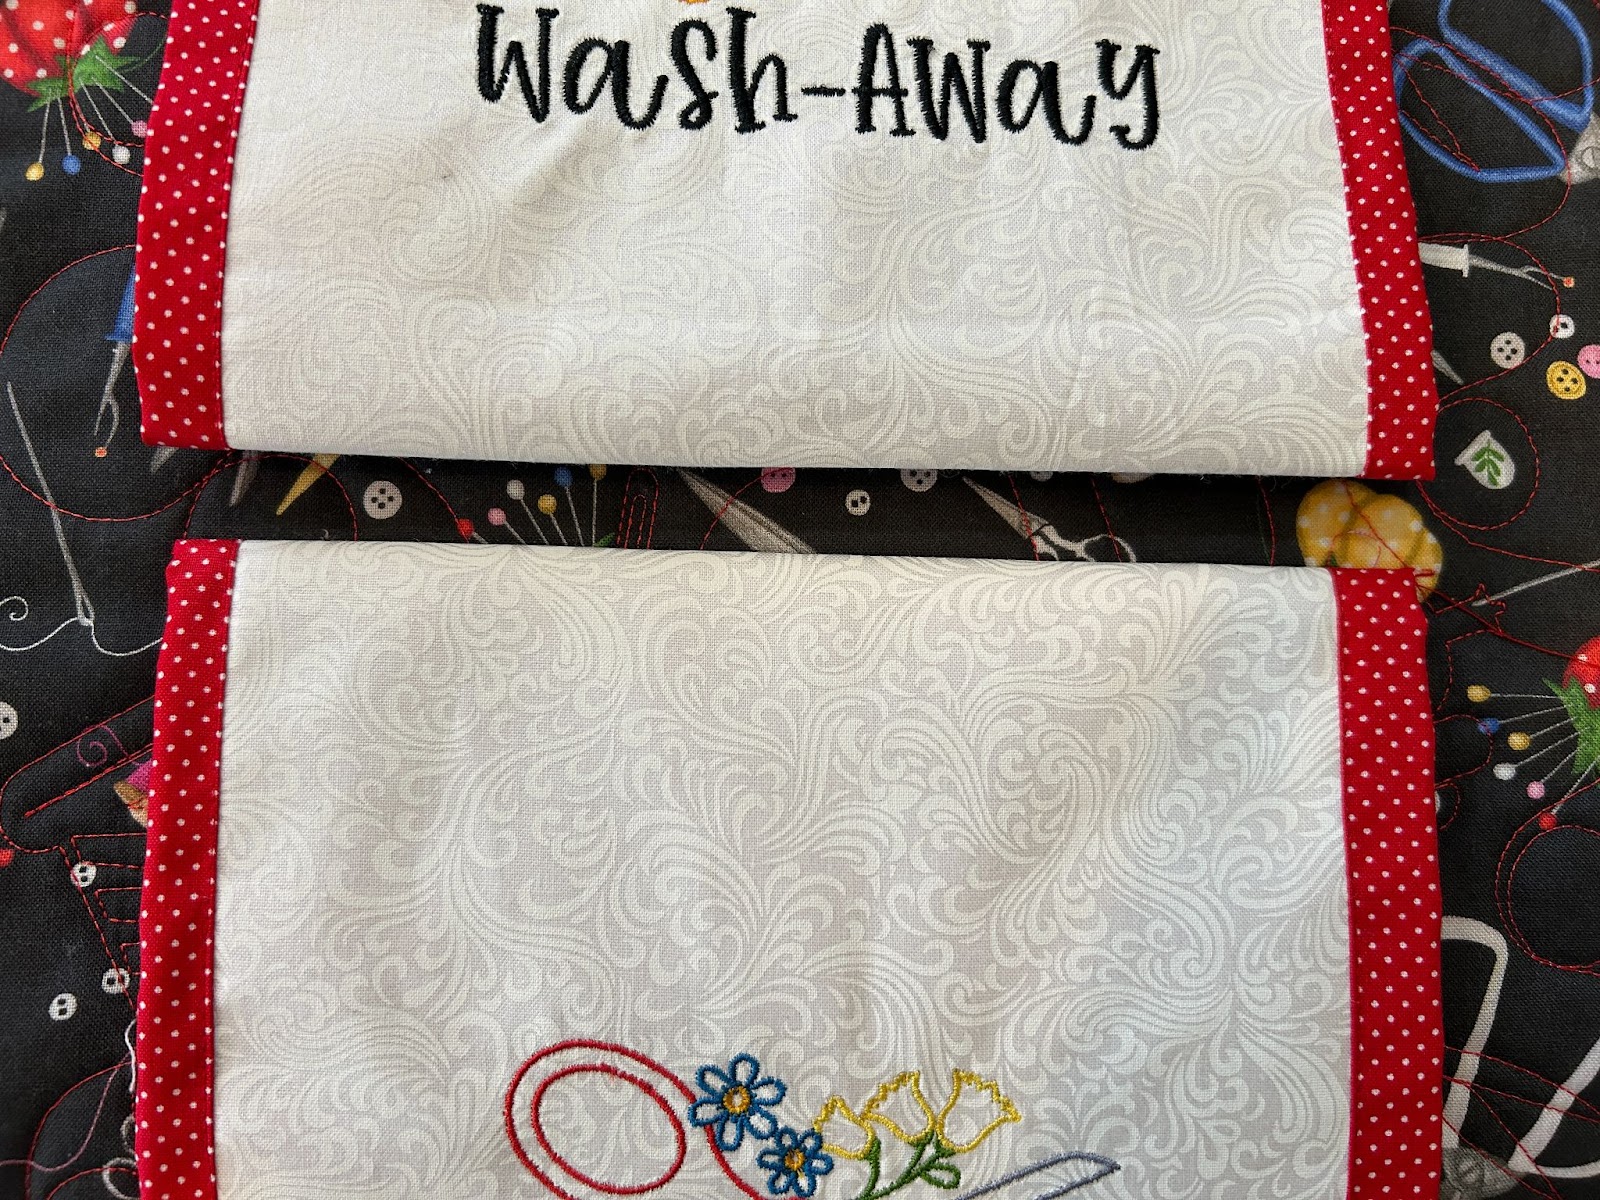
I uploaded a design I liked and typed the stabilizer type under the design. I chose these five categories: No-show mesh, Tear-away, Wash-away, Sticky-back, and Iron-on based on the stabilizer I had. But look at what you have and create your labels accordingly. If you are using the free version of Embrilliance, you are able to save your words and will have to combine designs on your machine. If you have a paid-for version, you can save them all as one file.
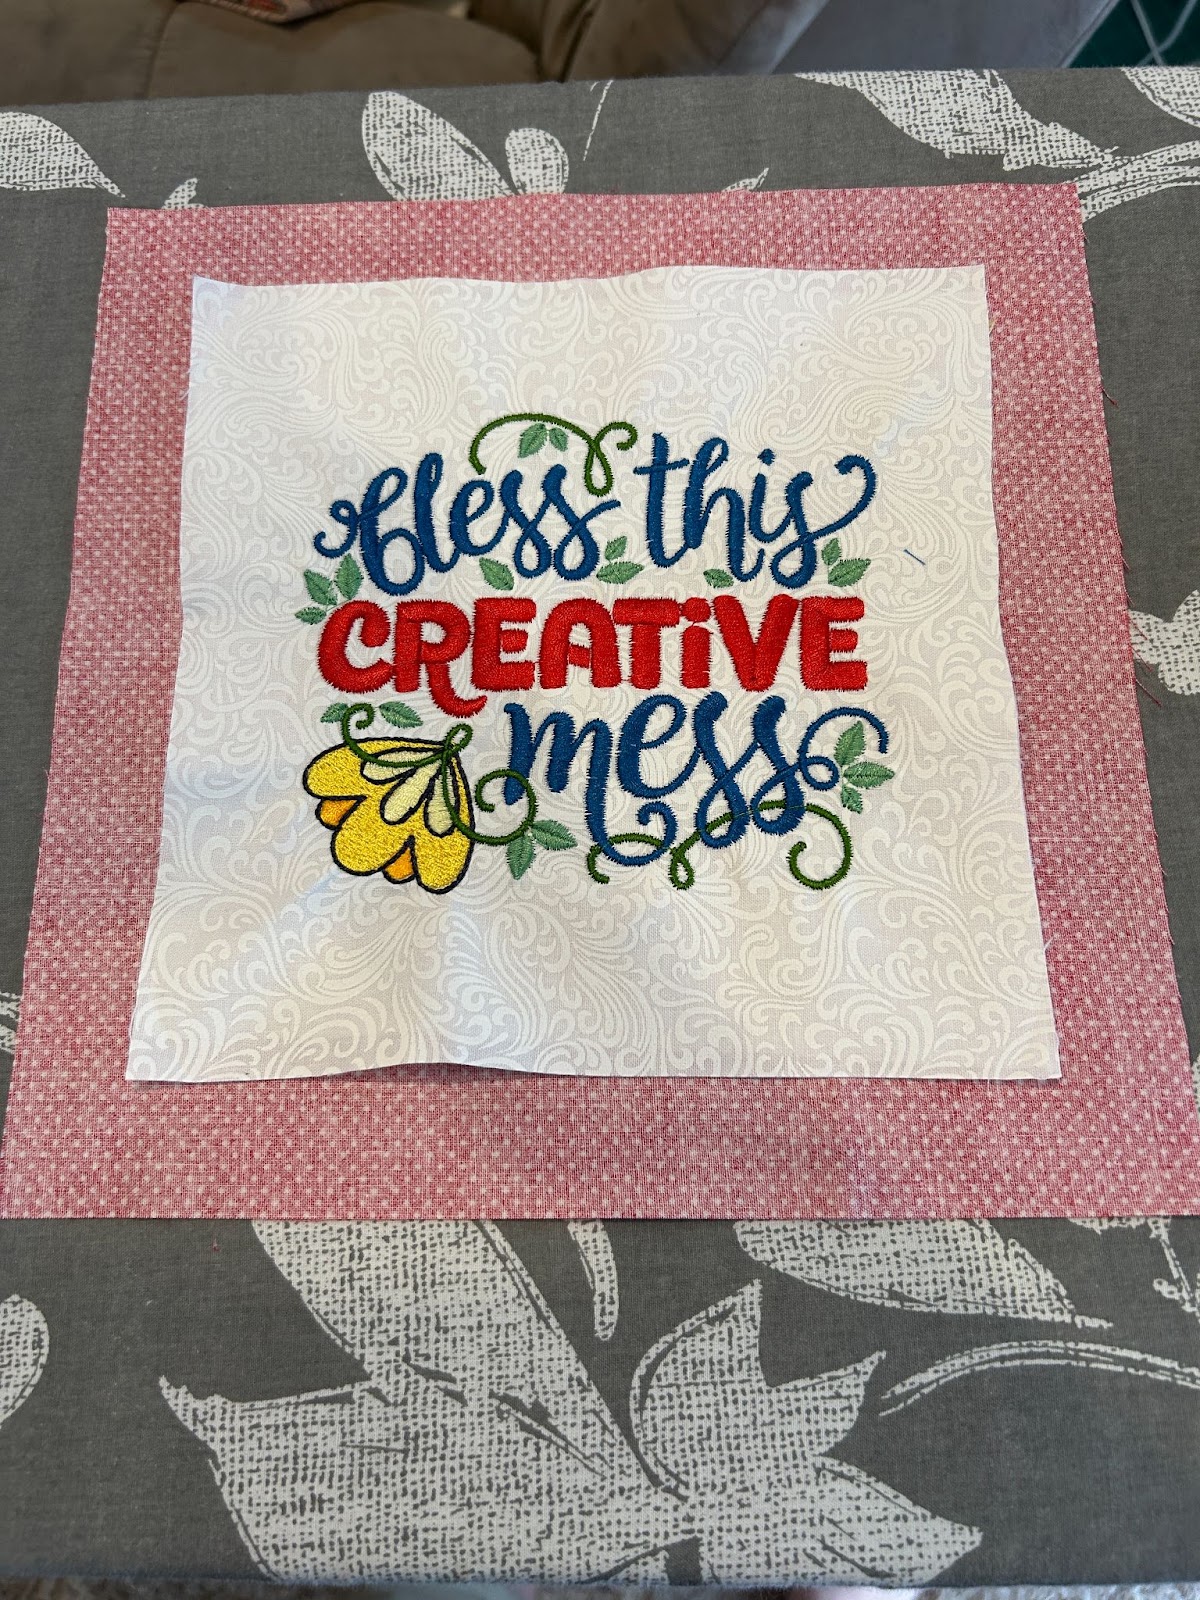
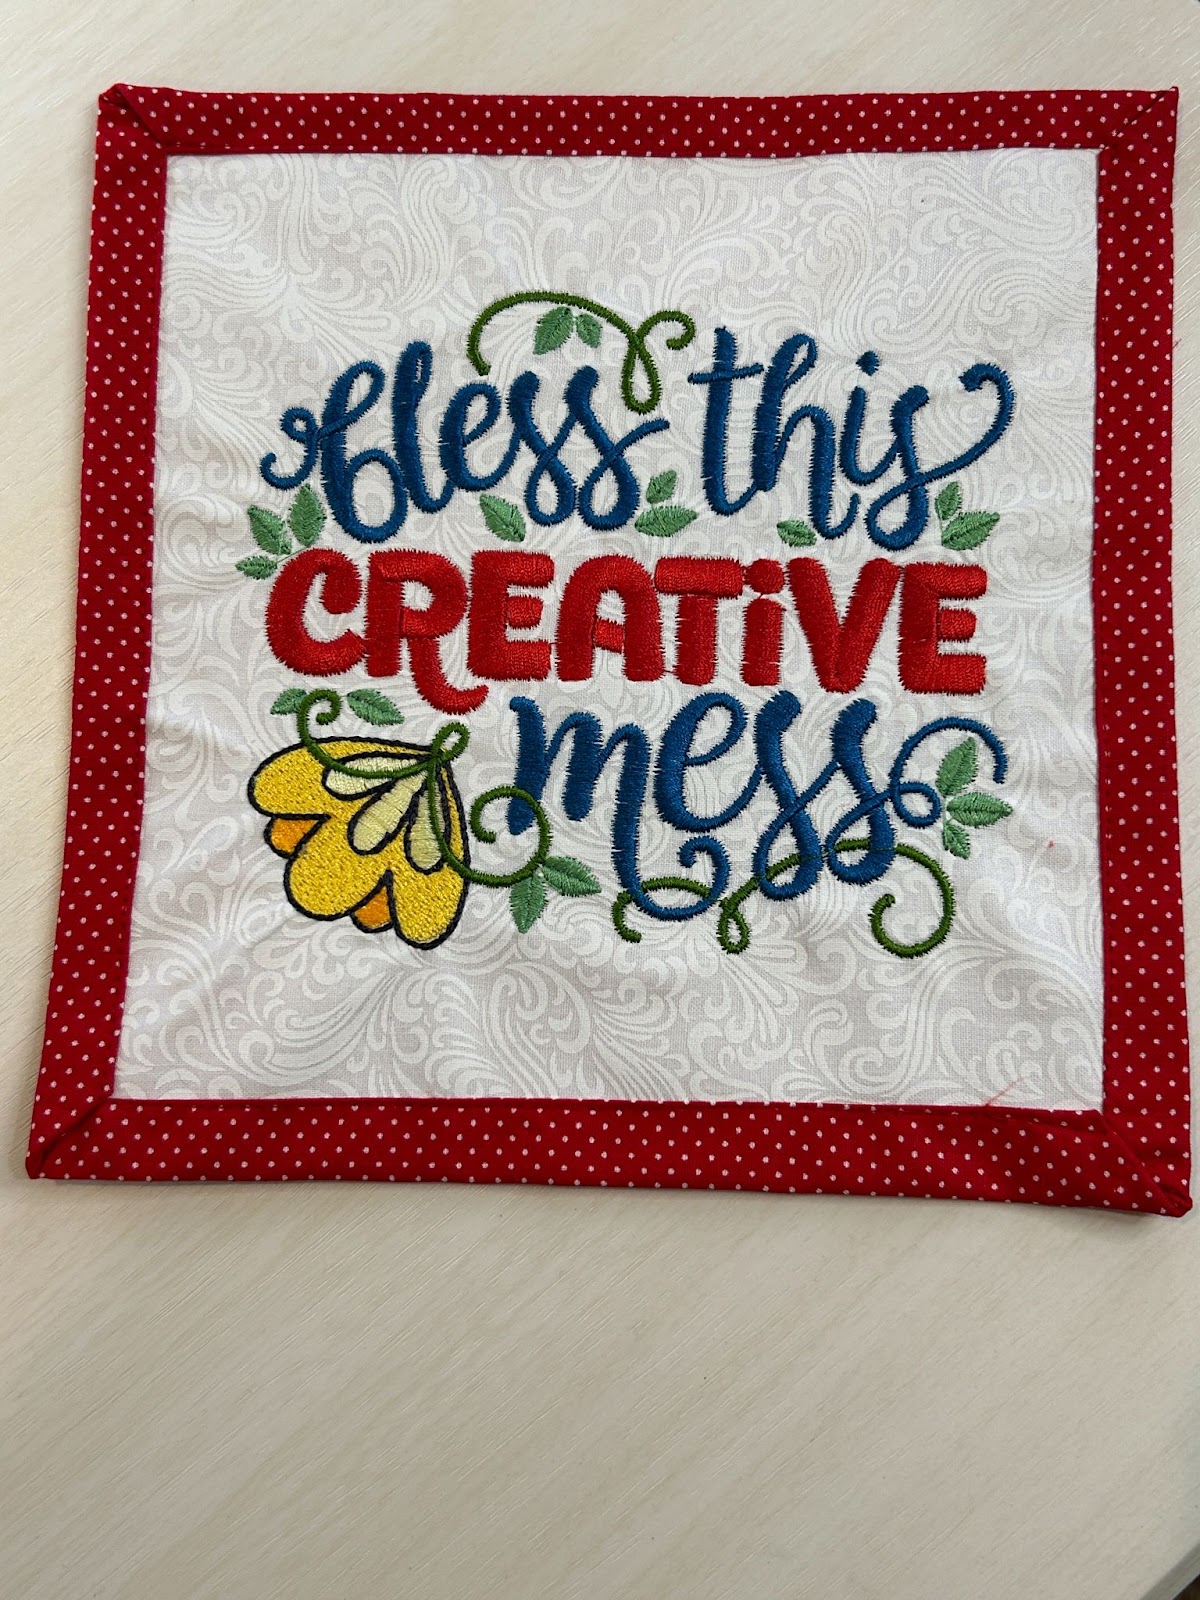
You can also create a label for the 8” x 8” piece of fabric for the top of your organizer. I’m using a DBJJ design so I didn’t do this, but if you want something personalized, do that now too.
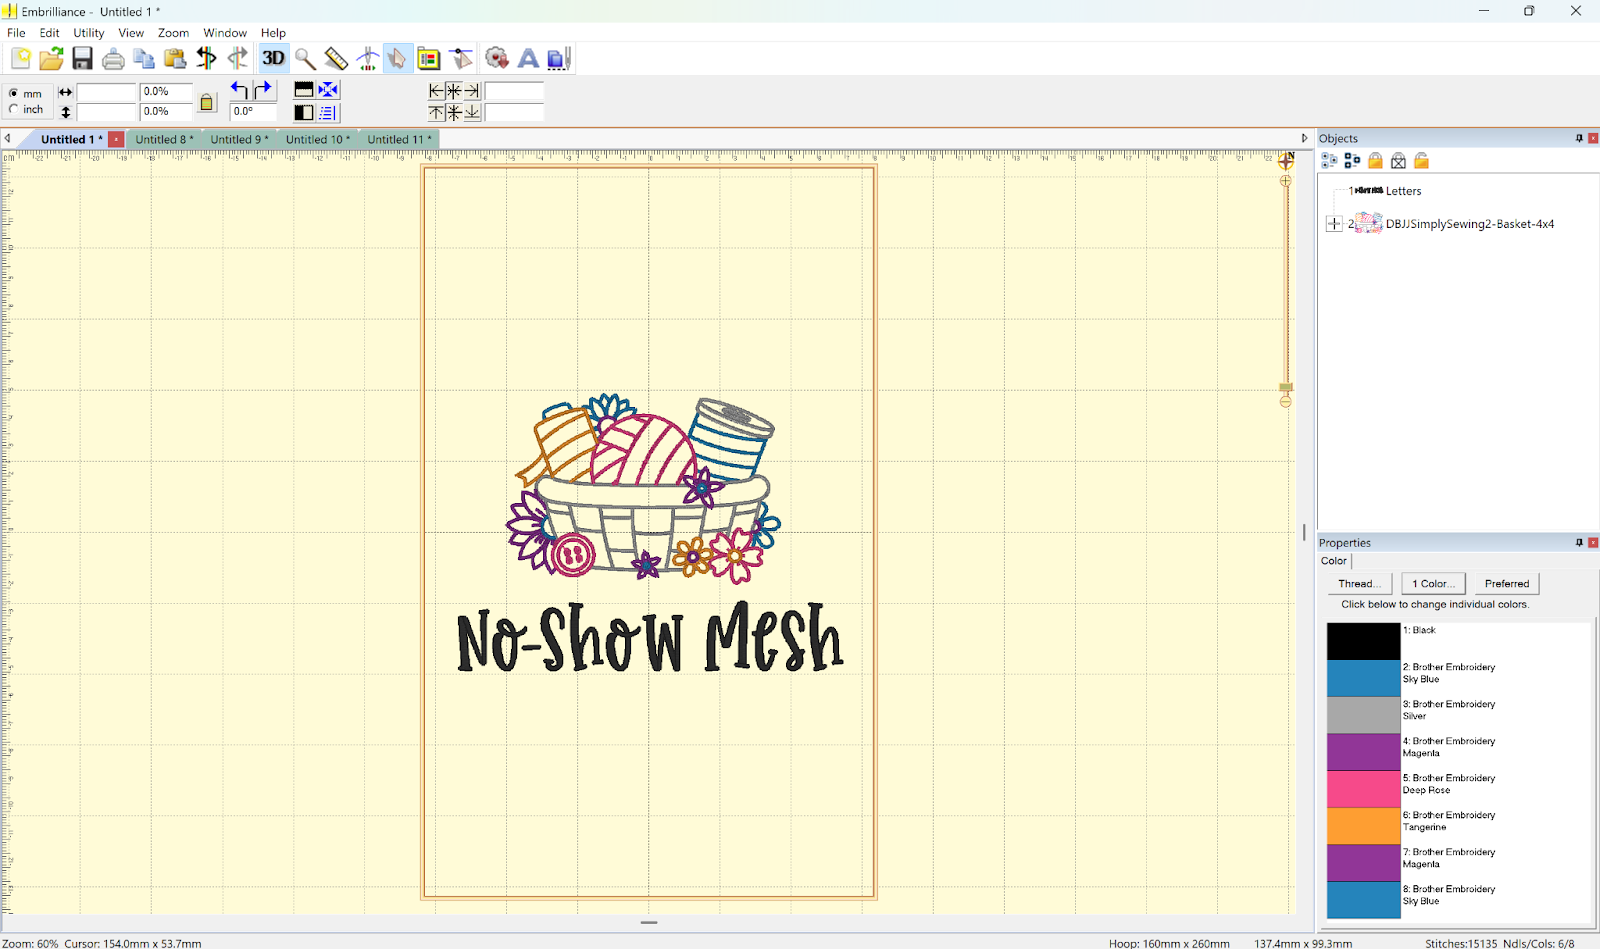
Design a label for each pocket.
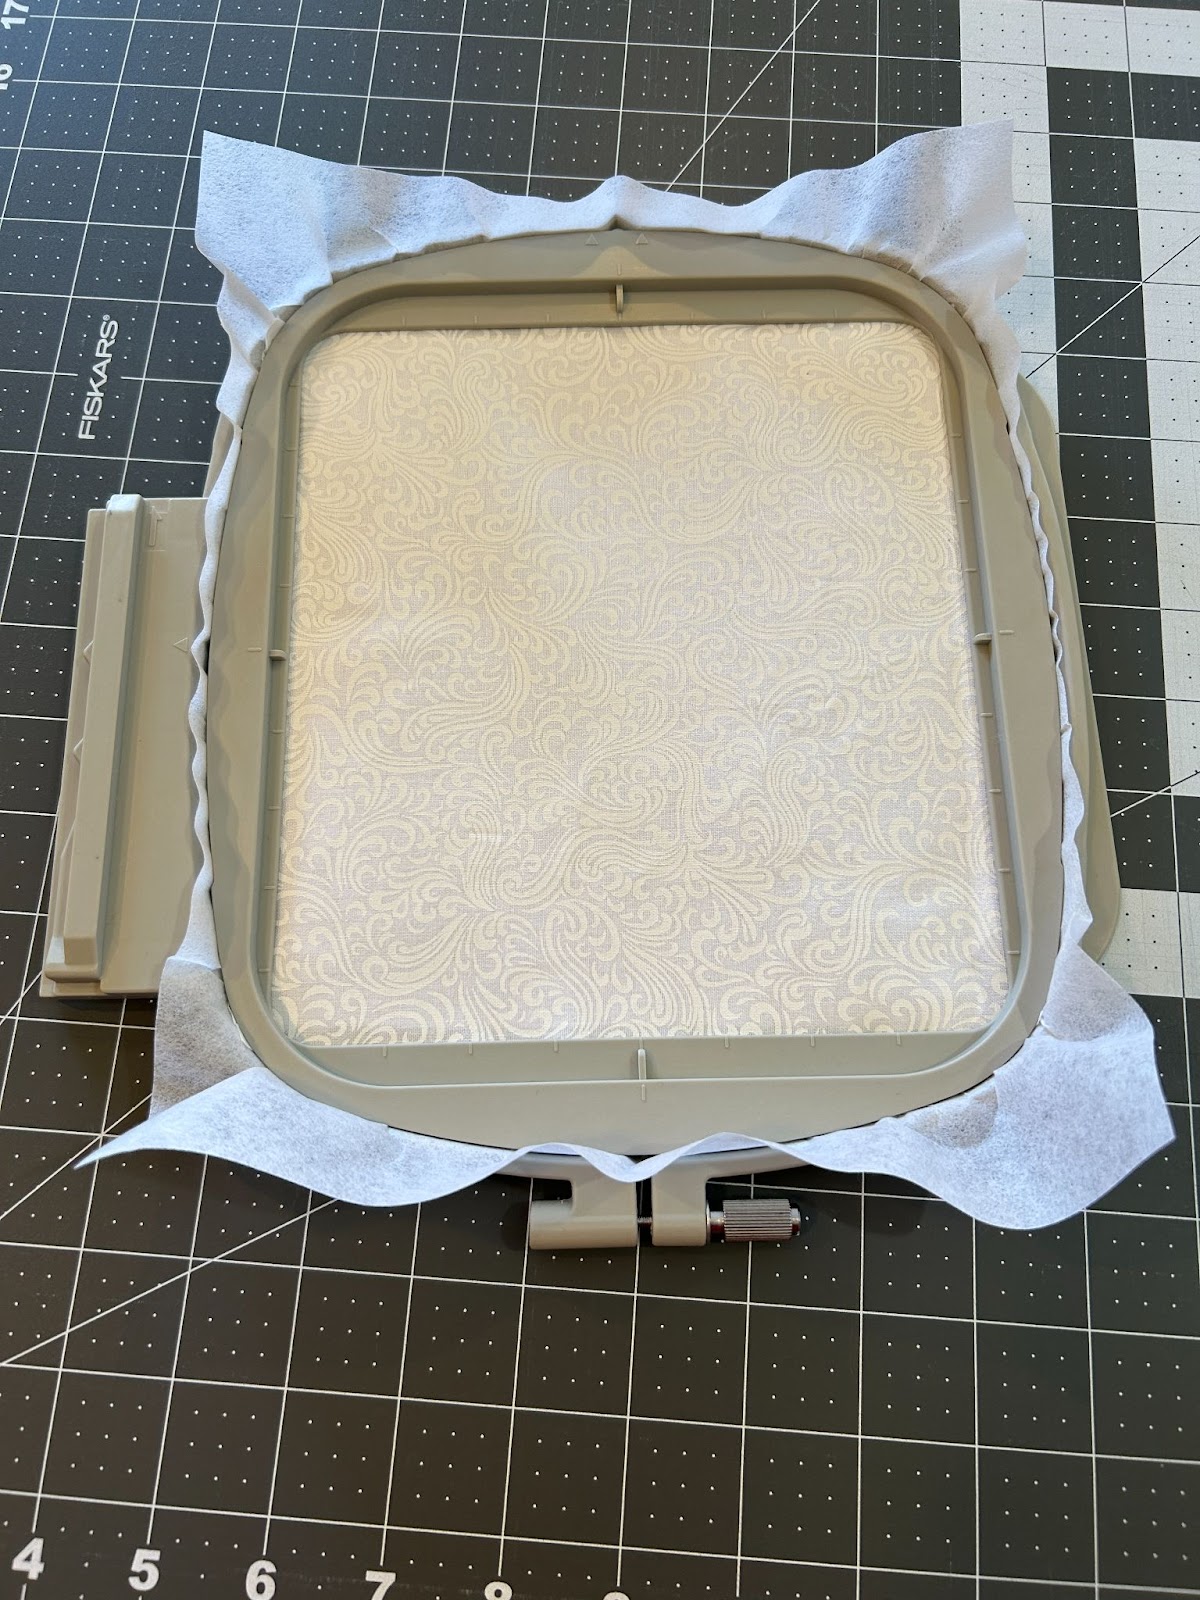
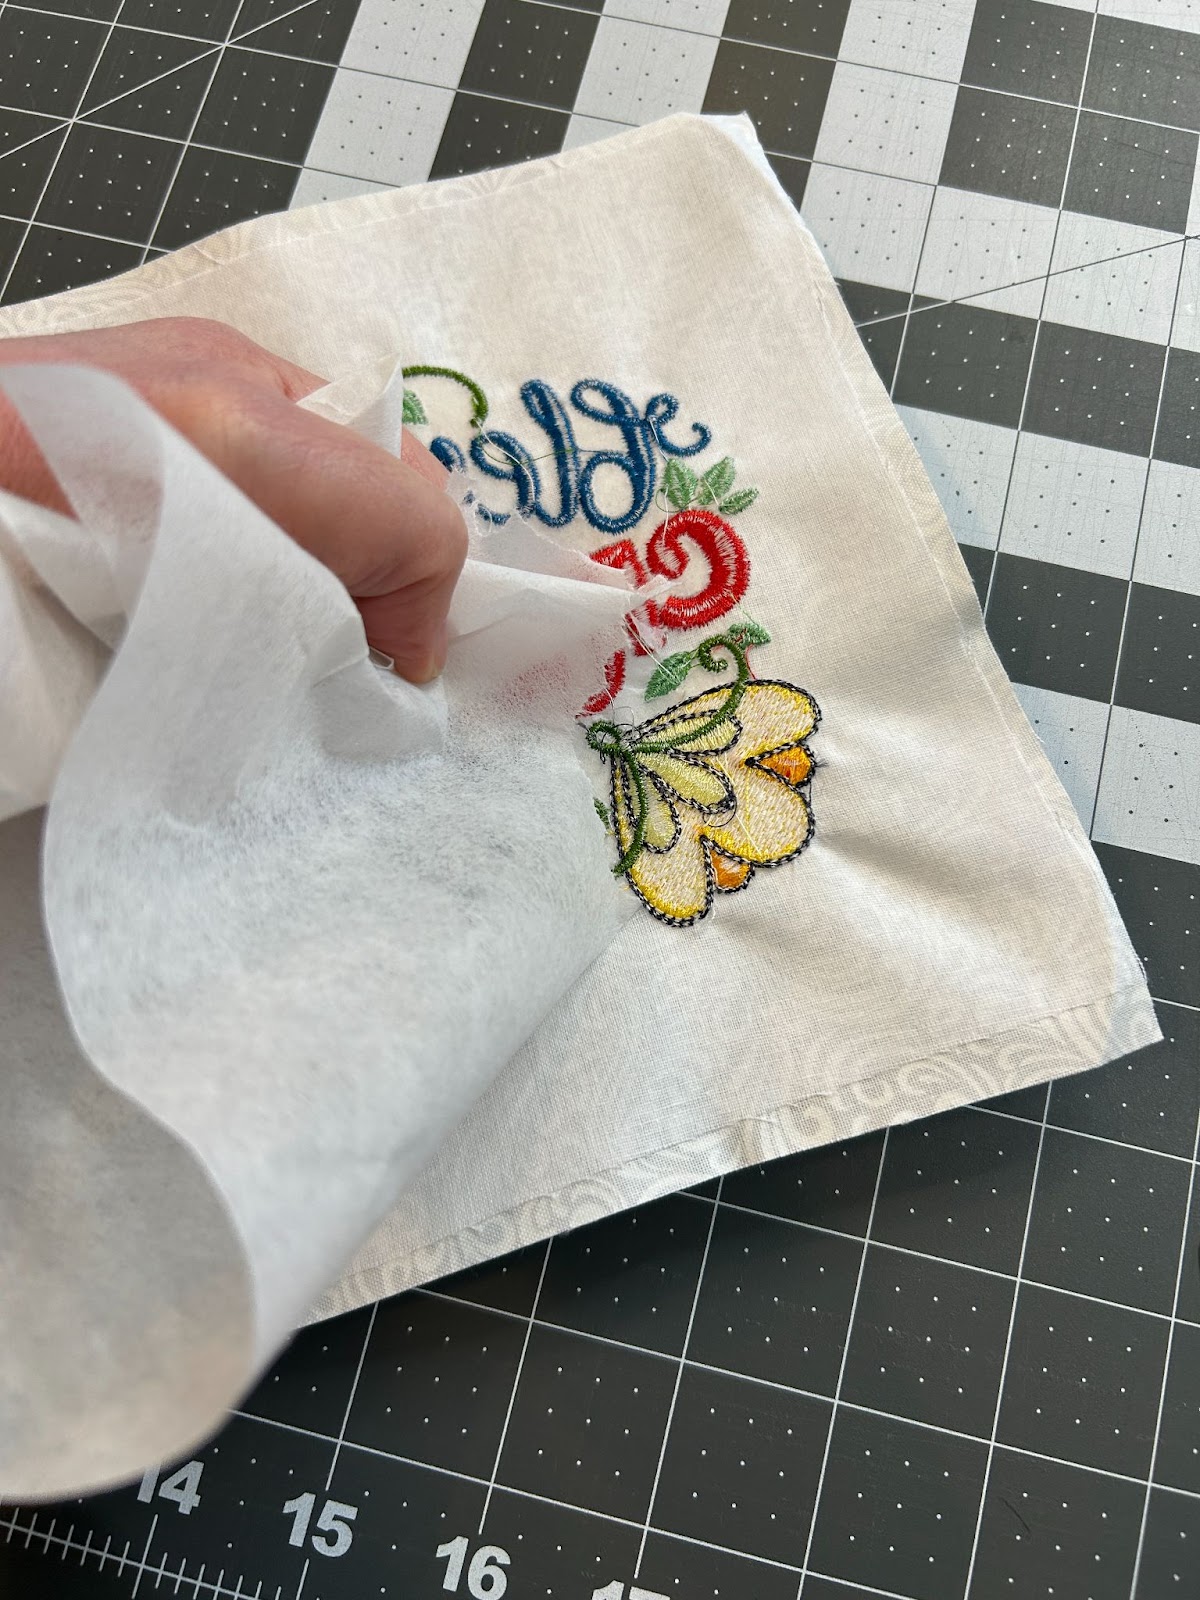
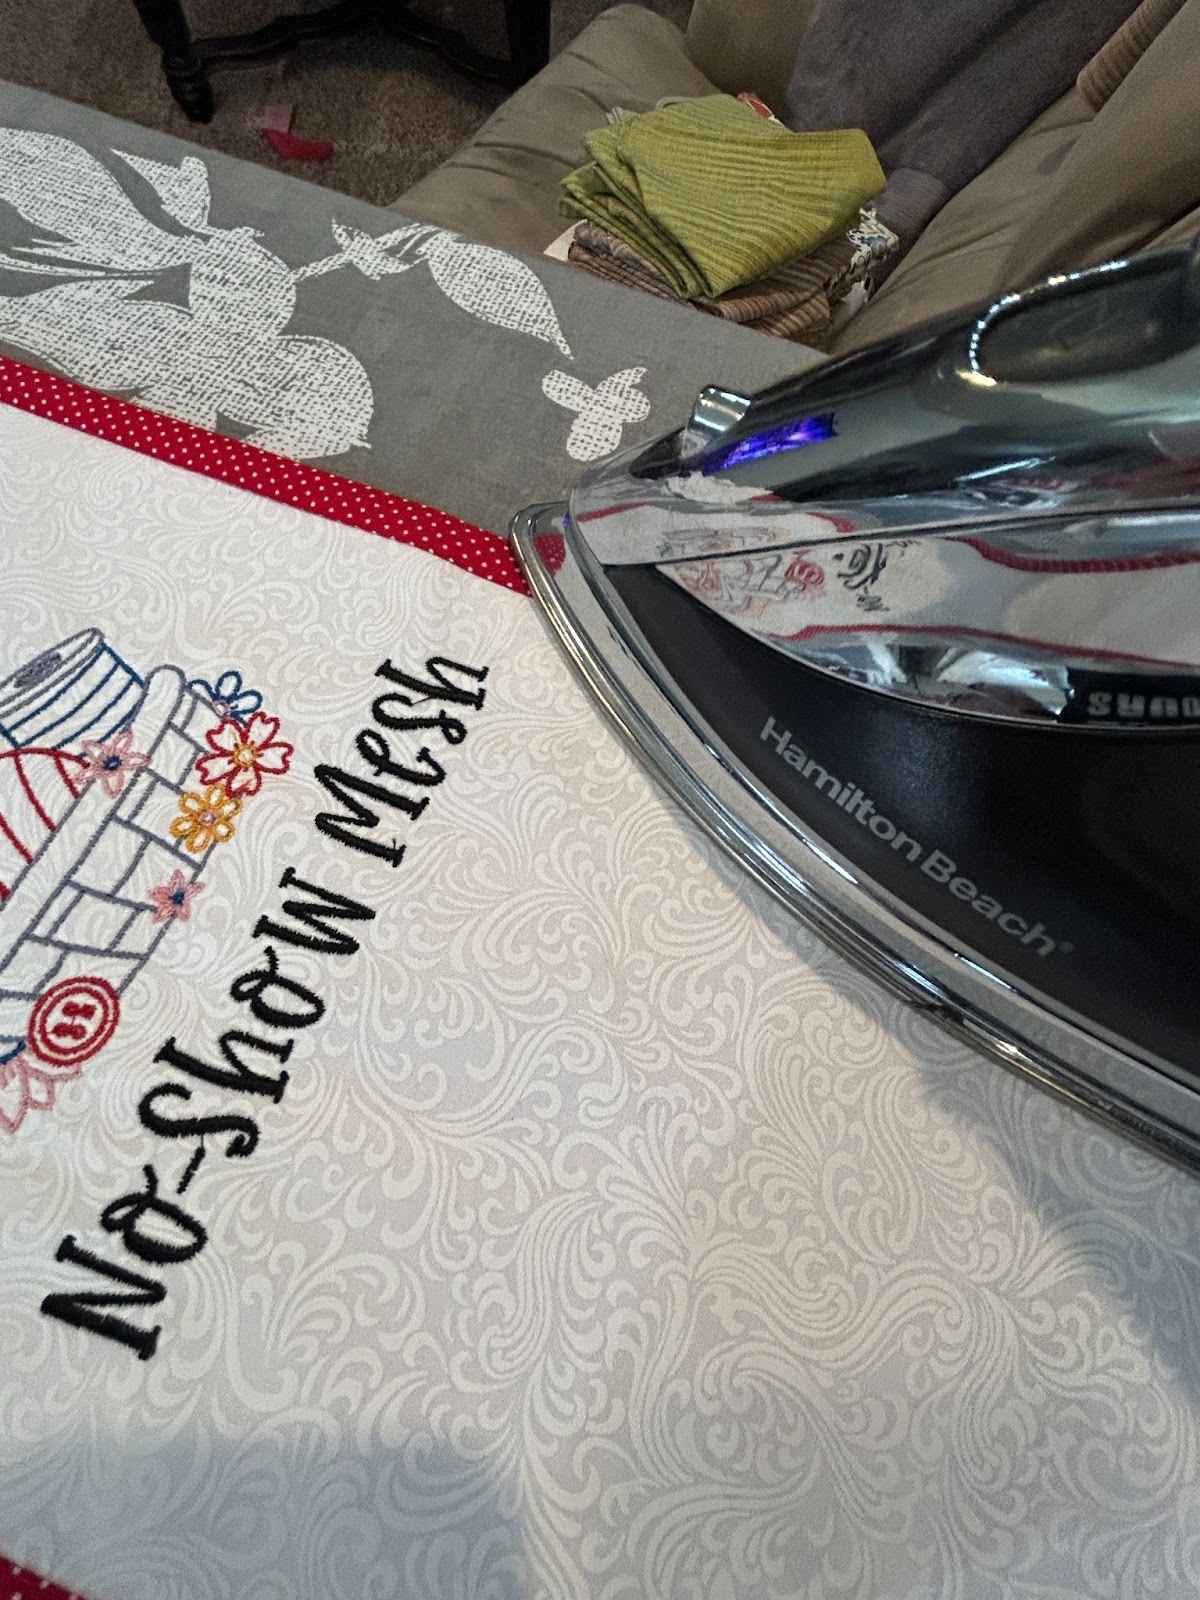
We will start by fusing some SF101 to the back of the pocket fronts. To save on SF101, I used about 12 inches along the back. You can use it along the whole piece if you’d like. Fuse the SF101 to the wrong side of each of the pocket fronts.
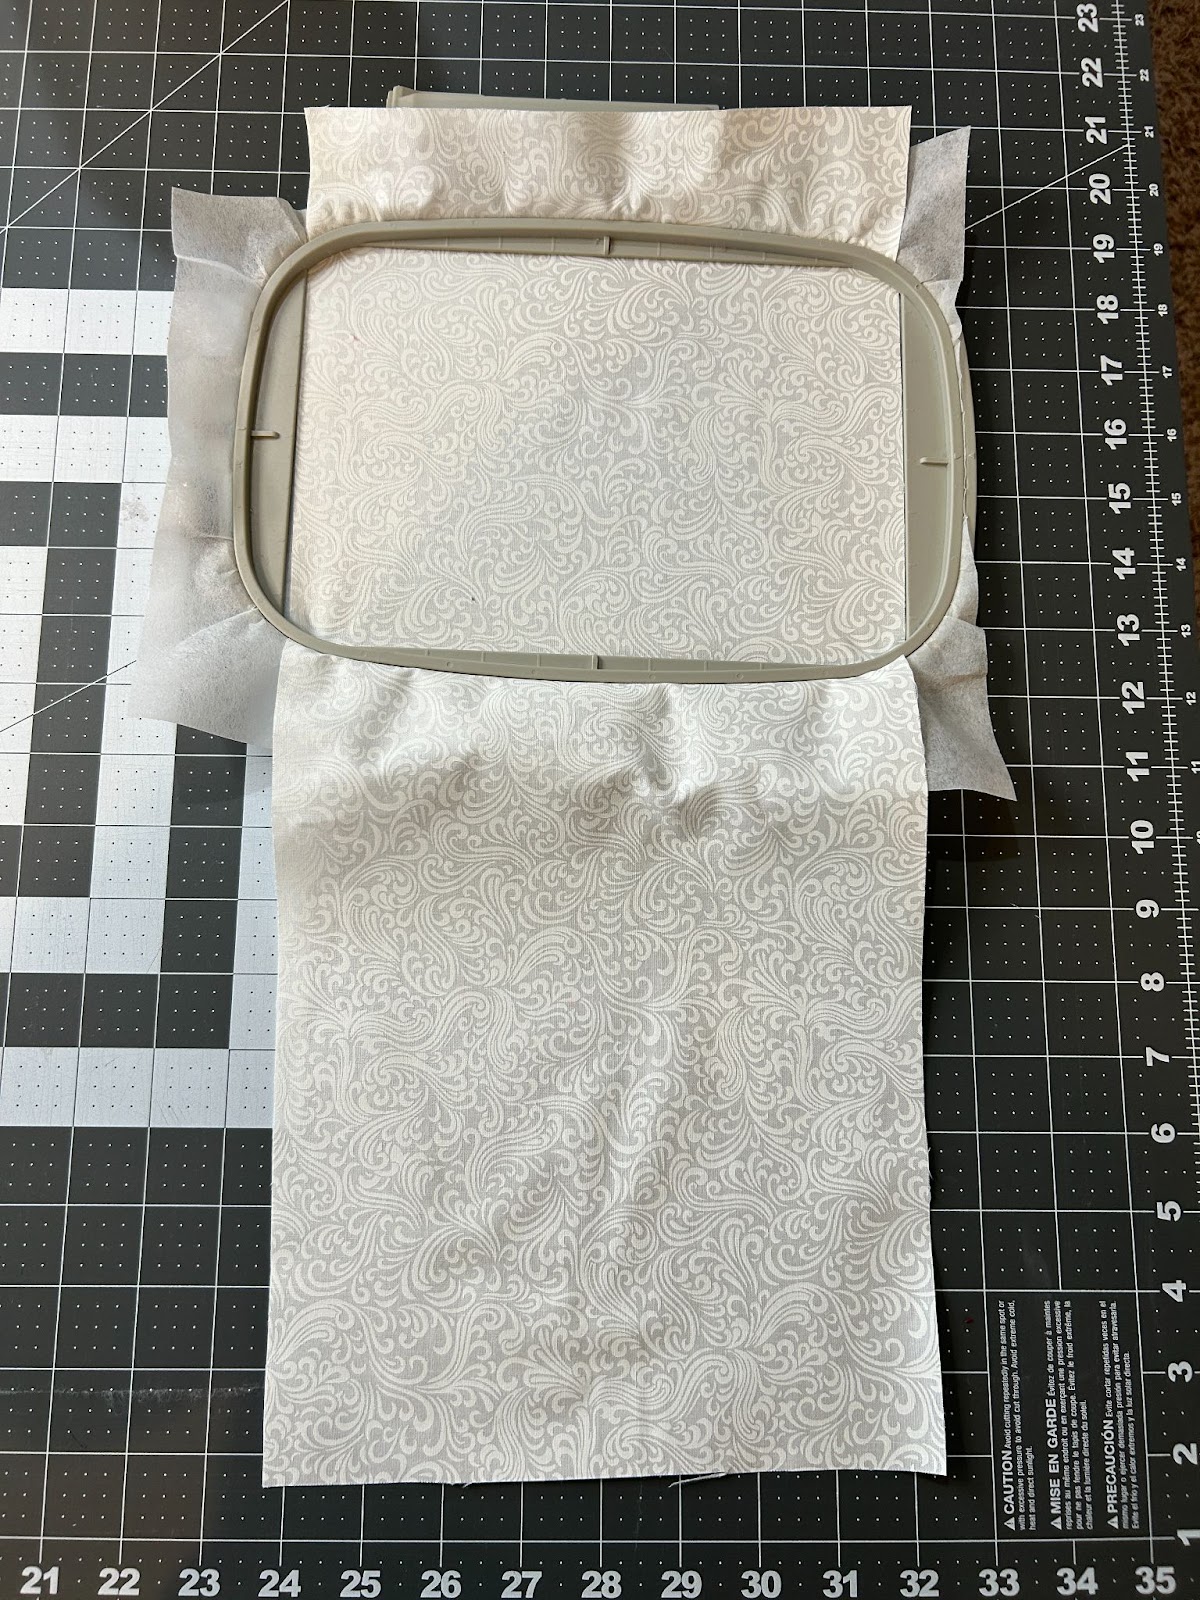
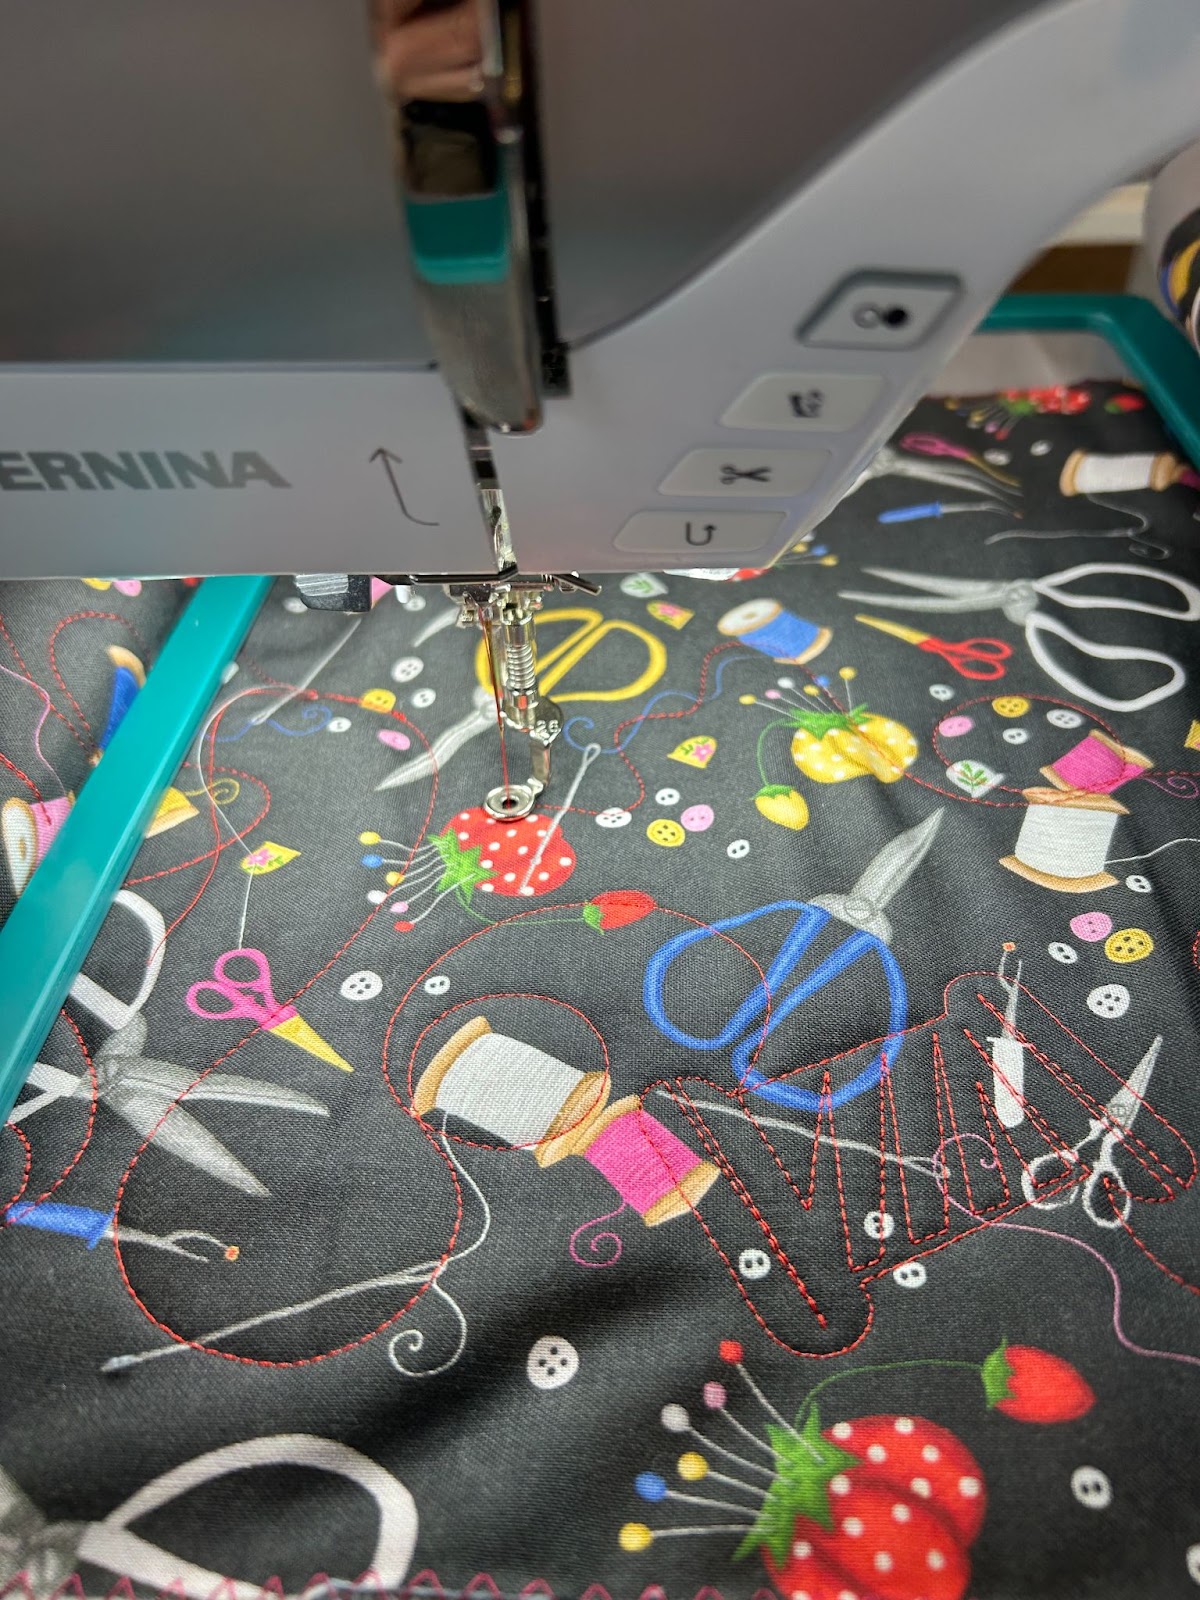
Now we will find the placement for the design on our pocket. Fold the pocket front in half with wrong sides together. This is what the pocket will look like. There will be about ¼” seam allowance around the raw edges. You can decide how you’d like to place your design on that pocket. I chose to center mine.
Hoop your fabric so the design will stitch on the top half of the folded fabric.
And then stitch out your design.
When it’s finished, remove from the hoop and trim the threads.

Remove your stabilizer.

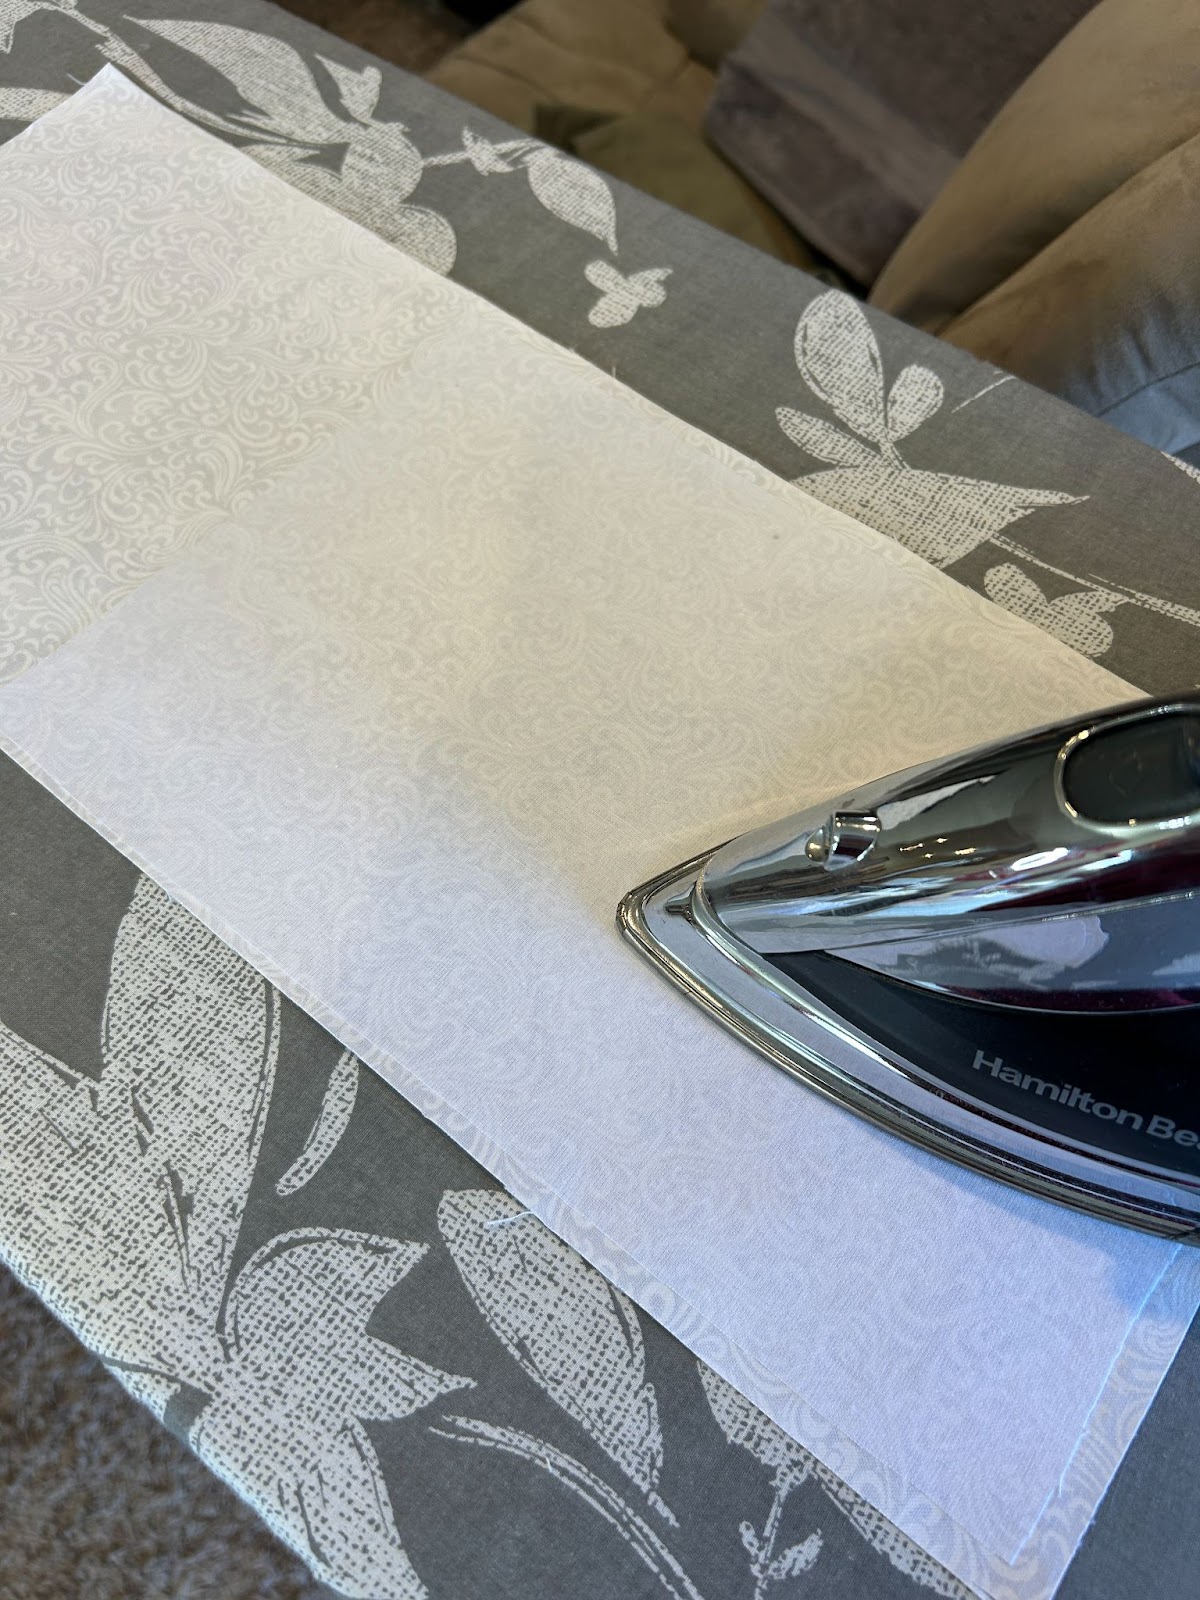
Then press to remove any hoop marks.

Repeat with all five of your pocket fronts.
Now we will hoop the 8” x 8” piece of fabric.
Load it into your machine and stitch out the design you have chosen for the top of your stabilizer holder.
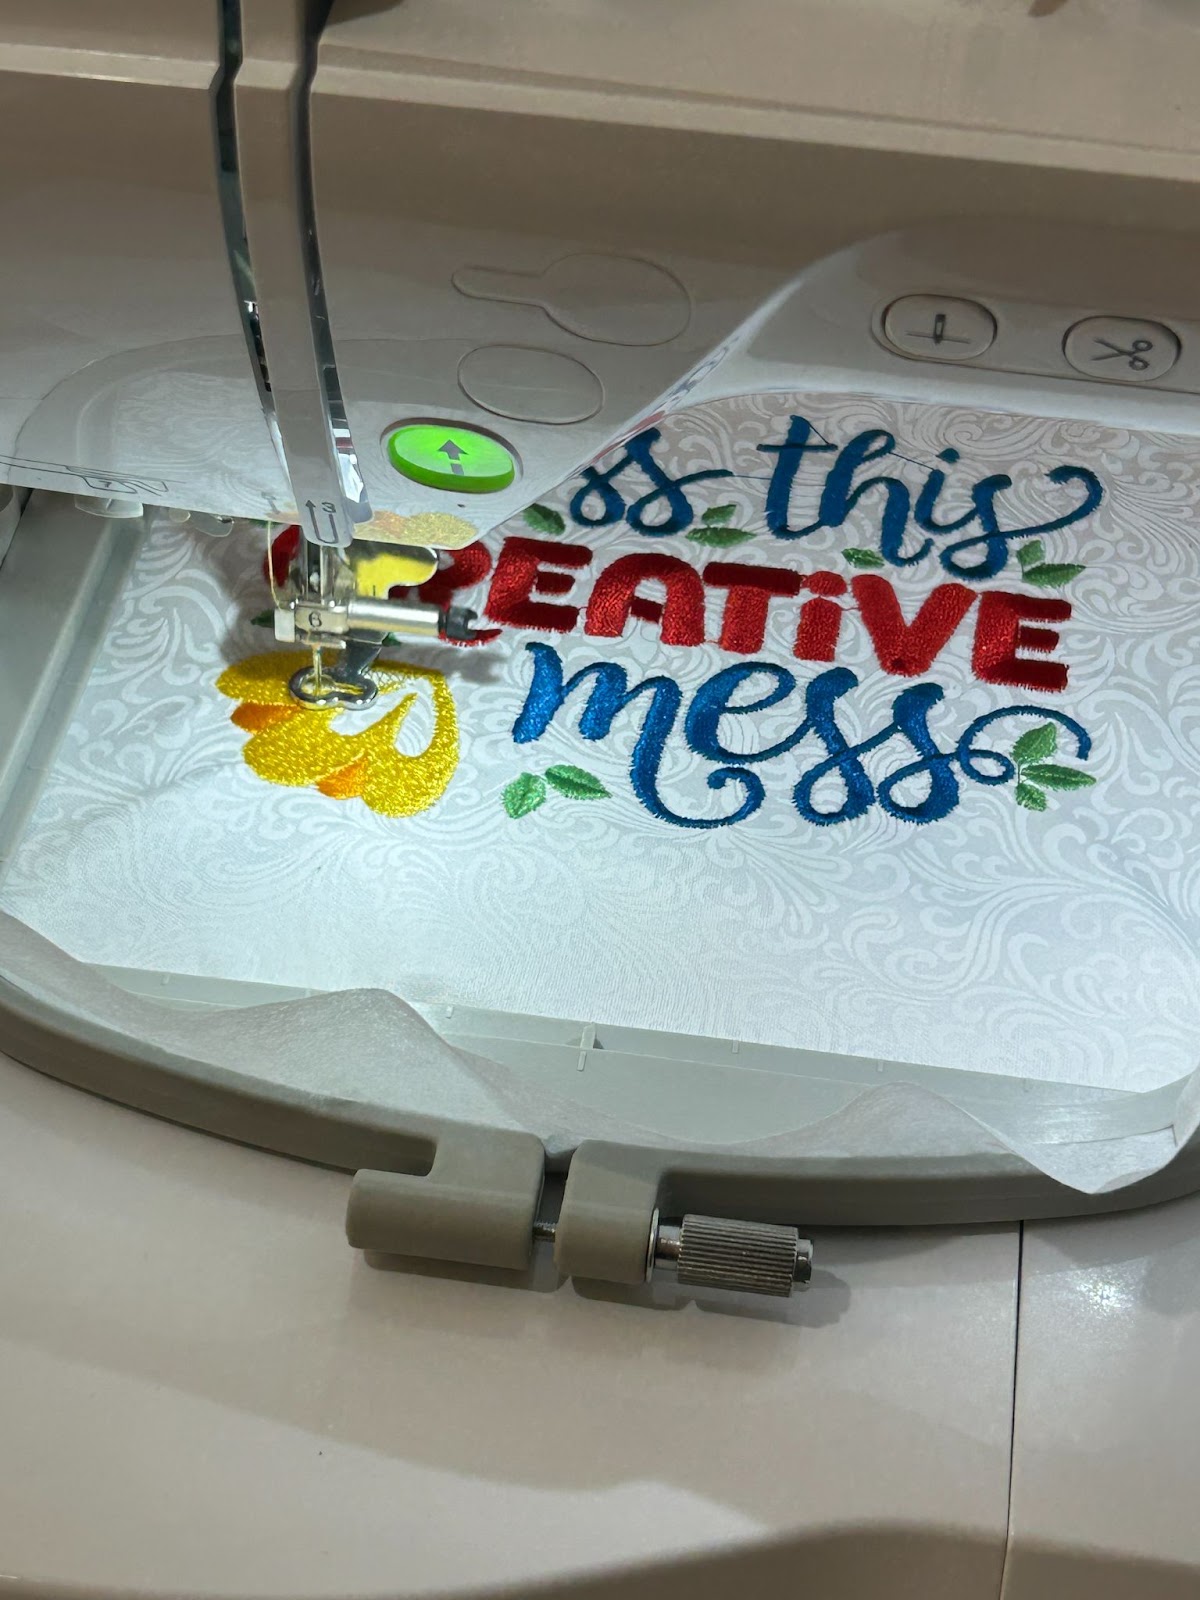
Remove from your machine and clean up the threads.
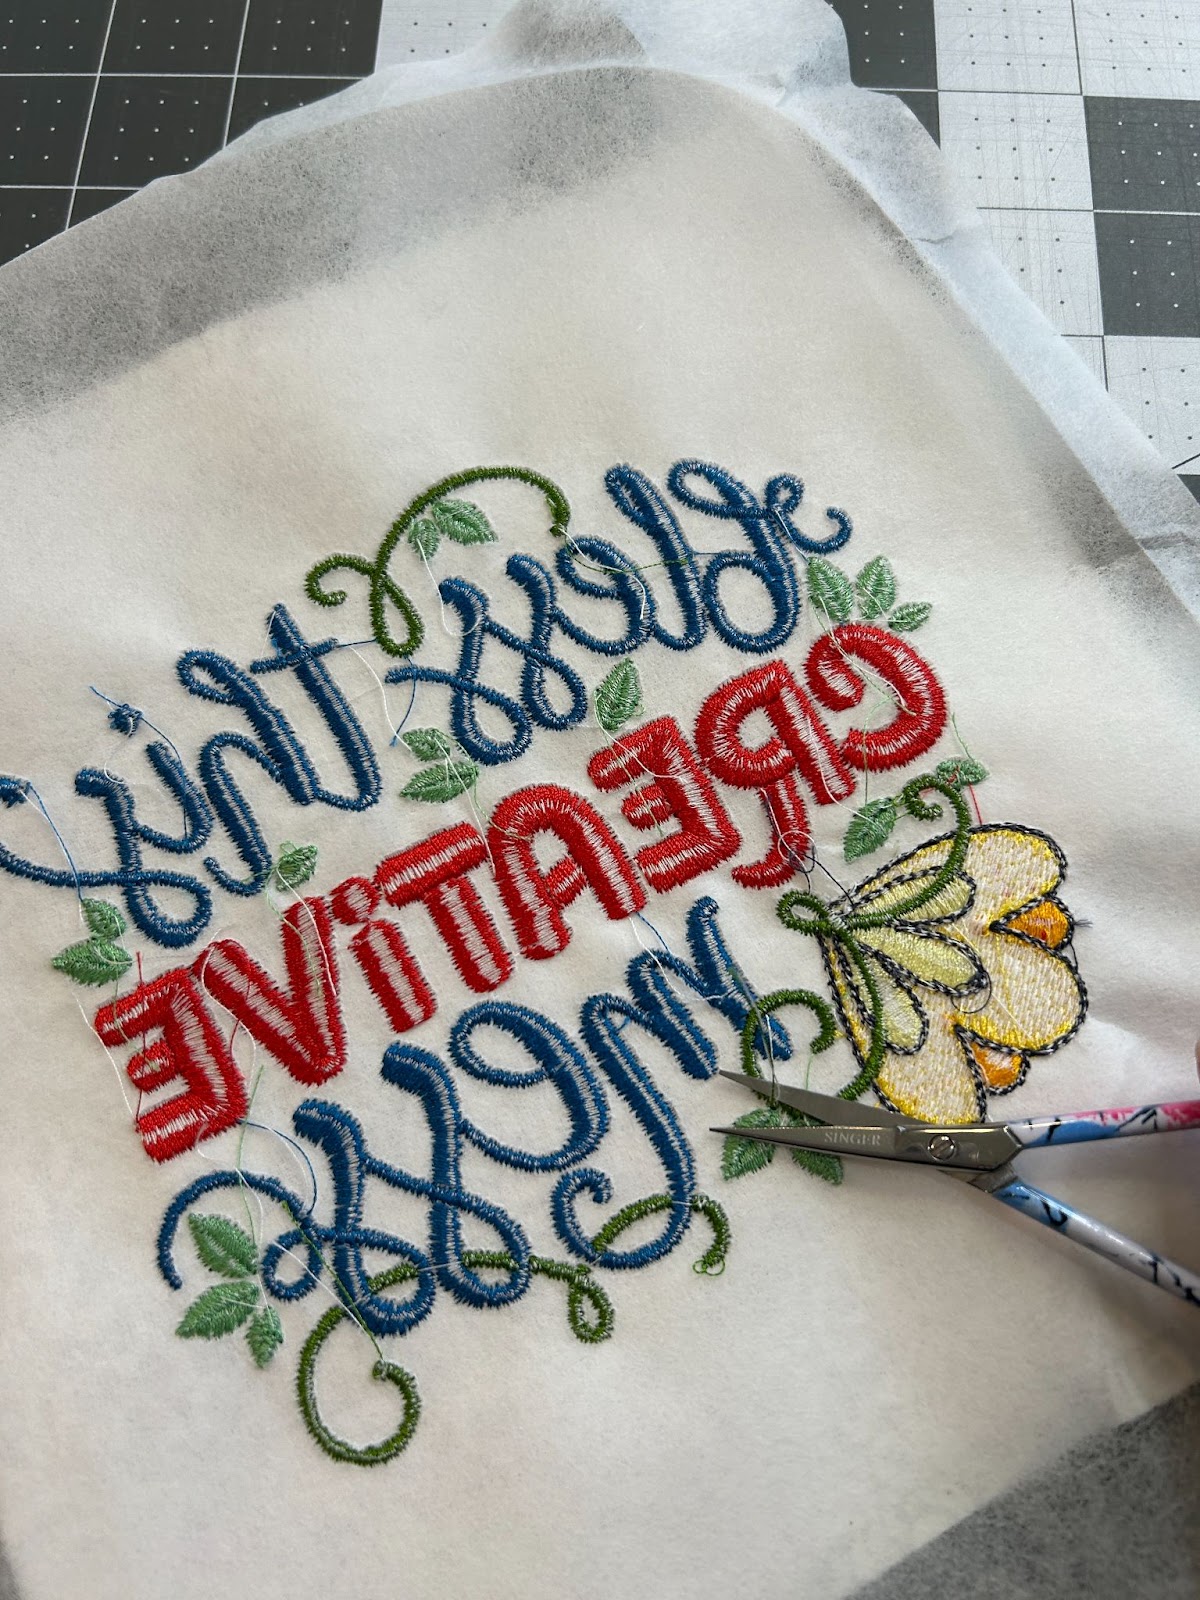
And remove the stabilizer.
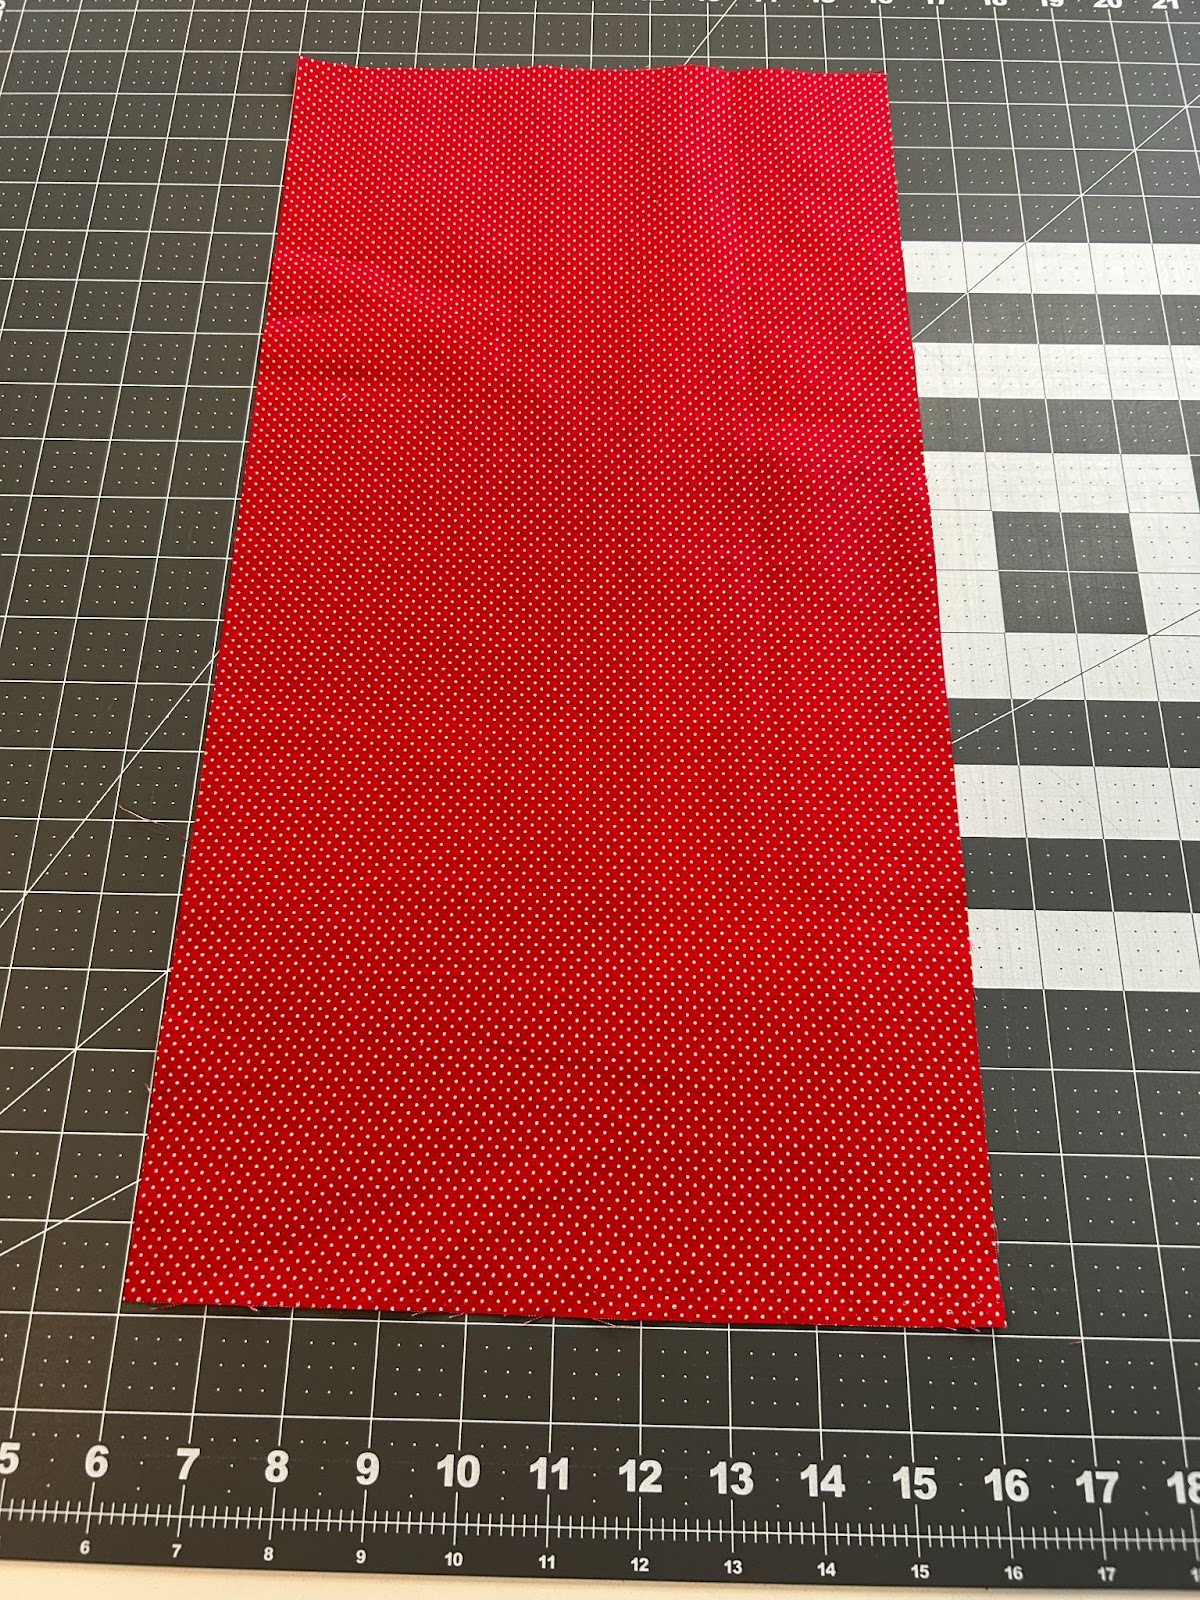
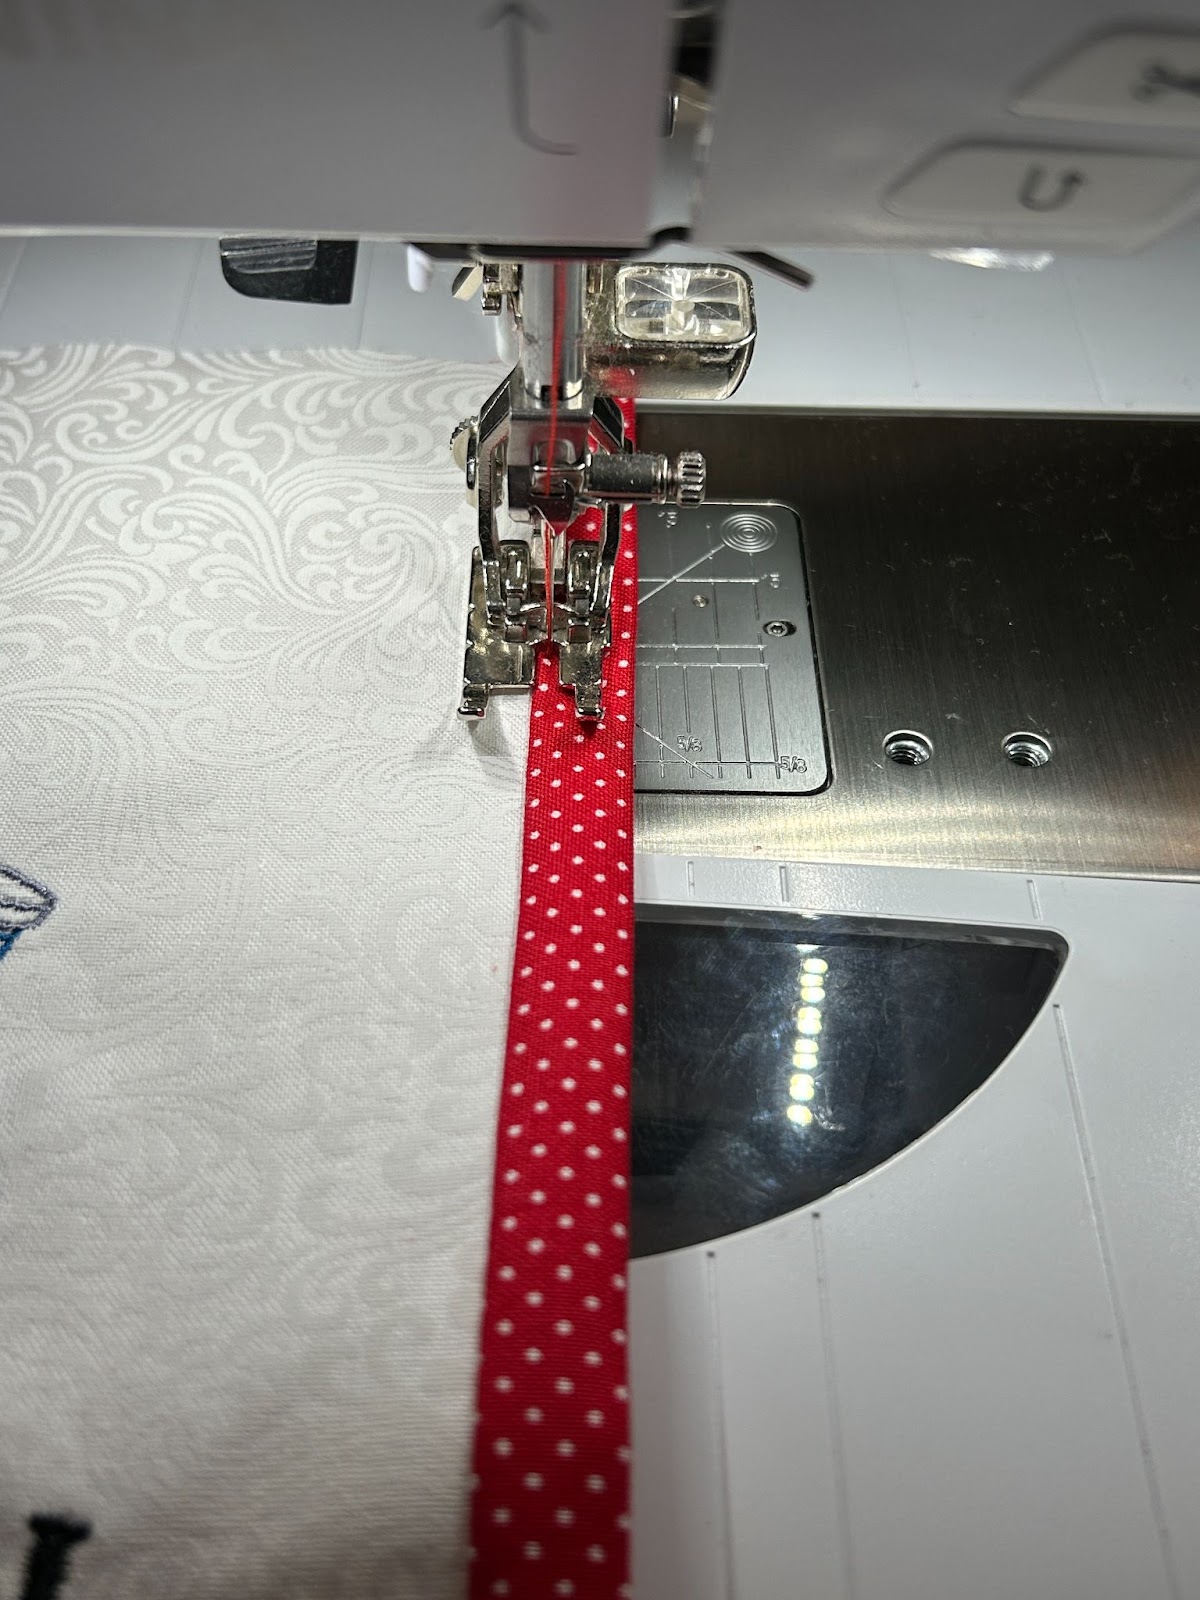
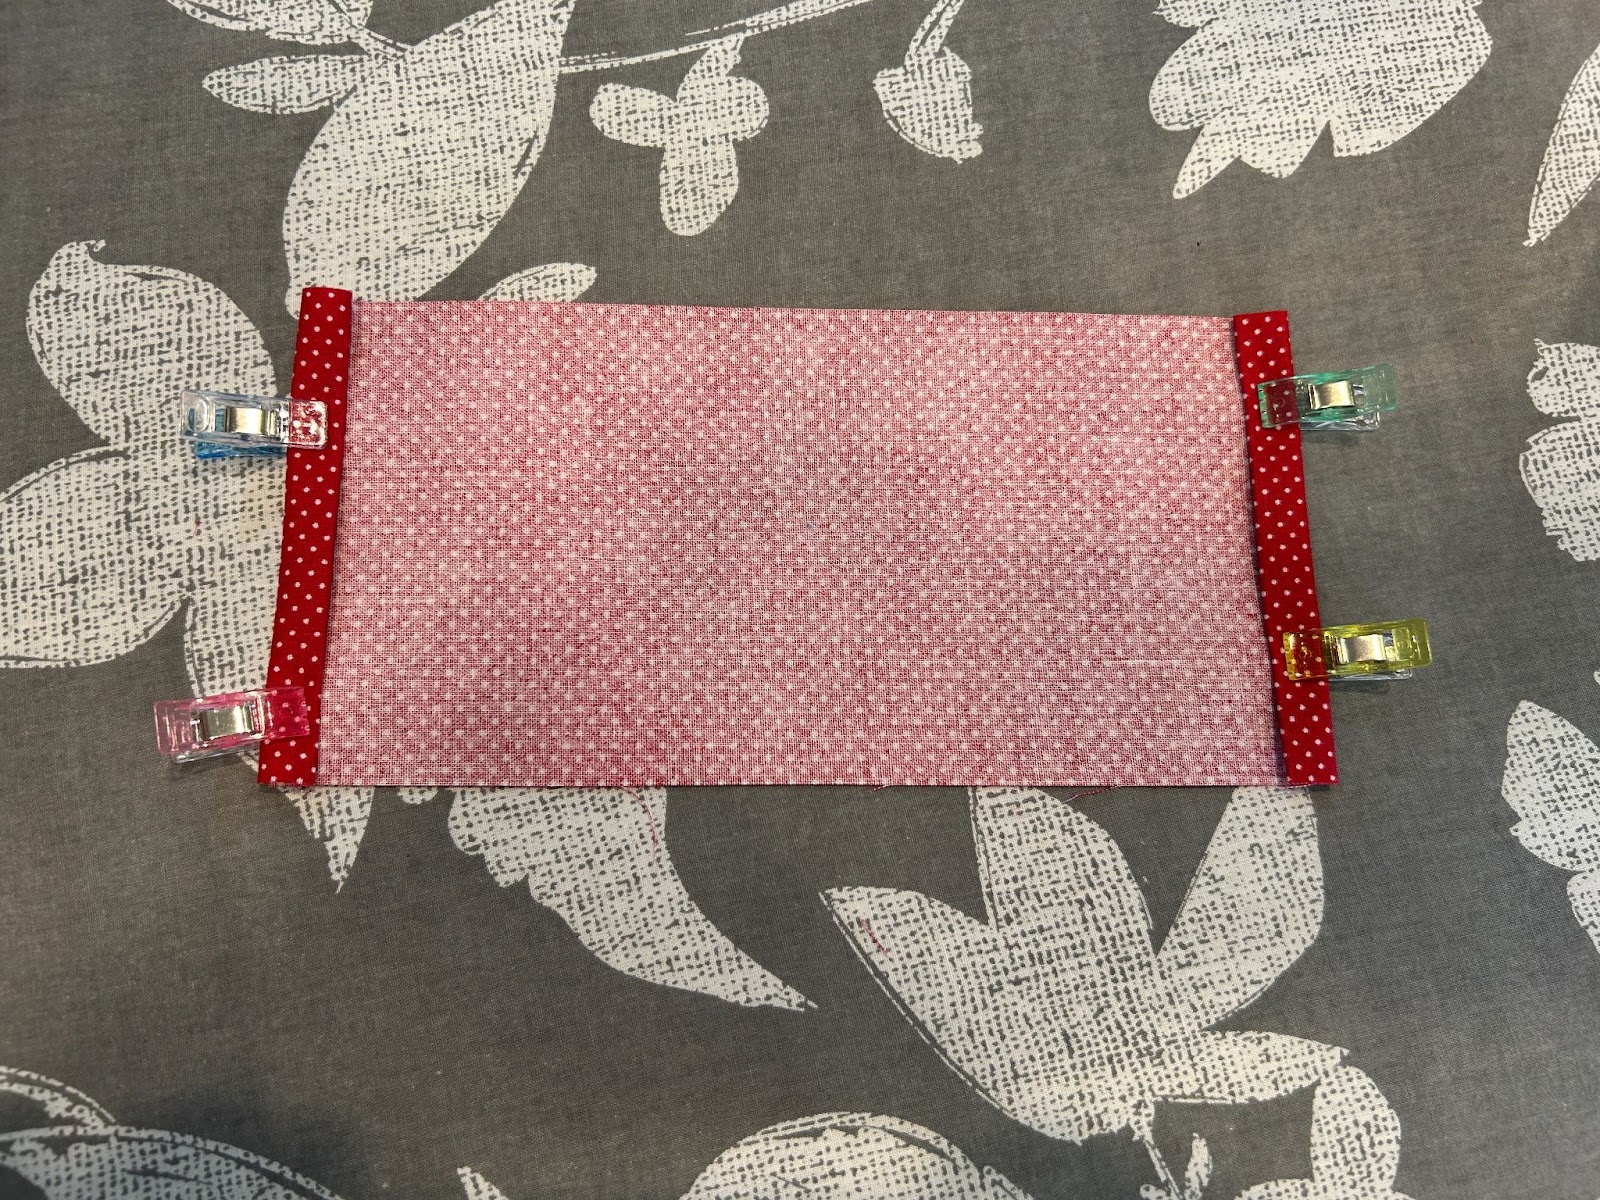
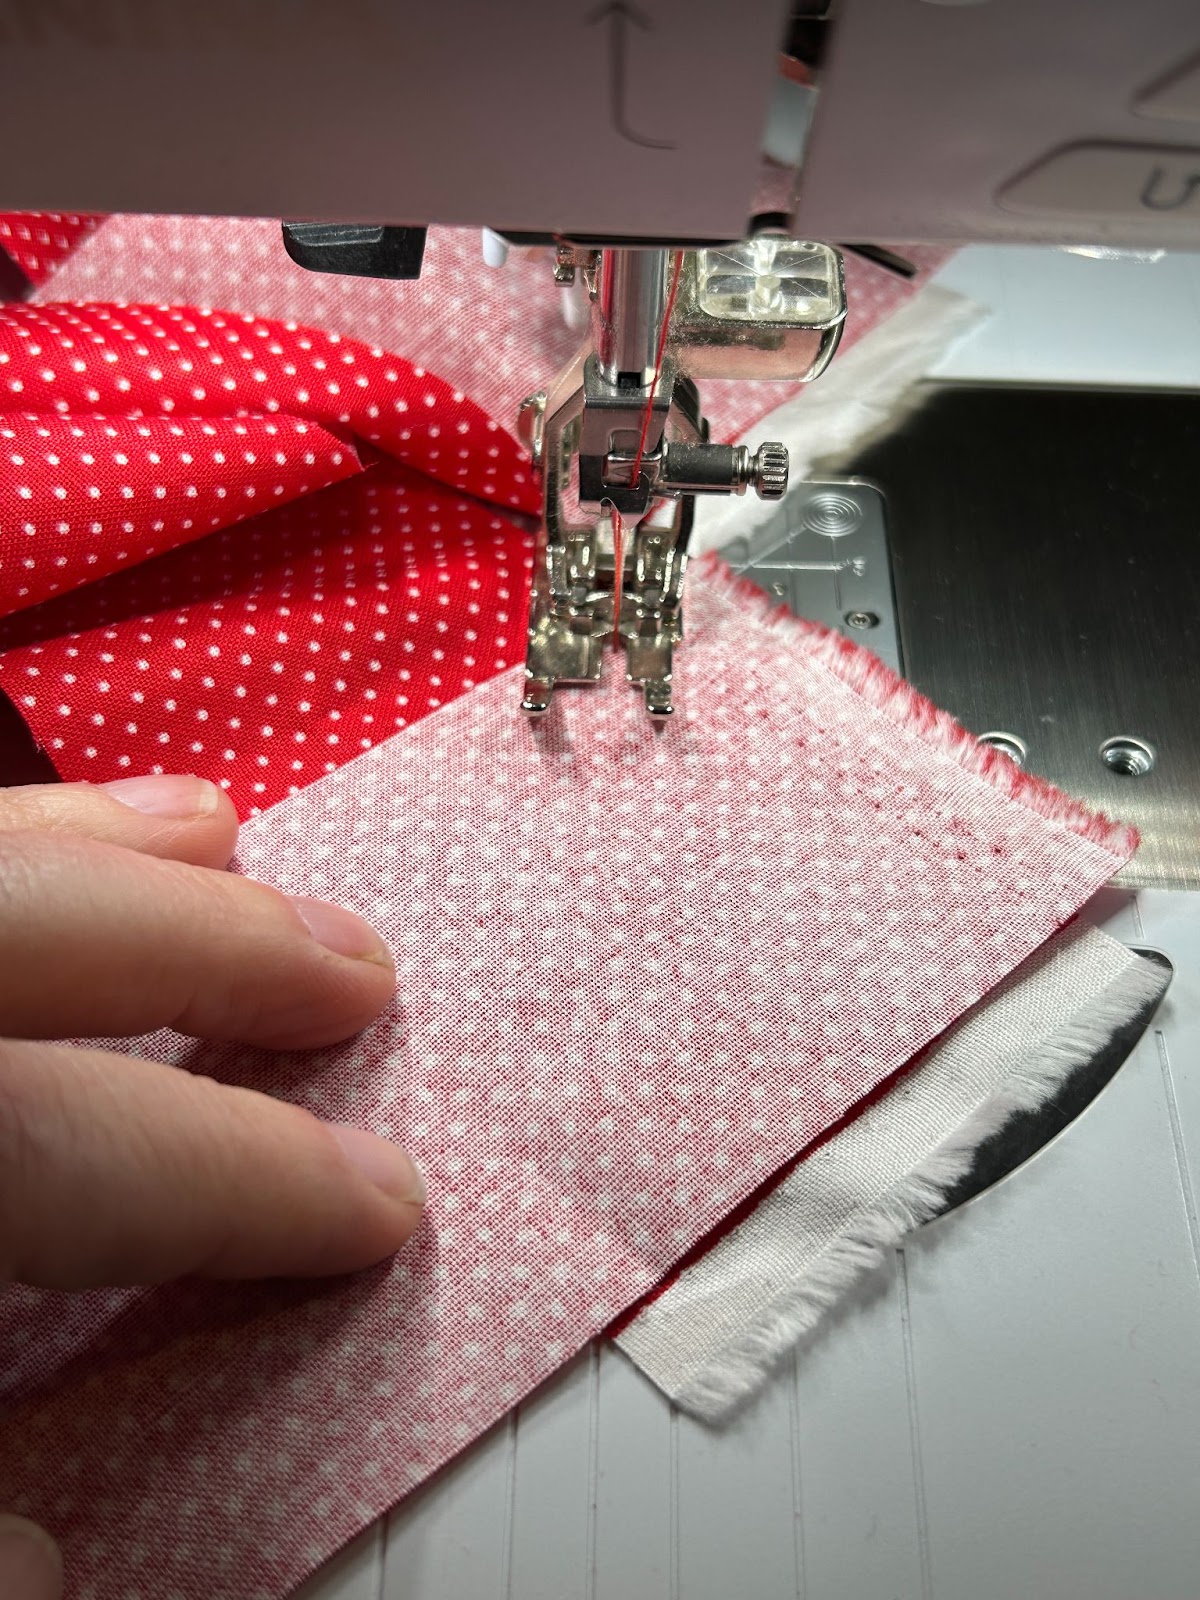
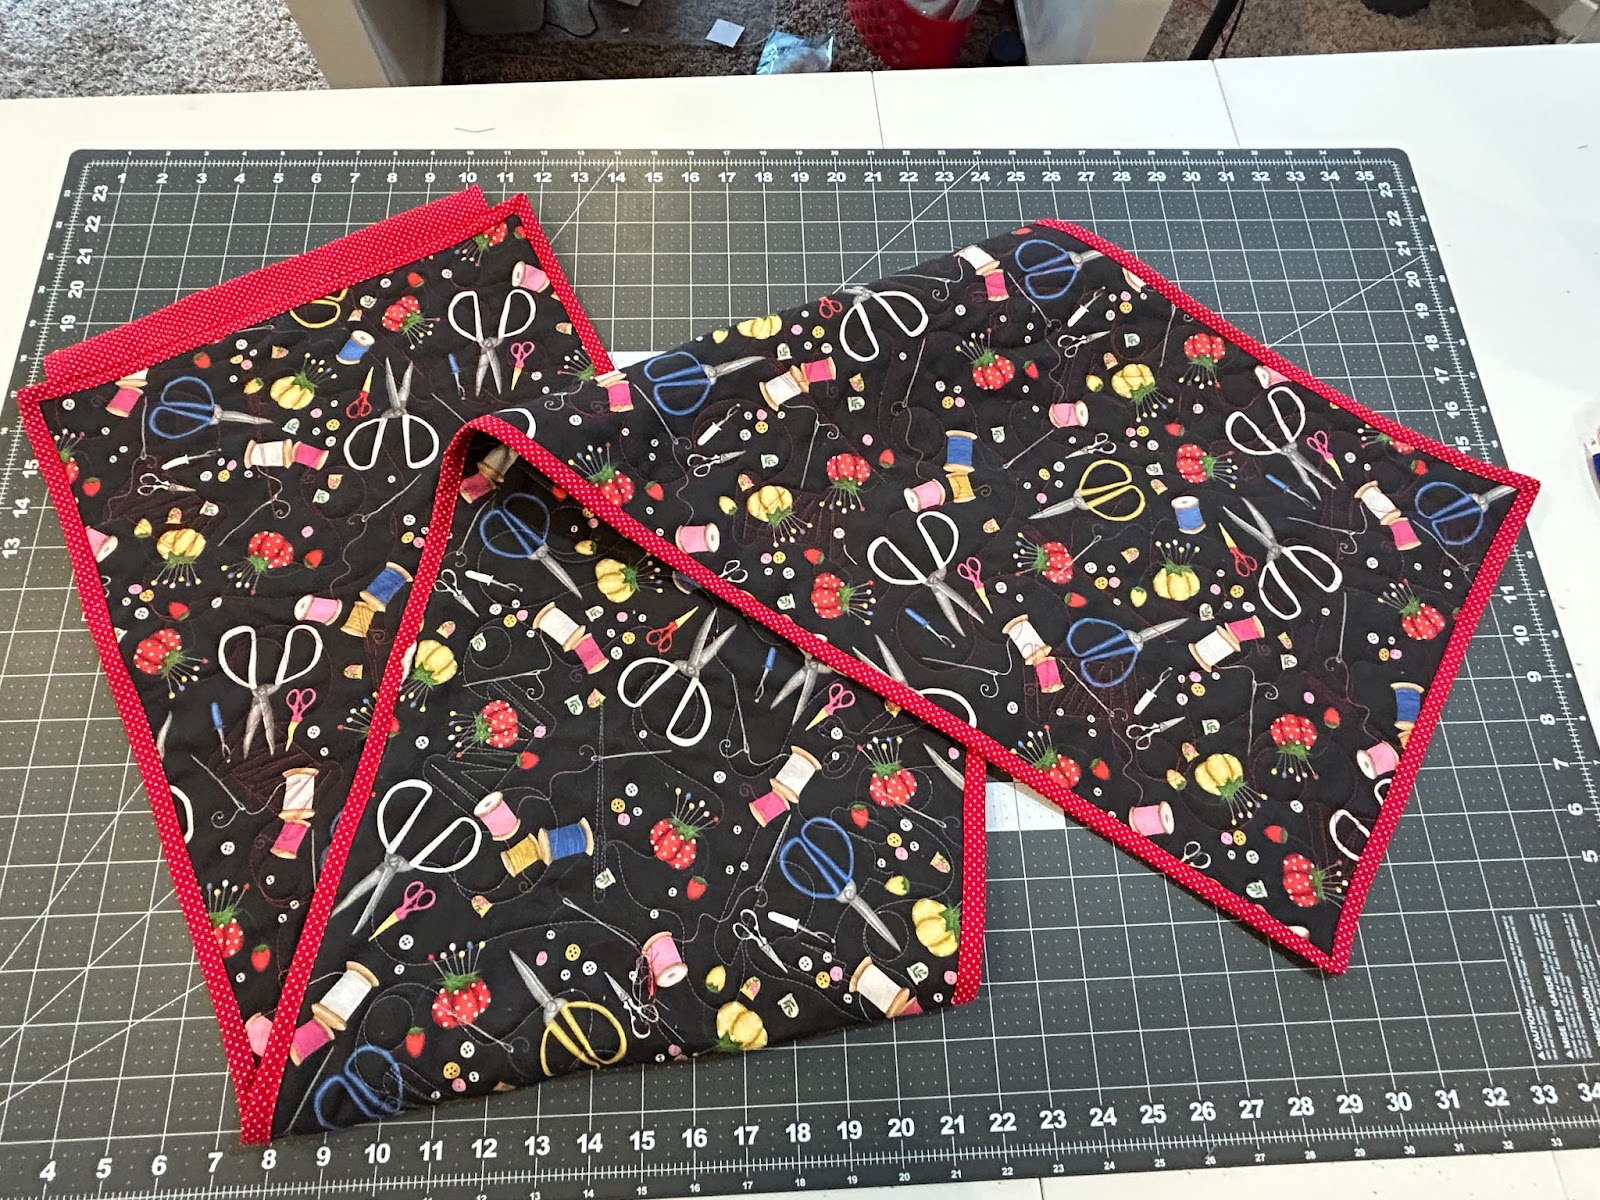
Now let’s finish the pockets and top label. We will take one 10” x 19½” binding piece and place it on our table right side up.
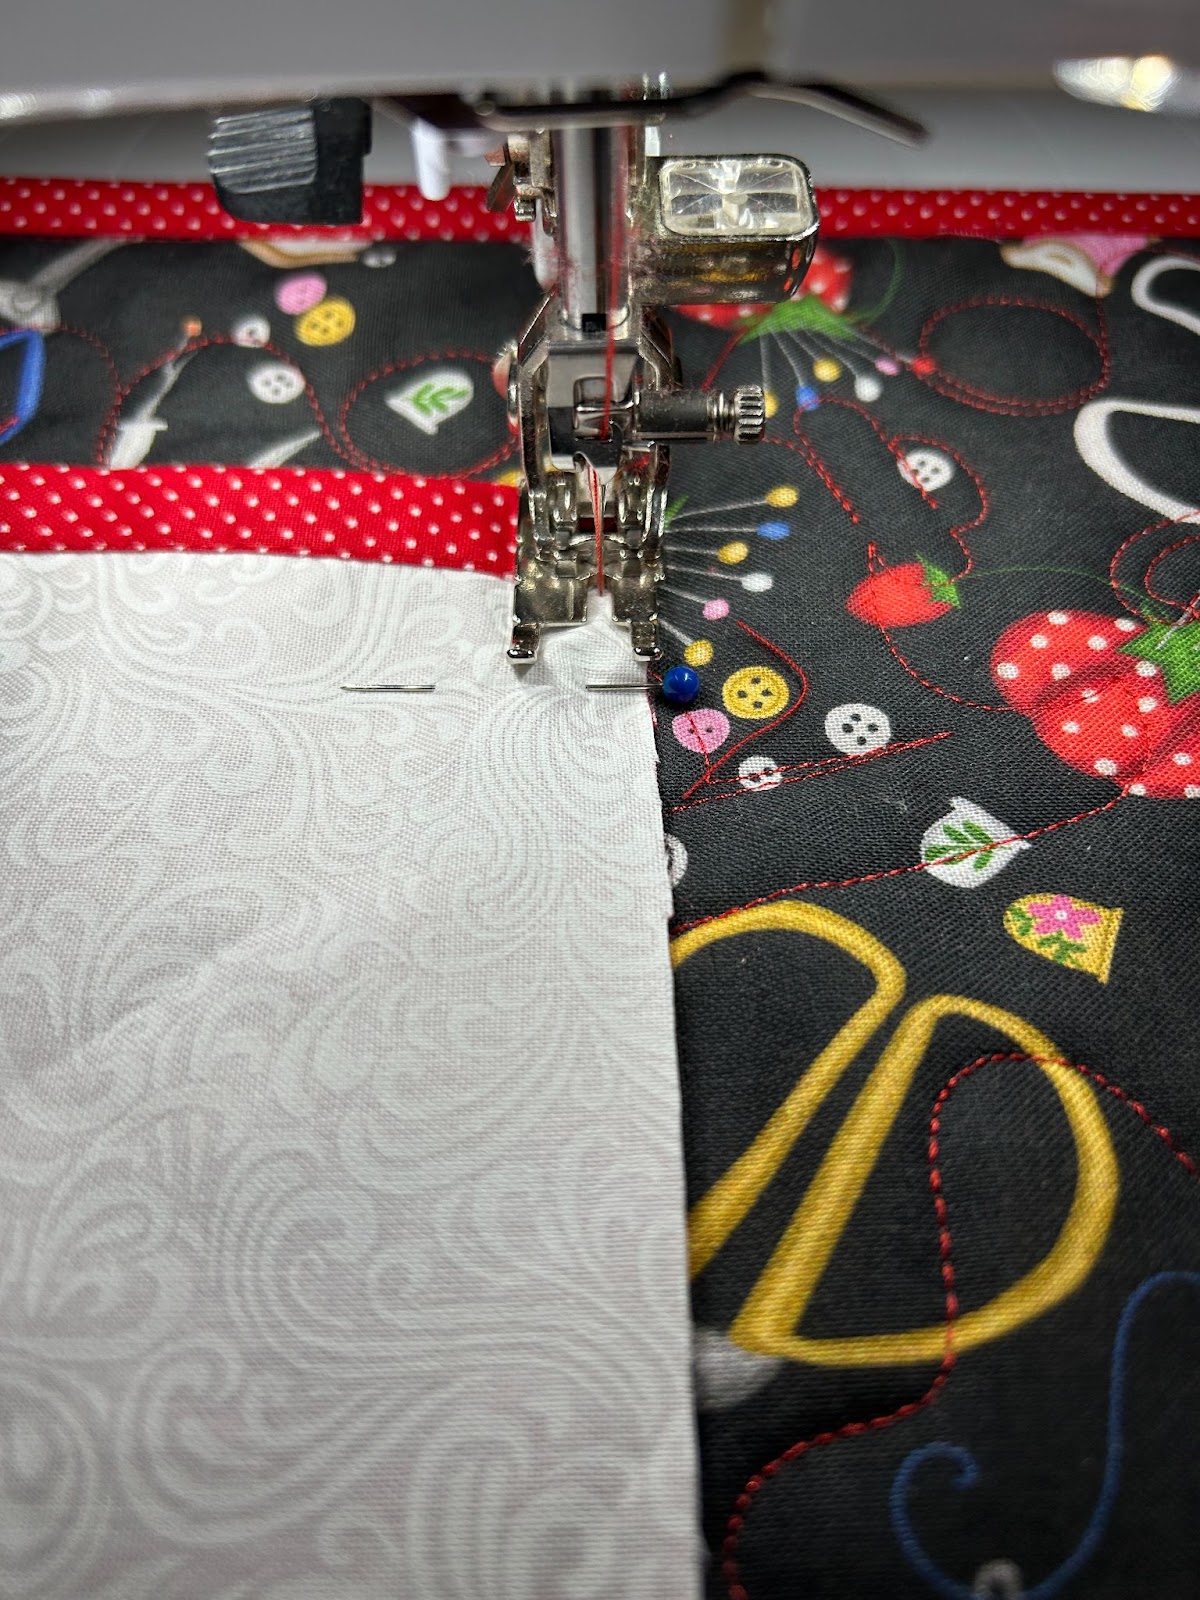
Line up your pocket front face down on the binding fabric, matching the right raw edges, and pin or clip them.
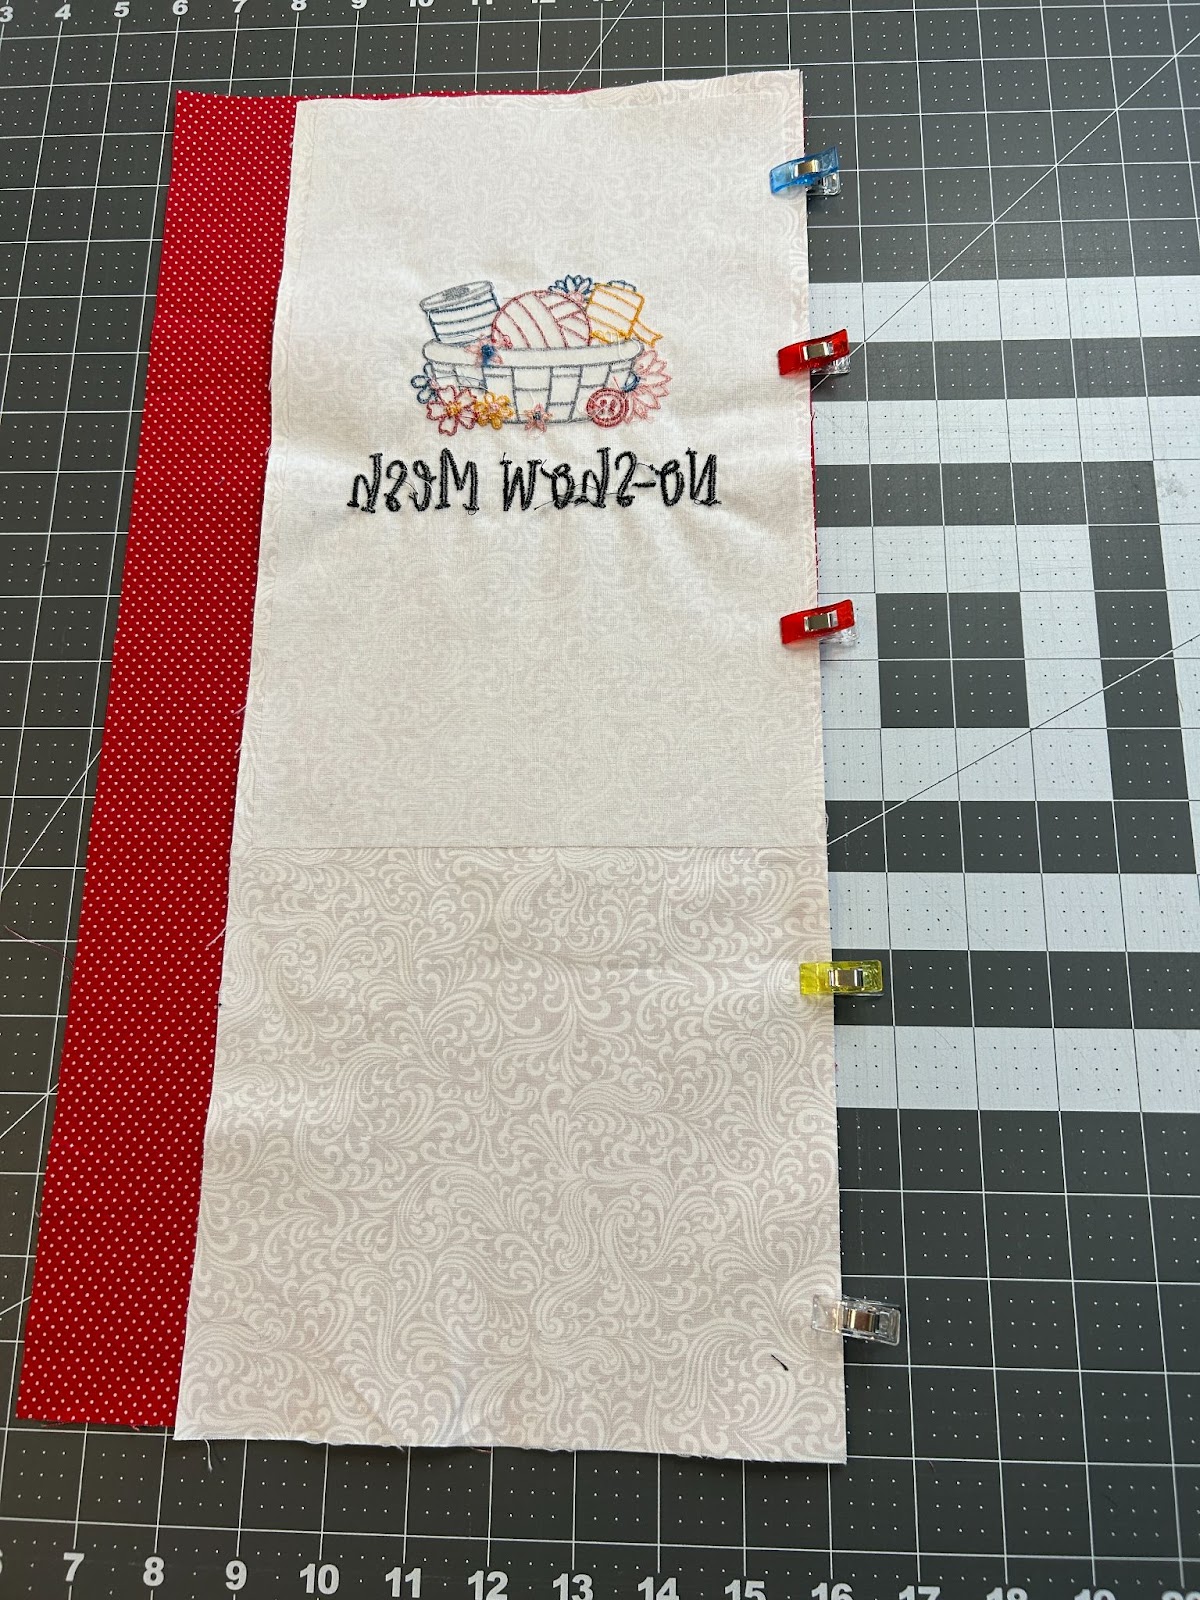
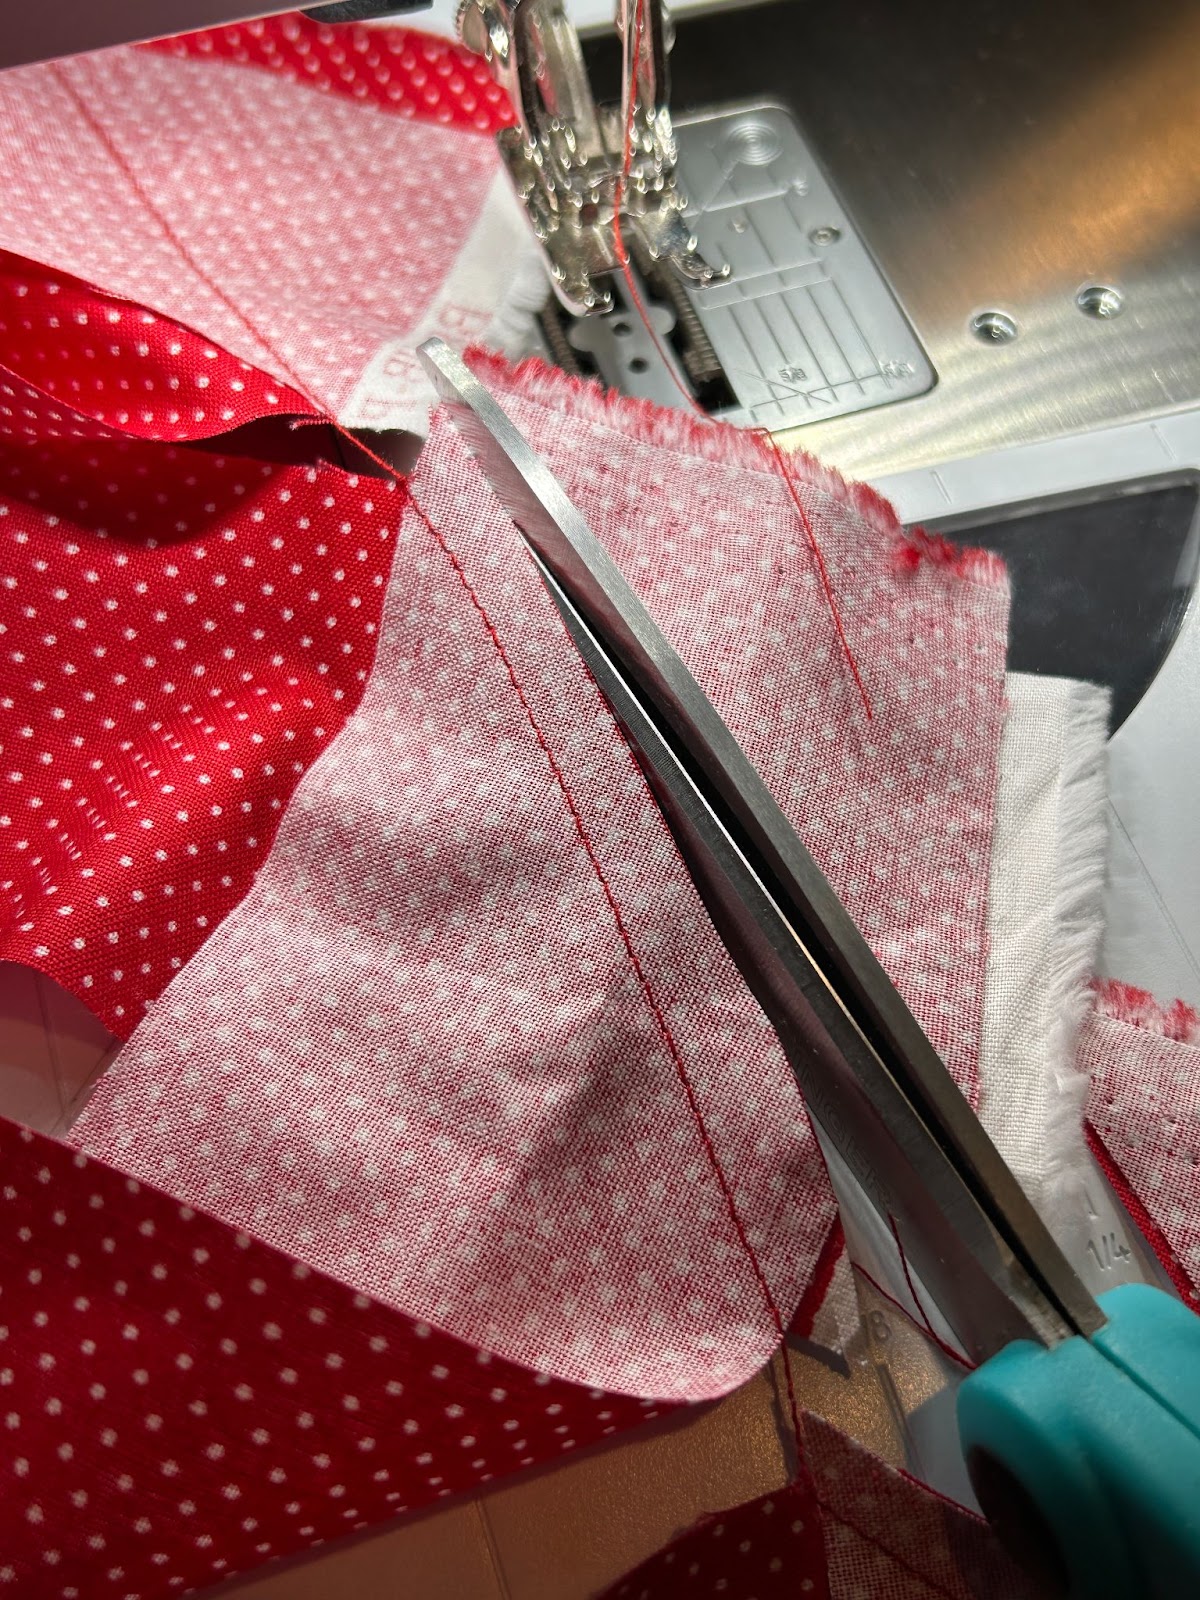
Stitch them together using a seam allowance between ¼” and ⅜”.

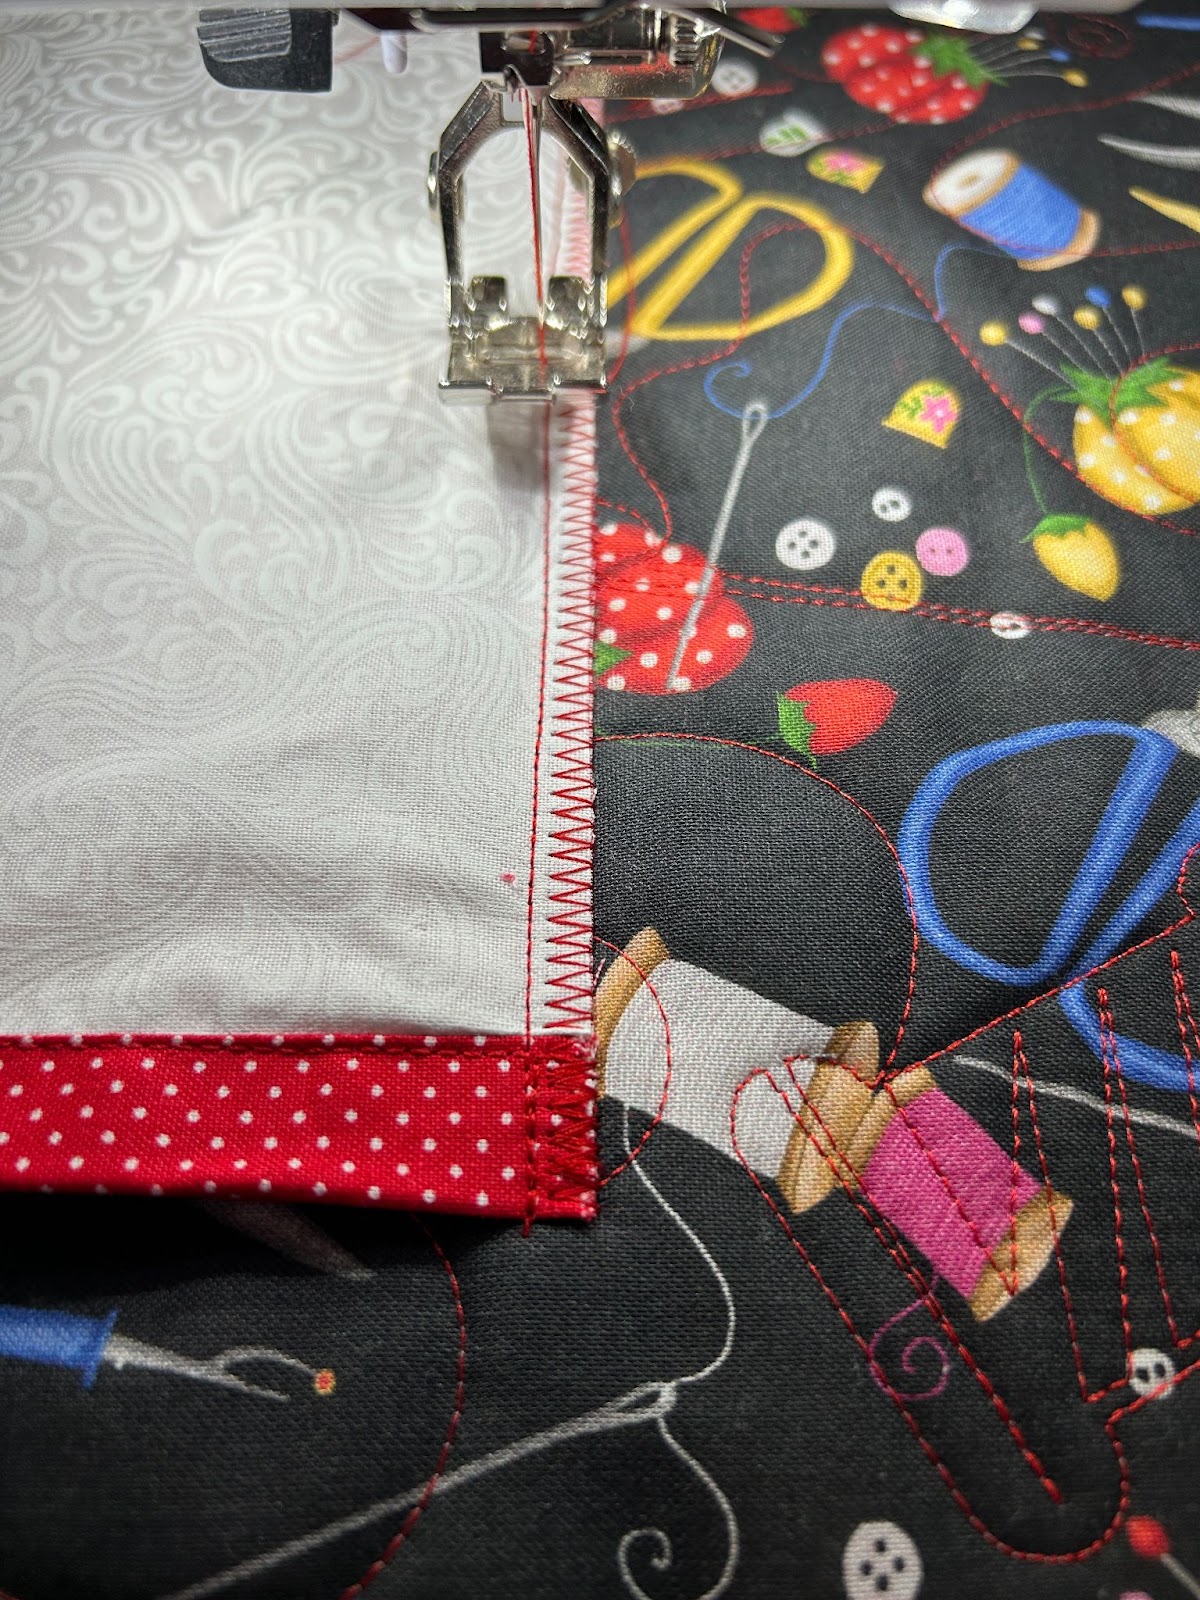
After finishing that seam, come back to your table and now line up the left sides. Clip or pin them and sew like we did the other side.
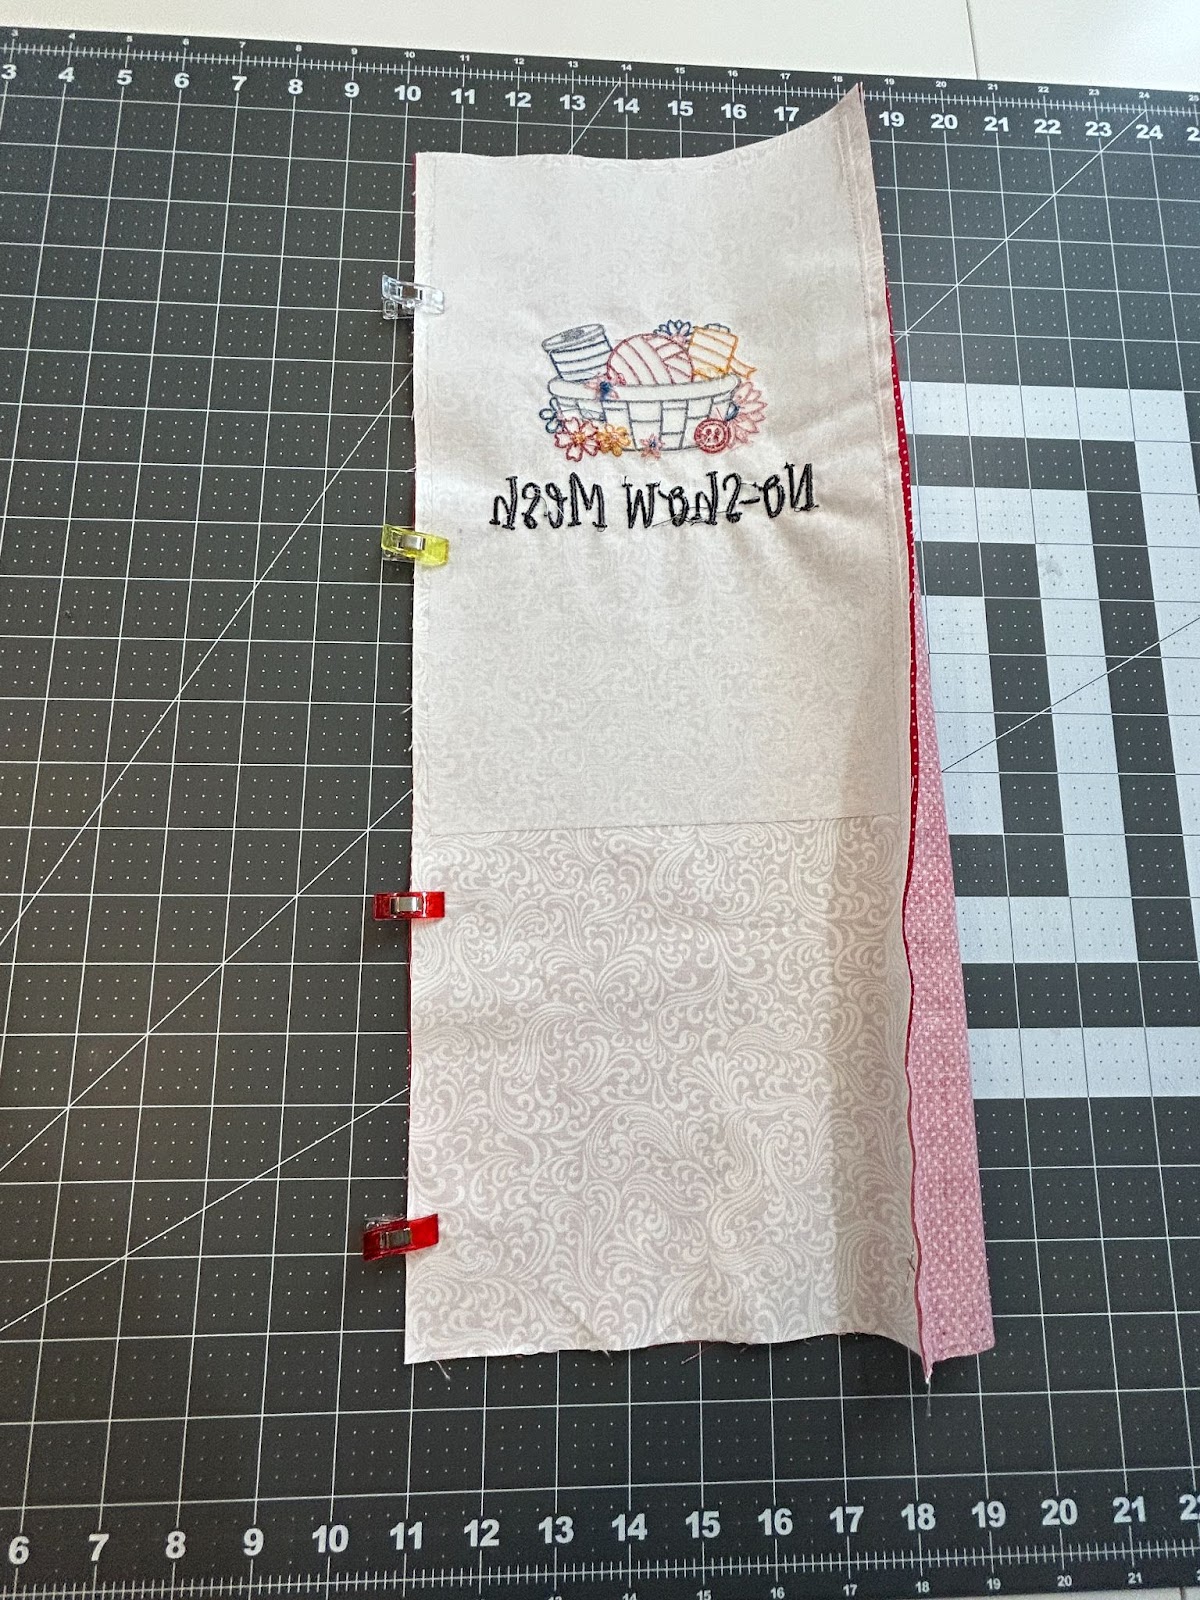
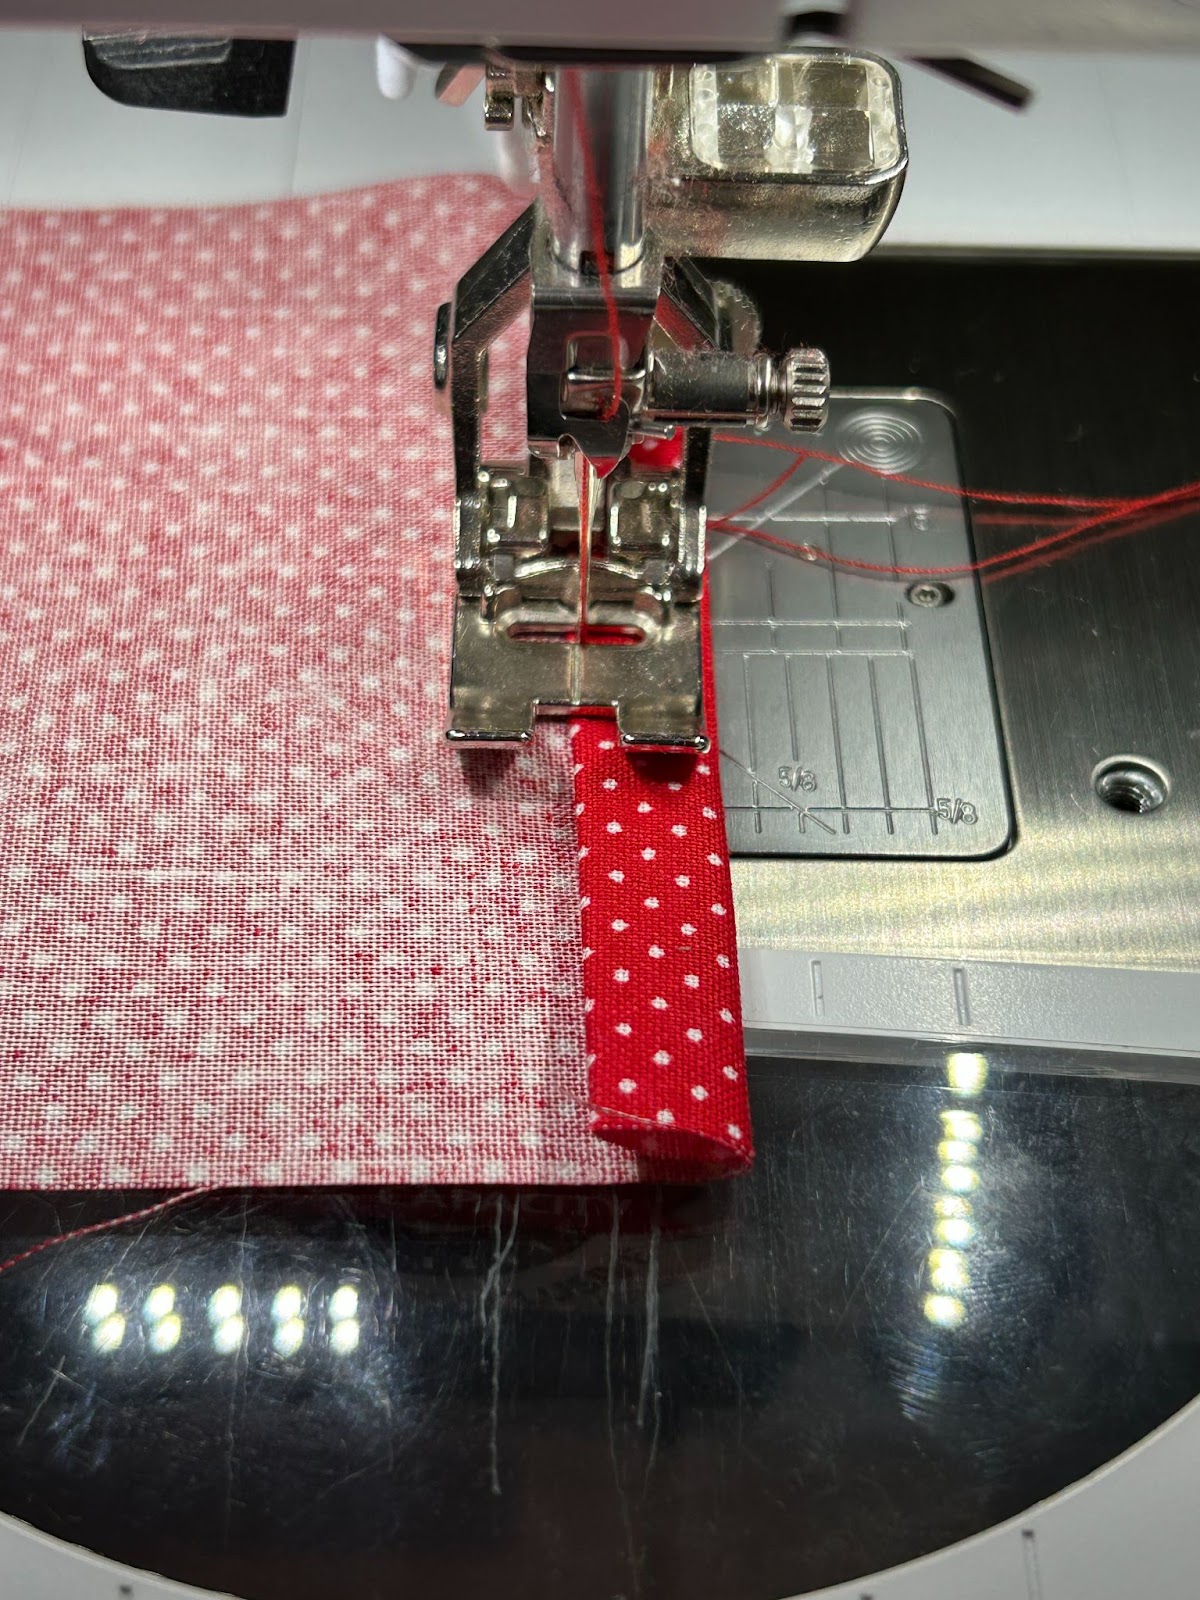
Once both edges are sewn, we will turn it right side out.

We will center the pocket front in between the two edges.
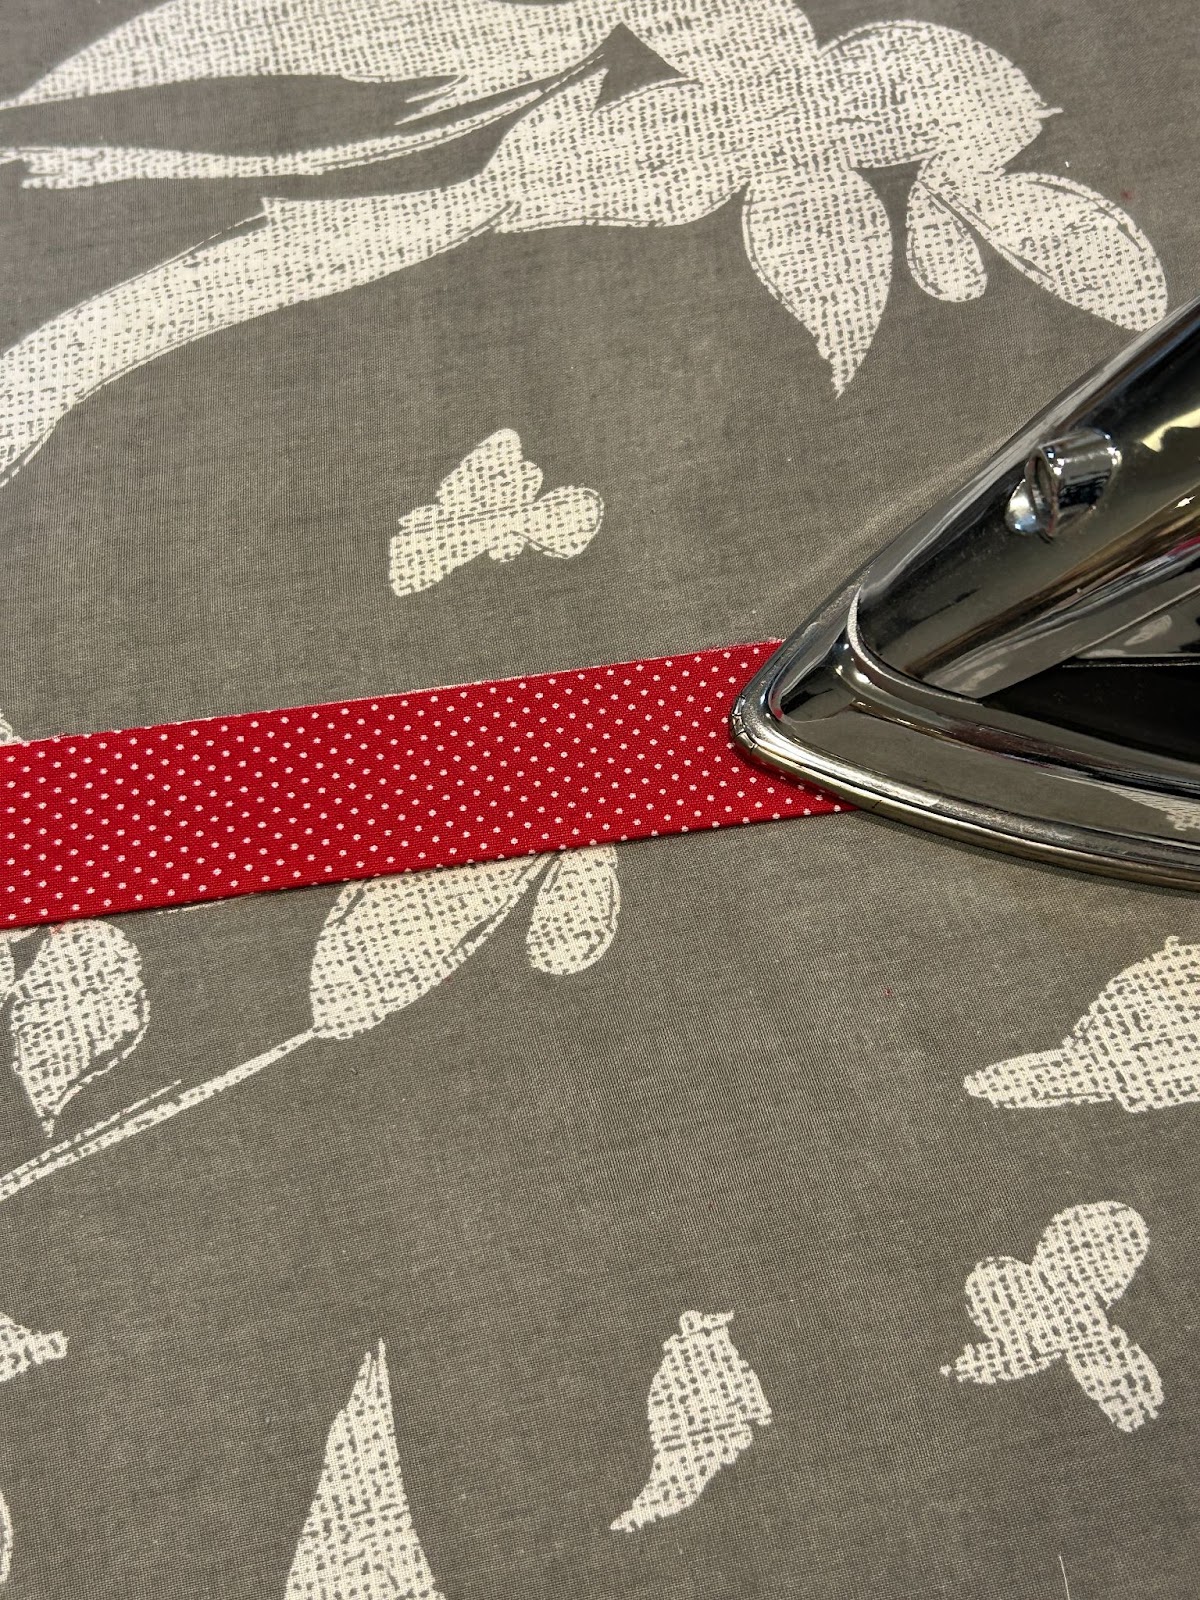
Then press the edges to hold in place.
Now we will topstitch along the seam. I used a matching thread for the binding and stitched just along the edge.
Repeat for all the pocket fronts.
Your pockets are finished and you can set them aside.
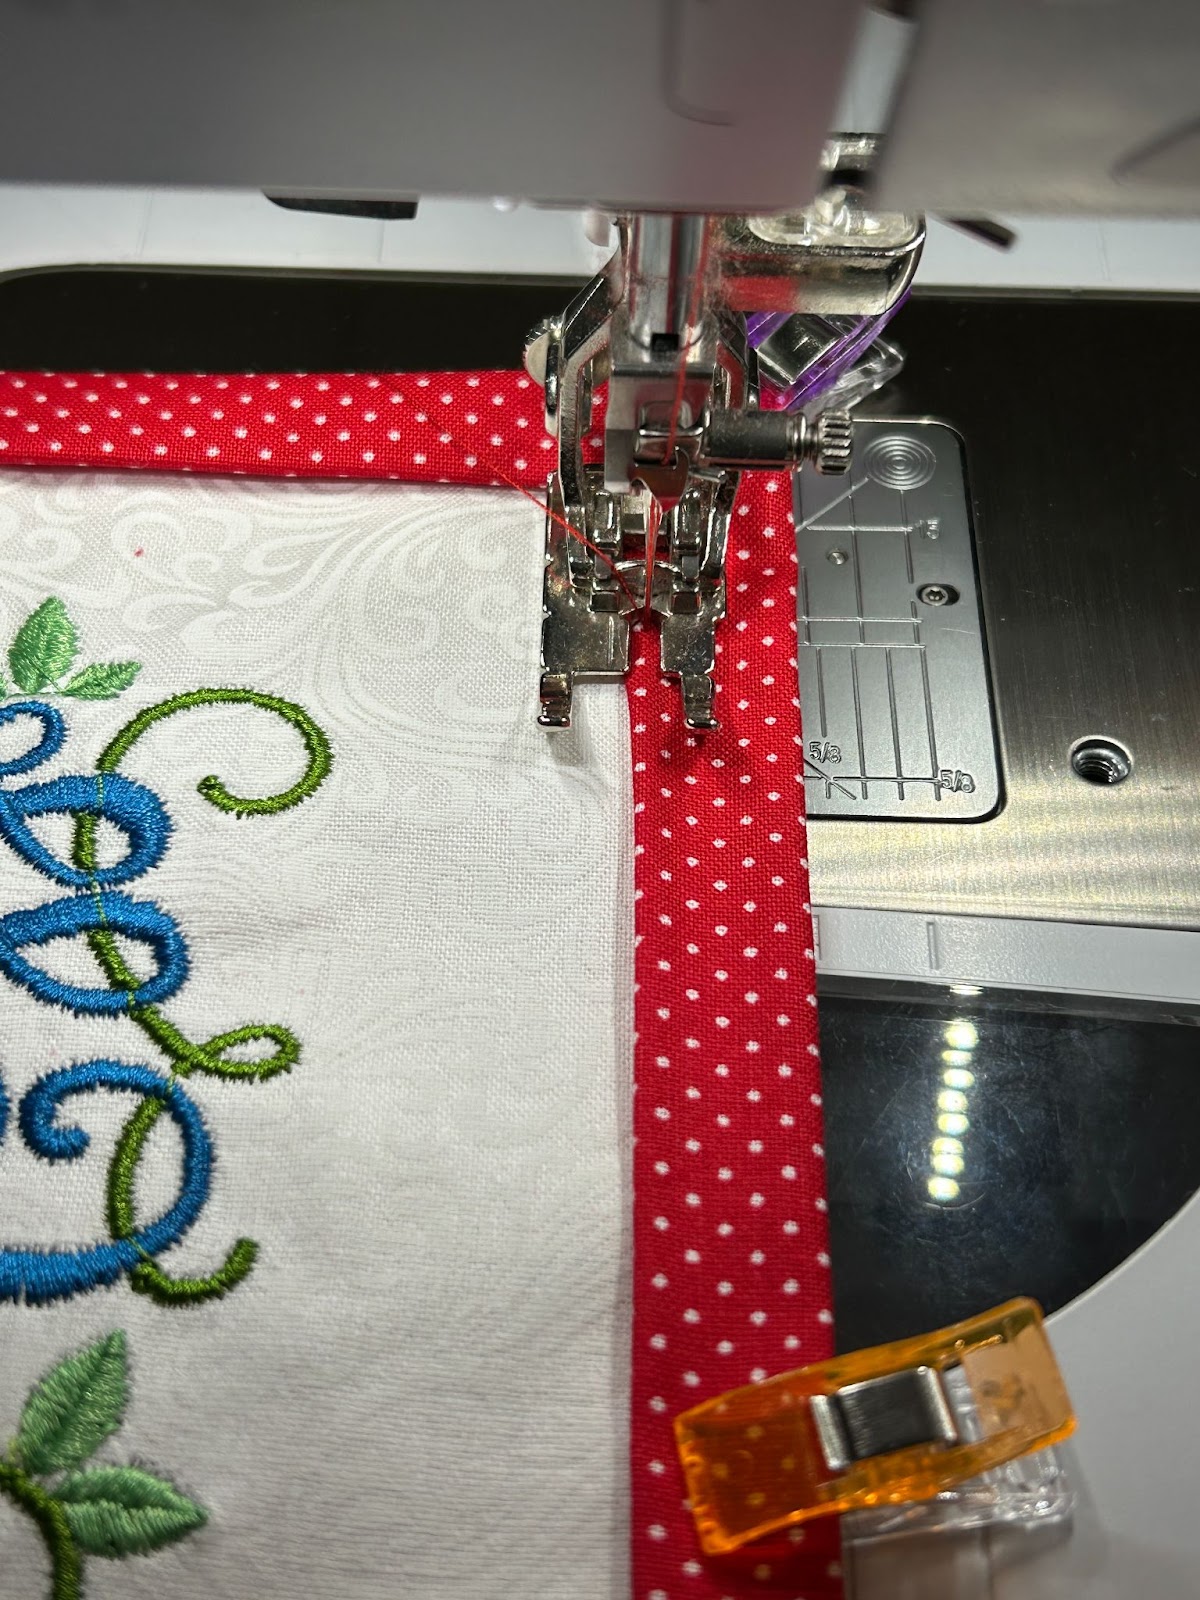
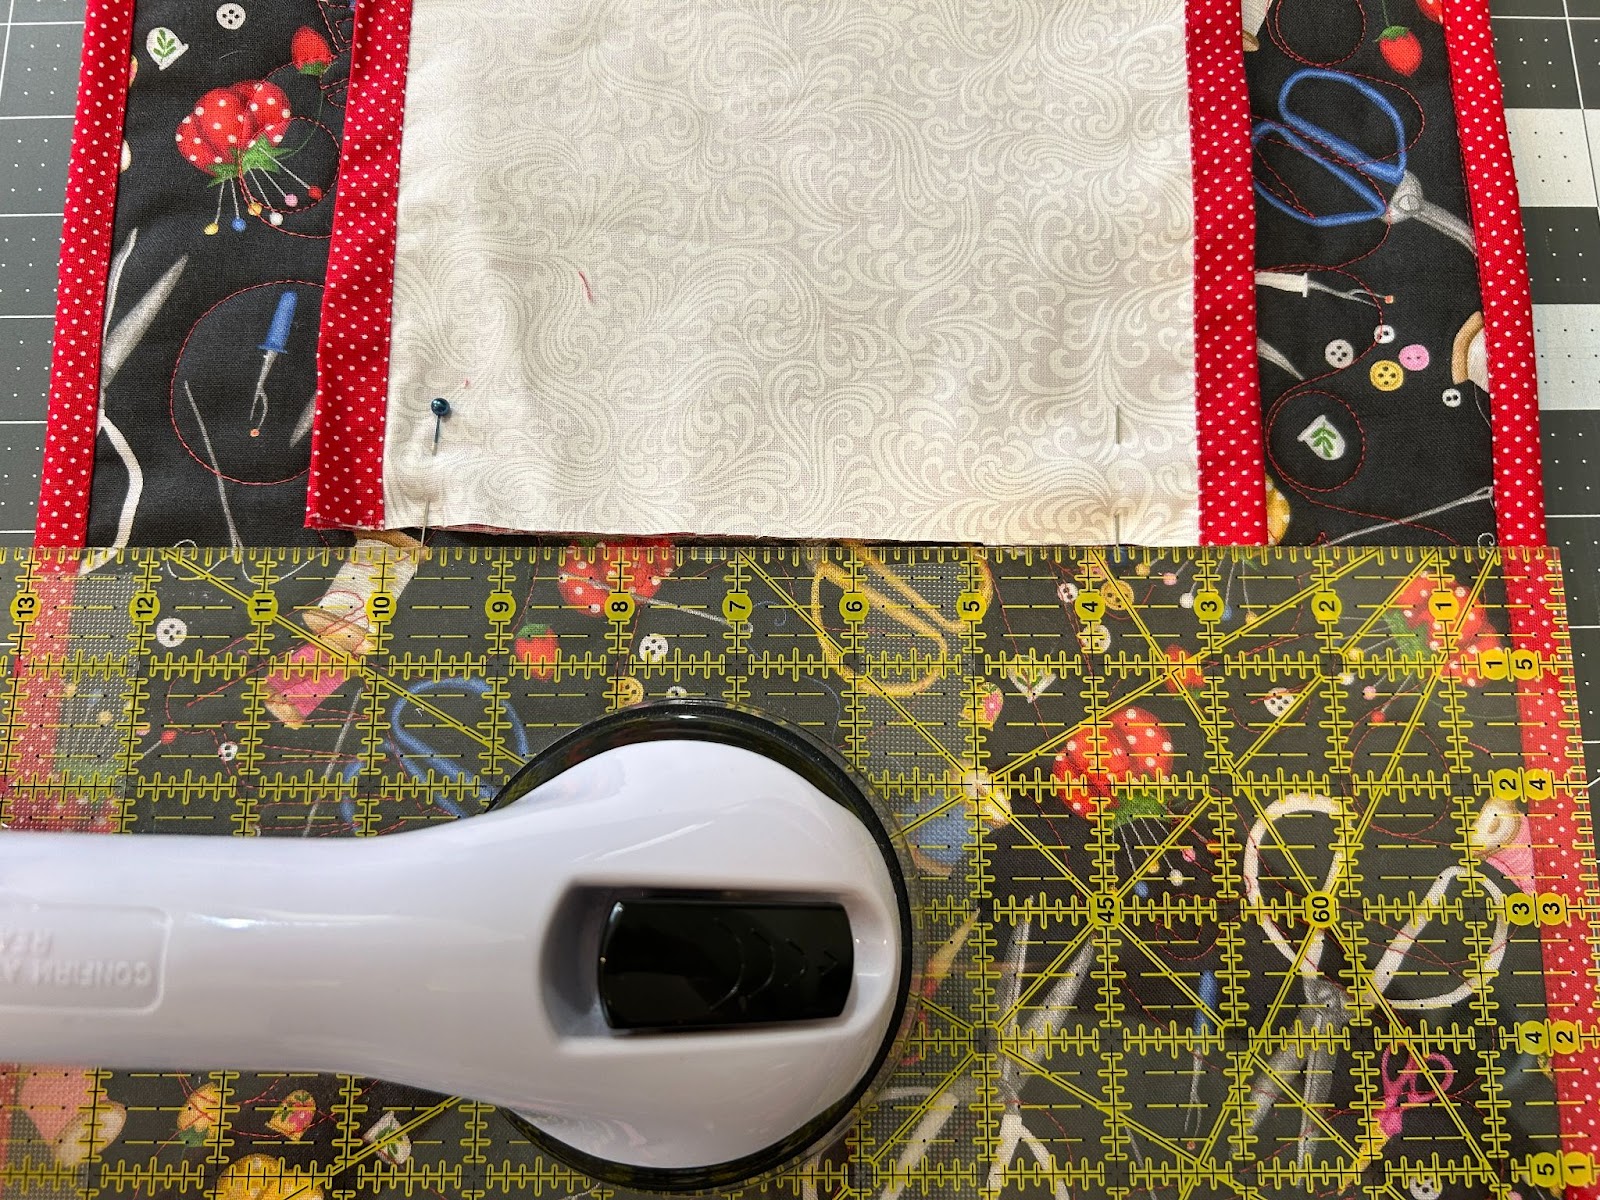
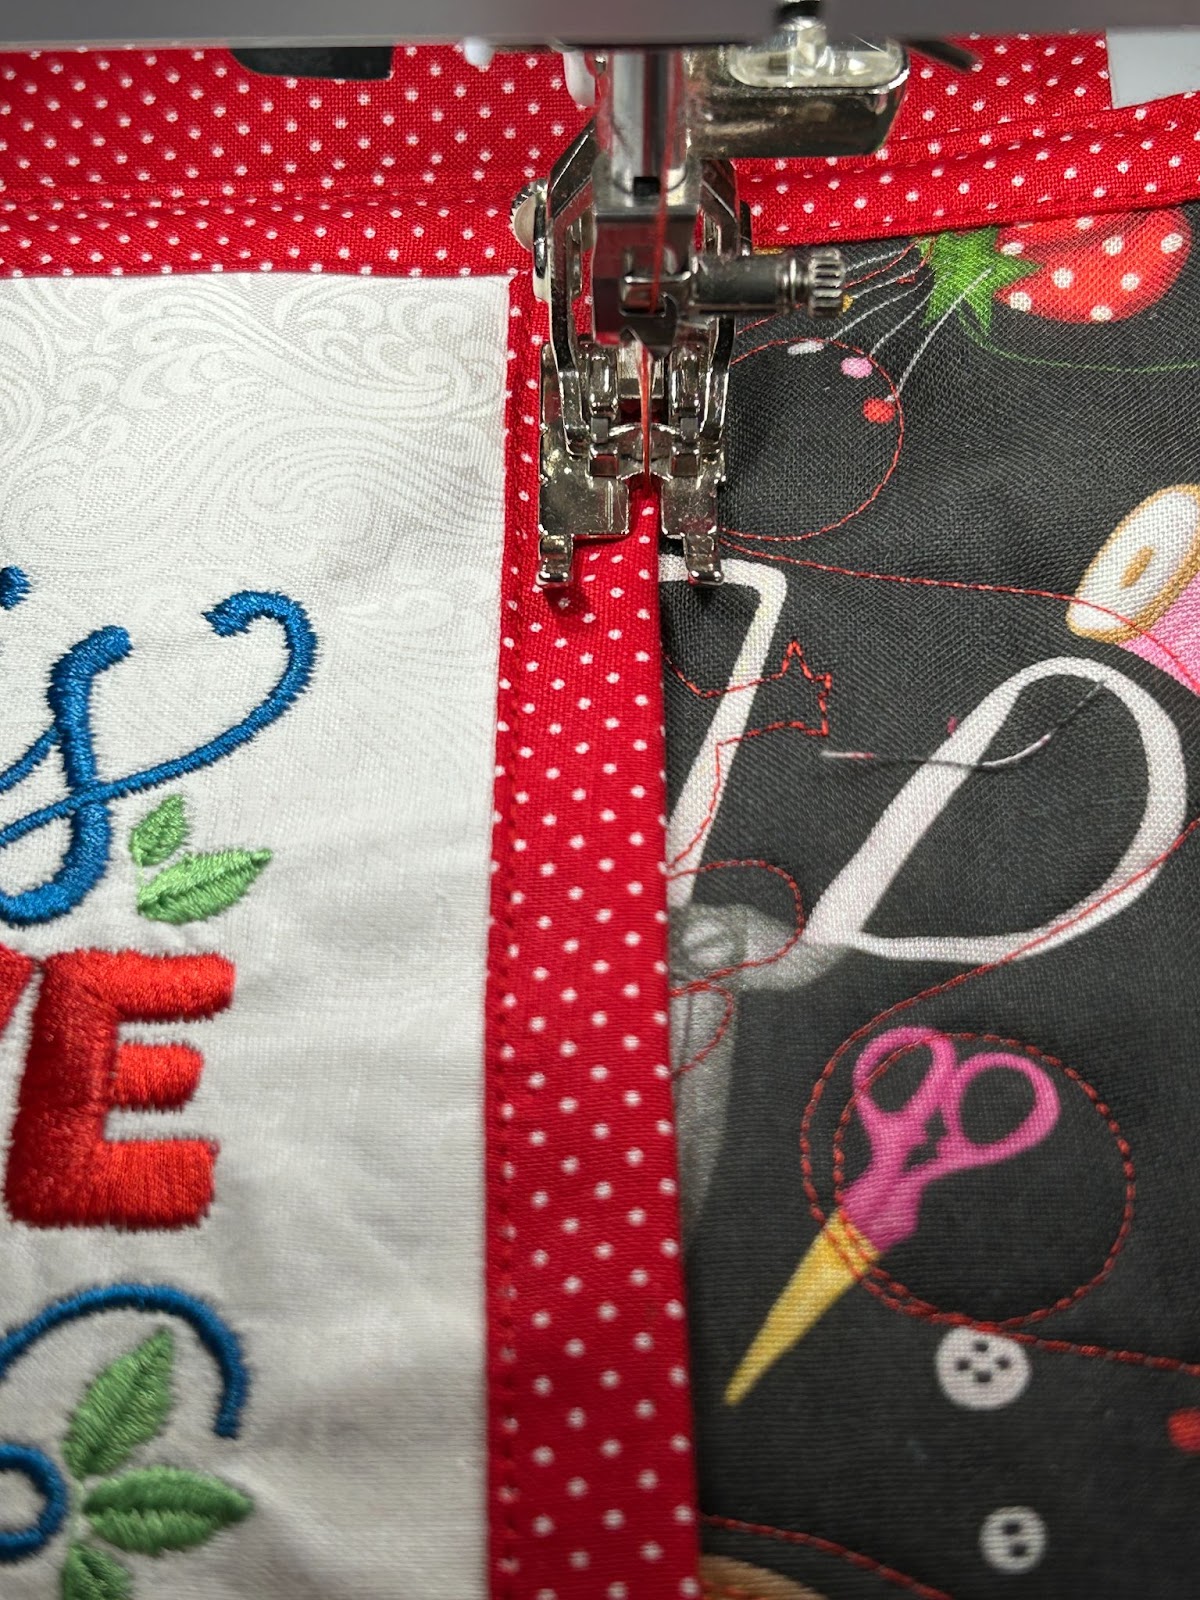
Next we will work on the top label. Center the embroidered label on the backing fabric with wrong sides together.
We will now use the backing to bind the label. Check out this post on binding basics. Fold the backing edge to the raw edge of the label and then fold it over again. Pin in place.
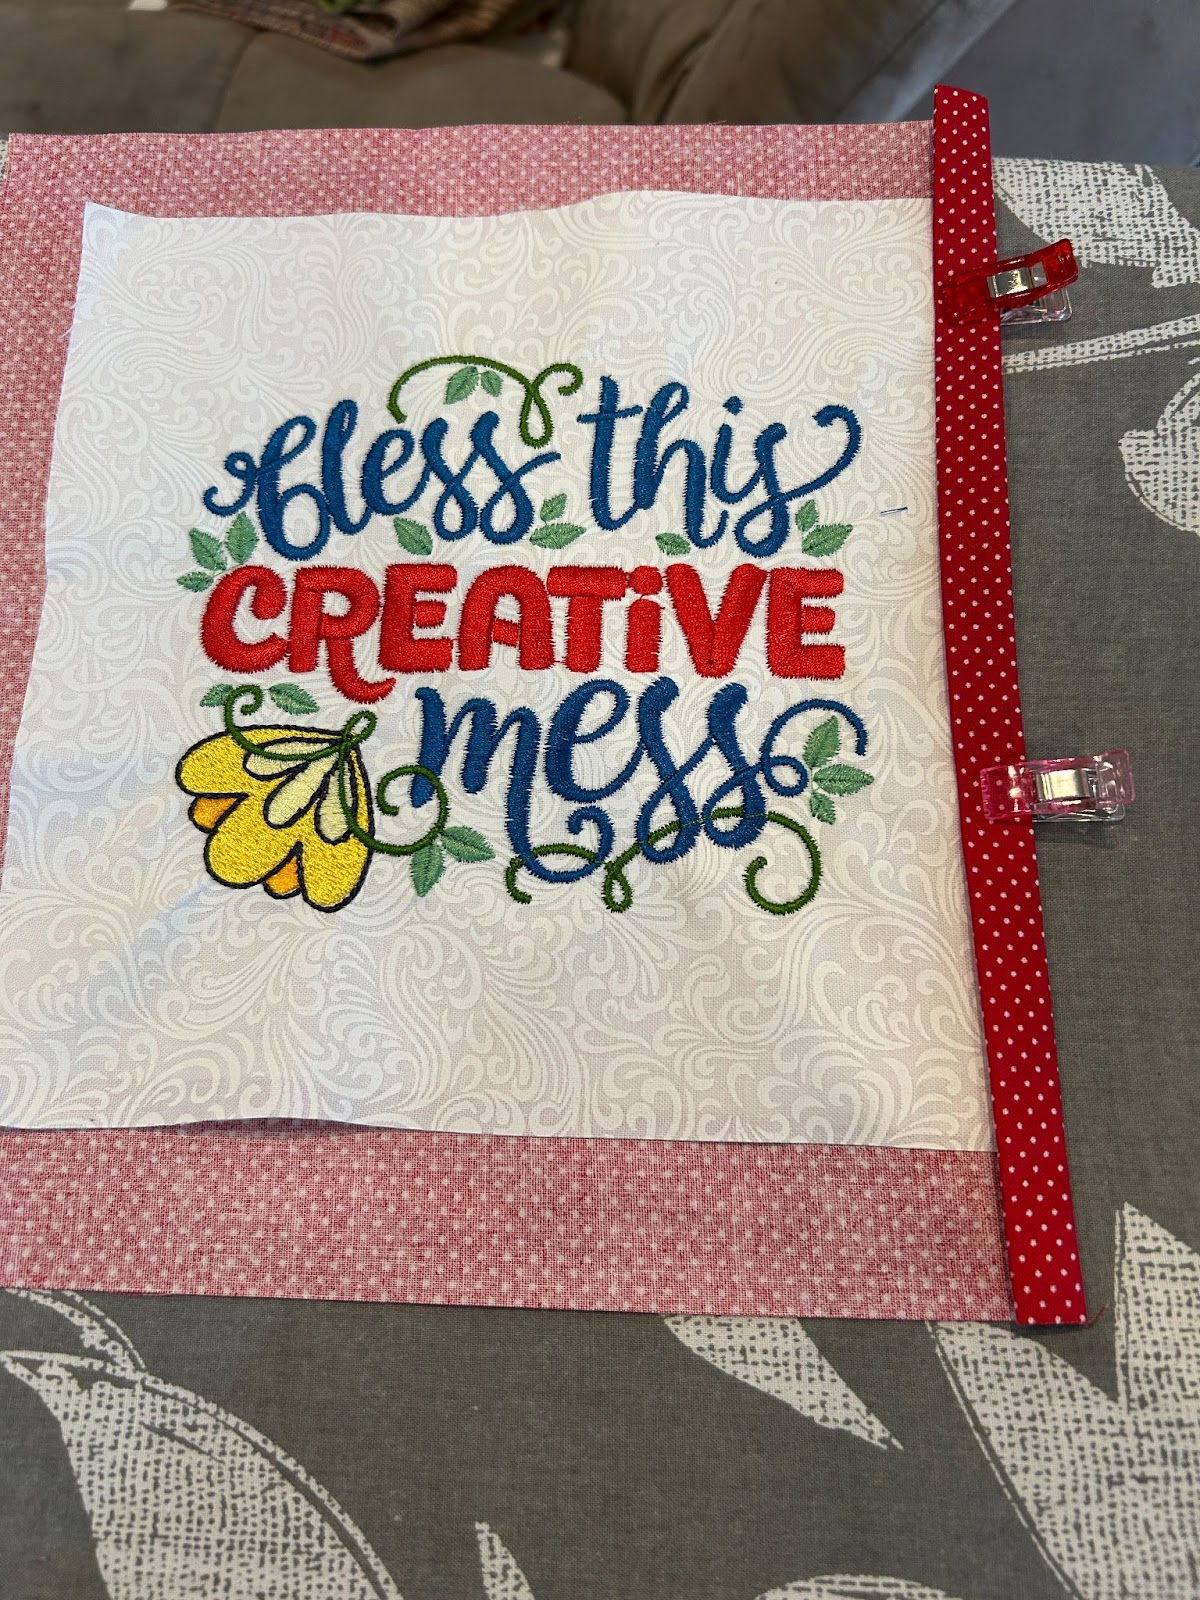
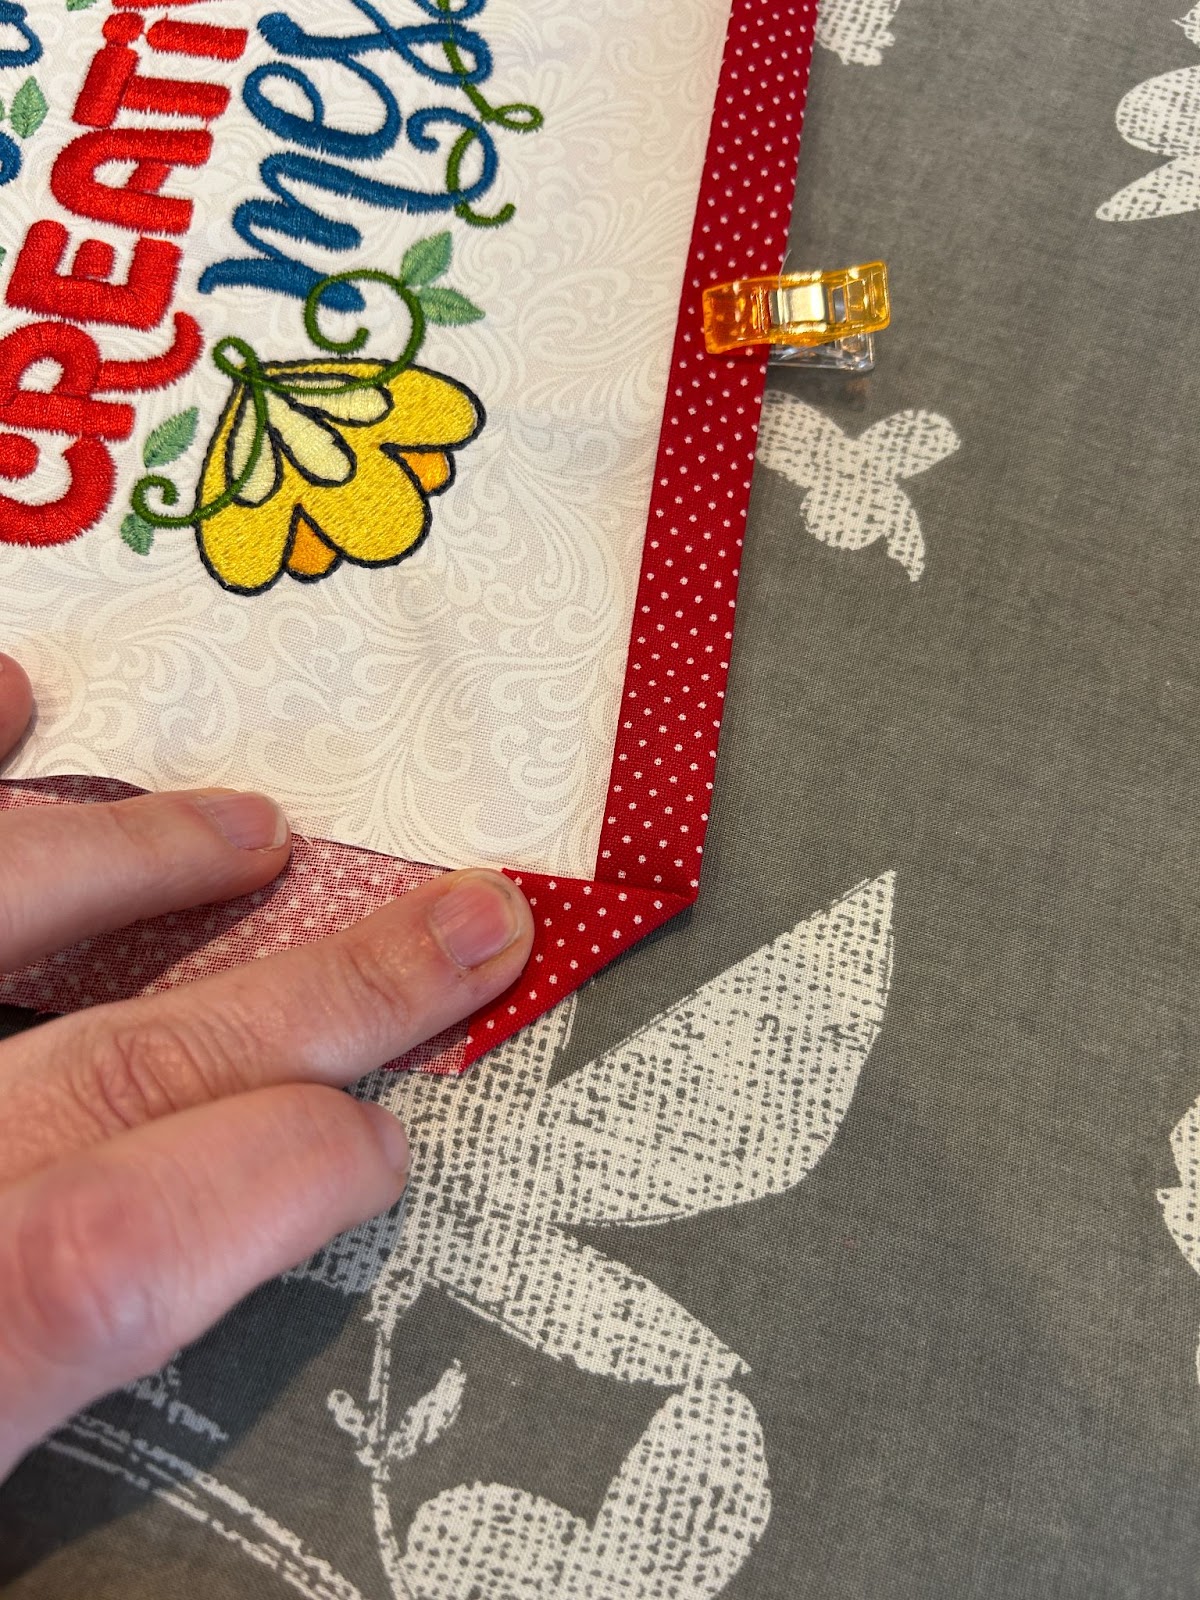
To miter the corner we will fold the corner up to the raw edge before we continue with the folding steps we already did. Continue this for the next four sides. When you get to the last corner, open up the first edge to finish the last miter.
Then we are ready to take it to the machine to topstitch the binding down.
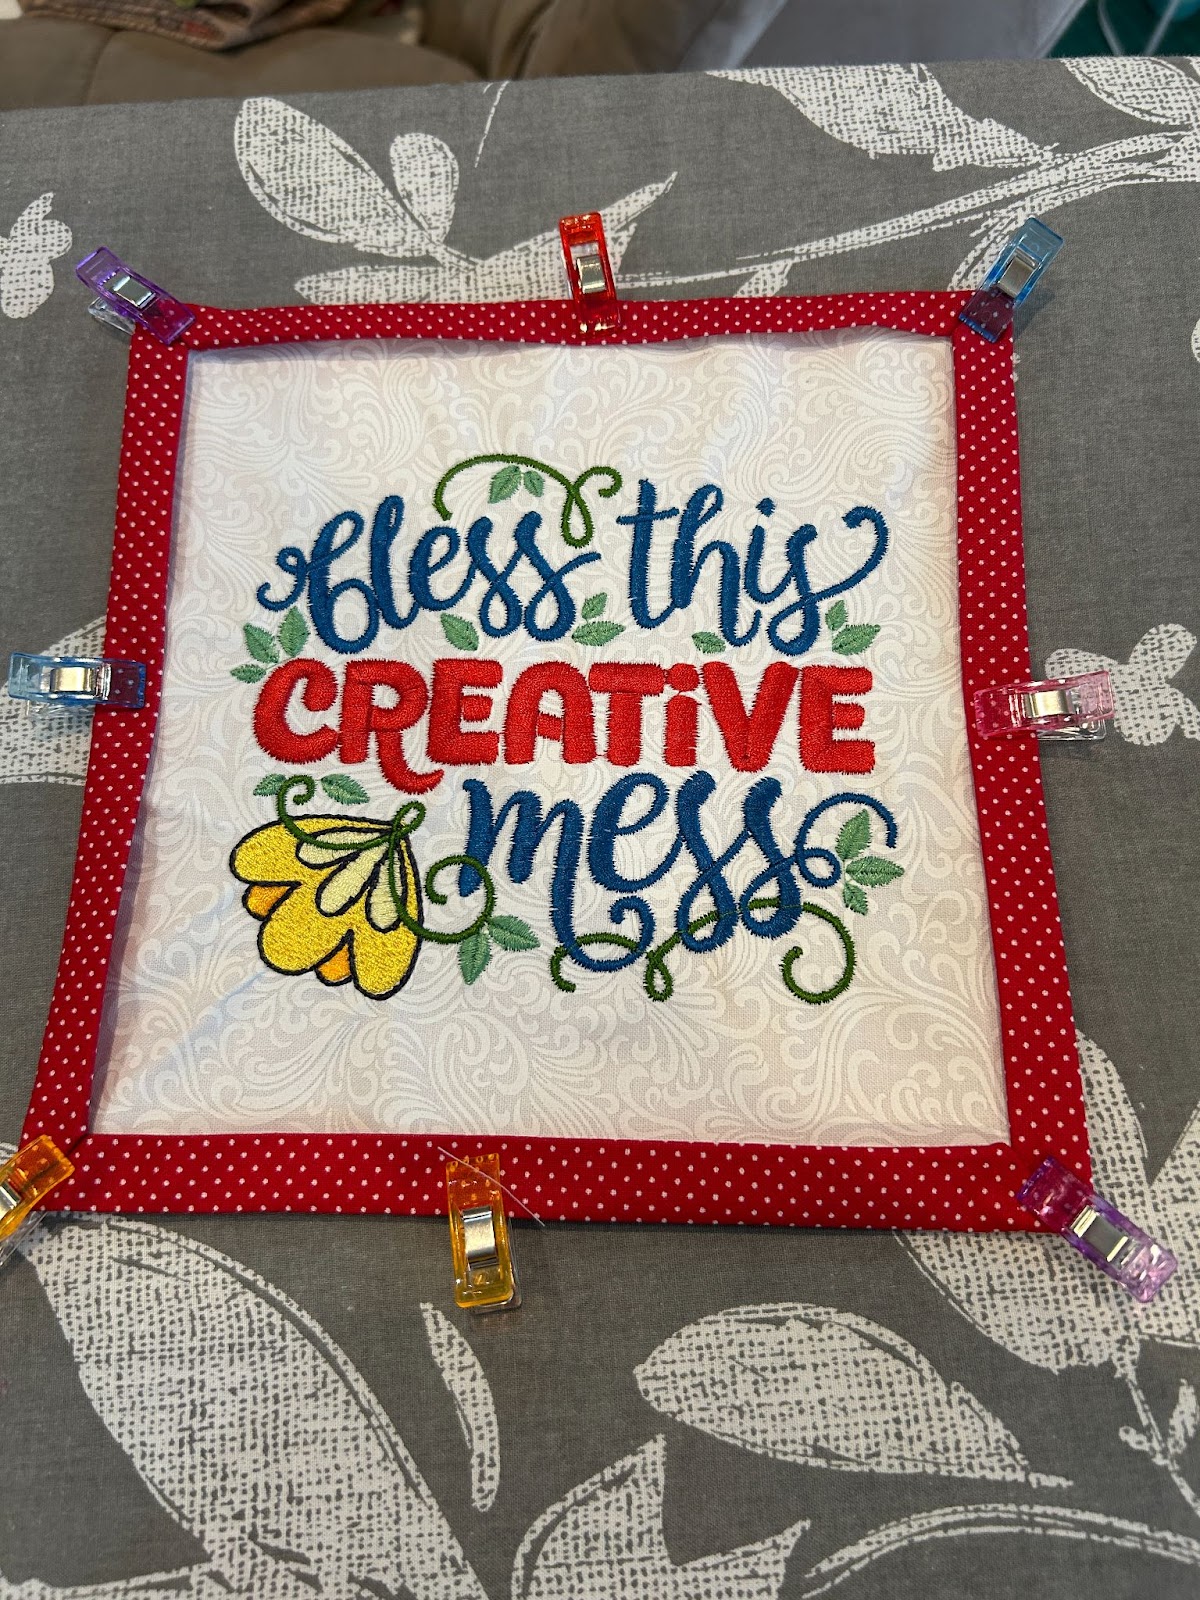
Topstitch the binding down.
Set this aside with the pockets.
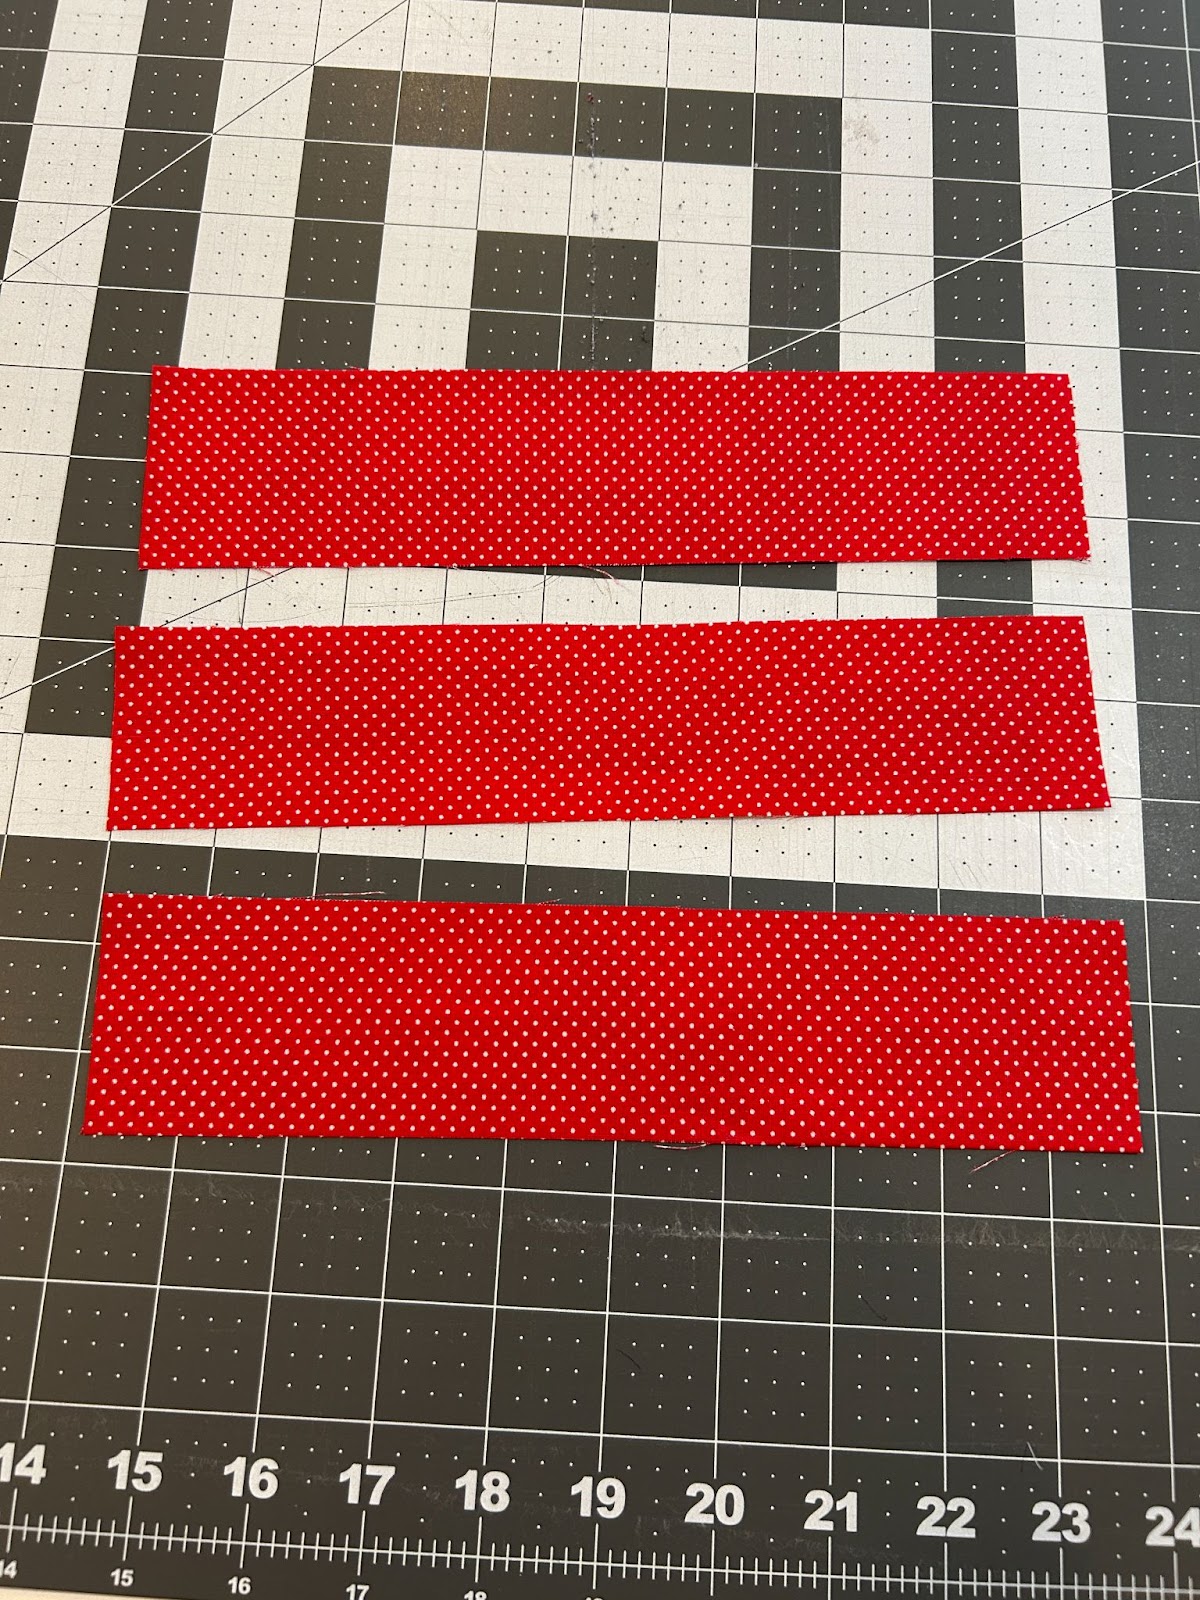
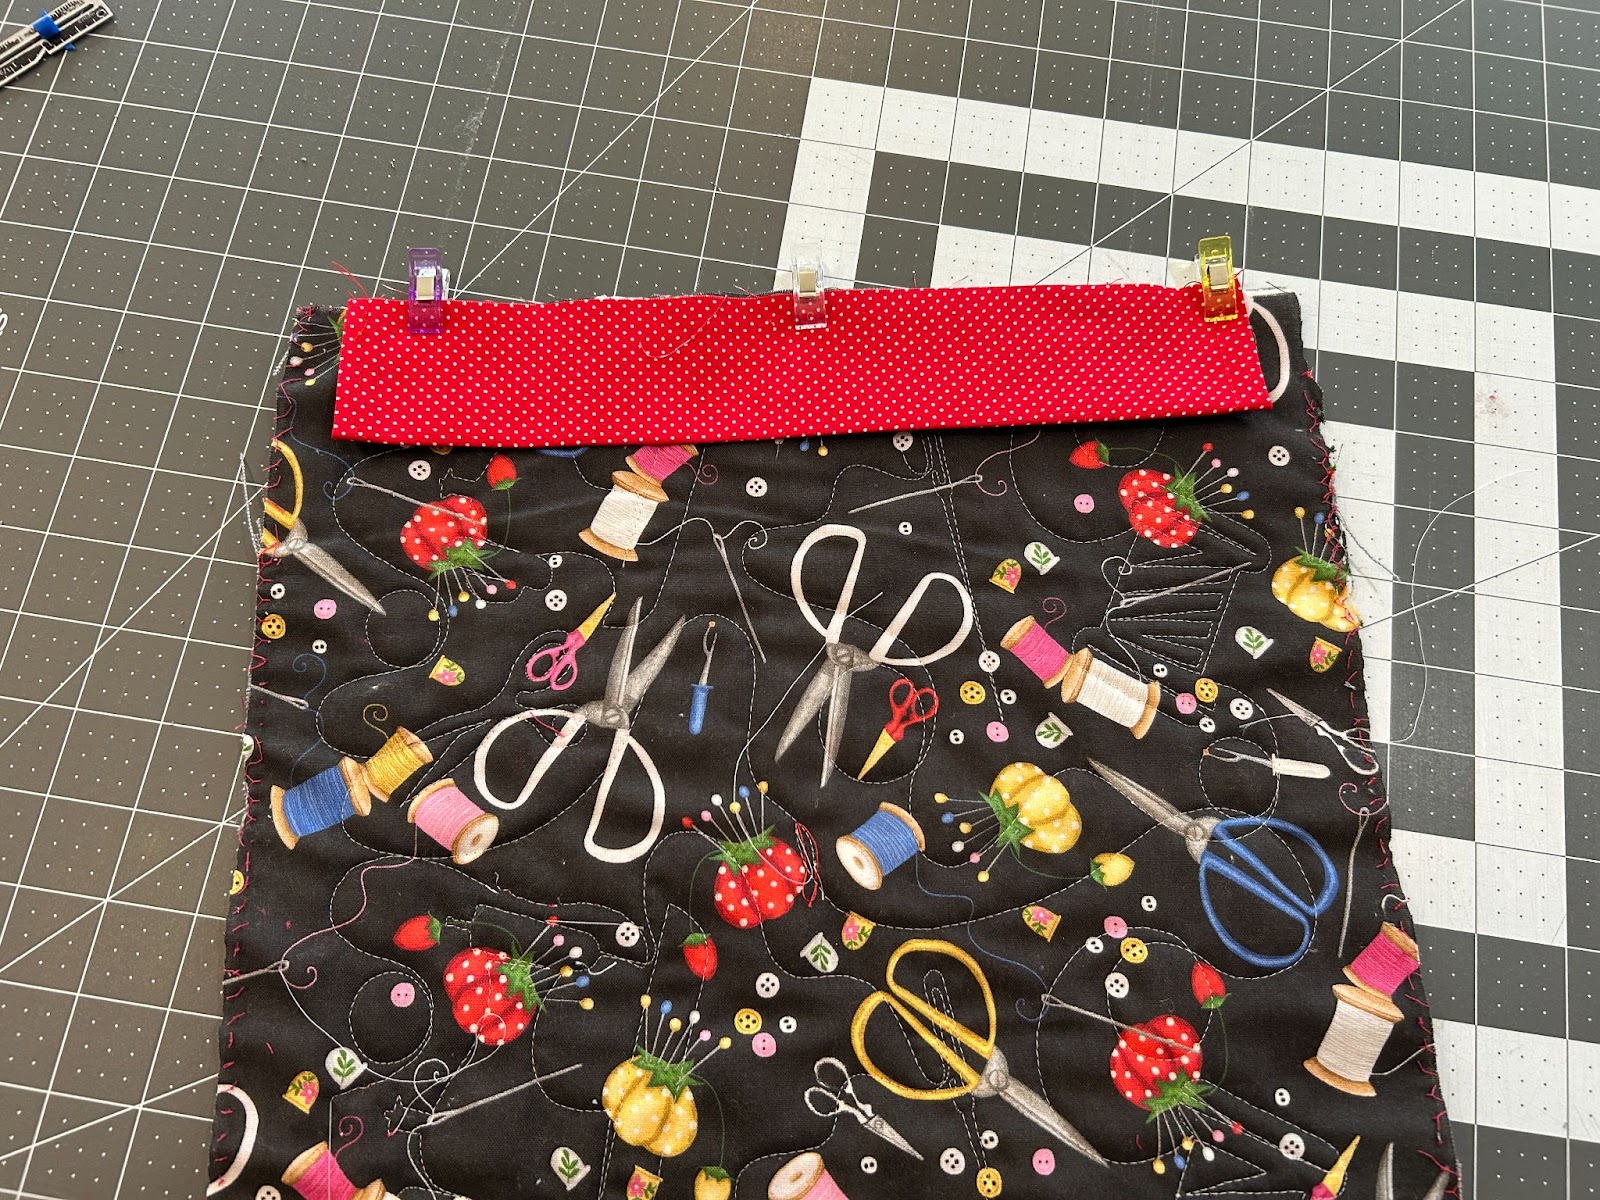
We have two ways that we can hang our organizer: we can make three loops or one casing. To make the three loops we will start with our three pieces of fabric that measure 2” x 10”.
Fold them in half lengthwise and press.

Open the strip and fold the edges to the center line. Press again.

Fold it in half one more time and press.
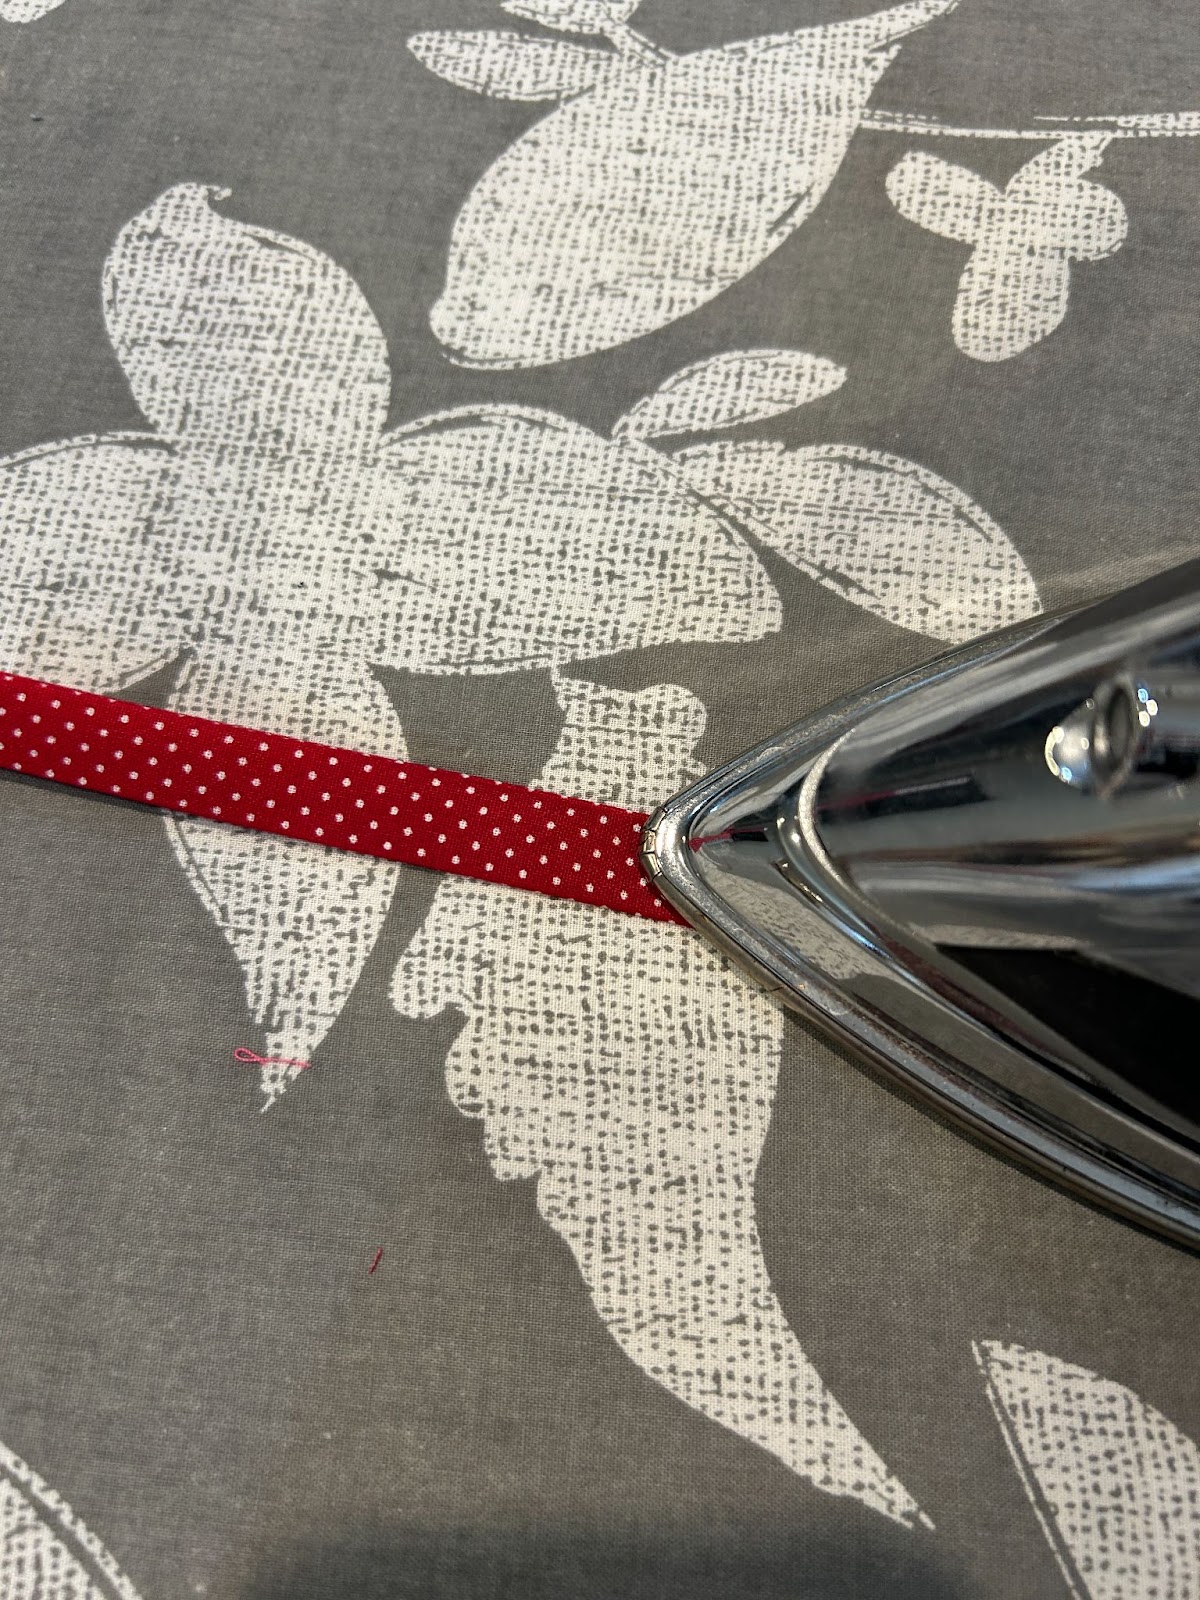
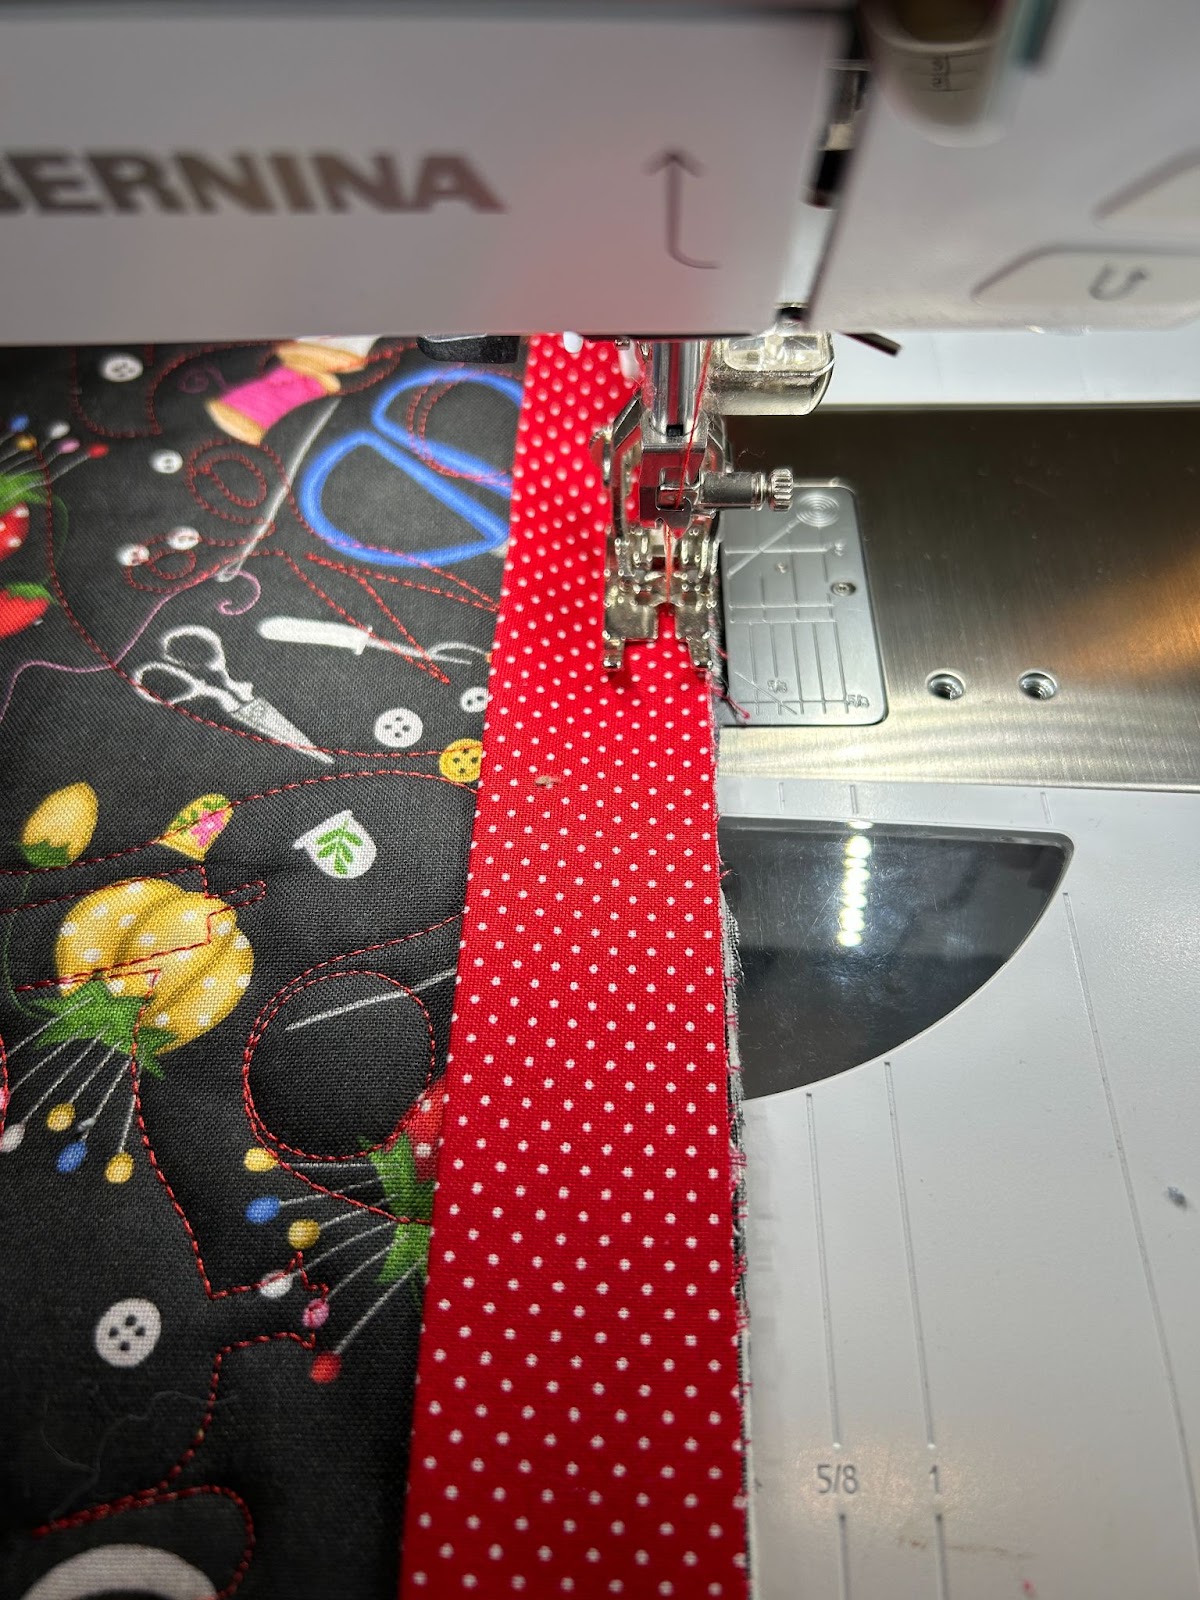
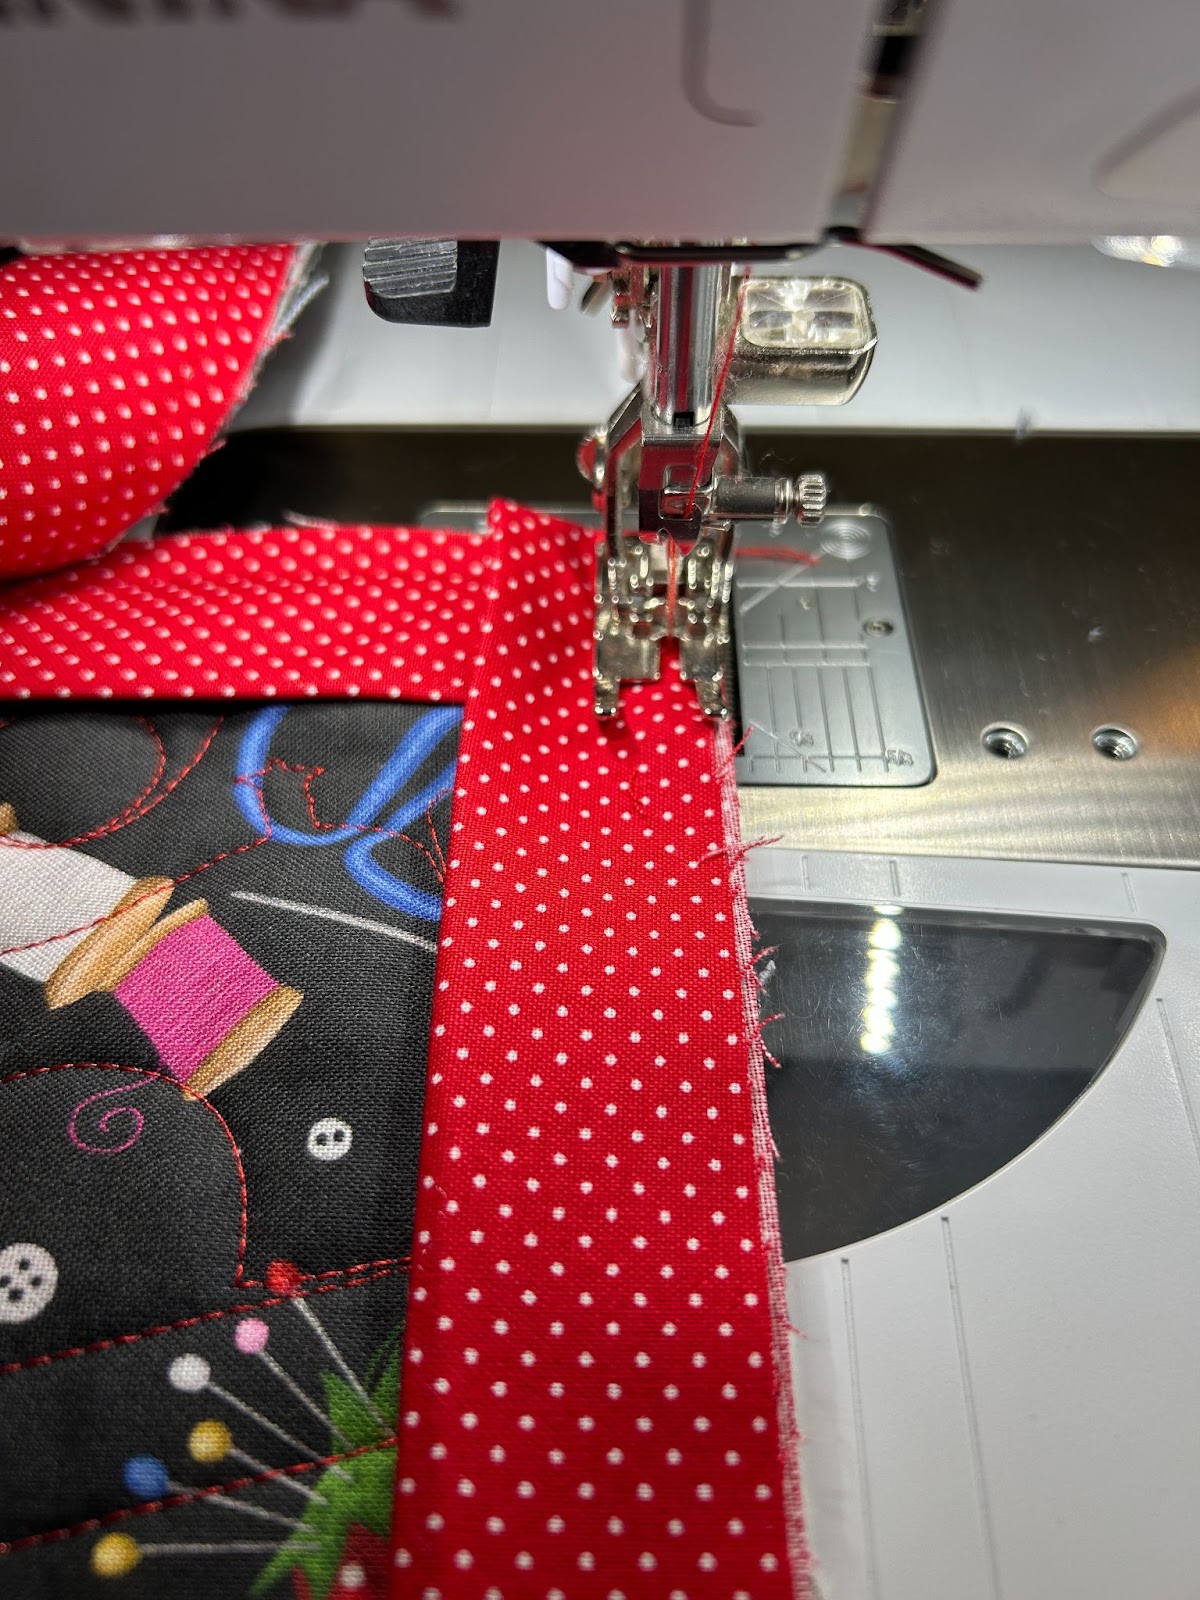
Then topstitch along the open edge.

Set these aside. If you prefer to make a casing at the top you will need the piece that is 4” x 13”. Fold each of the short edges in ½” and then fold them over again and press them into place.
Topstitch the edge down.
Fold it in half lengthwise and press.

You can set these aside with the pockets and label for now.
Now it’s time to prepare the backing. The backing pieces and the batting pieces need to be layered like we do for a quilt sandwich. So place the backing right side down on a flat surface and cover with batting.
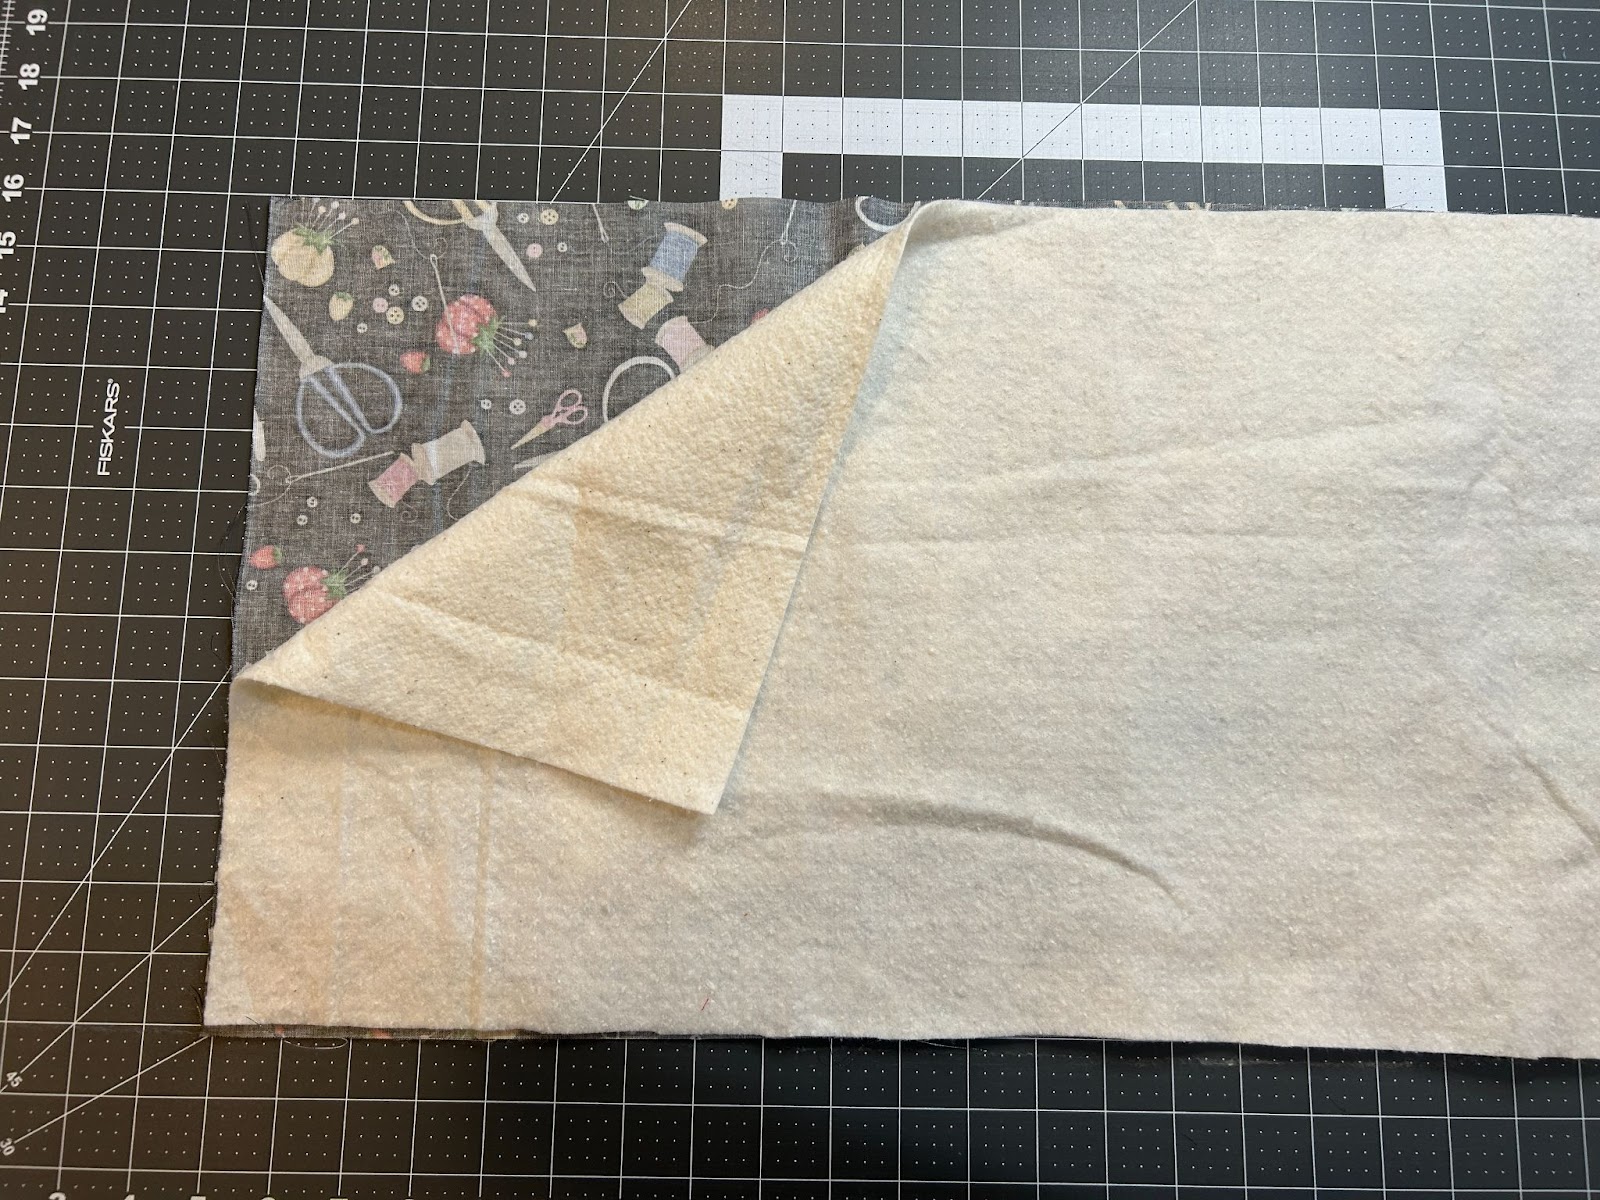
Then place the other fabric right side up on top of the quilt sandwich.
You can be finished at this point. I decided to do an end-to-end quilting design on mine. If I did this again I wouldn’t cut my fabric down to the 13” x 56” quite yet. I’d do my end-to-end stitching and then cut the fabric. But because I did cut it first I stitched some leaders (extra fabric) with a wide zig zag stitch to my fabric to help hold it in my hoop.
I then stitched the design, moving the fabric and lining up the starting/stopping points until it was all covered.
Now let’s create our binding. Gather the four 2½” x width-of-fabric strips and sew them together on the bias.
Trim the seam allowance to about ¼”.
Then press seams open, and press the length of the four strips in half.
We will now assemble our organizer. If you’re using the three loops, place them on the back side of your organizer equally spaced across the top, raw edges together. Feel free to shorten them if you feel like you need to for your end design.
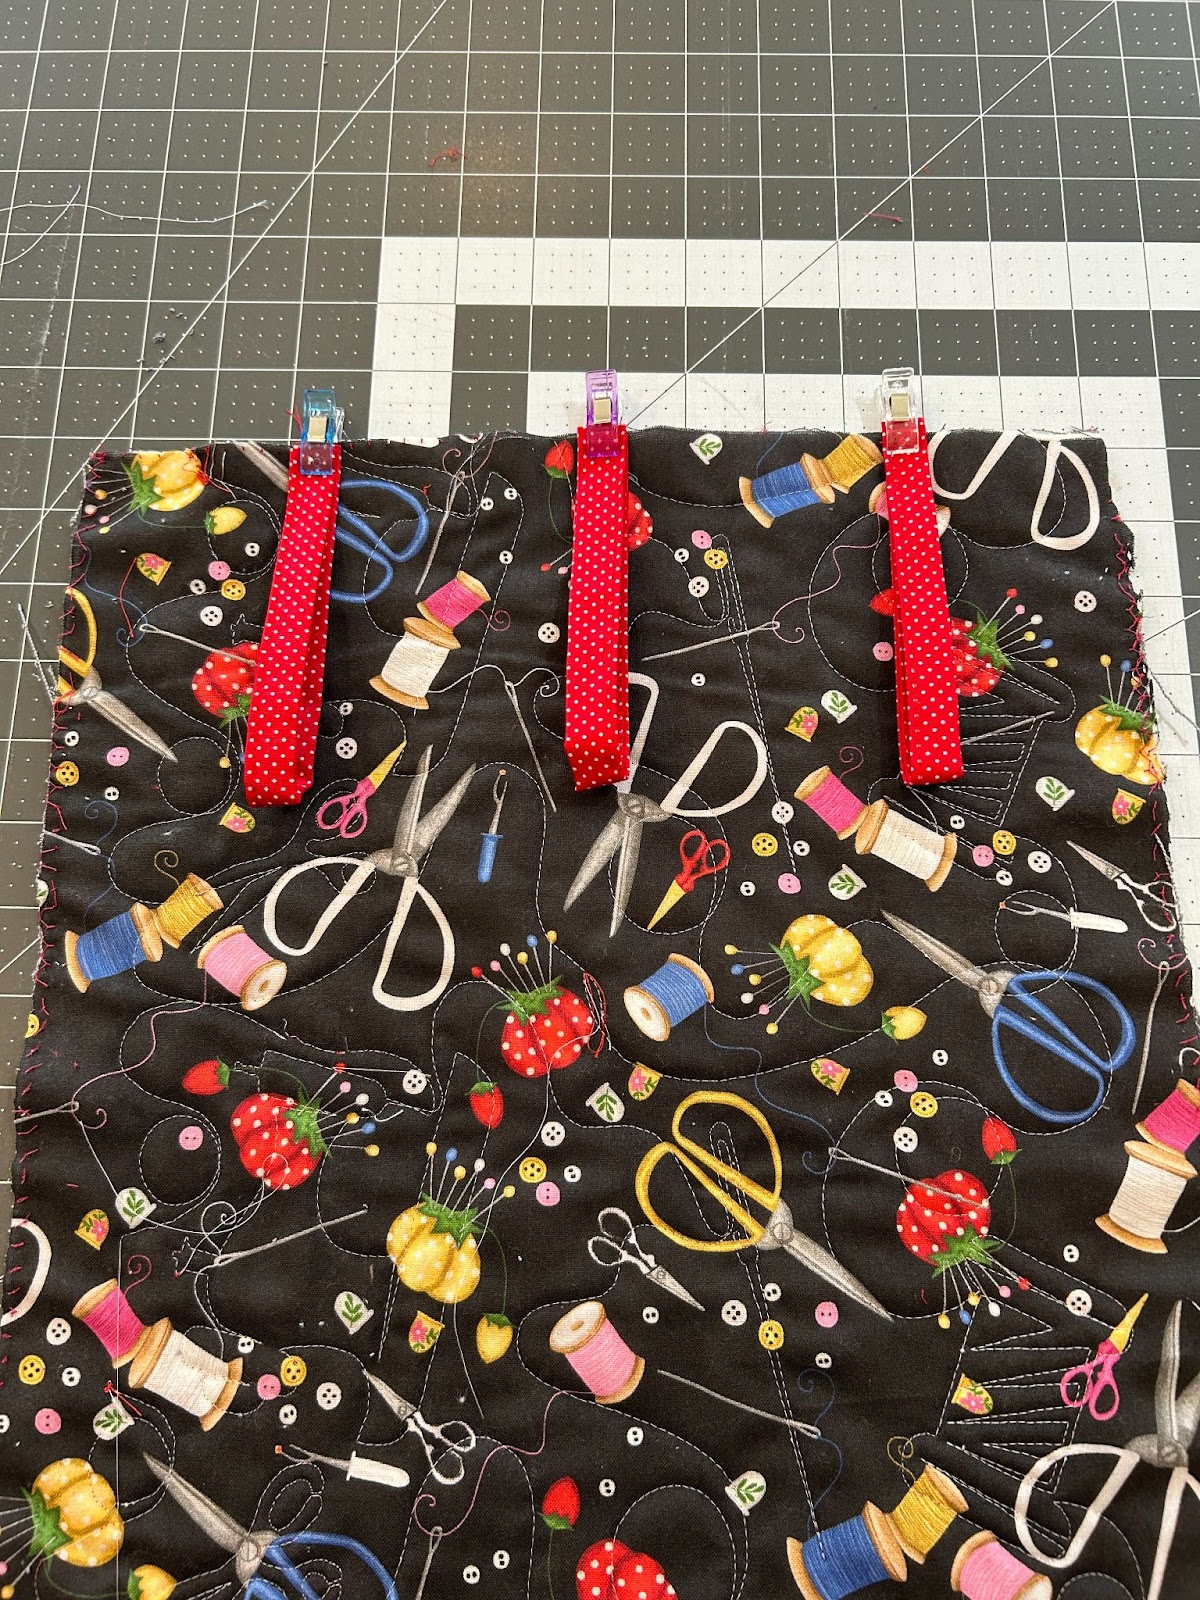
If you’re using the casing, center it also on the backside.
Now we will attach our binding strips to the front side. When you come to your loops or casing, treat them like the rest of your fabric and just attach the binding to the front side.
Miter your corners.
And join your ends by overlapping 2½” and sewing at an angle.
Trim the seam allowance to ¼” and sew the rest into place.

Now we will flip the binding to the backside. Pin or clip it all the way around. At the loops or casing, just pin like normal.
And sew it in place. I like to sew from the front side and check along the way to make sure I’m catching it on the backside.
After the binding is done, flip your loops or casing up and stitch at the top of the binding to hold them in an upright position.
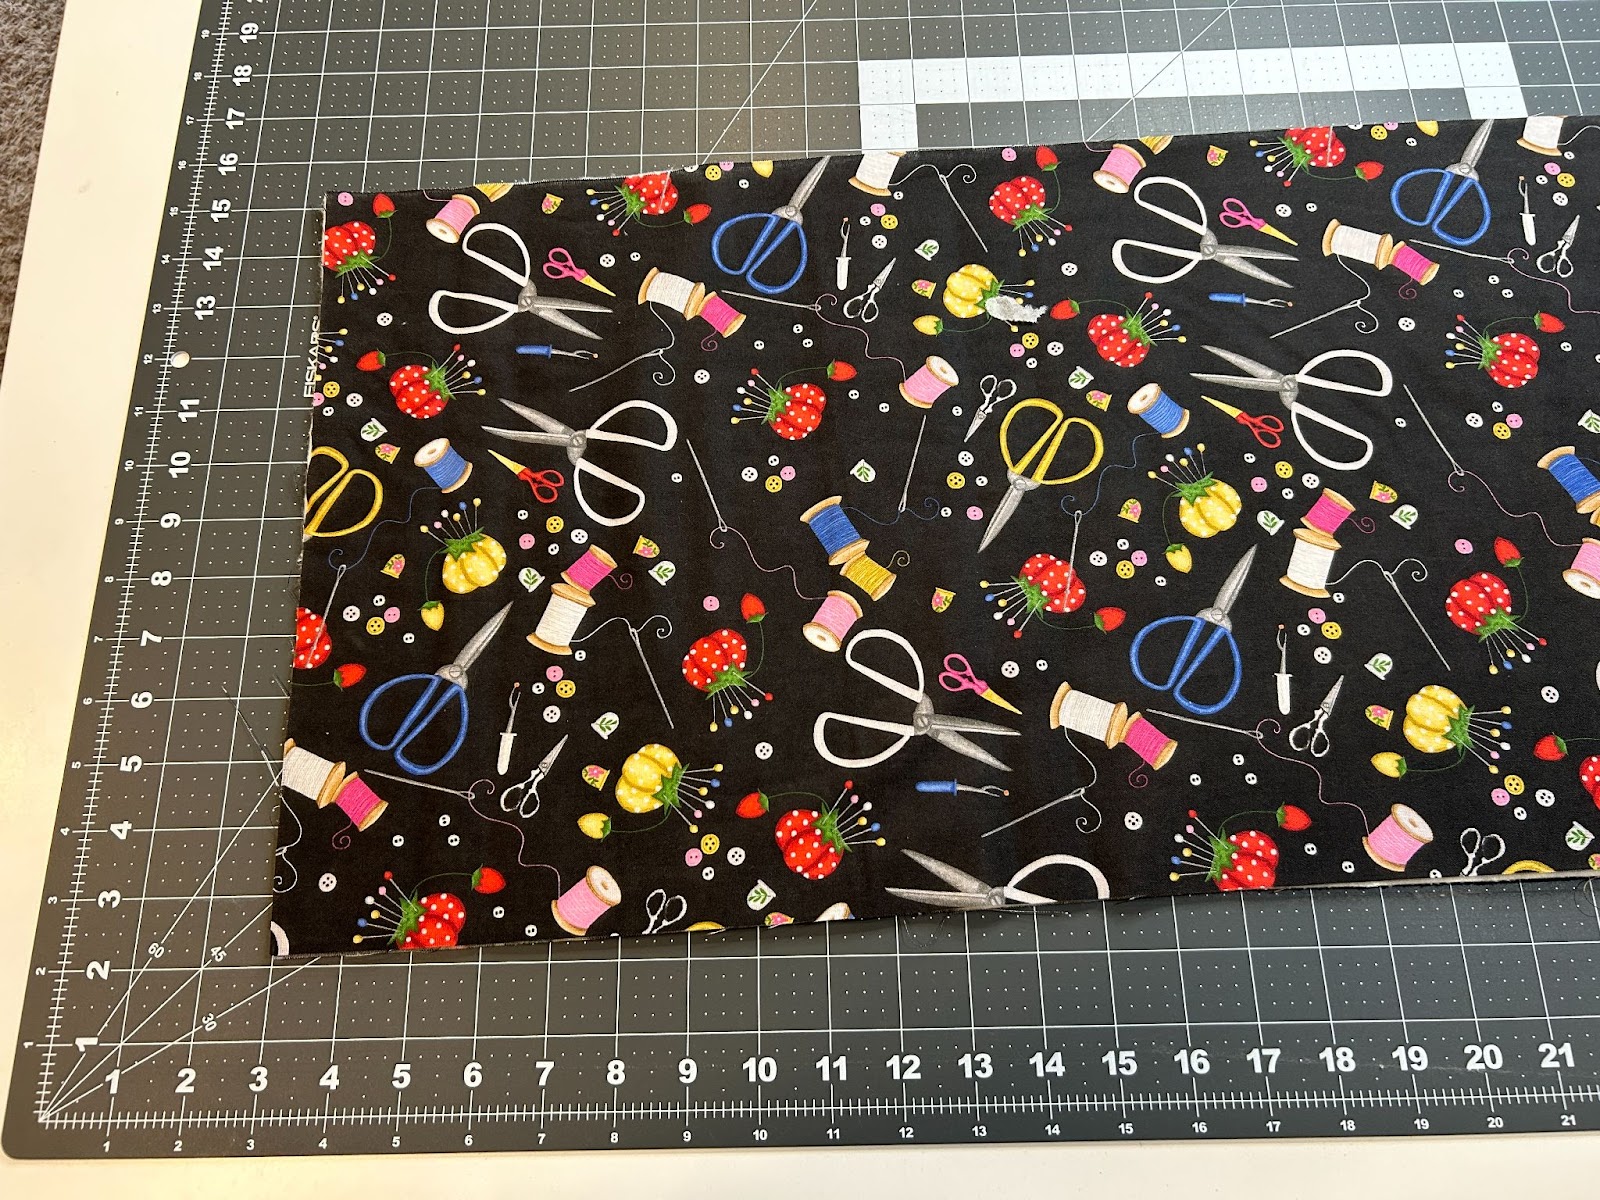
You’ve now finished the backing. For the record, I love this fabric and it was so fun to work with, but as I was sewing and trimming up threads, I kept trying to grab the picture of the needle and thread on the fabric. I thought I was leaving strings behind.
Now we get to place our pockets and label on the backing. We will also want to square up the tops of our pockets. Fold them in half with backing sides together and use a straight edge to cut the raw edges square with the binding.
Arrange it the way you’d like your pockets to line up.
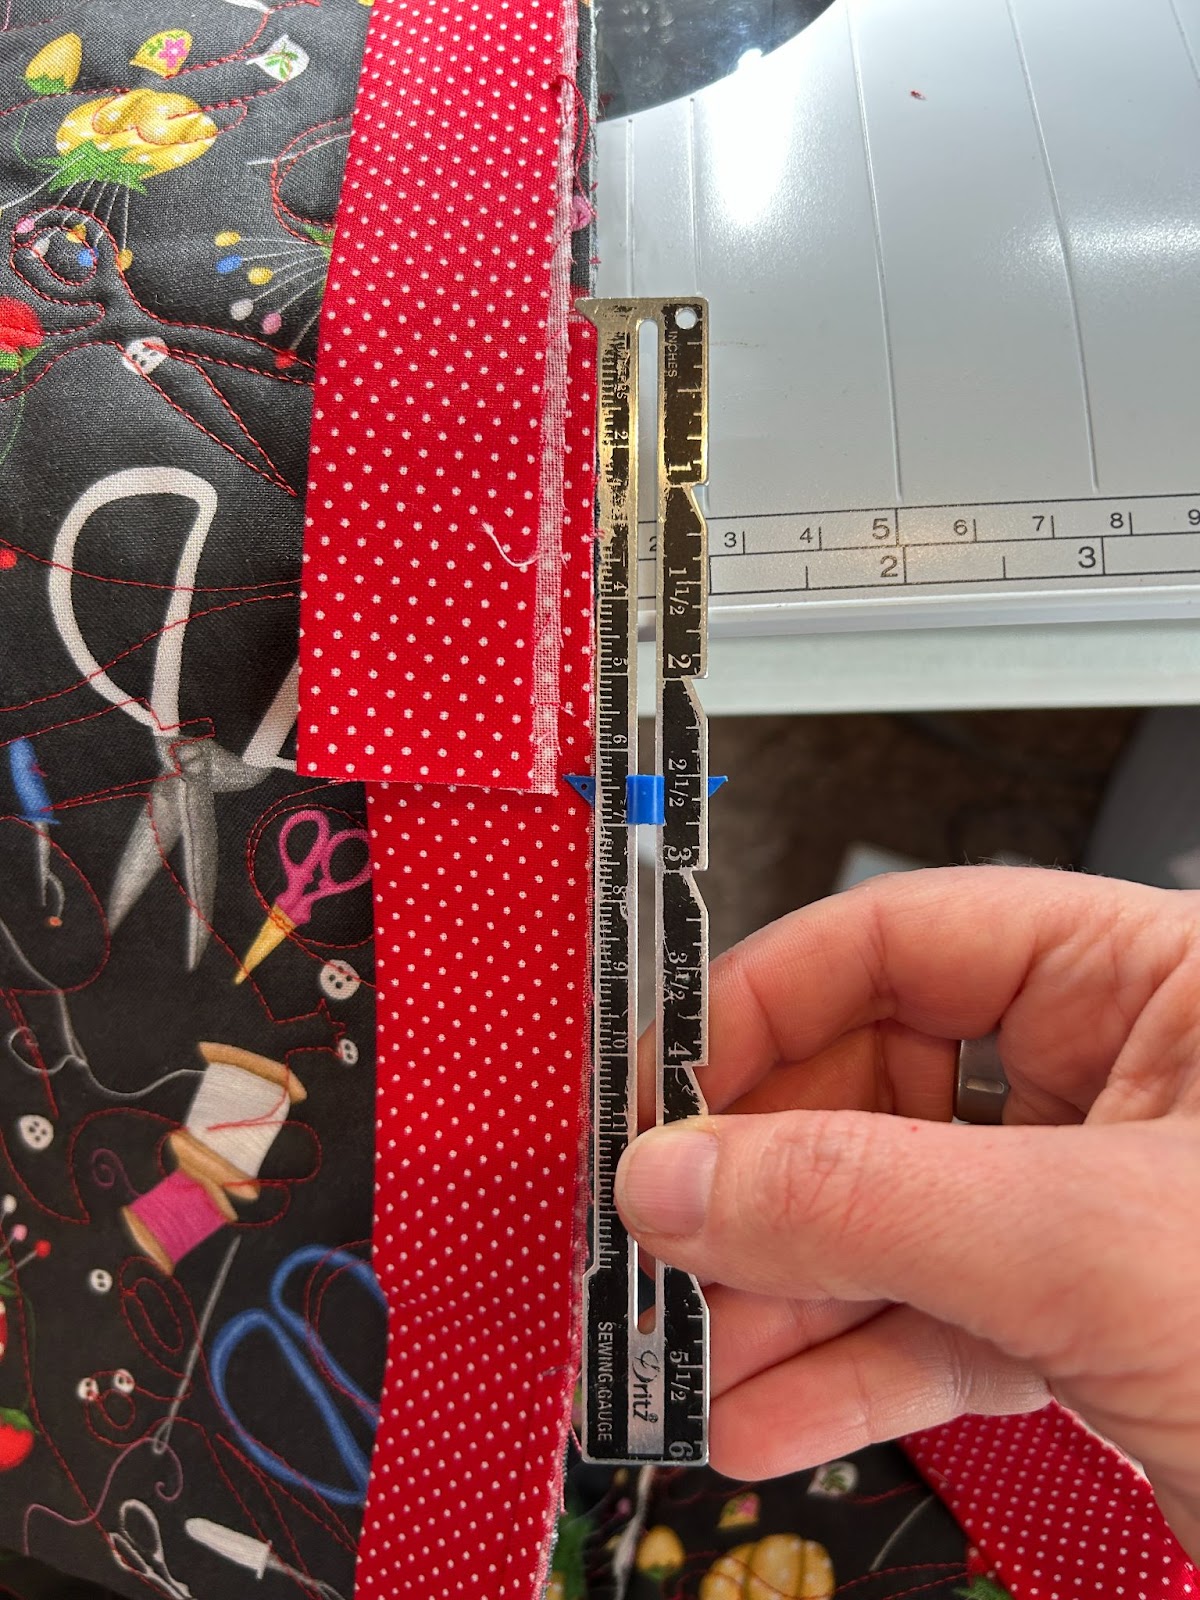
It took me some trial and error to place the pockets where they were evenly spaced along the background. I took a piece of chalk and made my first line 9¼” up from the bottom edge of the backing.

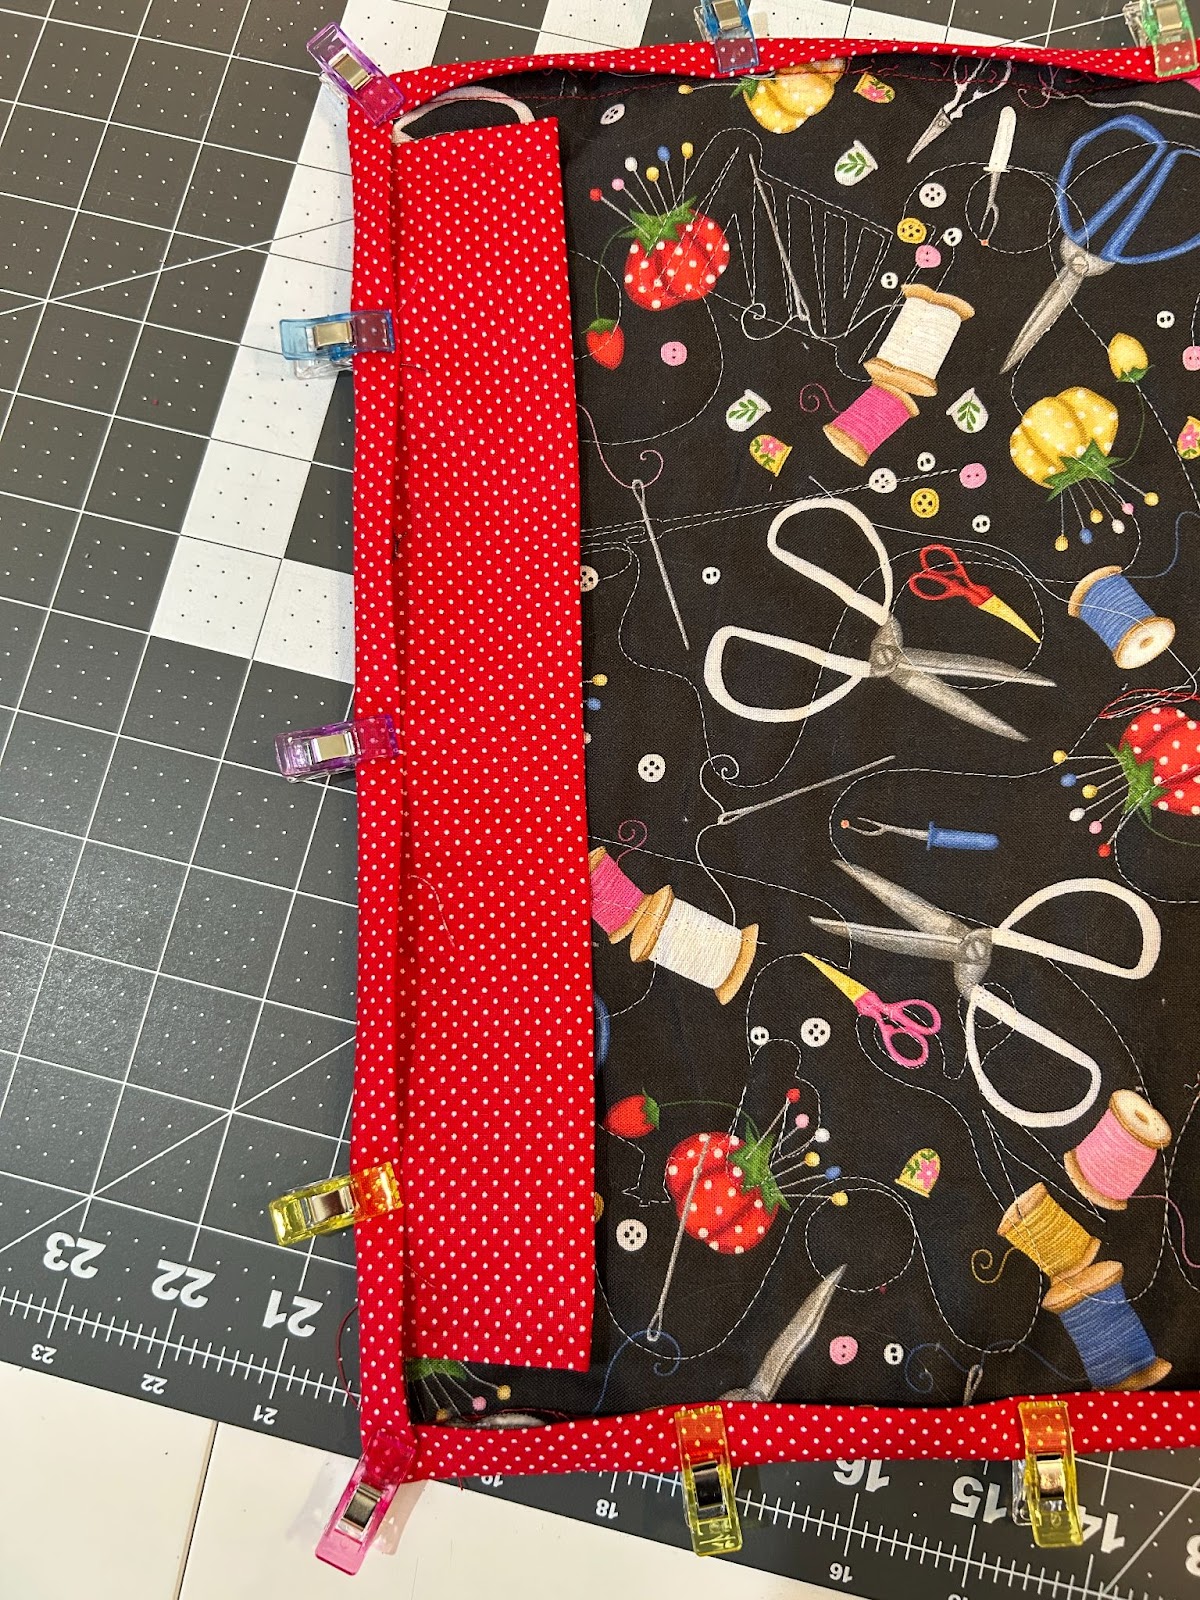
Place your pocket’s raw edges slightly overlapping the line, with the wrong sides together, the bottom or fold of the pocket pointing to the top of the project. Center it left to right and pin it in place.
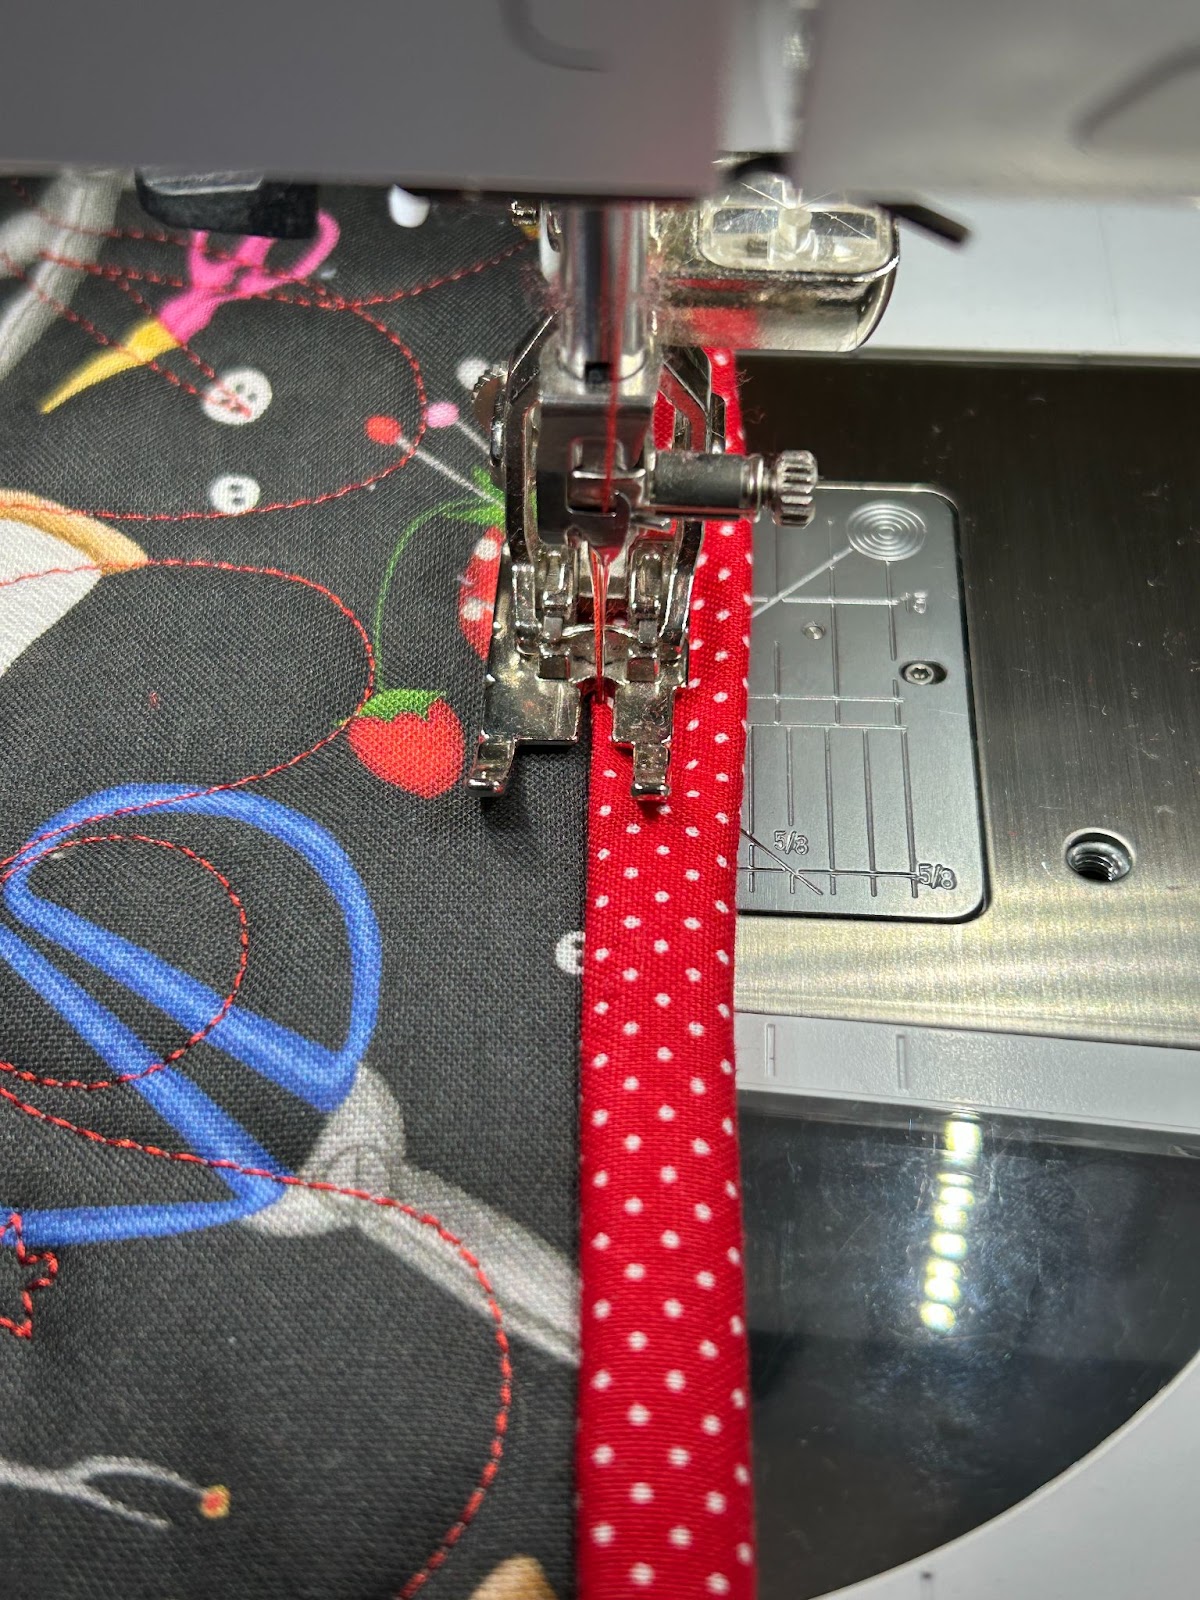
Take it to your machine and, using a ¼” seam, sew the pocket to the background.
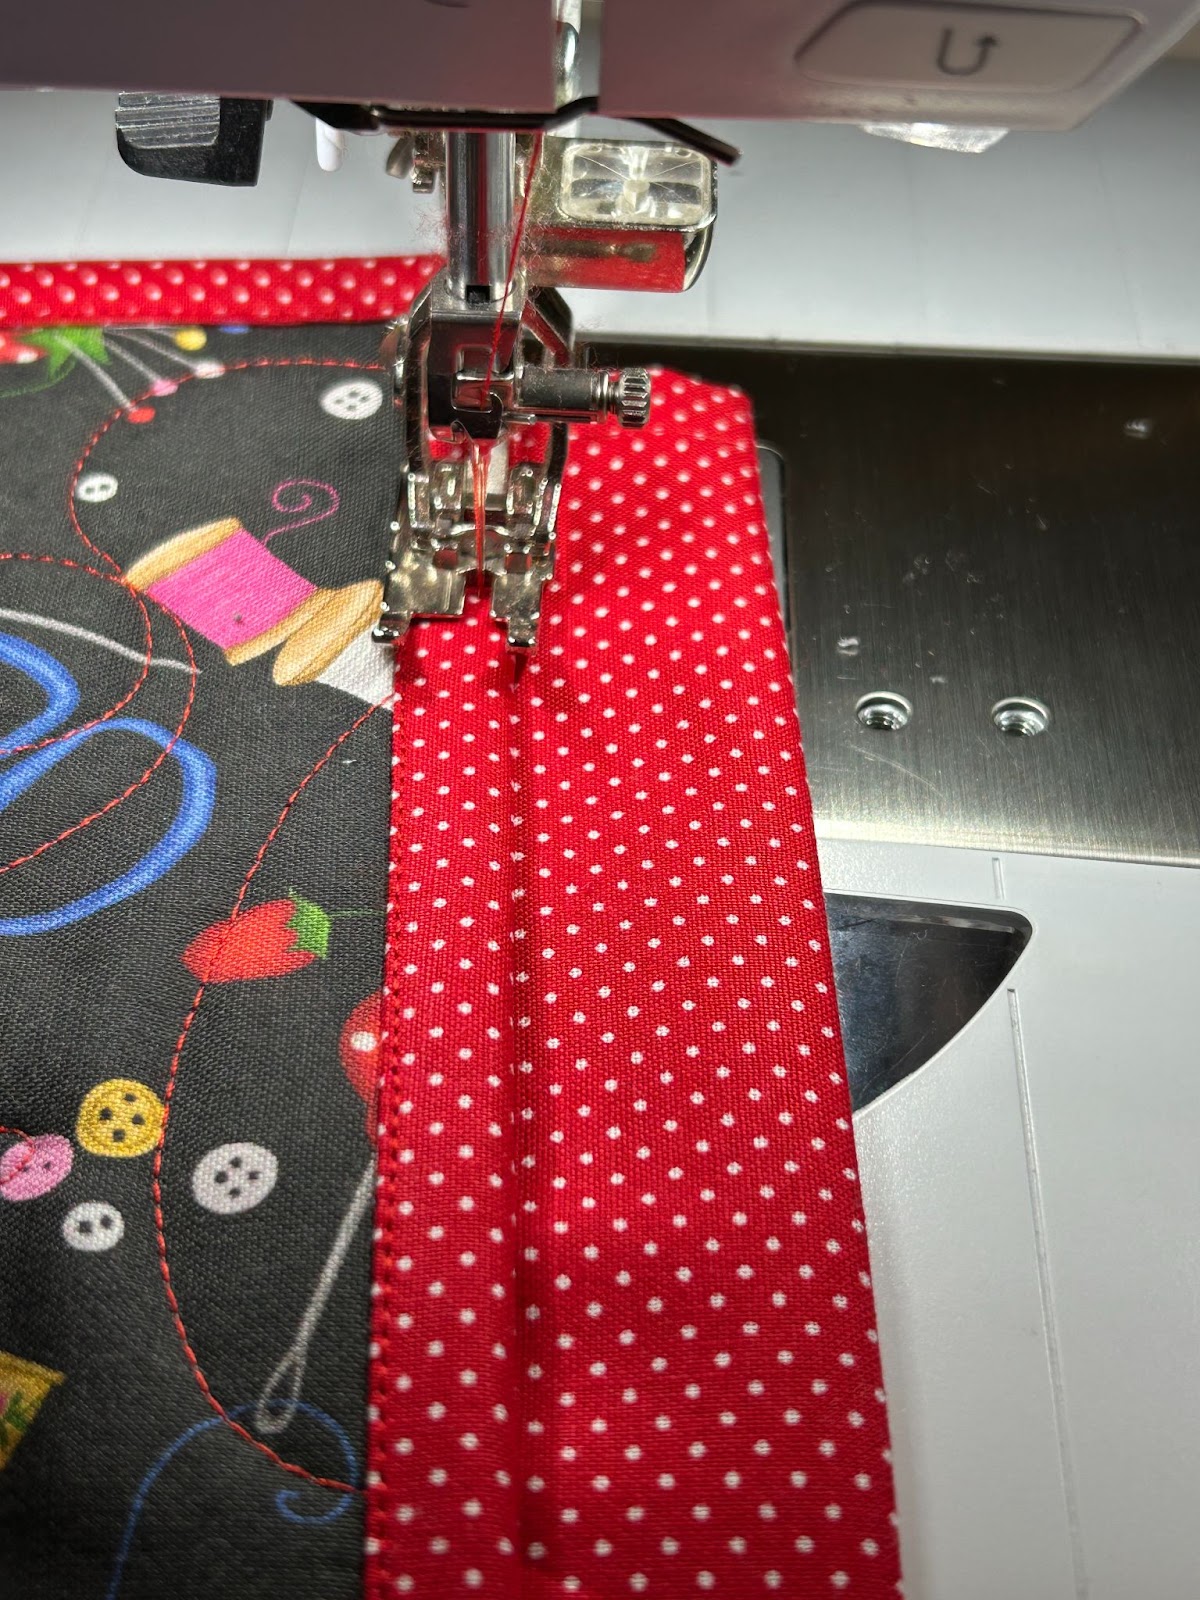
I then go back over the raw edges with a zigzag stitch to finish the raw edges.
You will flip the pockets down to cover the stitches, but I didn’t topstitch them so they could expand as they needed to.
Repeat with your remaining four pockets by drawing lines from the bottom at 18½”, 27¾”, 37”, and 46¼”. (We already have the first one at 9¼”.) I don’t have a picture of this step because it was mostly trial and error as I would sew them in and take them out and reposition them. But these measurements should work for yours. Feel free to place them wherever you like on the organizer. Having them overlap a little would also work if you like that look better.
Once your pockets are all sewn on, center the label between the top of the top pocket and the top of your background. Pin it in place and sew it down. Mine overlapped onto the binding a bit which was okay for me.
Once everything is sewn on, you’re all ready to load it up with your stabilizers. The next time you start to embroider, your stabilizer will be easy to find.
We’d love to see your take on this project! Share it with us in the Designs by JuJu Embroidery Blessings Facebook Group or tag us on social media using the hashtag #designsbyjuju. Let’s get those stabilizers under control and get back to stitching!
