Toggle Nav
 Inspire.
Create.
Stitch.
Inspire.
Create.
Stitch.
Search
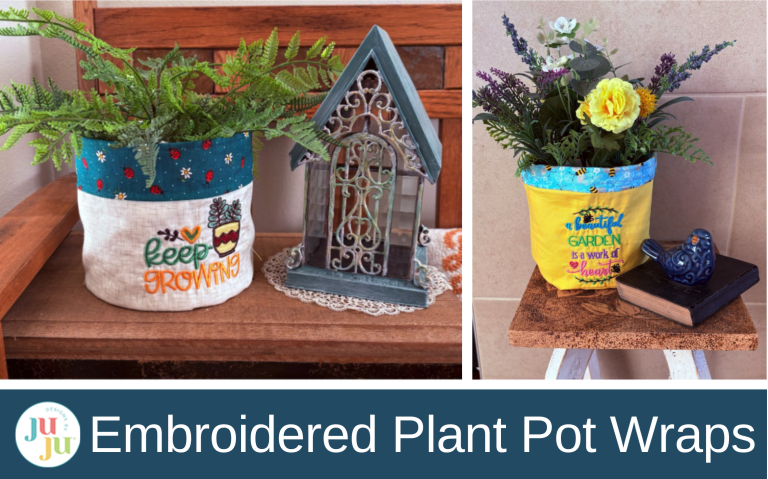
Give your houseplants a fresh look with an embroidered fabric cover that adds texture, color, and personal style.
Plain pots can feel a little uninspired, so why not treat your favorite houseplants to a cozy makeover with fabric and a JuJu embroidered design? These covers infuse any room with handmade charm. Follow along to discover how easy it is to turn basic pots into striking home accents using just fabric and embroidery.
Finished size: 7½” long x 21½” wide
This project is made to a specific size in the tutorial, but dimensions may be adjusted to fit different-sized plant pots. I’ll show you how.
Check out the DBJJ team’s favorite supplies in the Designs by JuJu Amazon store.
For all your stabilizer and batting needs, be sure to check out Designs by JuJu+.

I gathered a variety of pots, including some dented ones that were nearly destined for the trash. Instead, I chose to give them a fresh start.

Start by measuring the height of your pot, then add 2” to that measurement. The extra 2” are for seam allowance and ease of fit, ensuring your cover fits snugly over the pot.

Next, measure the widest part of the pot and add 2” to that measurement.

If using a pot with a saucer attached, follow the same instructions.

Keep the saucer attached and measure from the top to the bottom.

Measure around the top.

Measure around the bottom. If the sizes are different, select the largest size as your measurement to ensure a correct fit.

Cut both your main fabric and the DBJJ+ fuseEZ to the sizes you measured. DBJJ+ fuseEZ is a fusible interfacing that adds structure to your fabric and helps prevent wrinkles and pulling when embroidering, making it a great choice for a neat and sturdy finish.

Fuse the DBJJ+ fuseEZ to the wrong side of your fabric using an iron.

Fold your fabric in half so the short ends are together. On the center fold, measure down 2” and mark that spot with a pin or fabric marker.

Unfold the fabric again so it lies flat.

From your 2” mark, measure down until you’re ¾” to 1” from the bottom edge. Mark this lower spot. Between the two marks will be your embroidery area.

Hoop a piece of tear-away stabilizer and take it to your machine.

Choose your embroidery design and load it onto your machine. I chose a design from Plant Lovers 9. With your Placement keys, find the top center of your design. My machine is a Brother 8500; your screen may look different.

Mark the top center point for your design on the stabilizer. Then, take the hoop off the machine and place it on a flat surface.

Spray the stabilizer with adhesive. Line up the center top marks on your fabric and stabilizer, smooth out any wrinkles, and pin the fabric away from where you’ll be stitching.

Put the hoop back onto your embroidery machine. Double-check that your design is in the right spot and fits between the marks on the fabric. Make any adjustments needed, and stitch out your embroidery design.

Take the fabric out of the hoop.

Tear away the stabilizer from the back, and give your fabric a quick press with an iron.

Now let's add a decorative band for polish. Cut a strip of fabric that’s 4” wide and as long as your main fabric piece.

Place the band right side down on the wrong side of the main fabric. Measure down 1½” from the top of the main fabric and pin the edge of the band there.

Sew along the edge of the band, keeping your stitch about ⅛” to ¼” from the edge.

Fold the band over so it’s on the front side of the main fabric.

Decide how wide you want the band to be. Bring it down to your desired width and fold the edge under, press it, and sew the folded edge.

Fold the fabric in half widthwise, matching up the short ends, and pin them together. Baste a ¾” seam along the edge to hold everything in place. A generous seam allowance makes resizing easy. This simple detail lets you adjust the fit as needed, so your finished plant wrap is perfectly sized for your pot.

Turn the fabric right side out and slip it over your pot. If you find the cover is too tight, reduce your seam allowance. For a cover that's too loose, increase the seam allowance. Adjust as needed, then sew a finishing stitch with a 2.5 mm stitch length.

Trim the seam allowance down to ¼”.

Position the sewn project inside out with the seam facing to the right. The top of the project will be at the bottom, as in the photo.

Bring the folded side of the project over and line it up with the seam.

Place a pin in the fabric at the fold.

On the opposite side, place a pin in the inner fold first, then place one in the outer fold.


You should have three pins spaced evenly around the edge. Your seam will act as the fourth pin.

Set your pot on top of the fabric you’ll use for the bottom.

Use an erasable marker or pencil to trace around the bottom of the pot.

From the circle you just drew, measure out 1” and make a mark.

Continue making marks all the way around the circle, 1” out.

Connect the marks to draw a larger outer circle.

Cut the fabric along the outer circle you drew.

Fold the fabric circle in half.

Then fold it in half again.

Mark the top of each fold with a pin.

Place pins in all four folds.

Now you should have four pins spaced evenly around the edge.

Line up each pin with the pins on the fabric for the pot, right sides together.

Remember, your seam counts as a pin mark.

The four pins should now be evenly placed around the circle.

Keep pinning around the rest of the circle so both fabrics are held together securely.

Sew a basting stitch with a ½” seam all the way around the circle. Go slow and ease the two fabrics together.

Before completing the final seam, take a moment to slip the cover over your pot. Turn the cover right side out and place your pot inside. Adjust any seams as needed, then sew a finishing seam with a 2.5 mm stitch length. Using a basting stitch first makes adjustments easier.

Your plant pot cover is finished!

Embroidered plant covers are a simple way to blend creativity with everyday decor. With only fabric, thread, and a few embroidery designs, you can customize covers to fit any pot and any space. Whether you make one or a whole collection, these handmade wraps add warmth, texture, and personality to your plants. Proof that even the smallest projects can make a big visual impact.
Don’t forget to share your finished plant covers in the Designs by JuJu Embroidery Blessings Group on Facebook, or use the hashtag #designsbyjuju anywhere on social media to inspire others to stitch along. We always love to see what you create!
