Toggle Nav
 Inspire.
Create.
Stitch.
Inspire.
Create.
Stitch.
Search
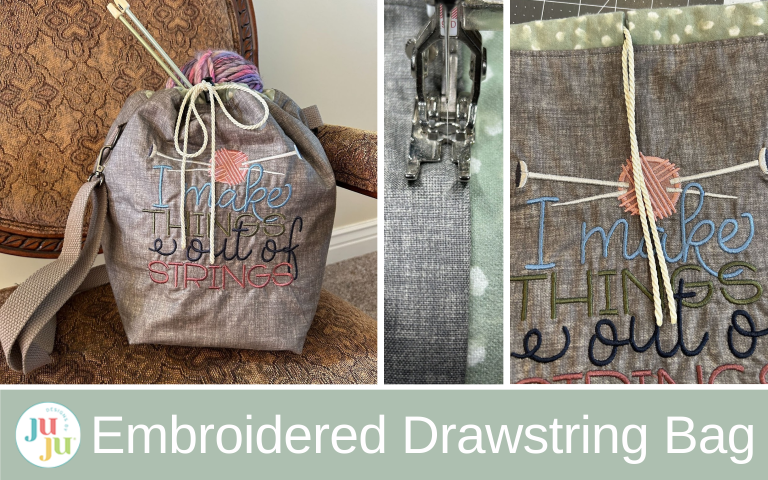
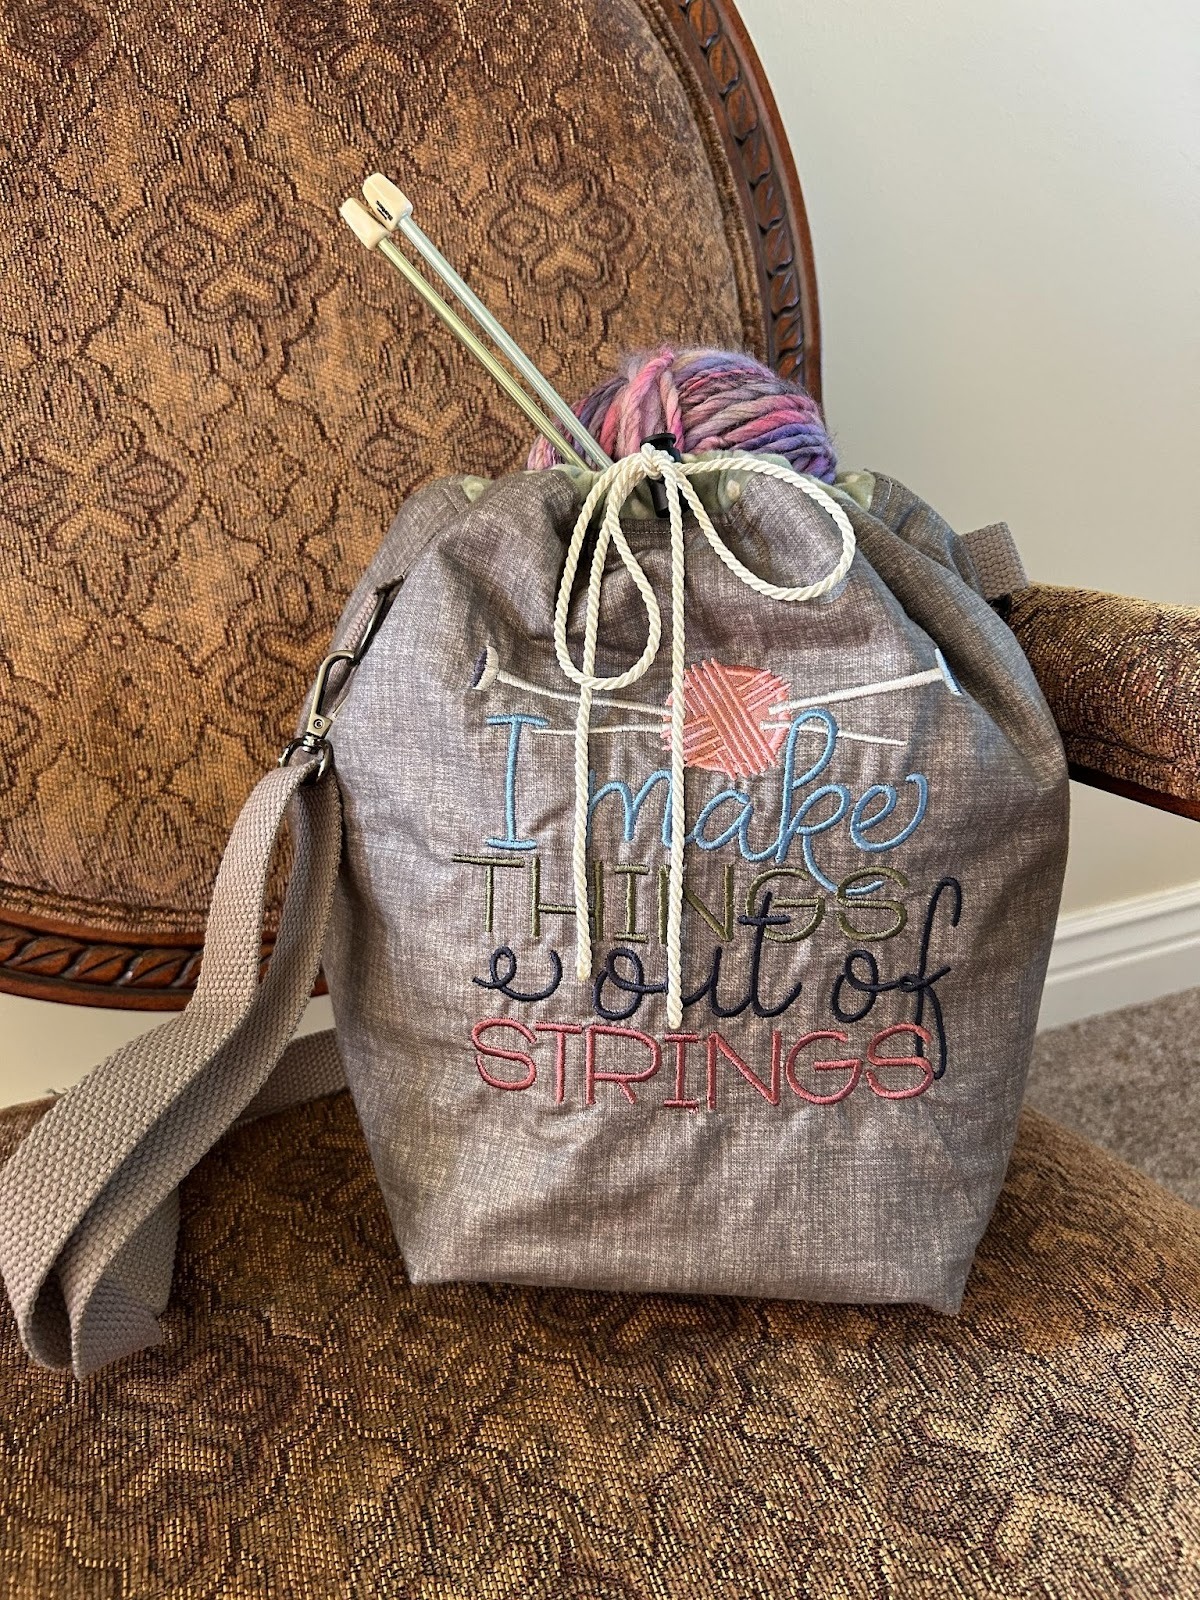
Learn how to make a lightweight, lined drawstring shoulder bag with a relaxed fit, perfect for everyday use.
I love bags! I seem to need a new one all the time. So I wanted to make one that wasn’t too big but could easily carry my knitting projects. I love how this turned out and I can’t wait to use it!
Finished size: 7” x 9” x 12”
Check out the DBJJ team’s favorite supplies in the Designs by JuJu Amazon store. And for all your stabilizer and batting needs, Designs by JuJu+ has you covered.

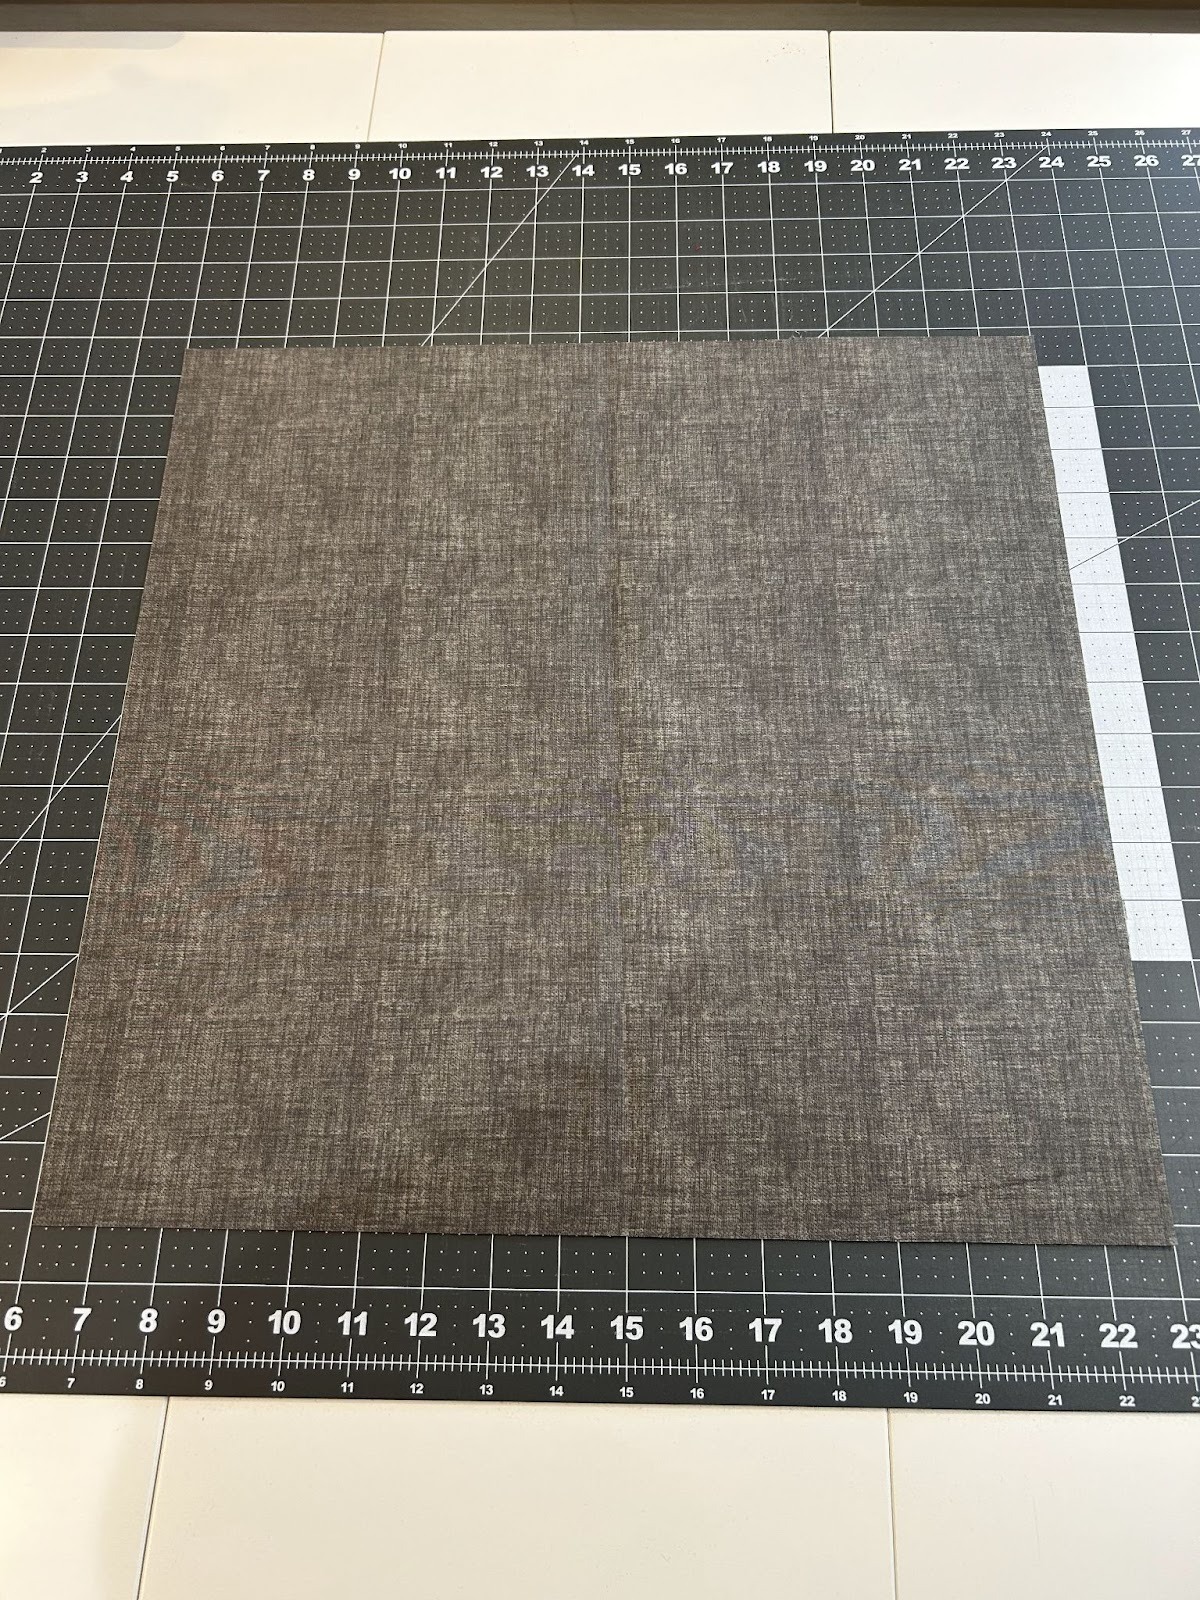
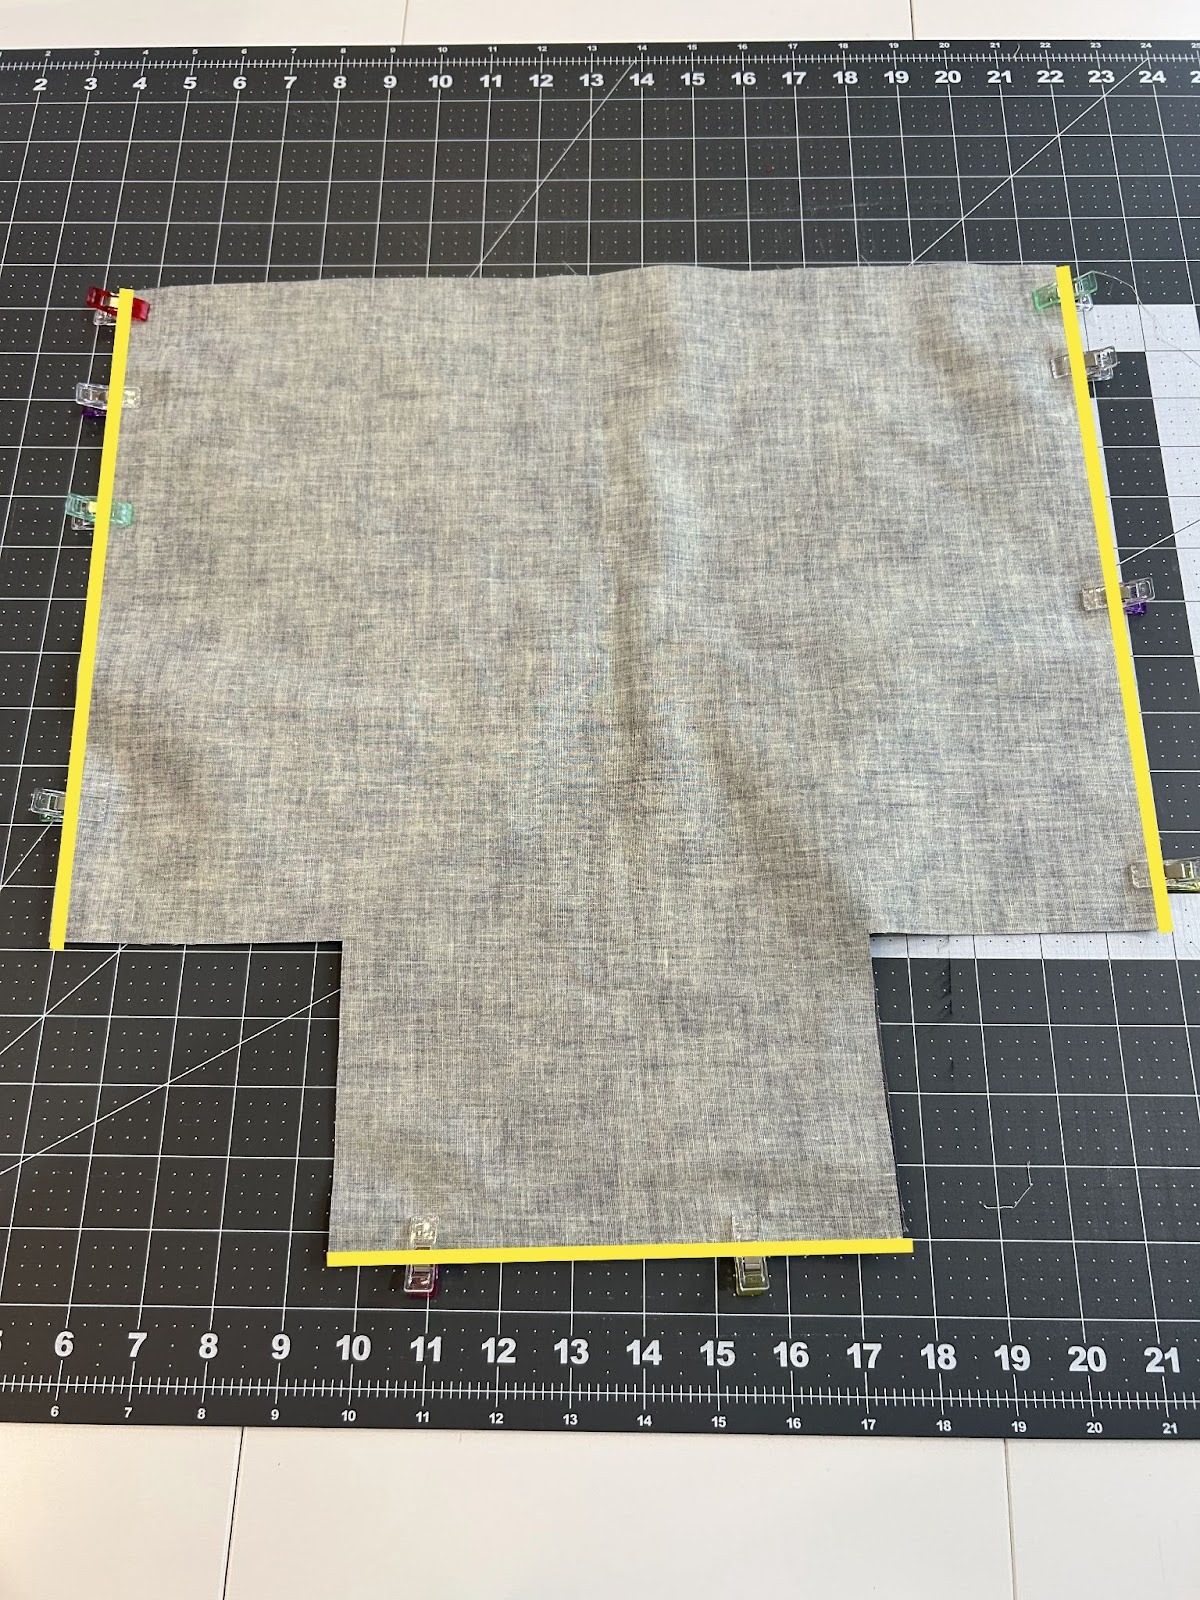
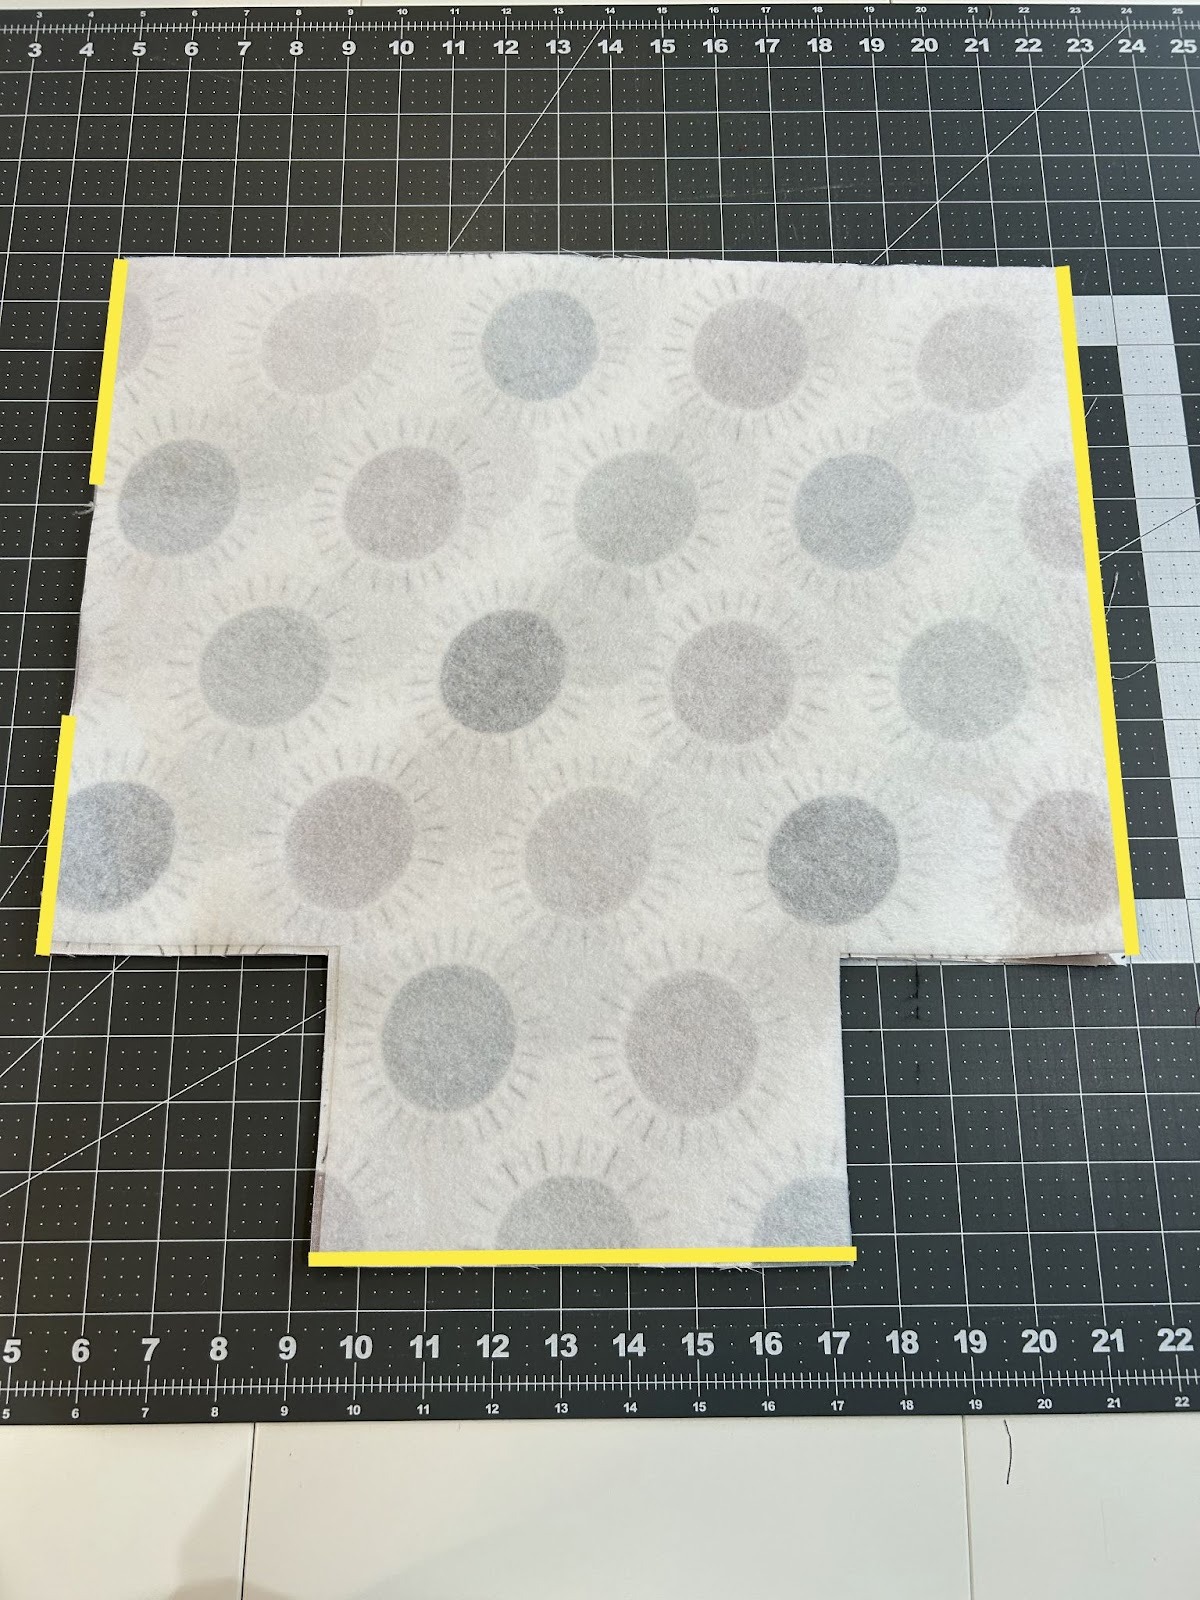
We will start by prepping our fabric. From the main fabric, cut two pieces, each measuring 17” x 17”.
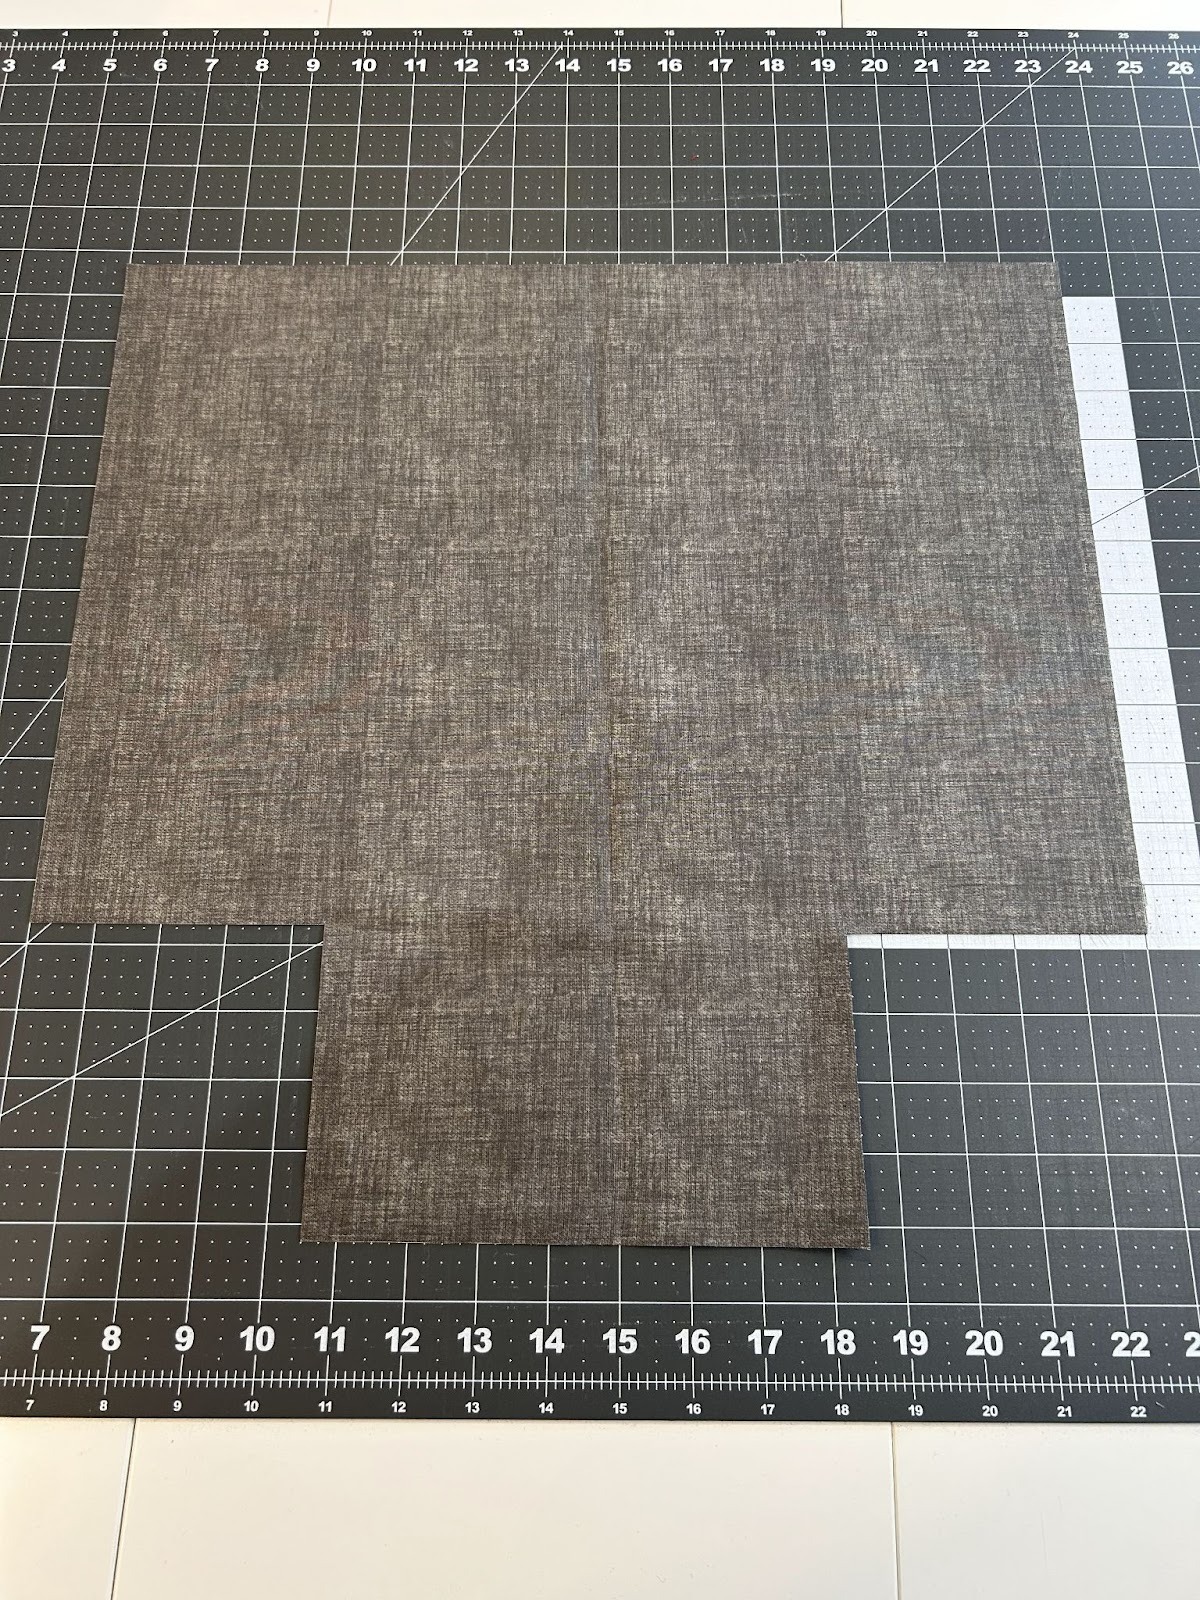
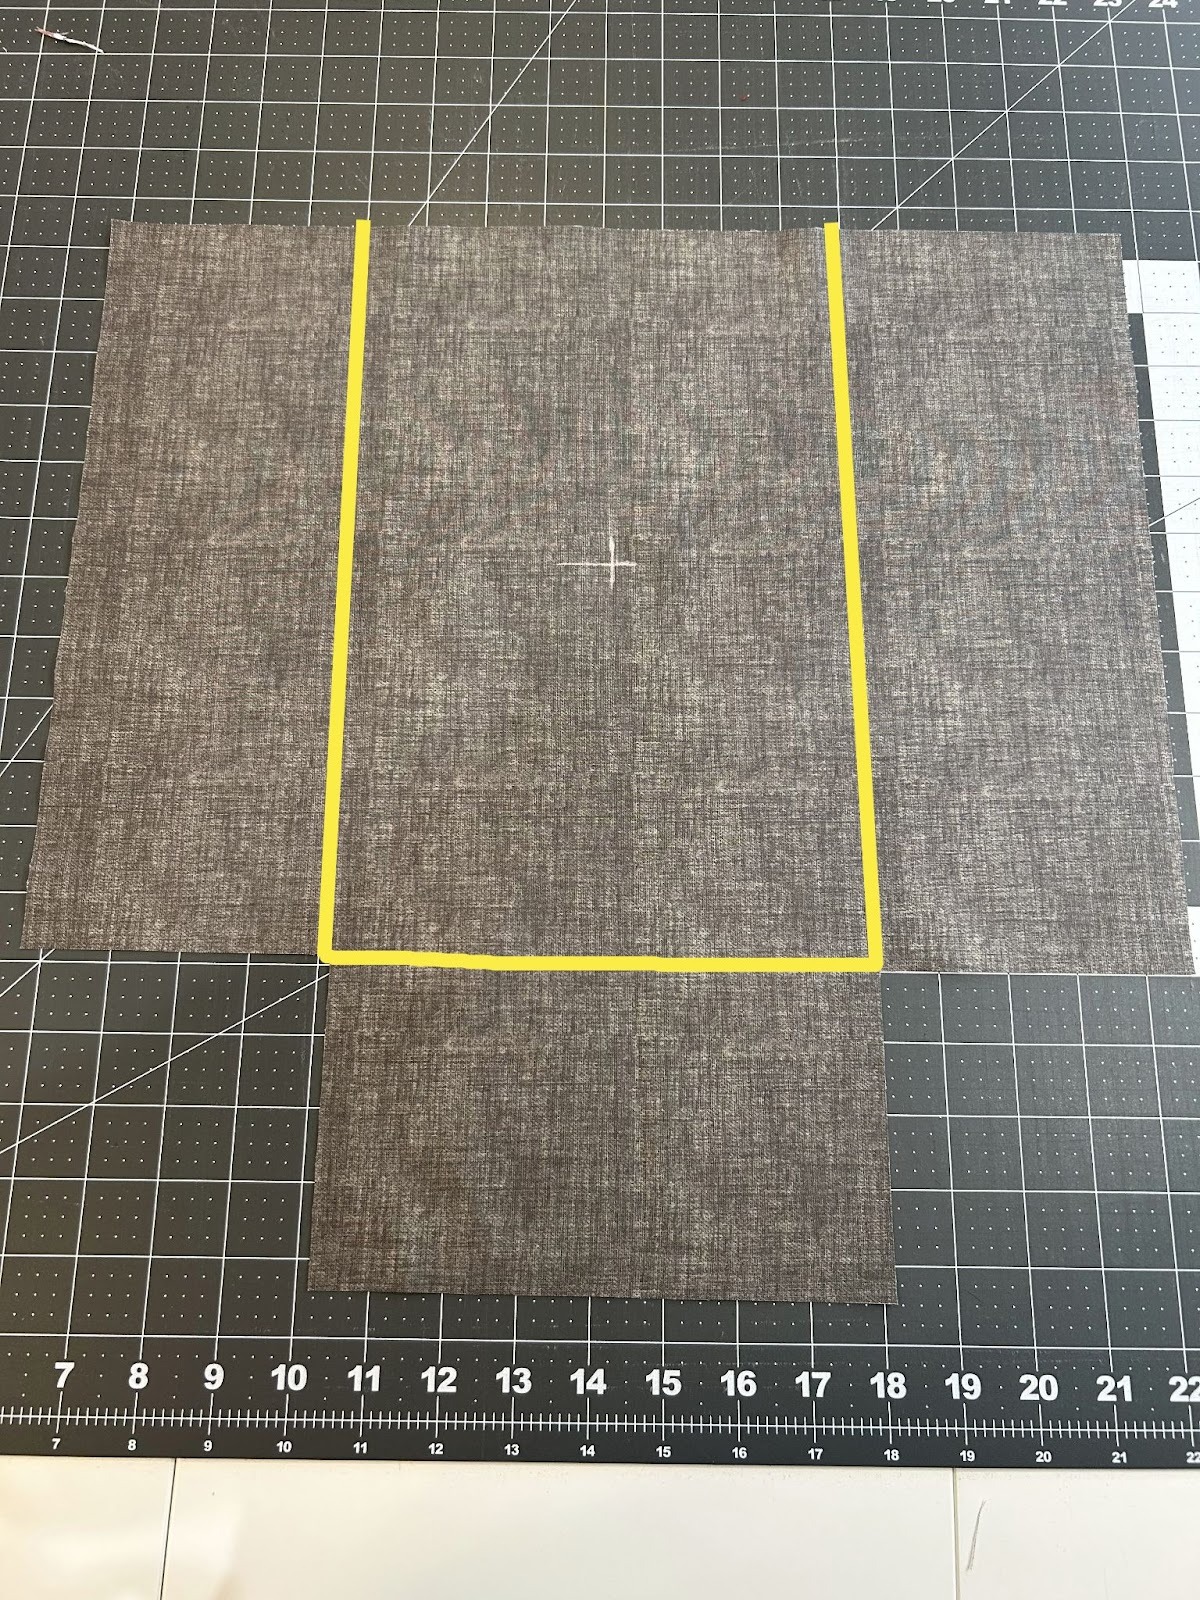
Cut 4½” squares from the two bottom corners of each 17" x 17" fabric piece. You should now have both pieces with a 4½” square removed from each bottom corner. This will help us box the corners so the bag will stand up.
Helpful Tip:
If you prefer a more square-shaped bottom instead of a rectangular one, you can cut 3½” squares from the corners instead of 4½”. A smaller cut creates a narrower boxed corner, which changes the finished shape of the bag slightly.
Either option works beautifully — it just depends on the look you prefer!
Repeat this for the lining fabric and the fusible fleece.
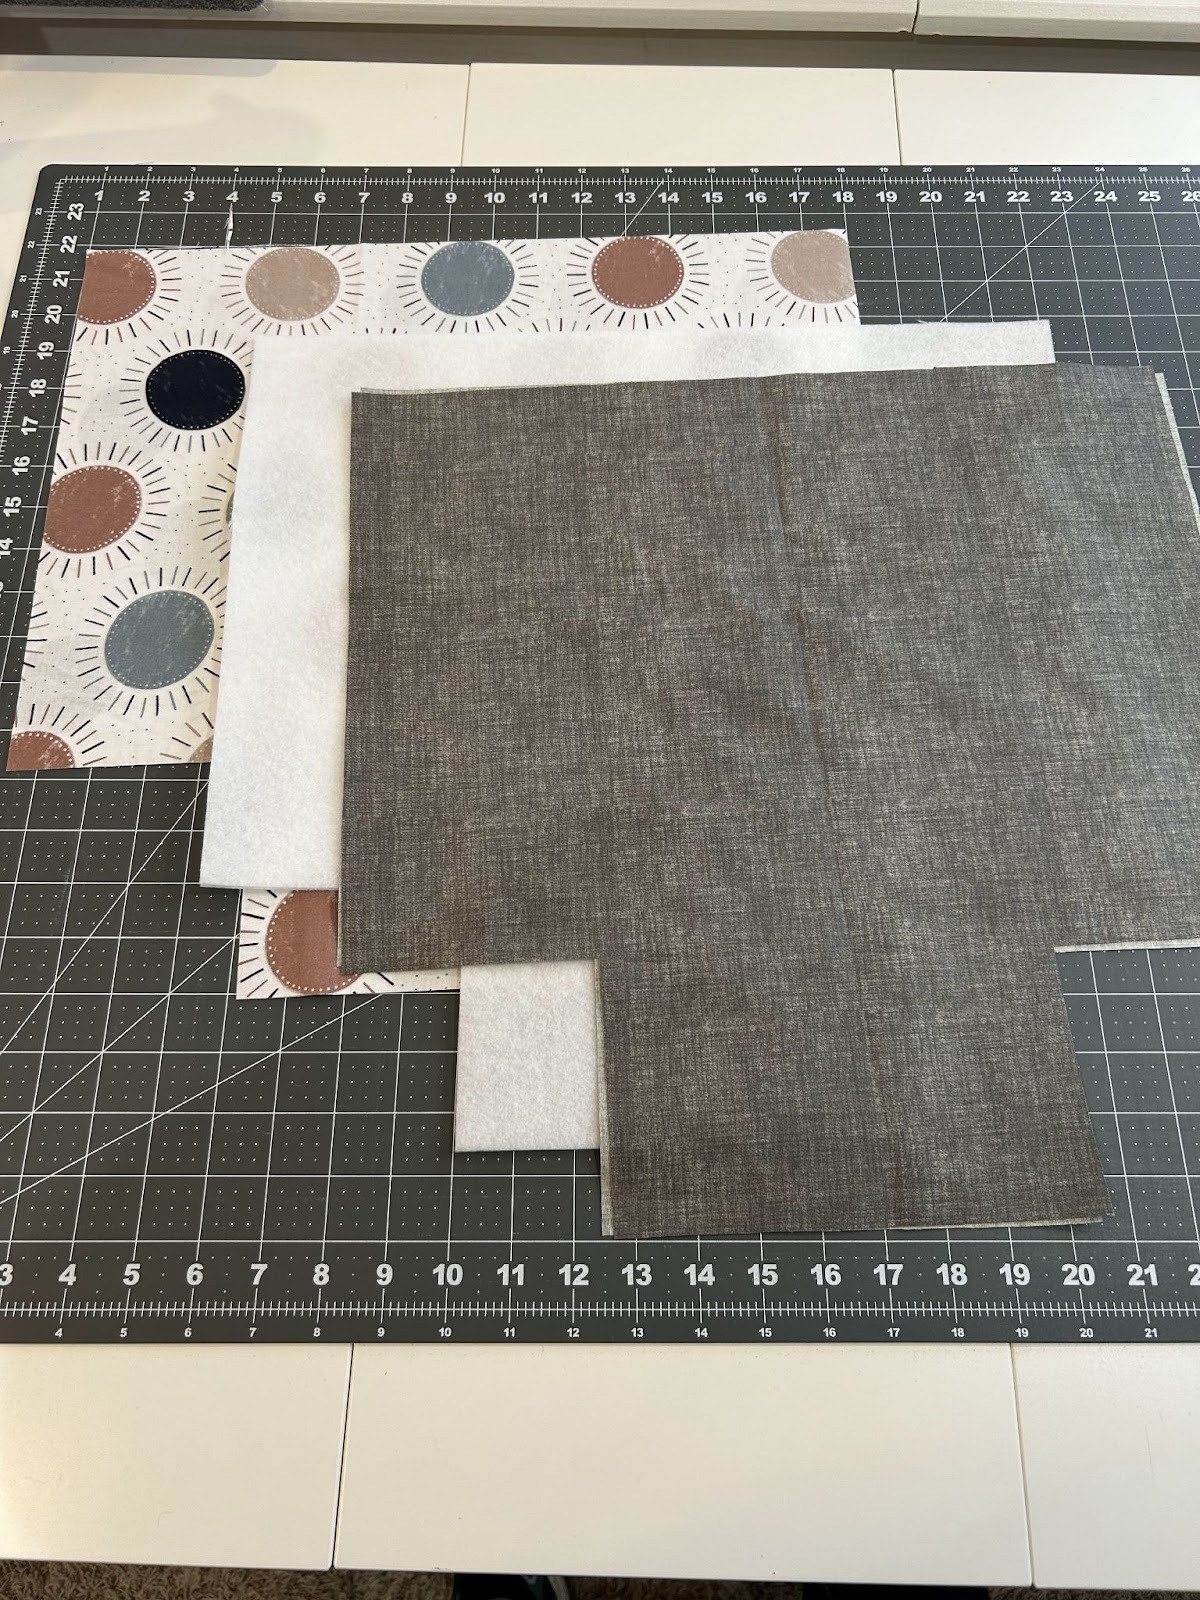
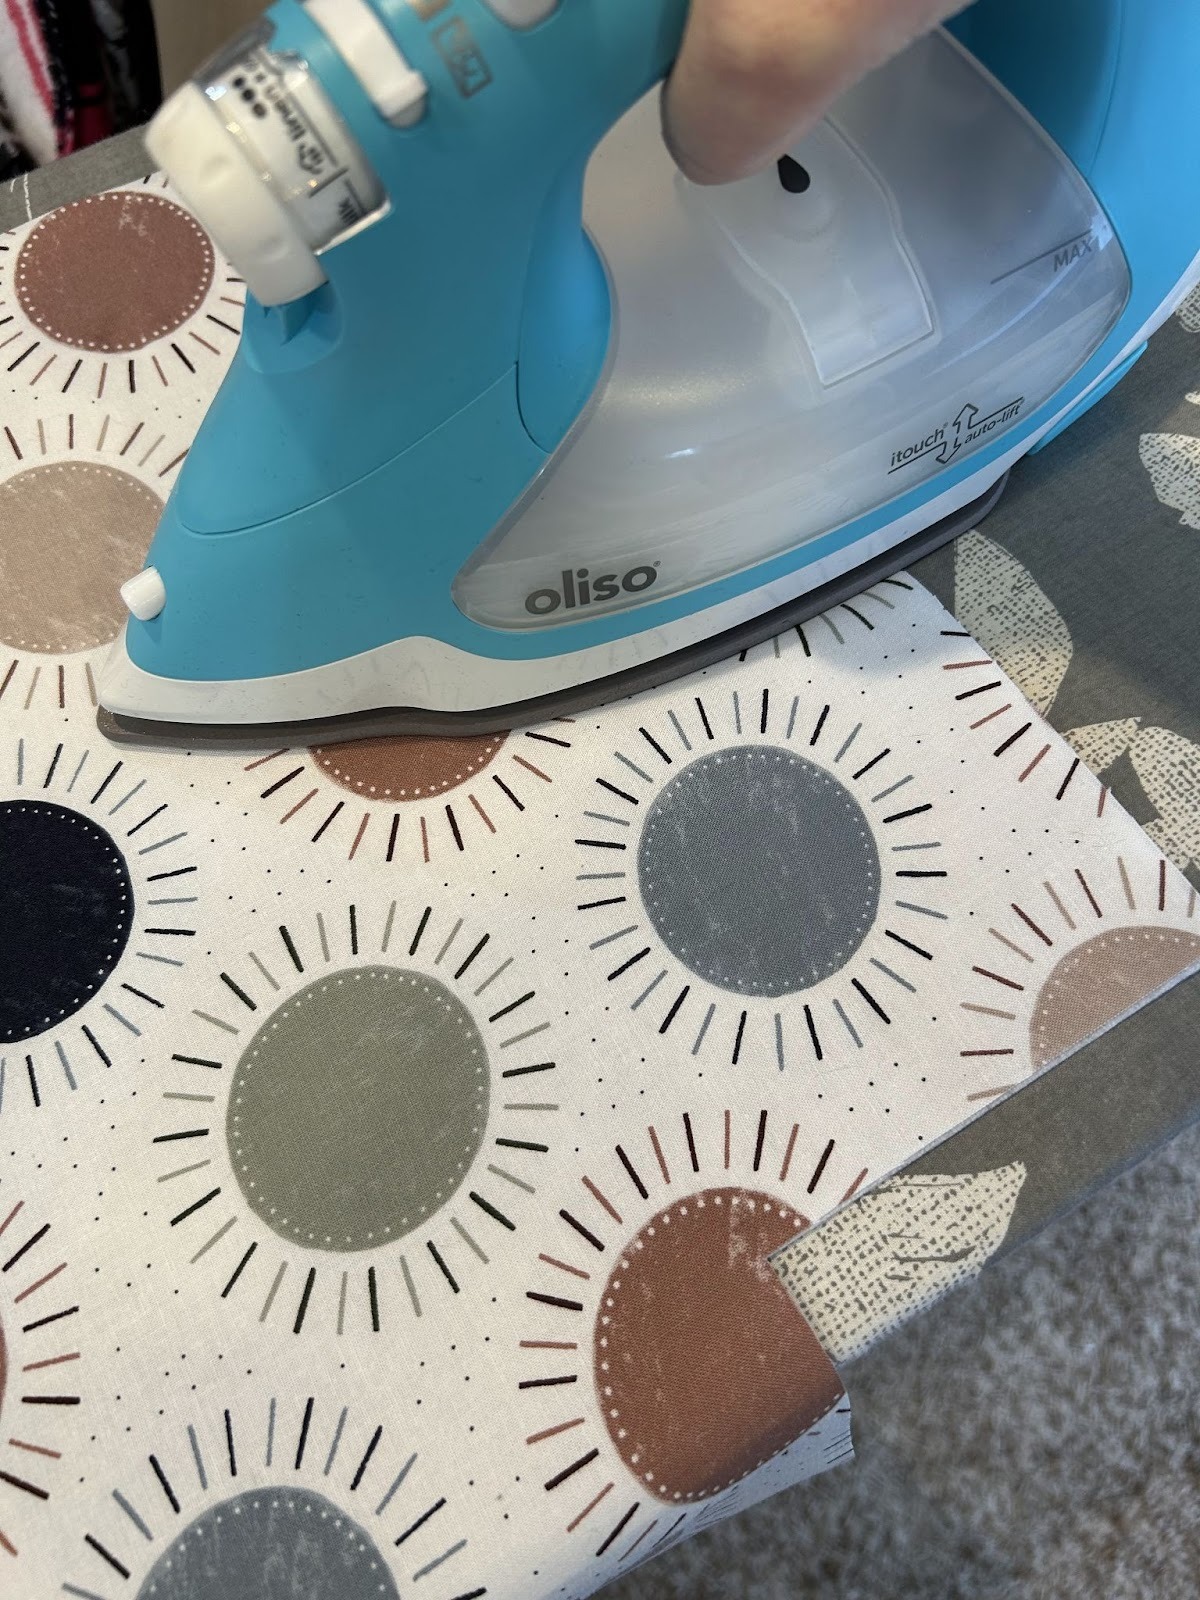
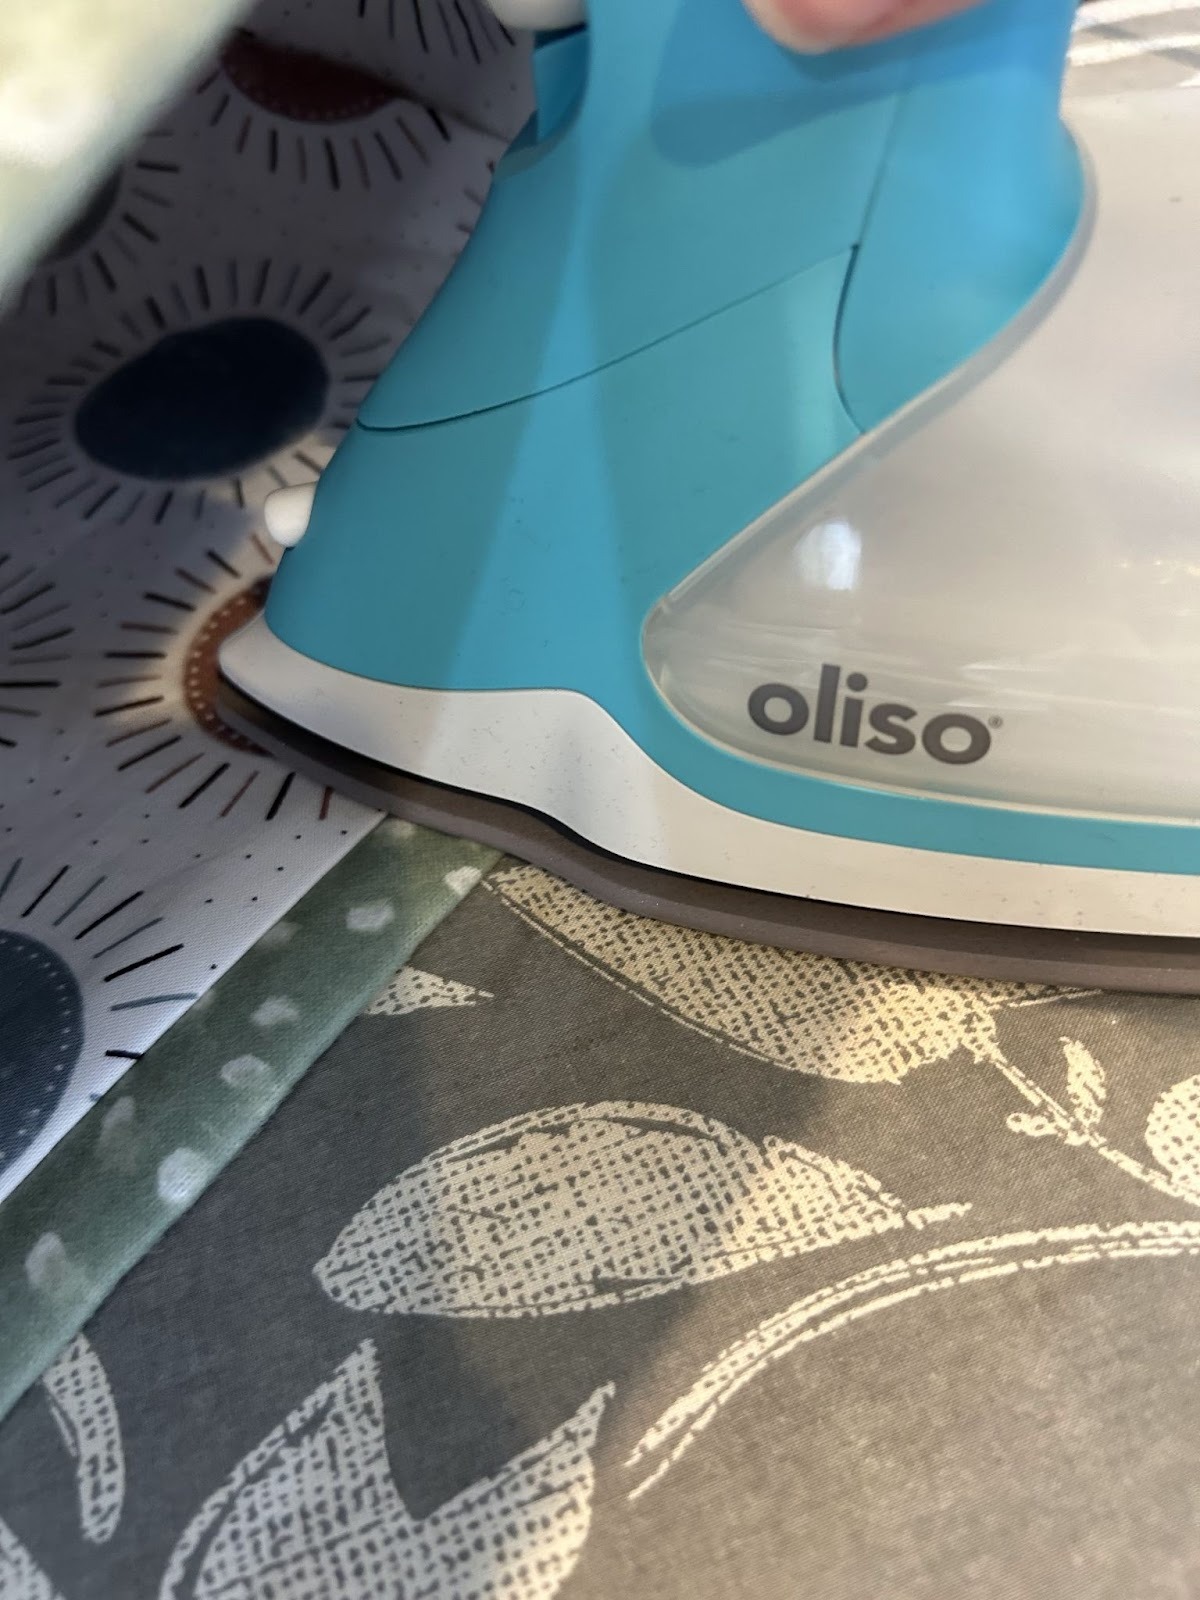
Fuse the fleece to the wrong side of both lining fabric pieces.
Now we will get our front panel ready for embroidery. We want to find the center for our design within the center part of the panel. The outside flaps will be for the bottom and sides of our bag. It’s not a super structured bag so if your design overlaps the sides, it’s okay. Keep it away from the bottom flap though.
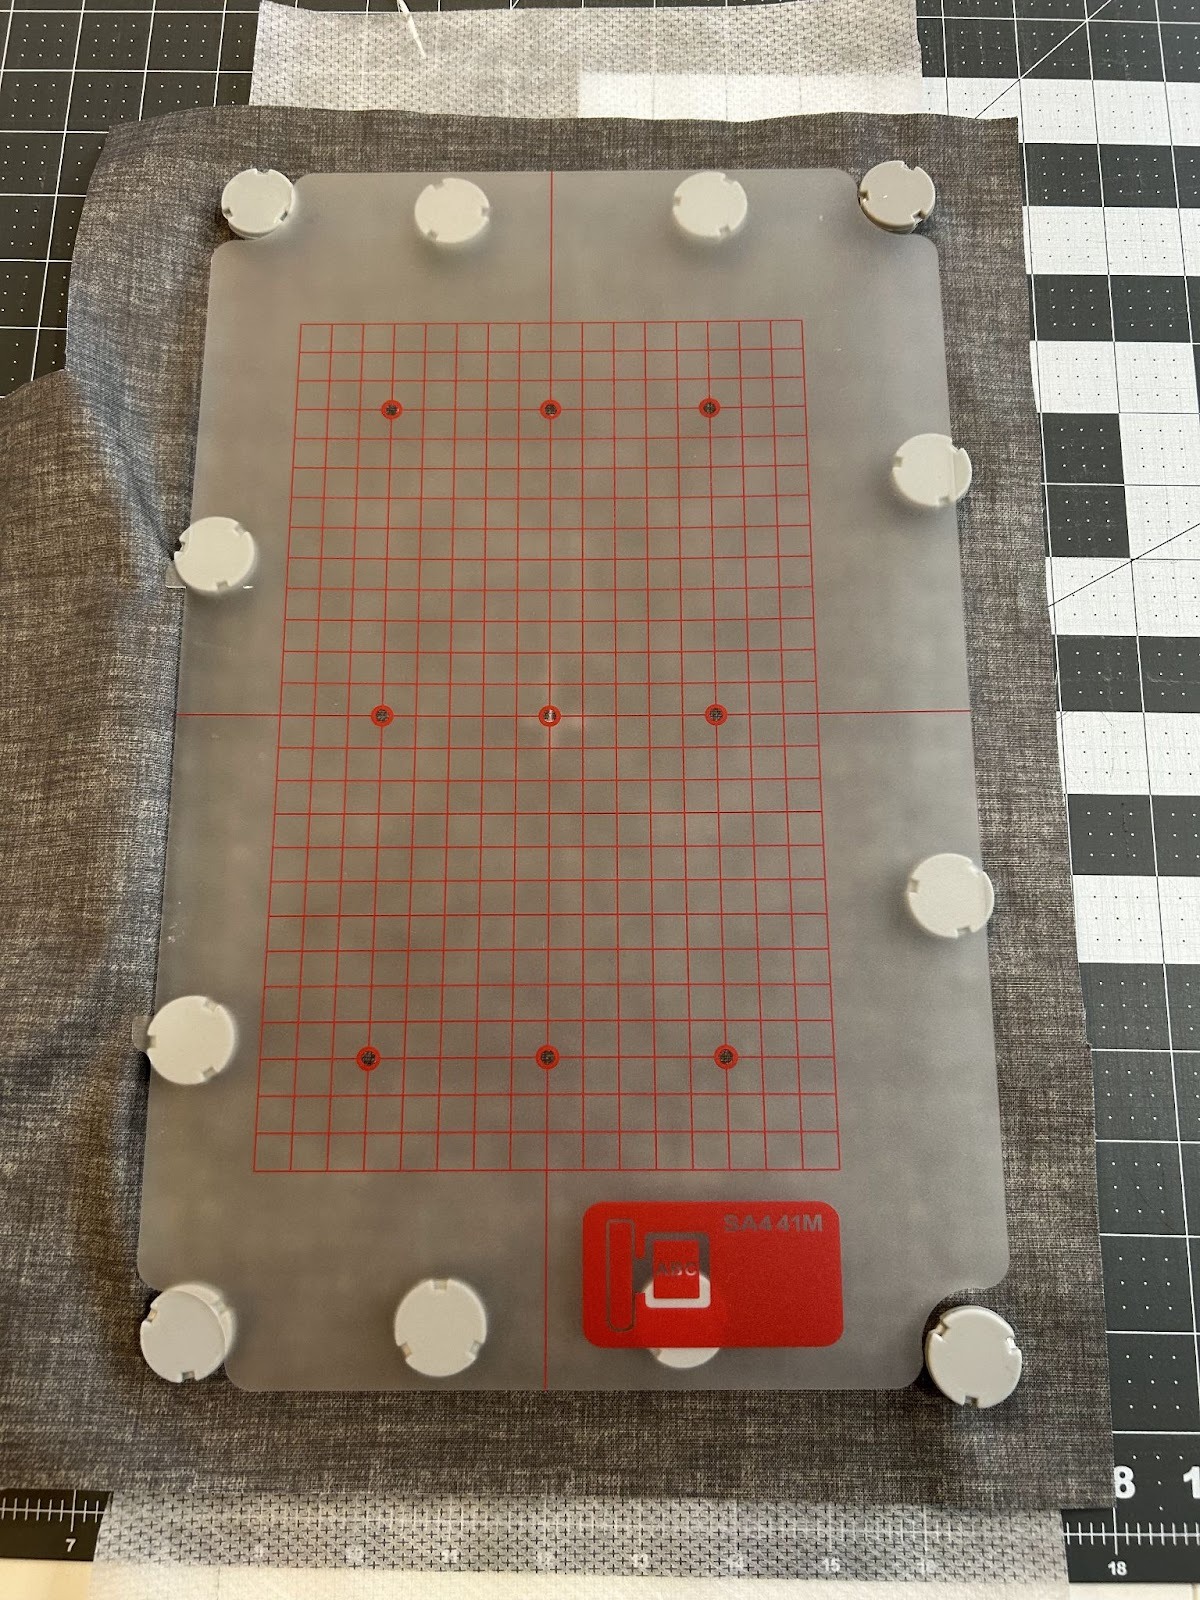
Hoop your magicMesh stabilizer.

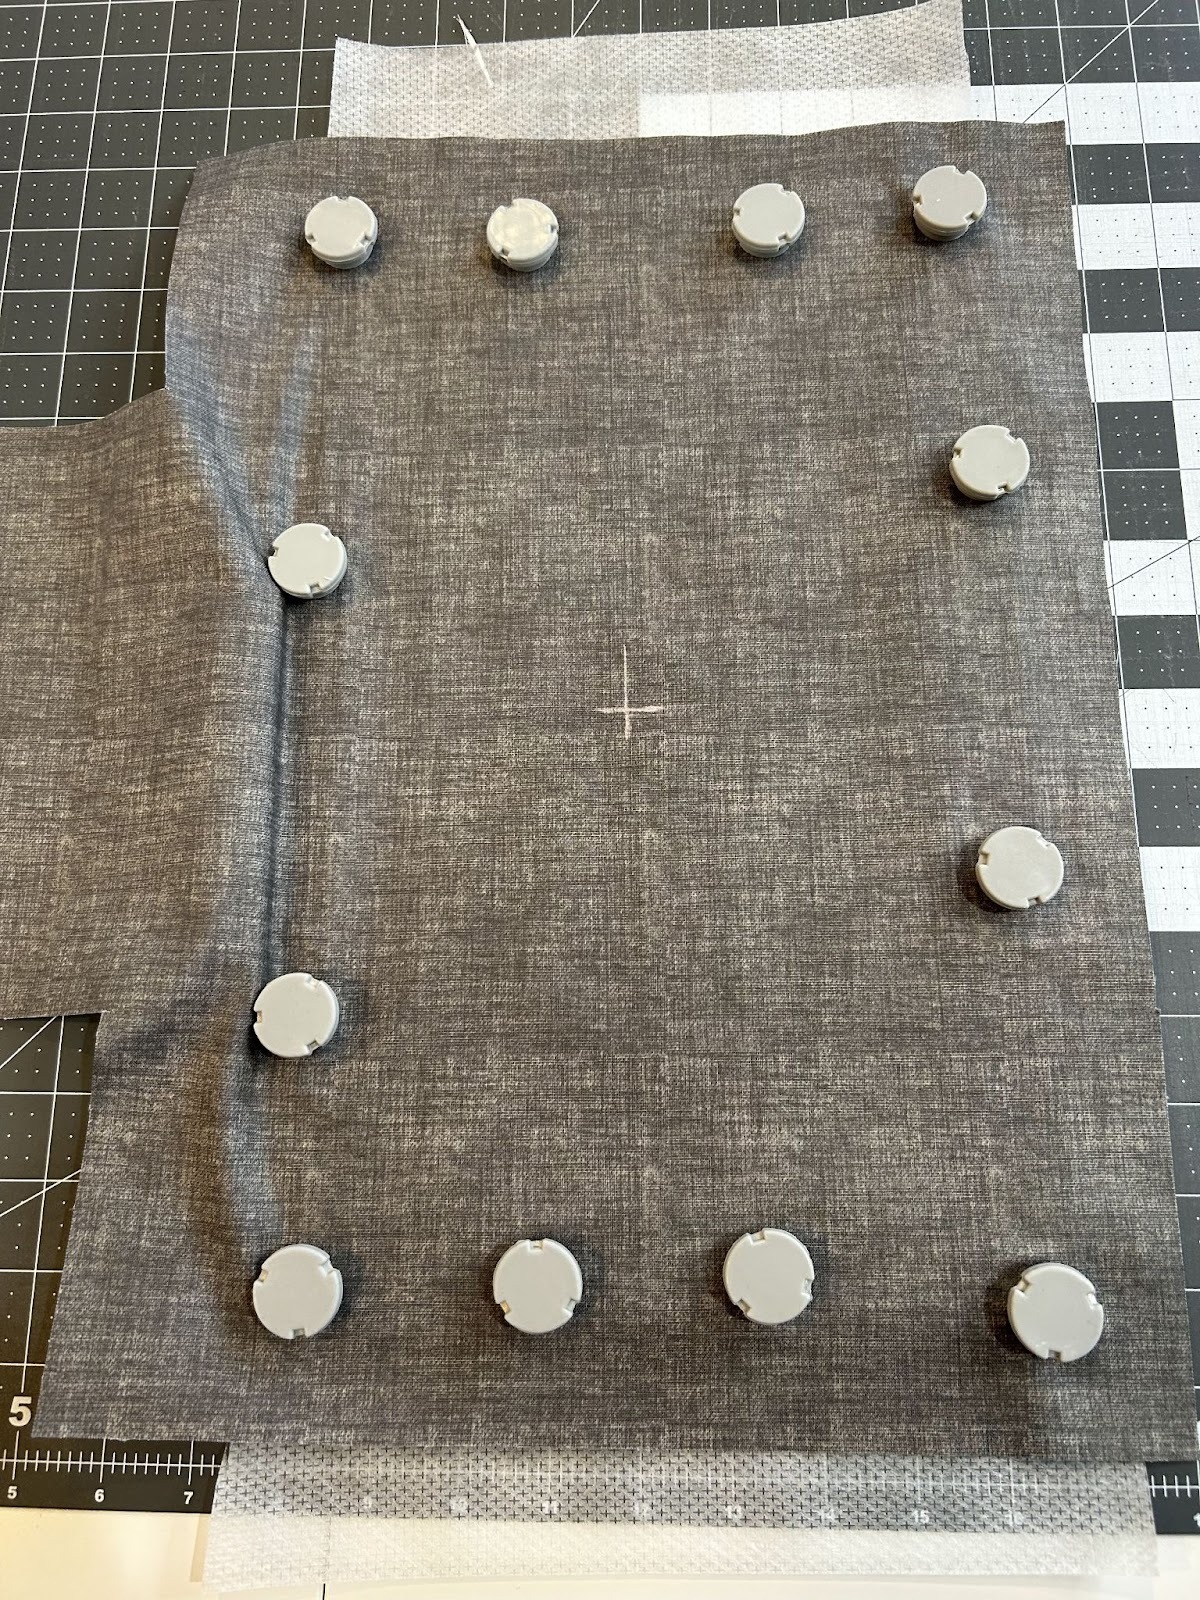
I use my hooping guide to ensure my fabric is placed where I want it in my hoop with the centers lining up.
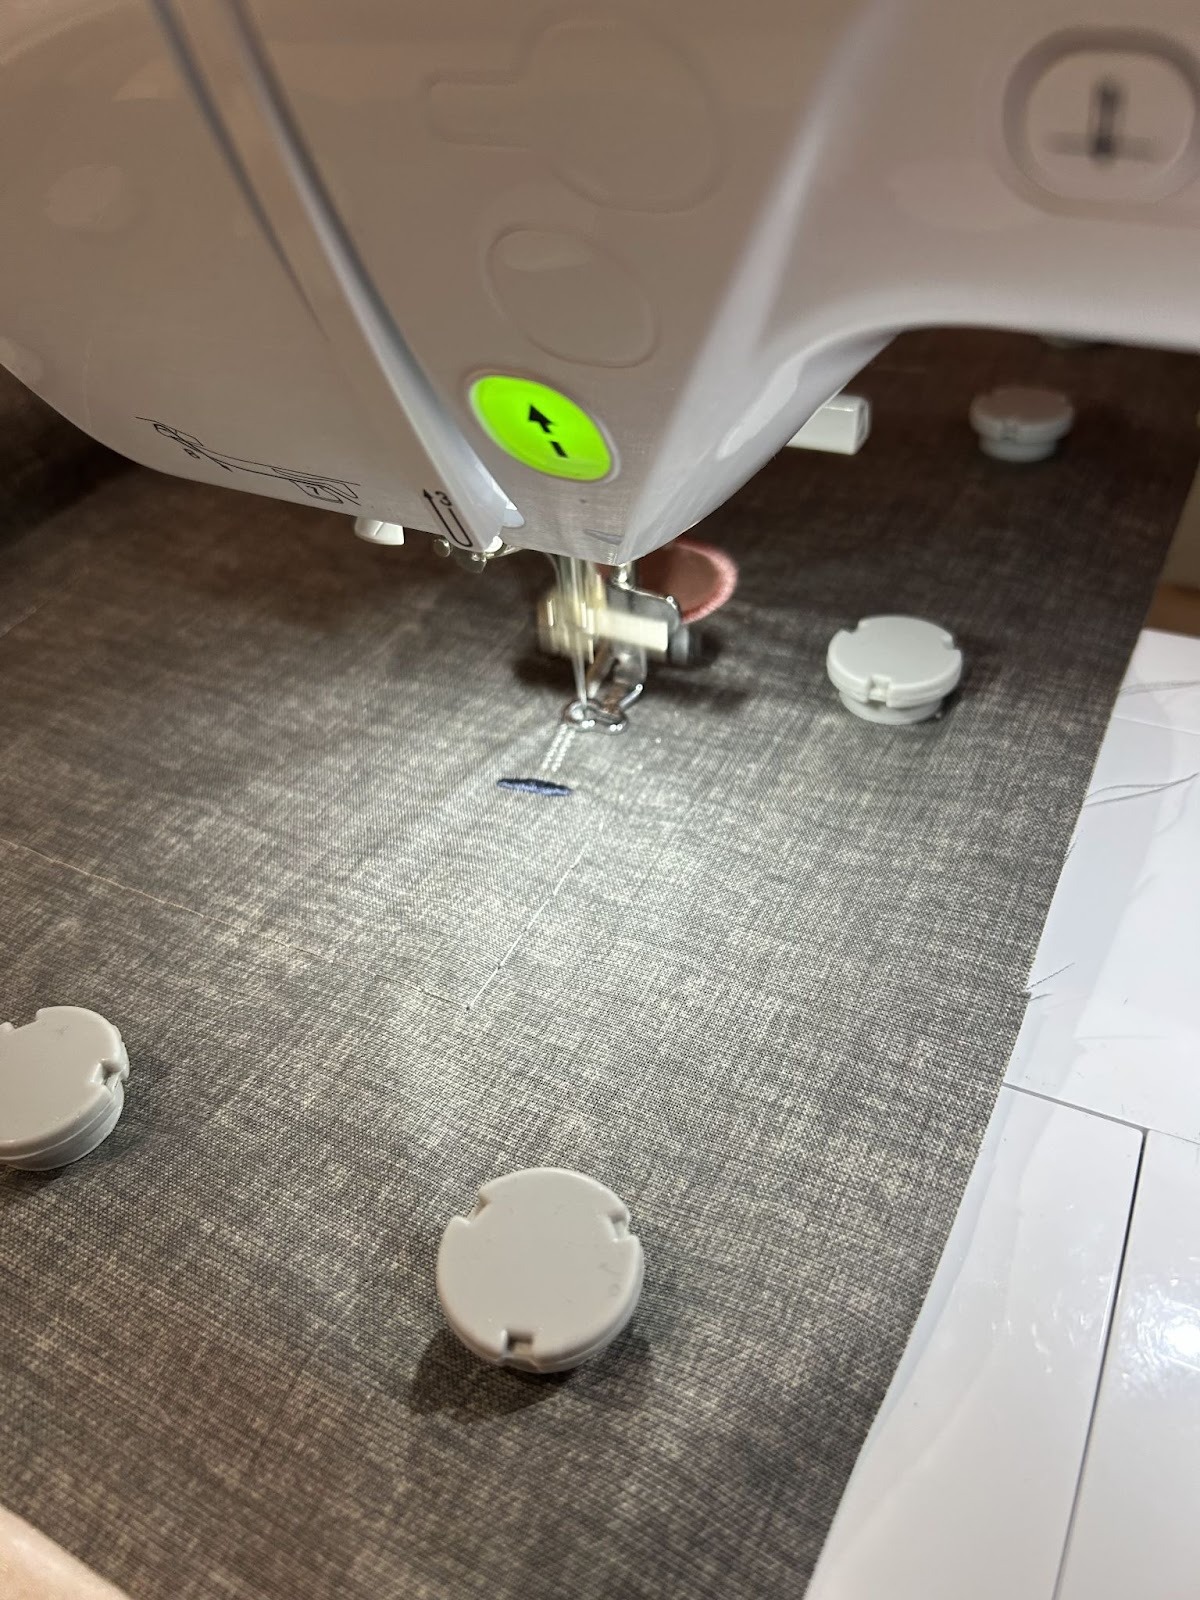
Now we are ready to put our hoop in the machine to start embroidering.
Embroider your design. Follow your color chart for the exact steps, to change threads, and to do any applique on the project. My design had one small piece of applique behind the yarn ball.
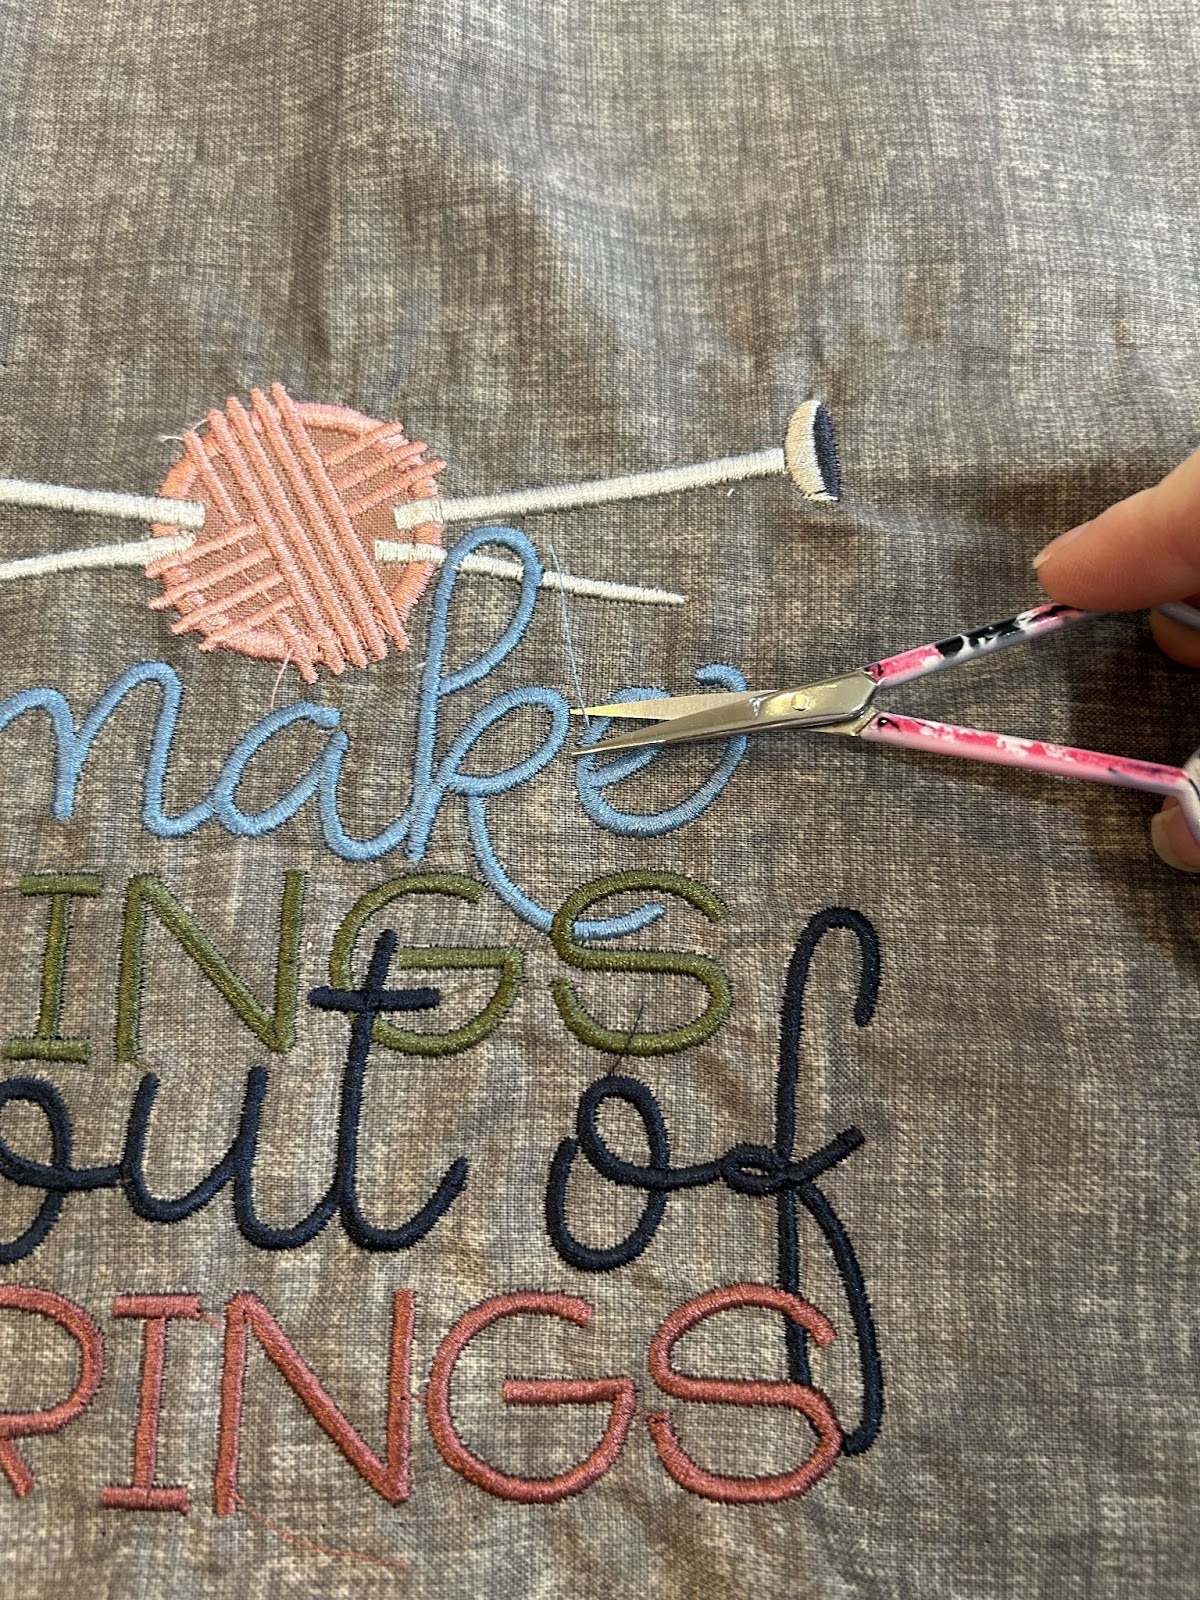
Once your design is stitched, remove it from the machine and hoop. Trim up any threads.
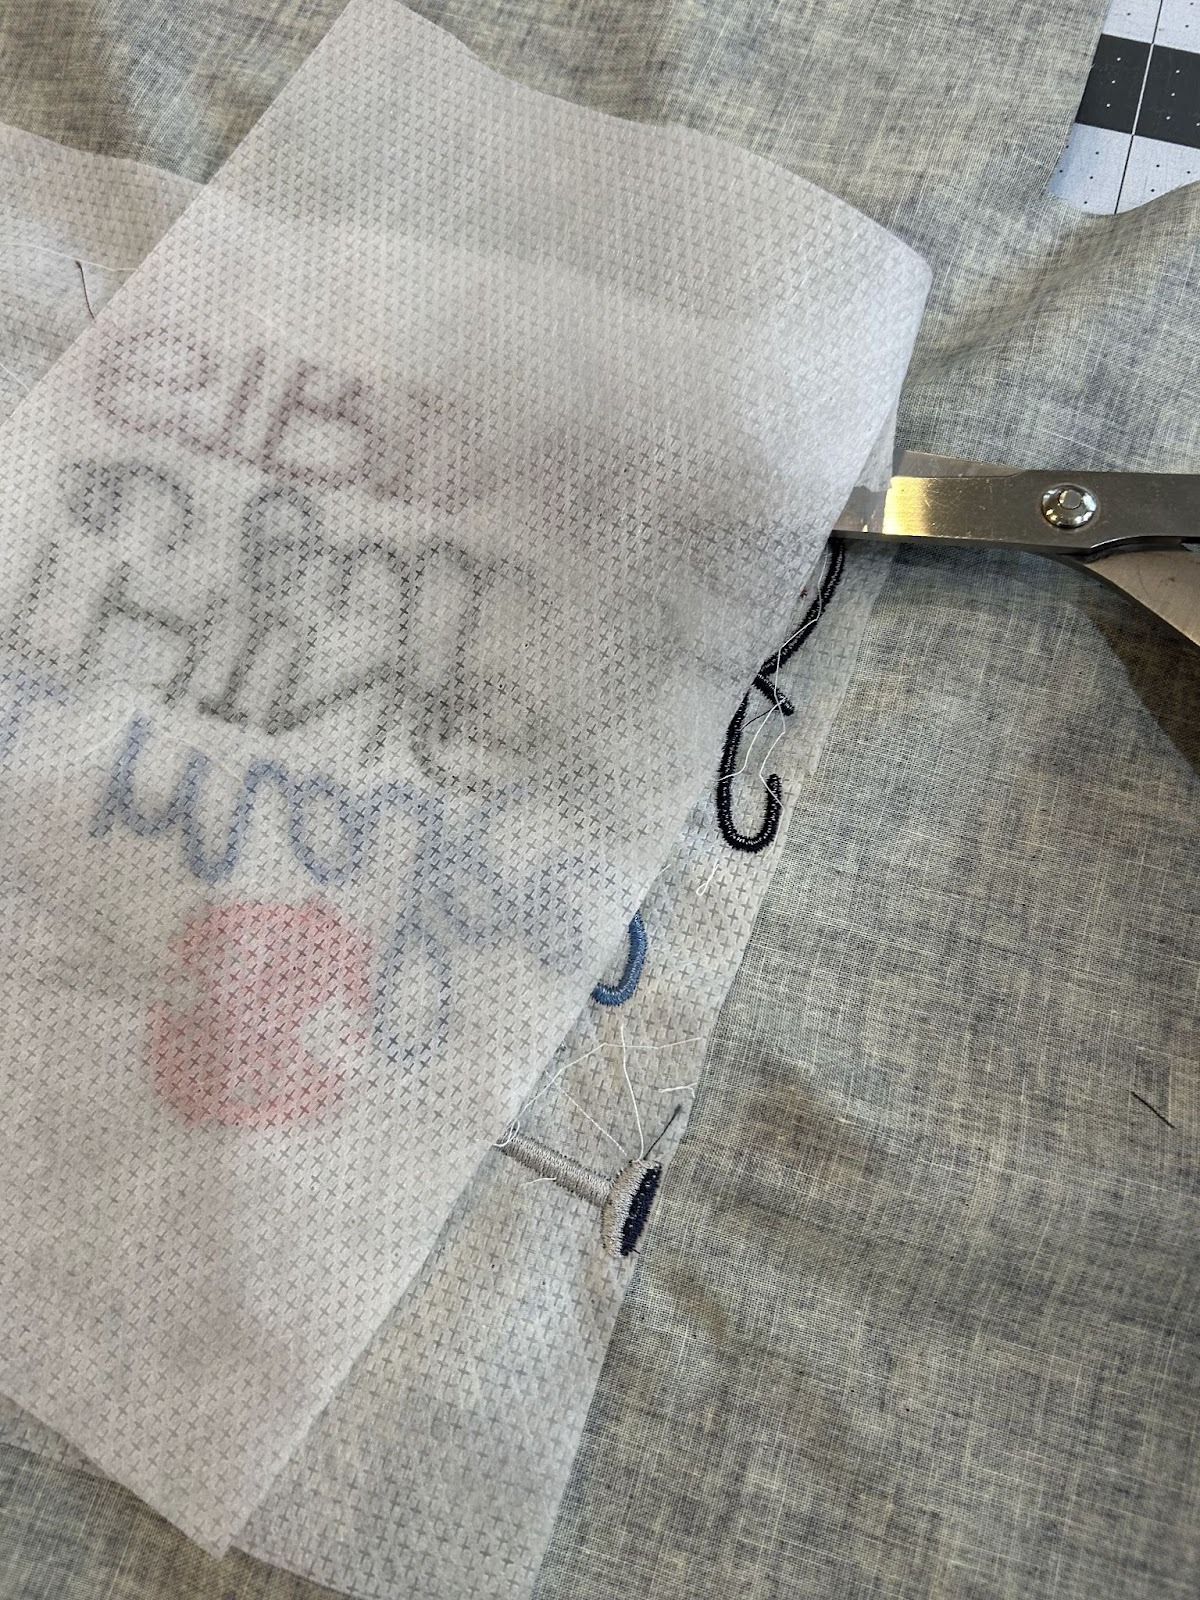
Trim the stabilizer on the back. I don’t worry about the threads on the back as they won’t be seen.
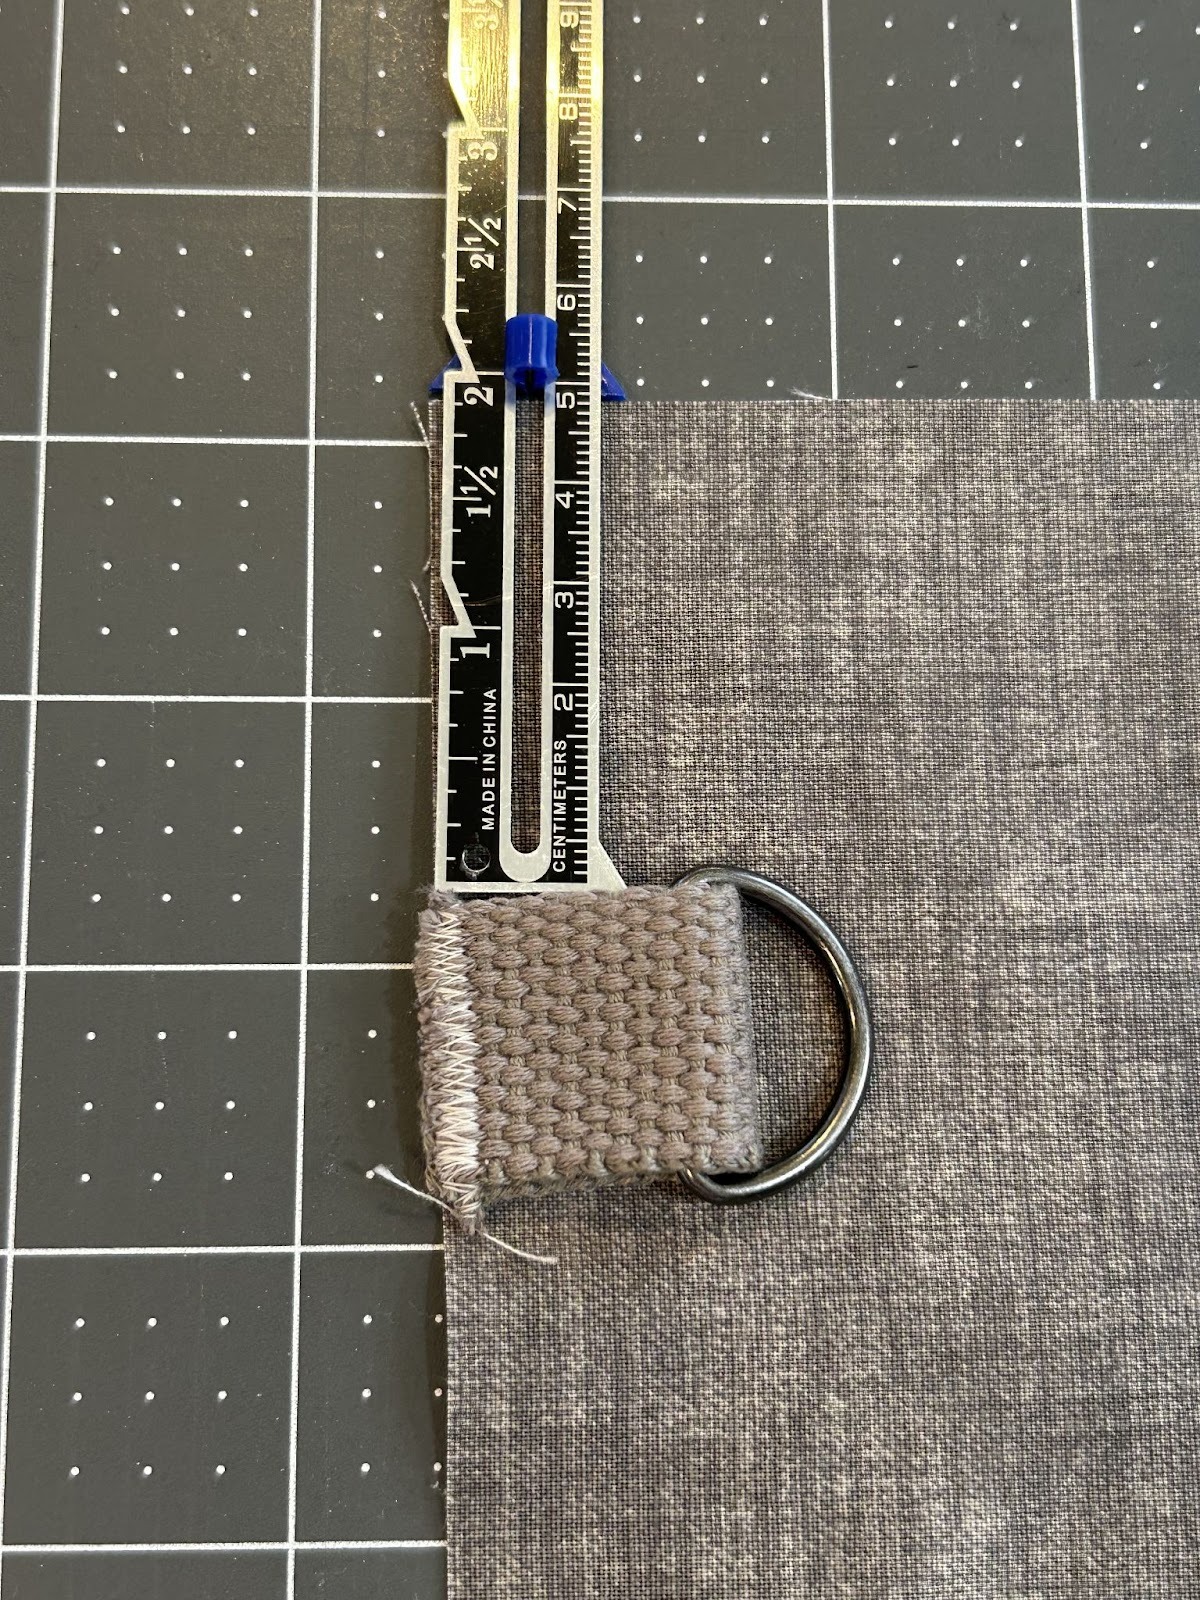
We will now cut two 5” pieces of our webbing from the length of our strap. Thread a D-ring on each piece of the webbing.
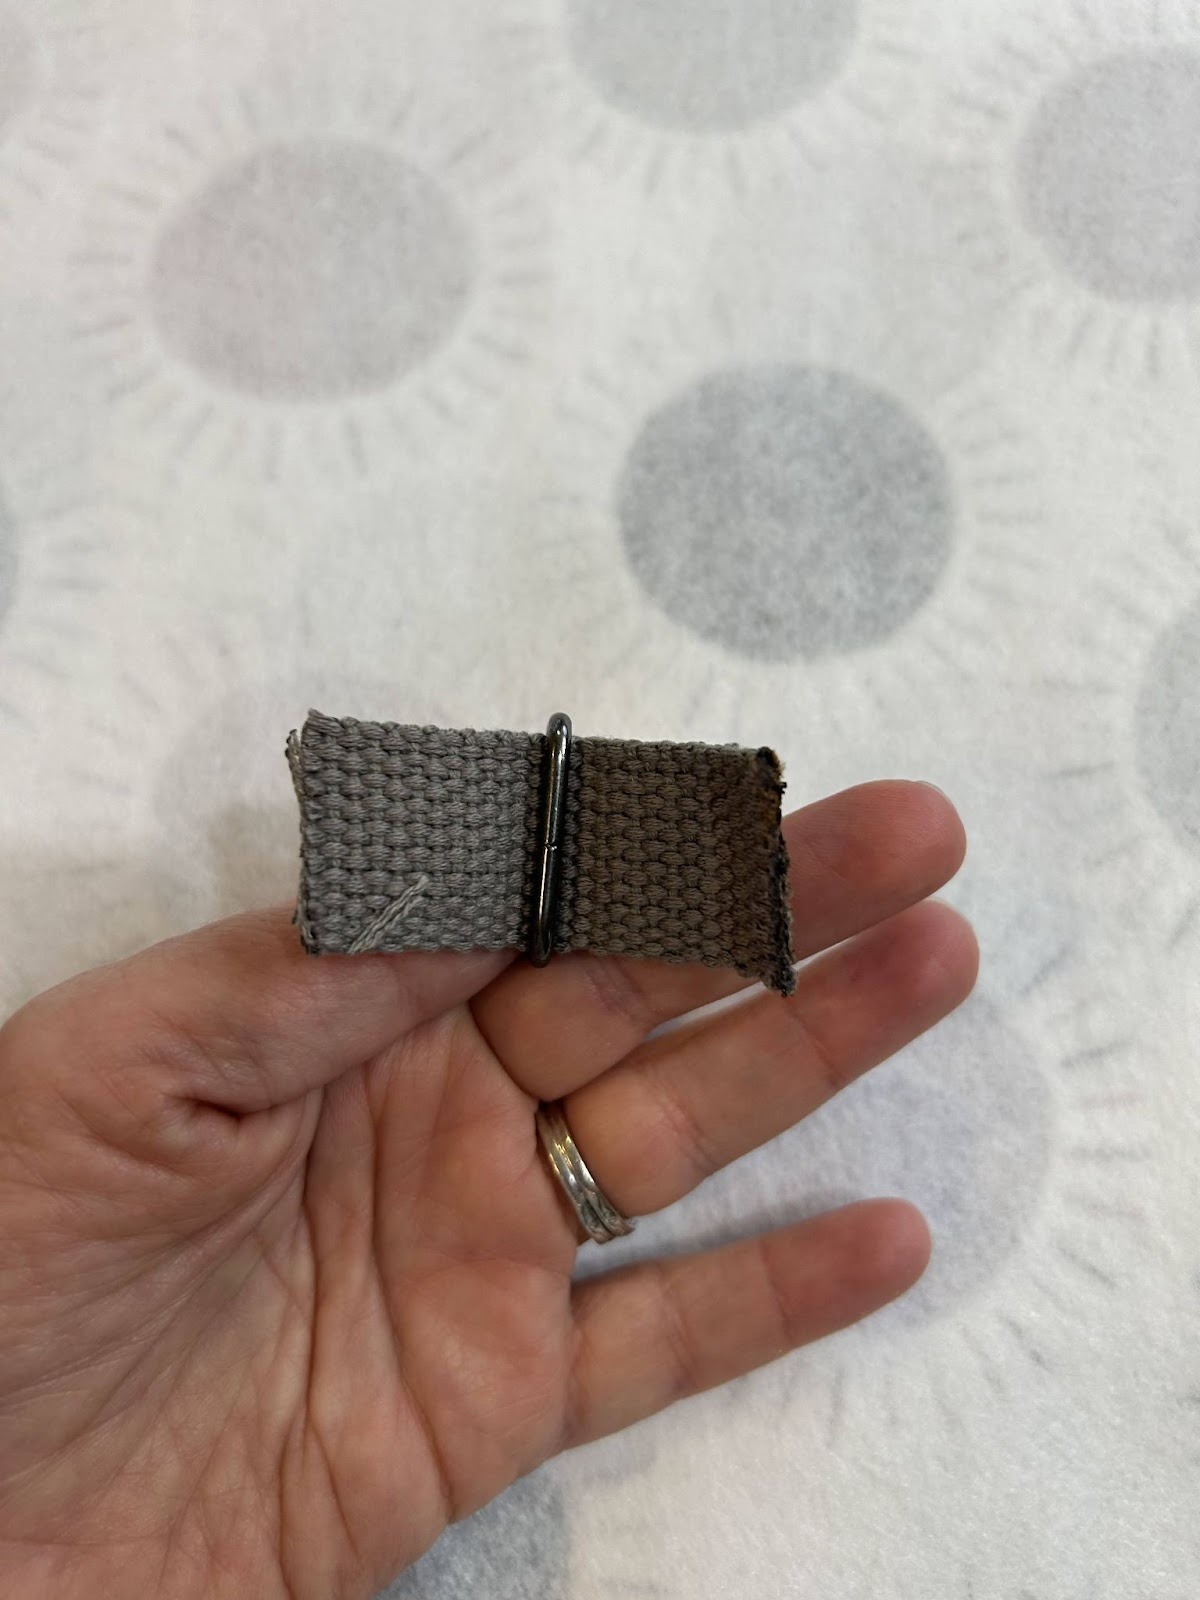
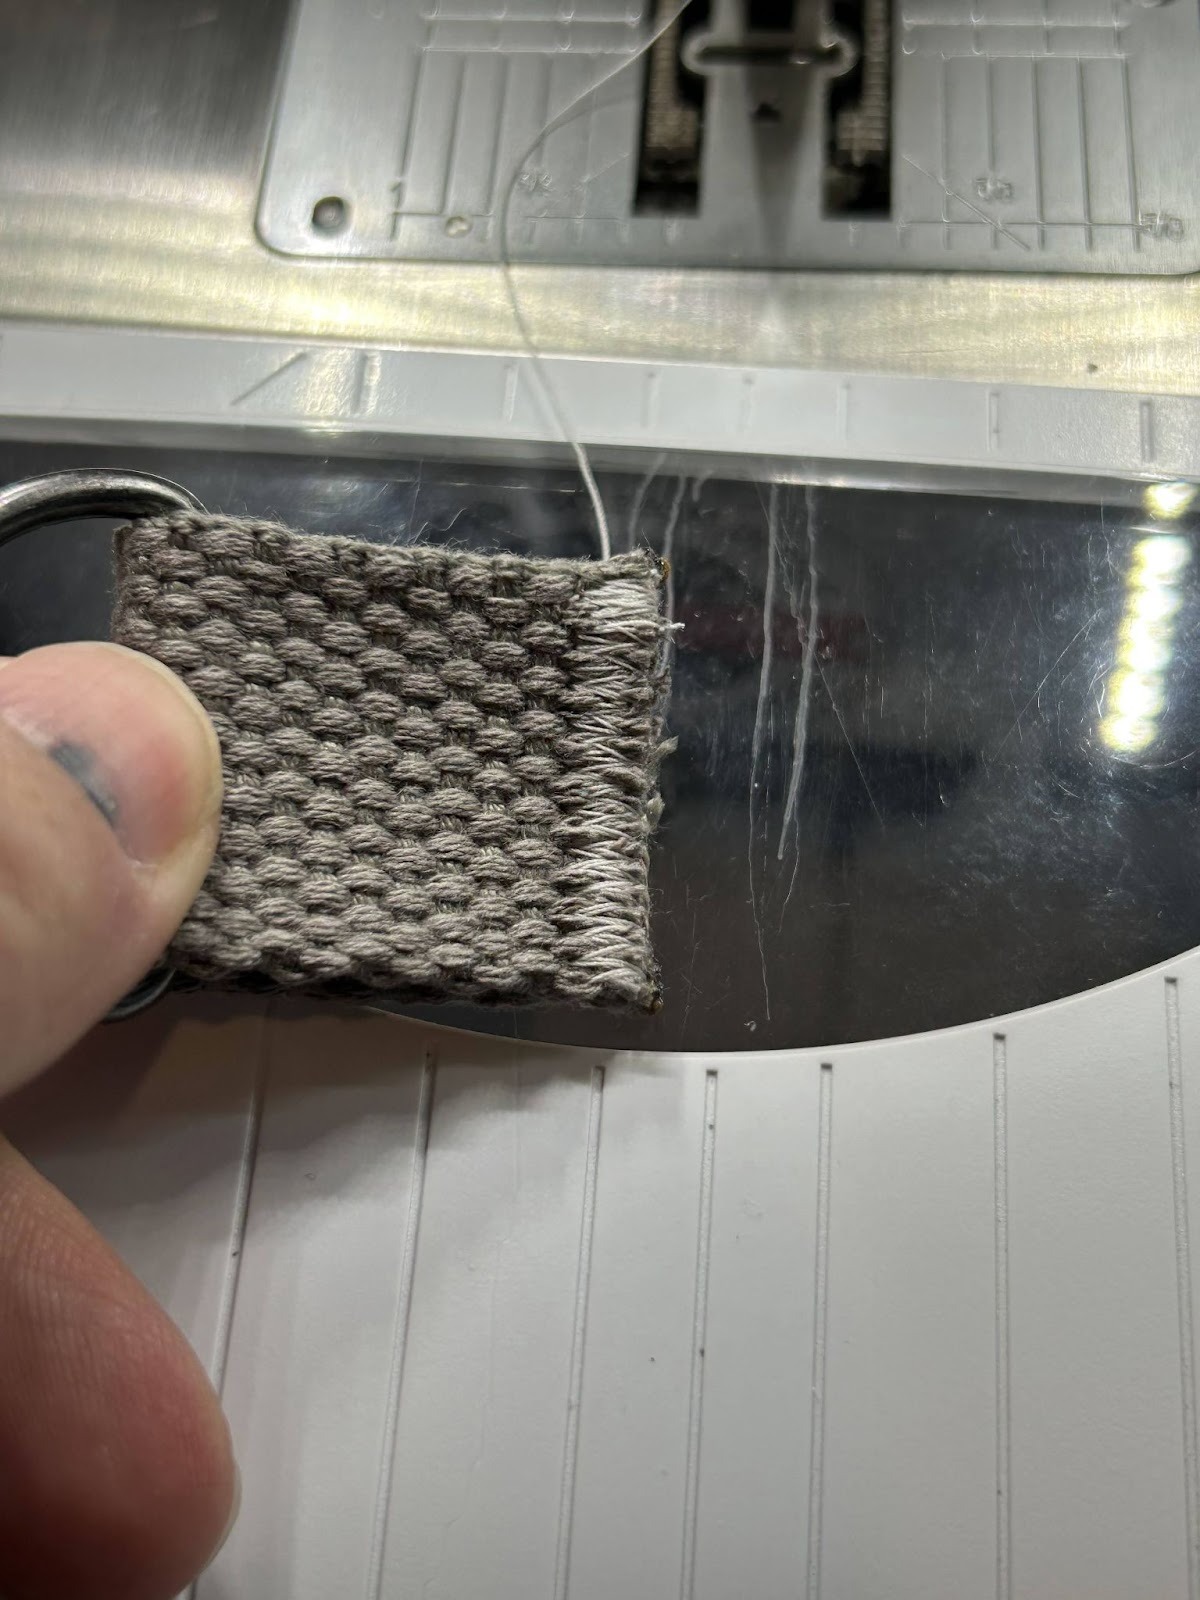
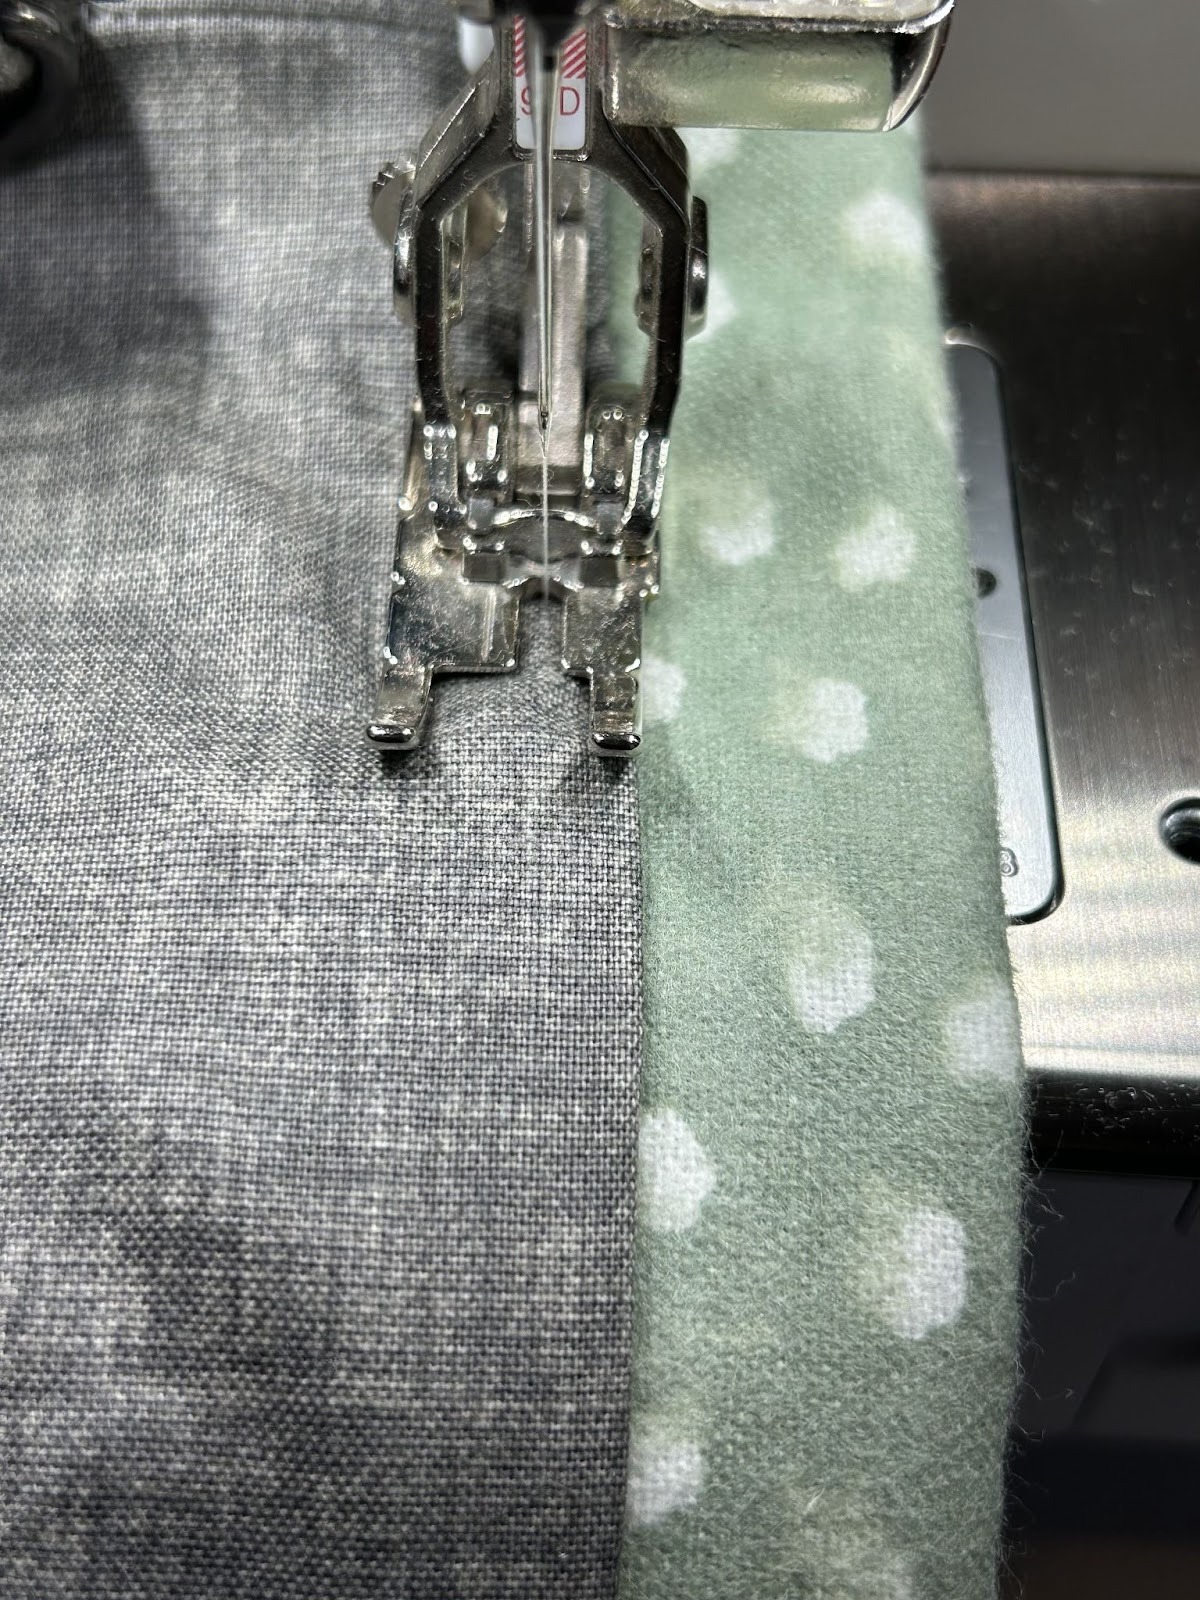
I like to do a tight zigzag stitch on the edges of my straps to keep them from unraveling.
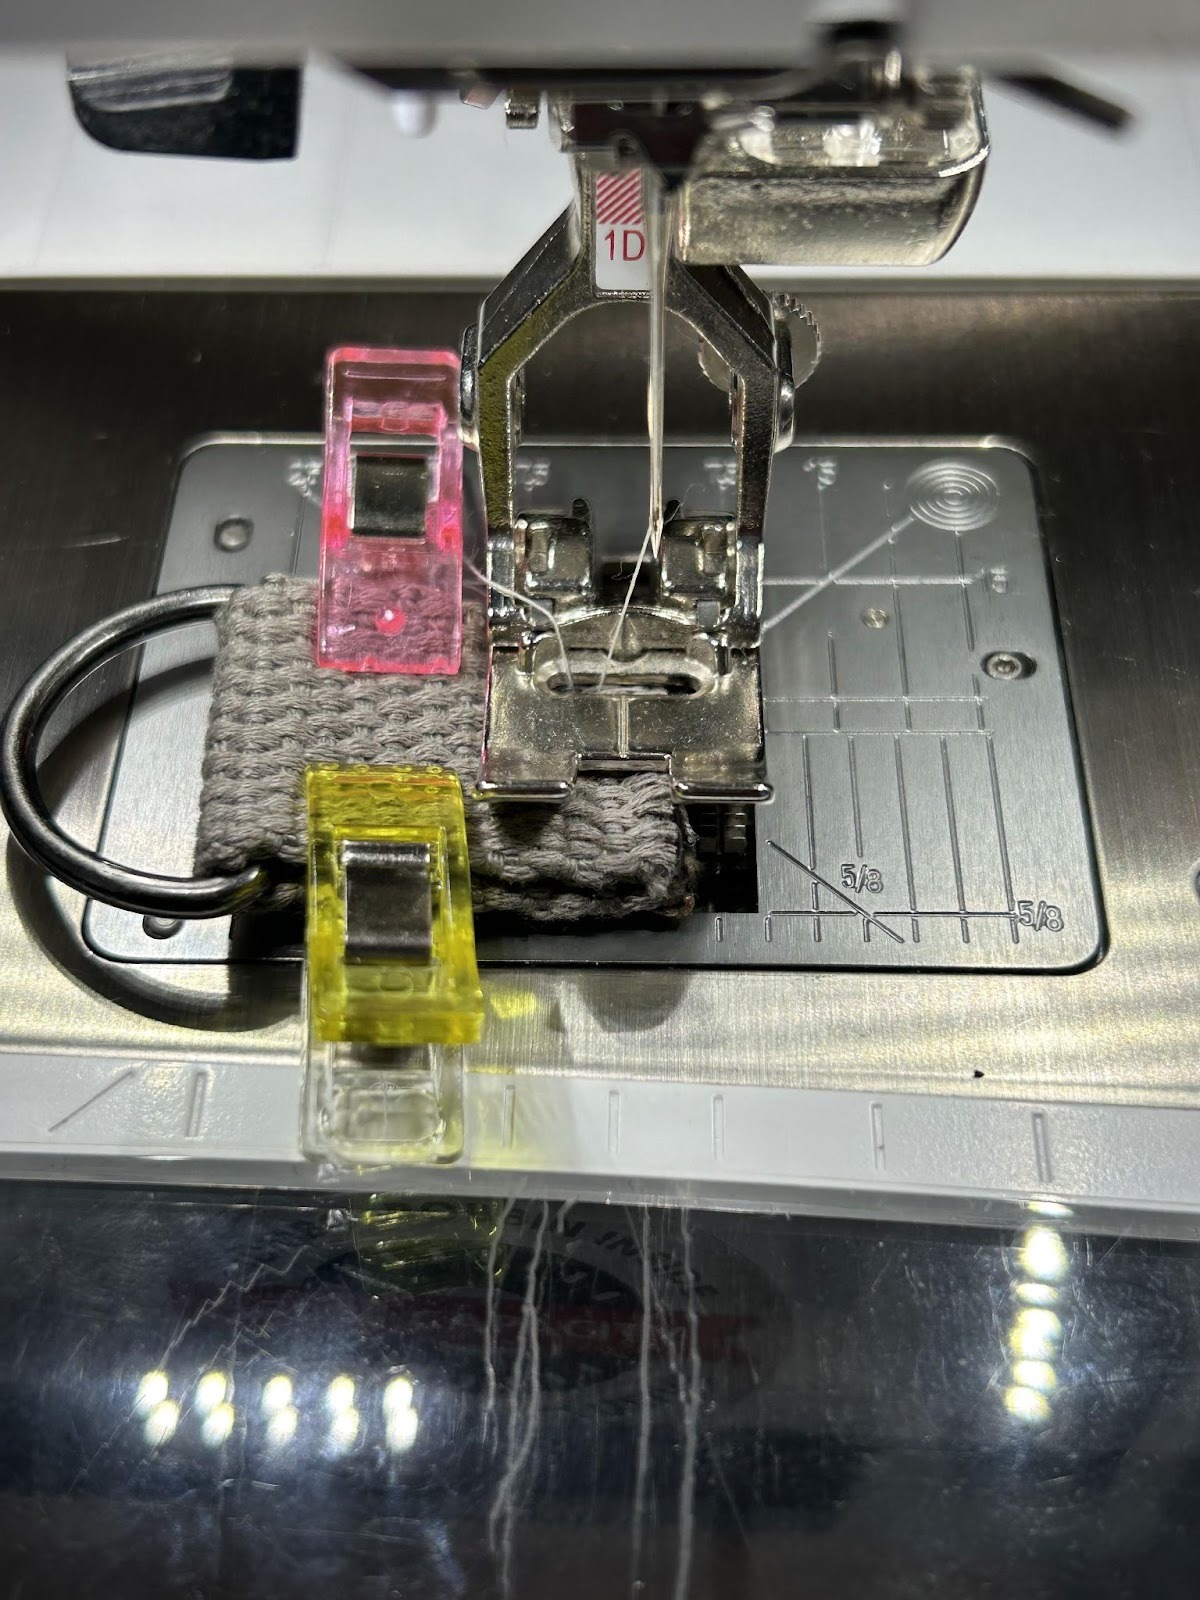
Here they are finished. My strap is more cotton, but if you had a nylon strap you could also heat seal the edges.
Place the front of your bag right side up on your work surface. Place the top of each D-ring 2” from the top on the left and right sides. Place the D-ring toward the center with the edge of the strap lining up with the raw edge of the fabric.
Place the back piece of the bag cover over the front with right sides together. Pin or clip it in place. Stitch the sides and the bottom with a ½” seam allowance. Don’t stitch the cut-out areas.
Place the lining pieces with right sides together. We will again be stitching the sides and bottom, but this time we want to leave a 4½” opening on one side.
Now it’s time to box our corners. I like to sit my bag on the workspace with the bottom up and then pull the bottom seam and side seam together.
Line up the raw edges and clip or pin in place.
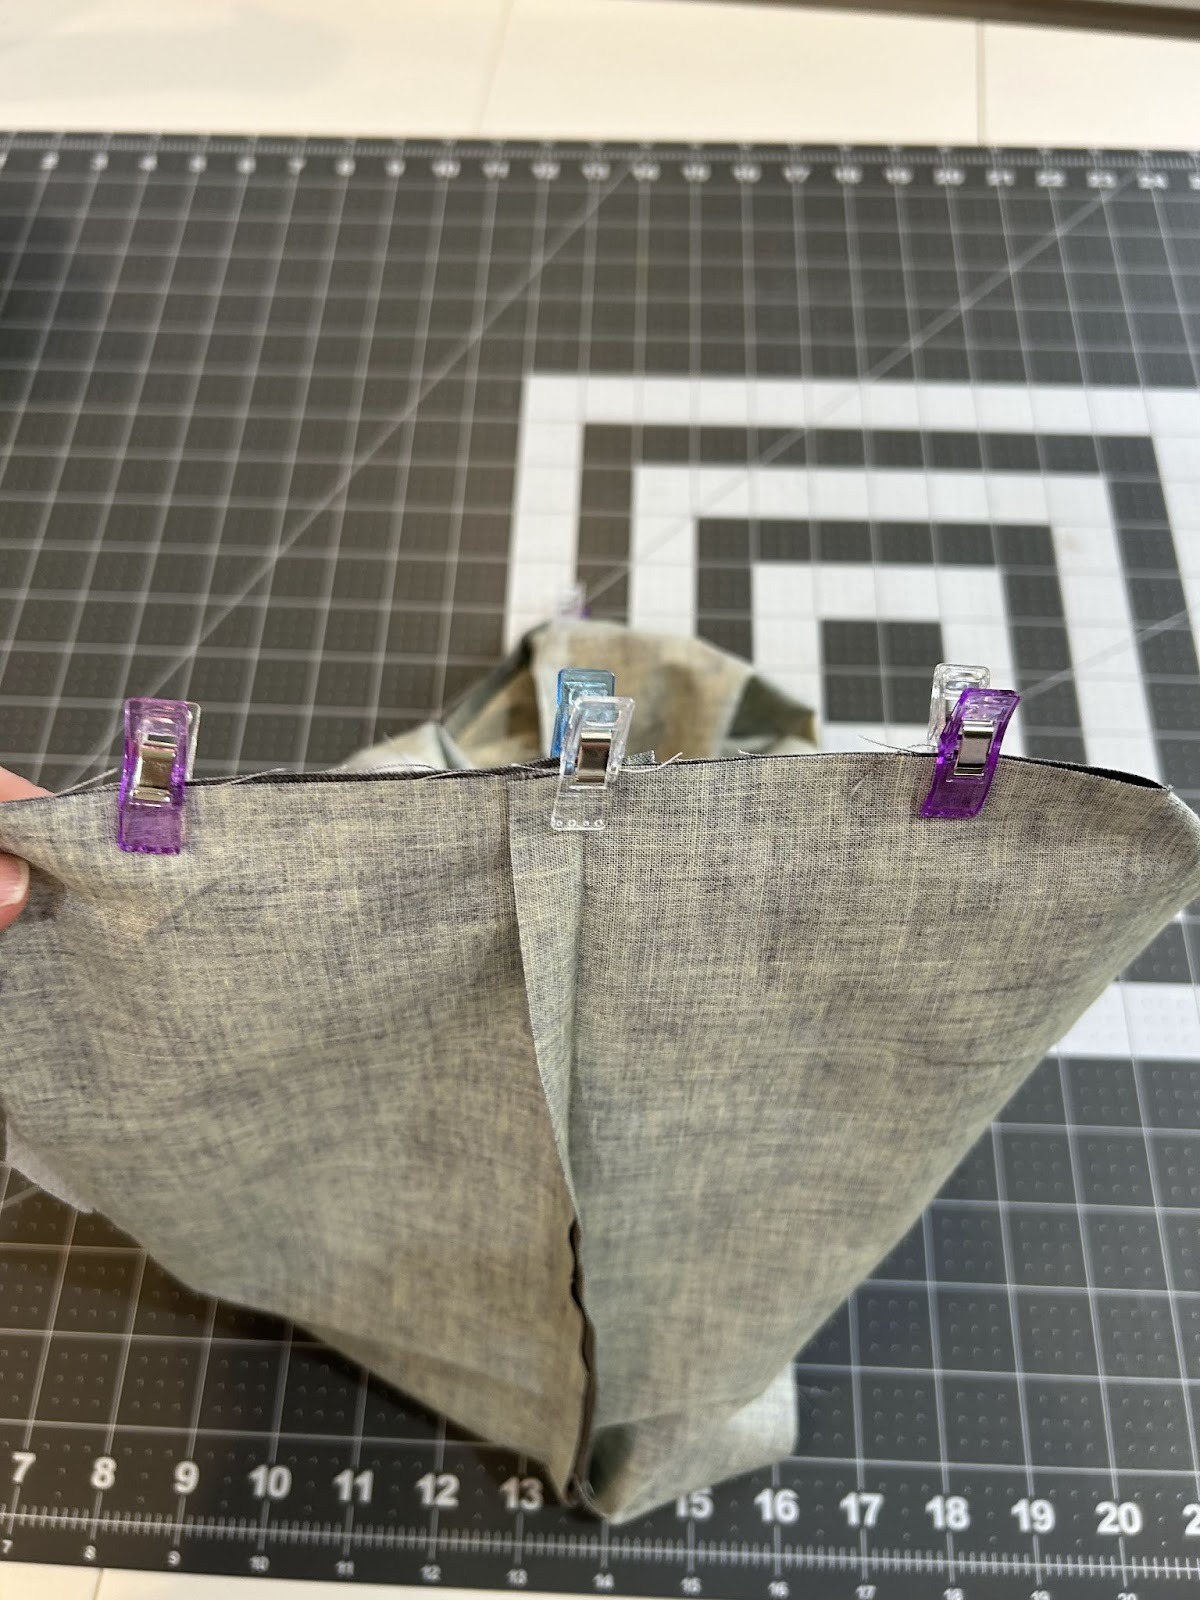
Using the same ½” seam allowance, stitch across this box seam. Repeat for the other corner on the cover fabric and both corners of the lining fabric.
Set the cover and lining aside for now.
We will next work on the casing for our drawstring. Cut two pieces of fabric 2½” x 33”.
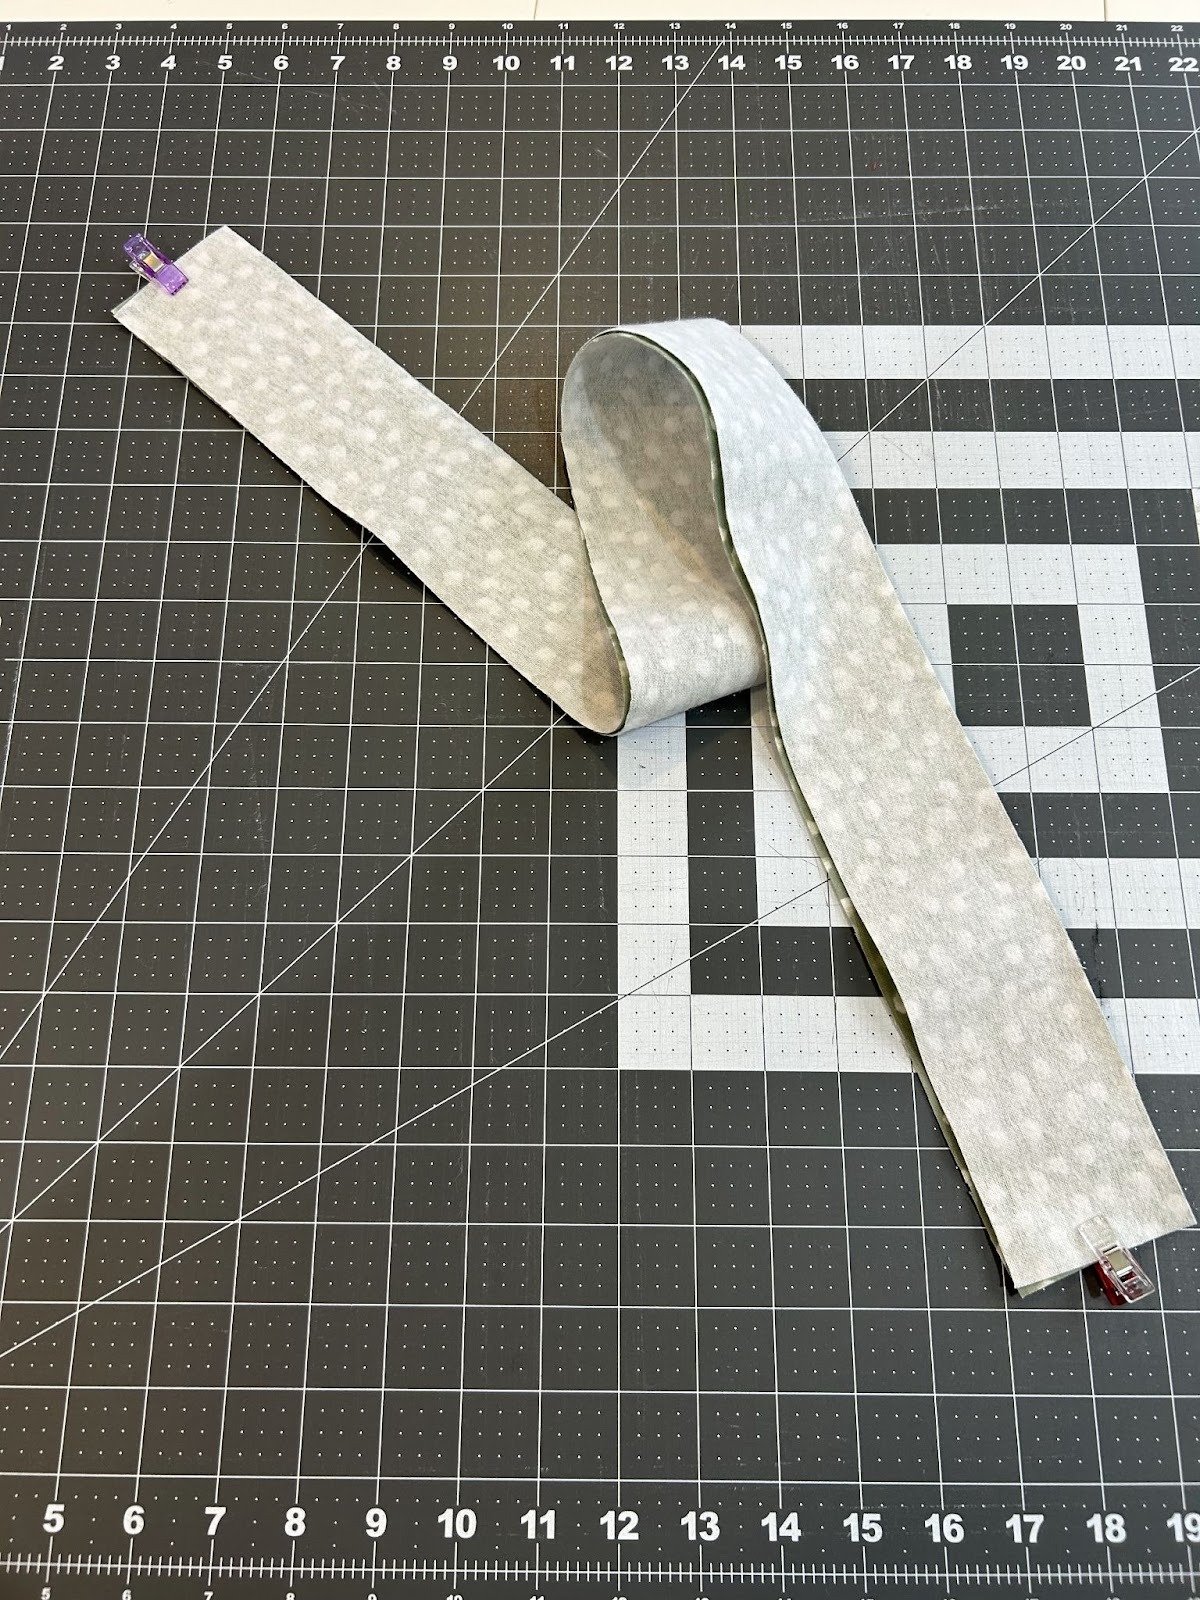
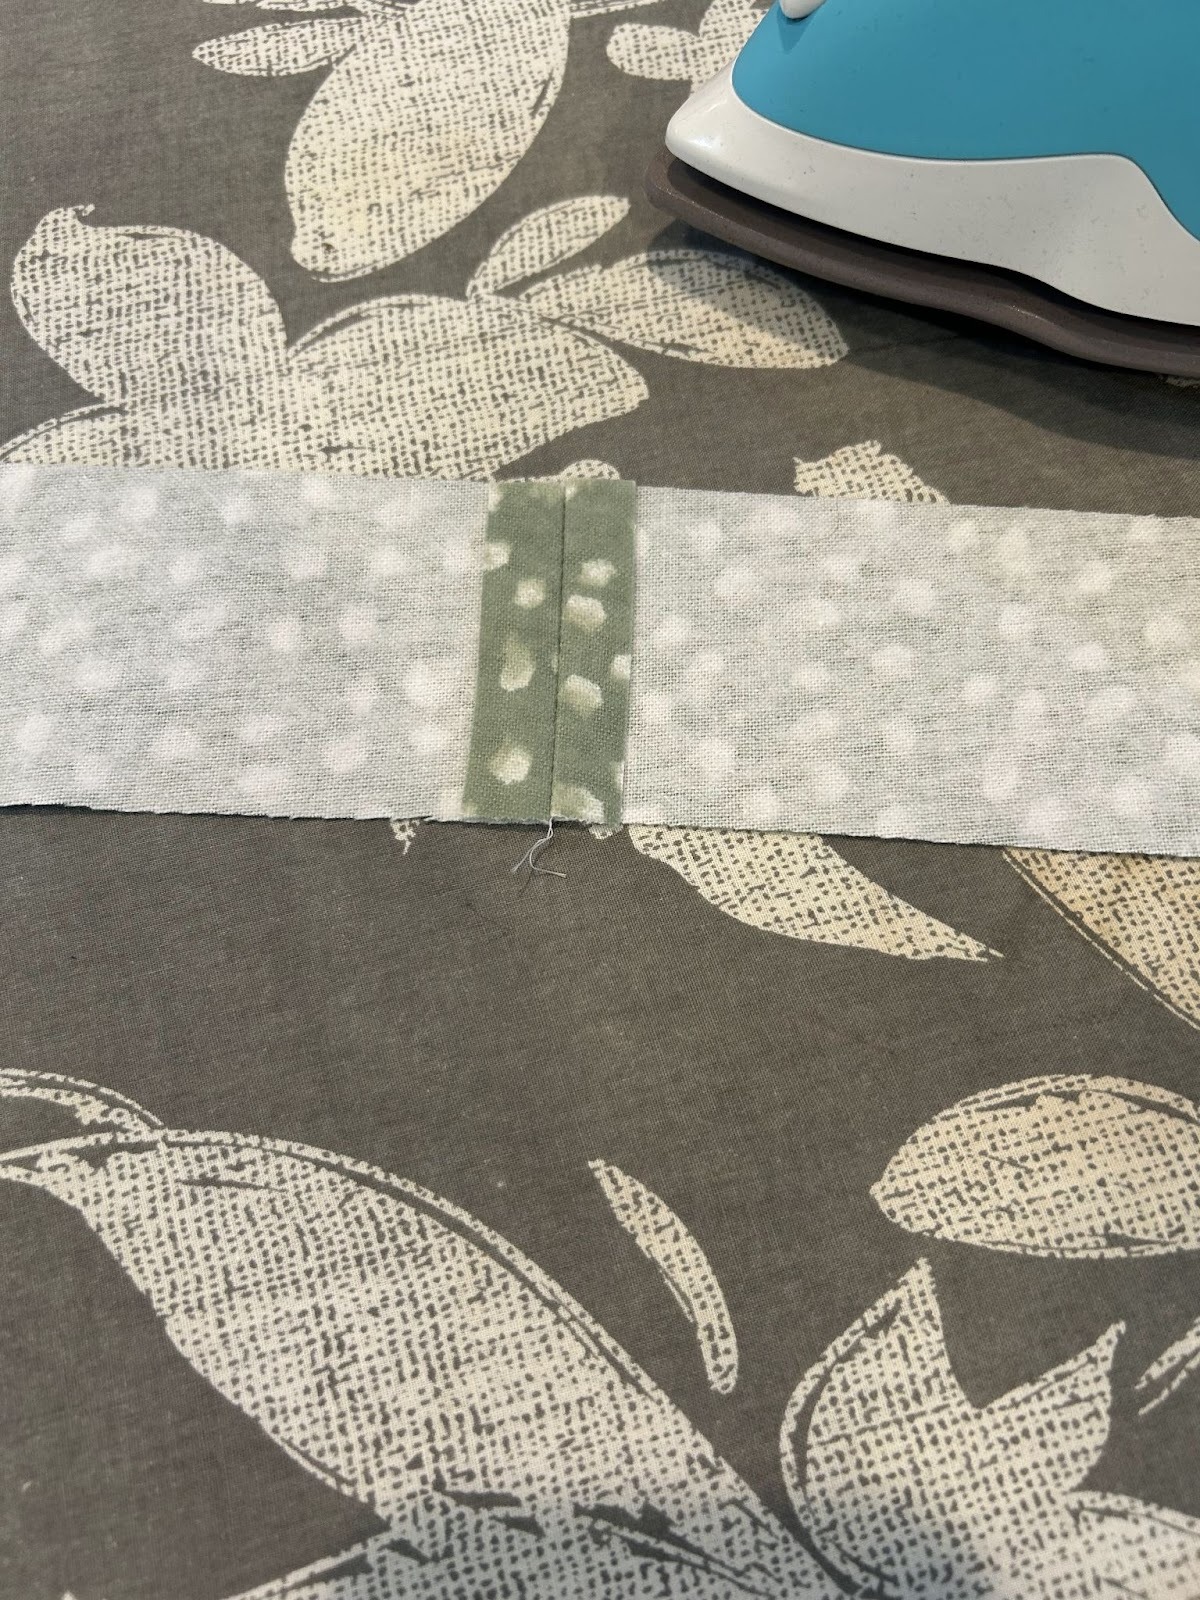
Stitch two of the short ends together with a ½” seam allowance and press the seam open.
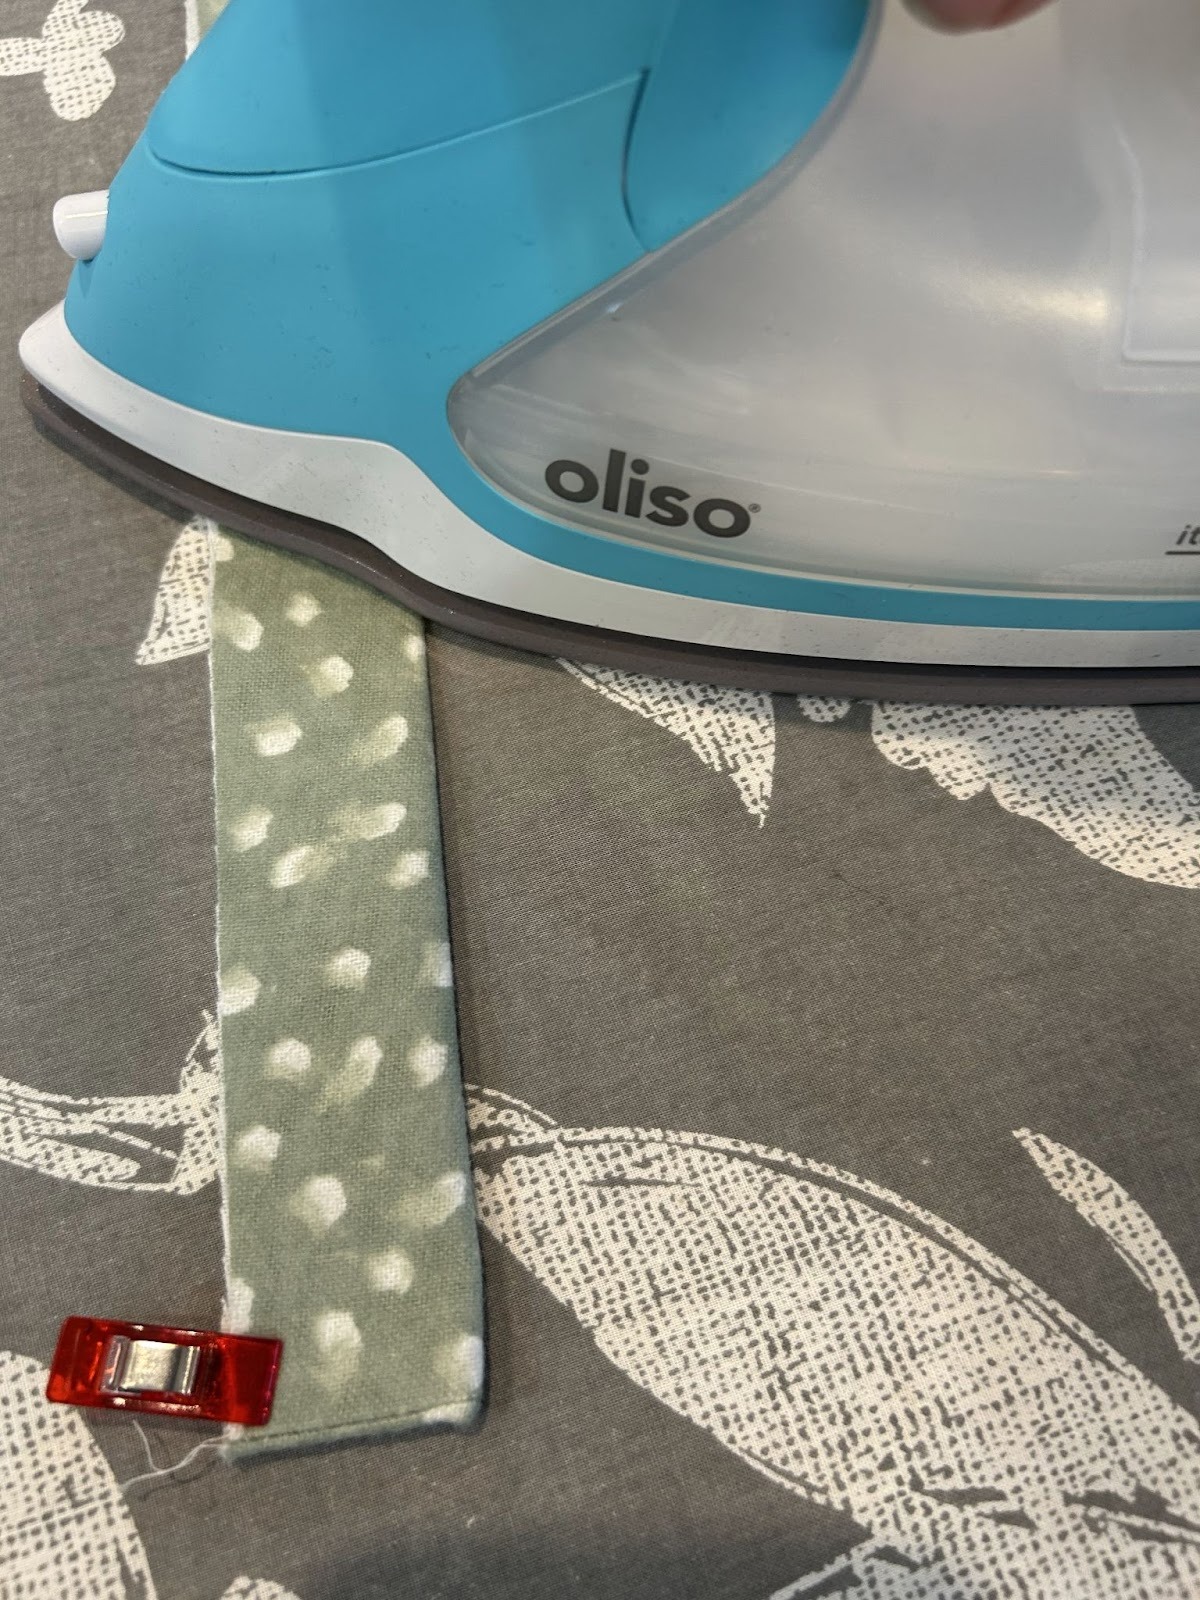
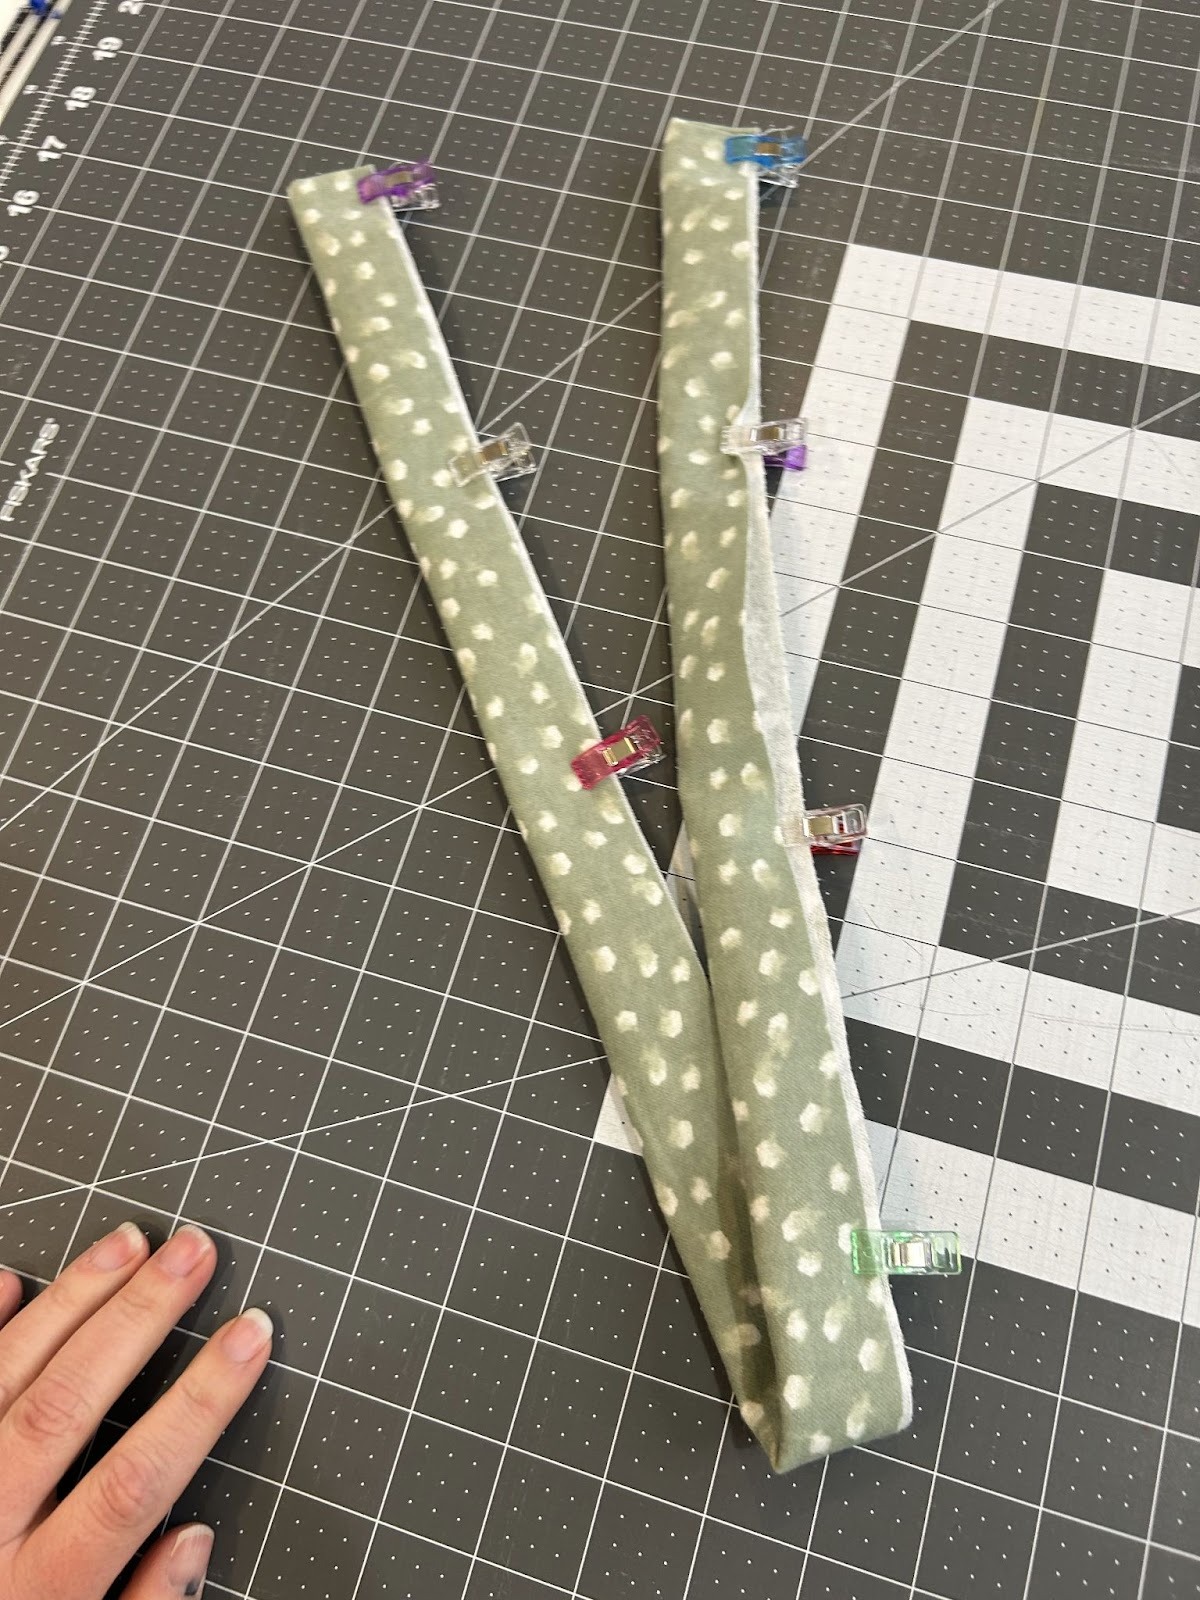
Fold the long strip in half so it now measures 1¼” by 32”. Press the fold and clip the edges.
Find the center along the length of your casing.
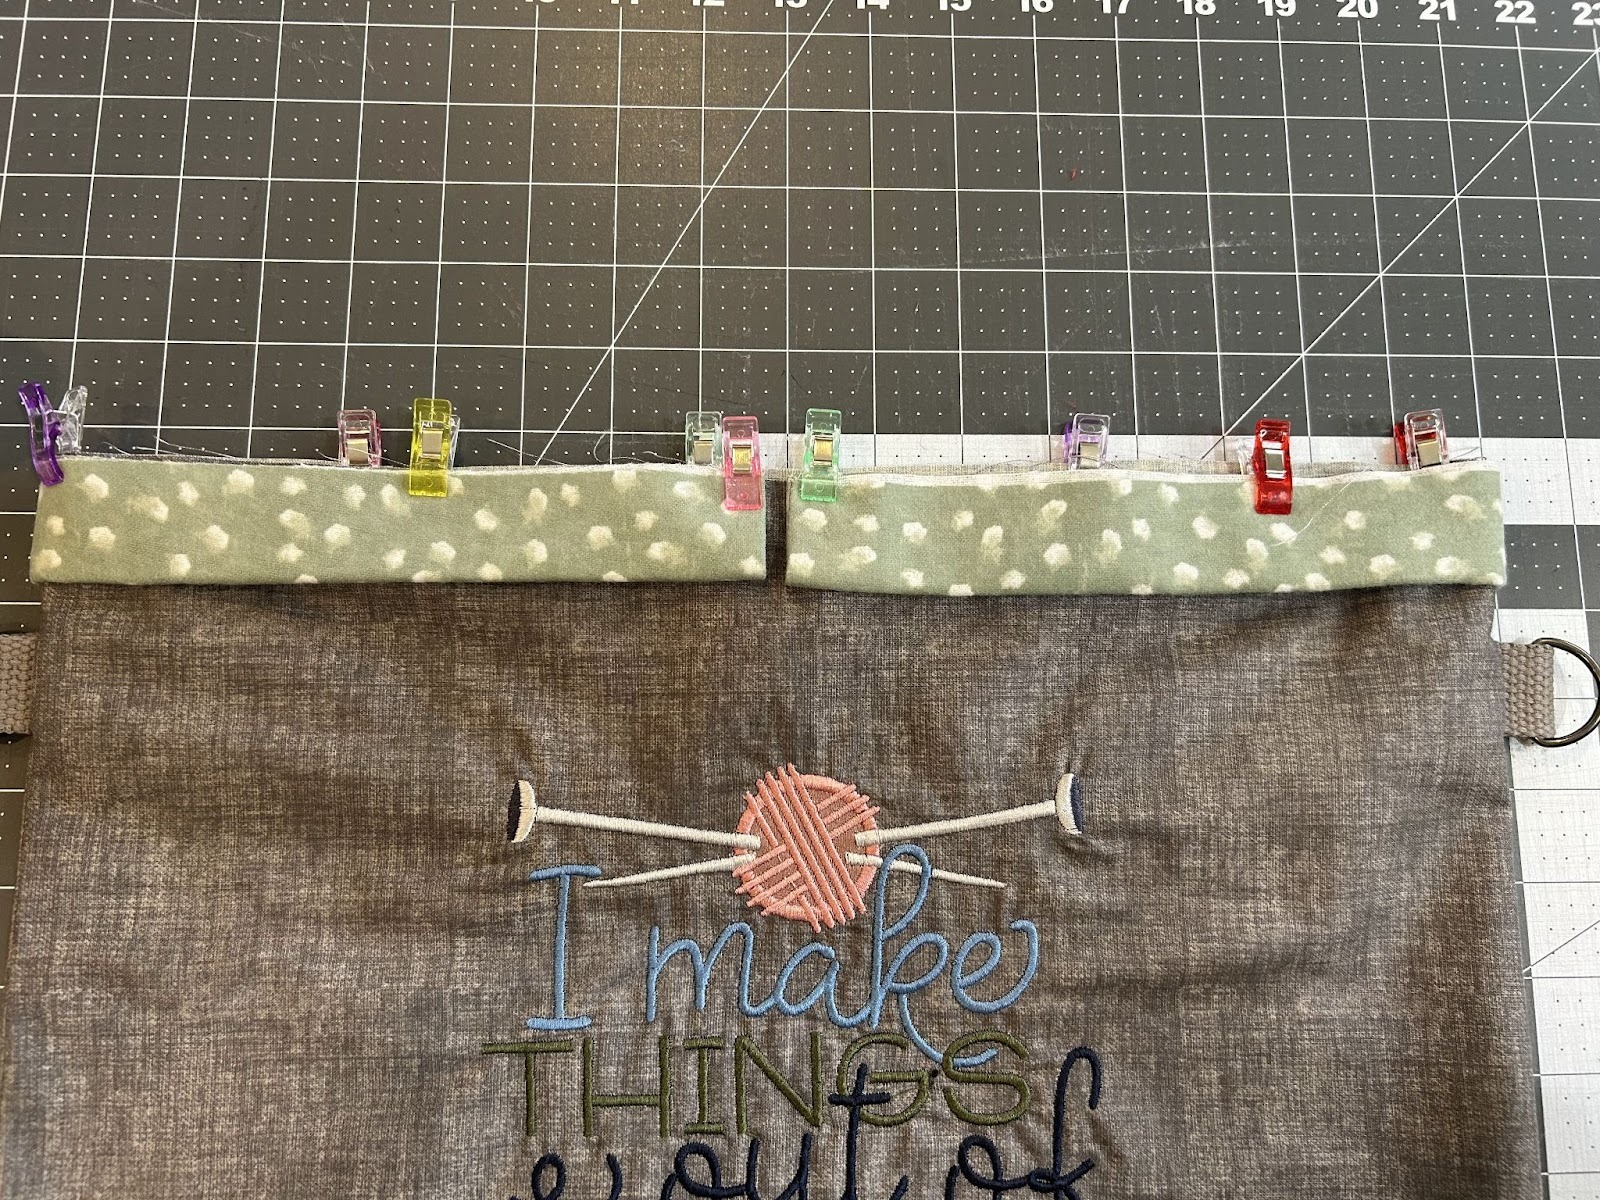
Turn the cover of your bag right side out. Find the centers of the bag and line up the center of your casing on the back side of the cover. Pin or clip the casing to the top of the bag, raw edges together, around to the front of the bag. The casing ends should meet in the middle with a small space between the edges.
Now slide the cover of the bag inside the lining of the bag. The lining should remain inside out so that the right sides are together.
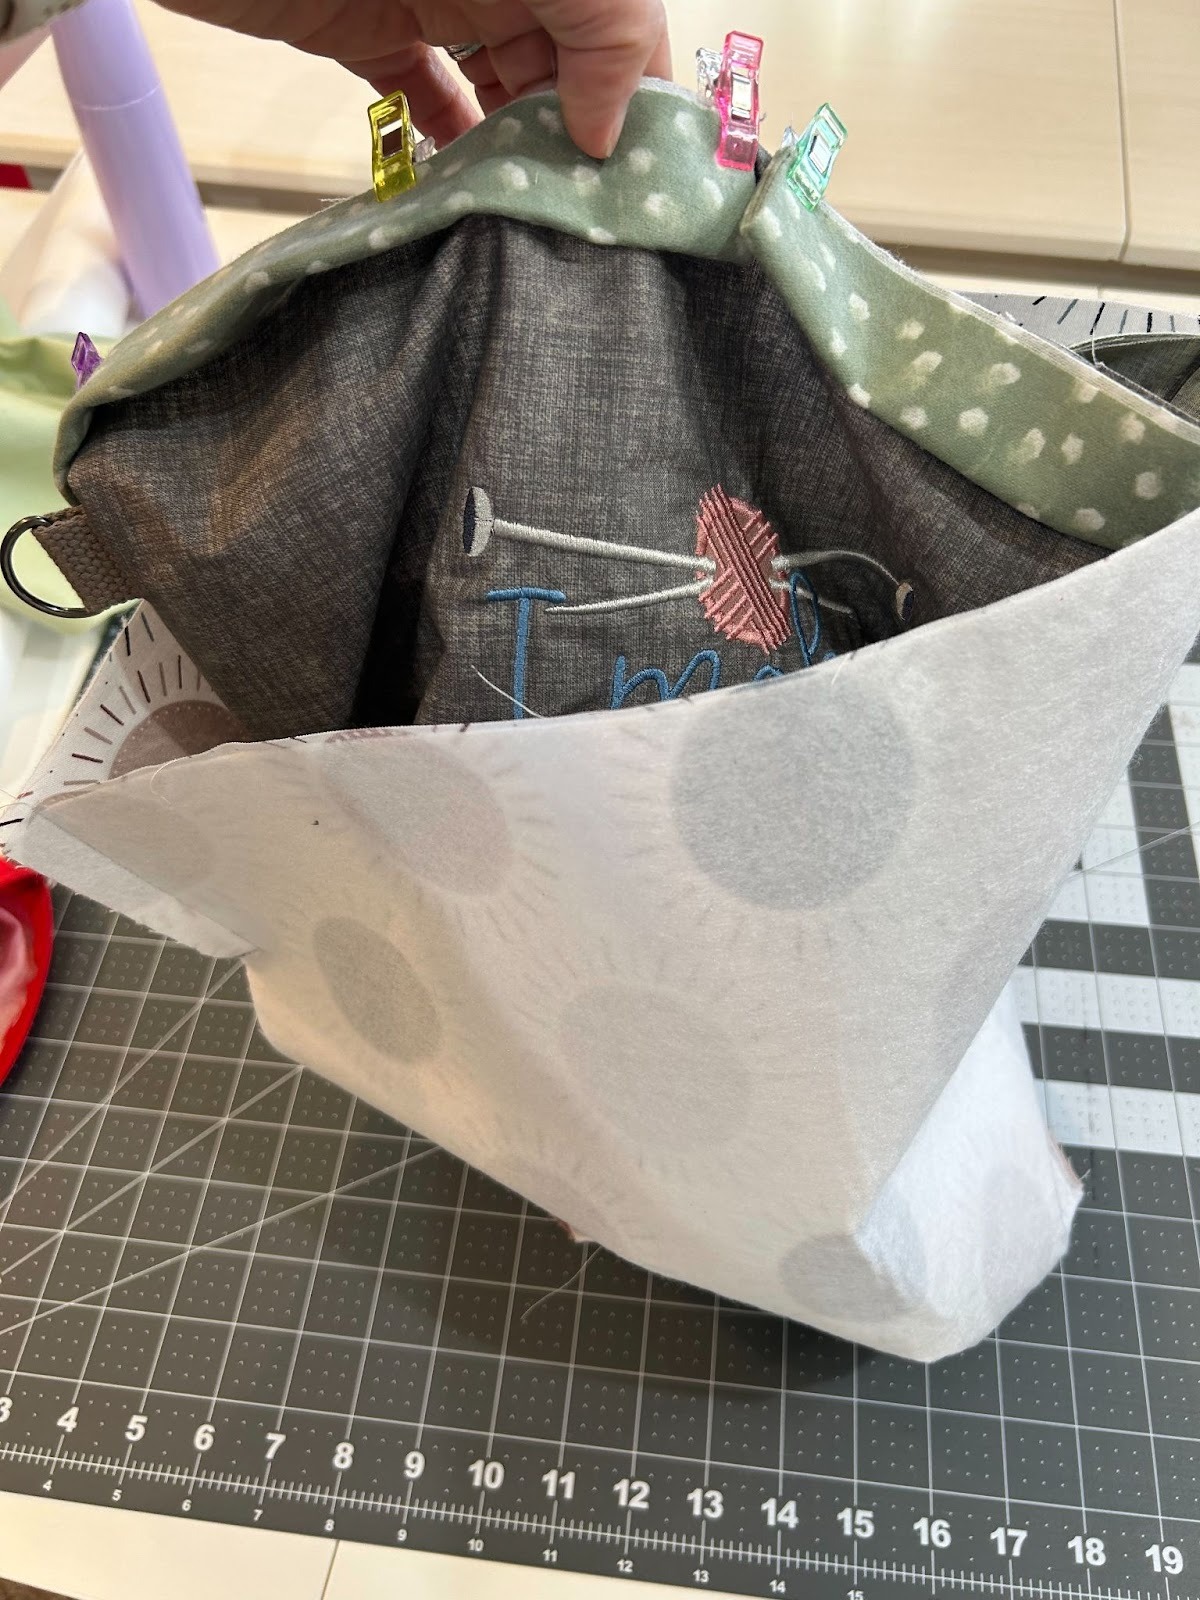
Start by lining up the side seams and clipping them together, making sure the top raw edges of the lining, cover, and drawstring casing are all lining up.

Continue around the top edge of your bag, making sure the raw edges are even, clipping the lining to the cover and casing fabrics.

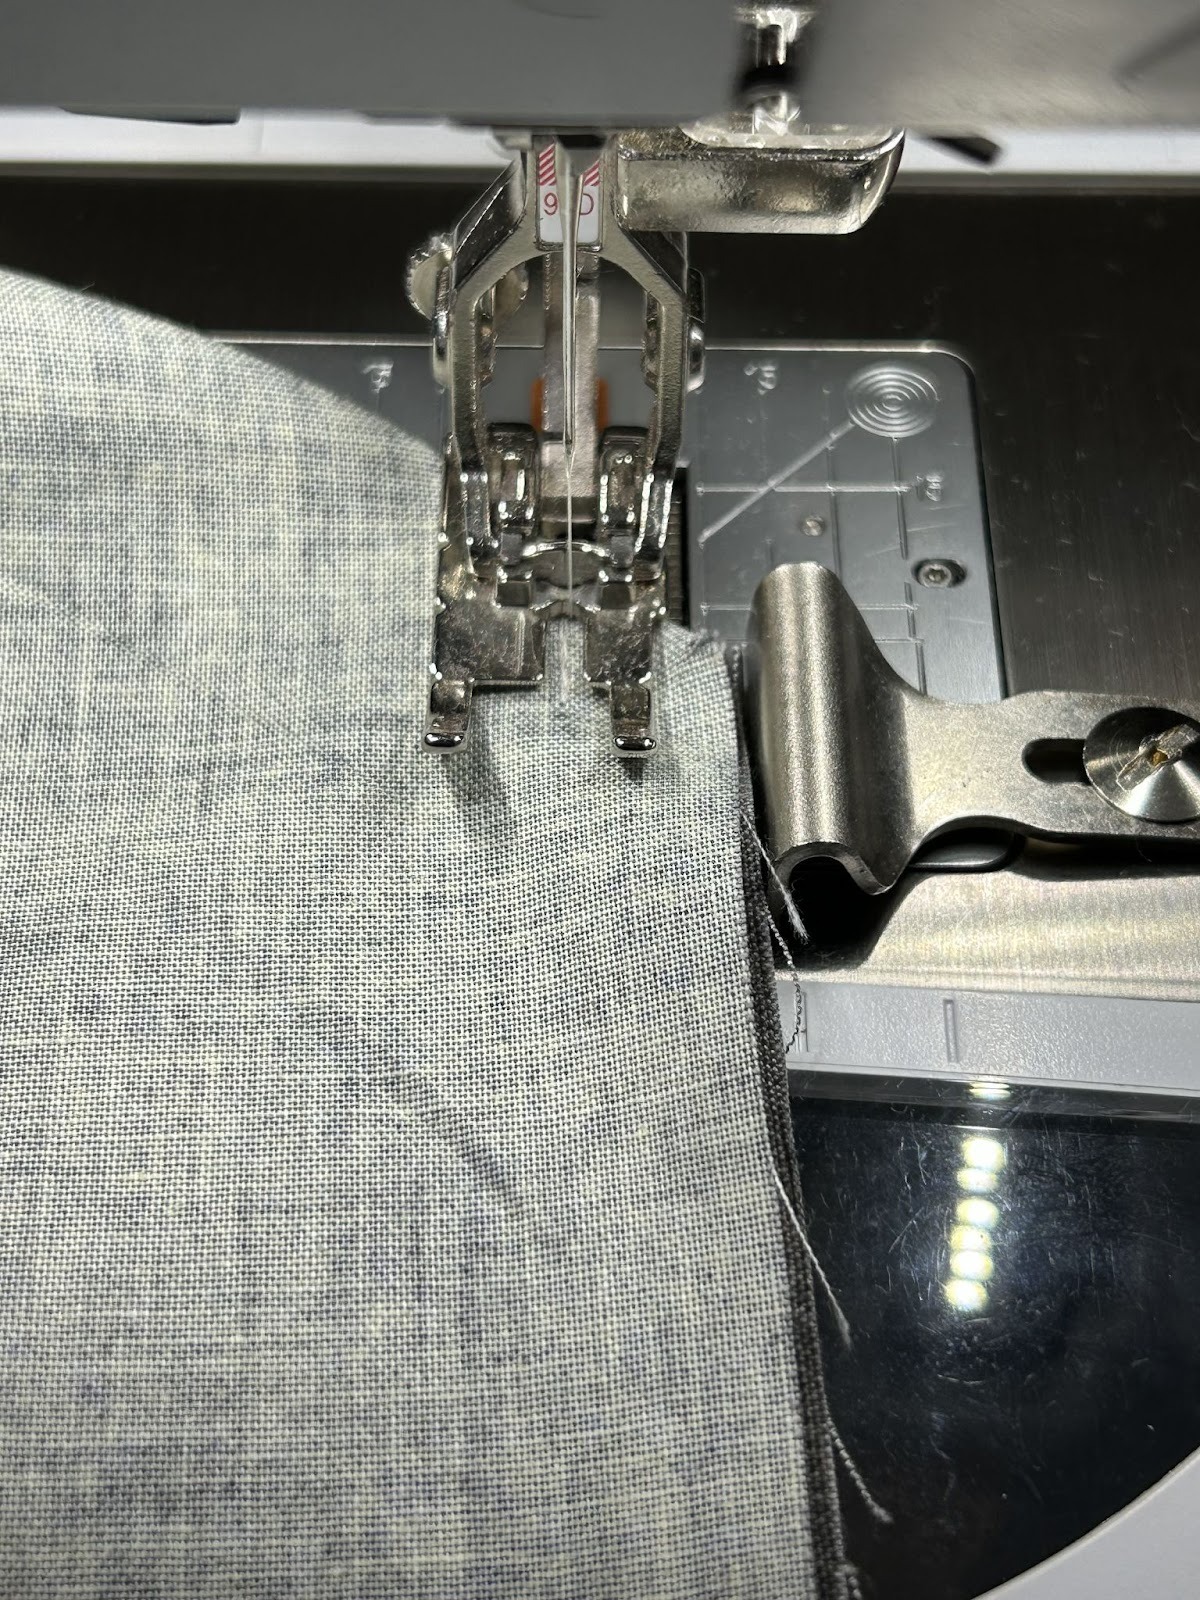
Take it to your machine and stitch completely around the top with a ½” seam allowance.

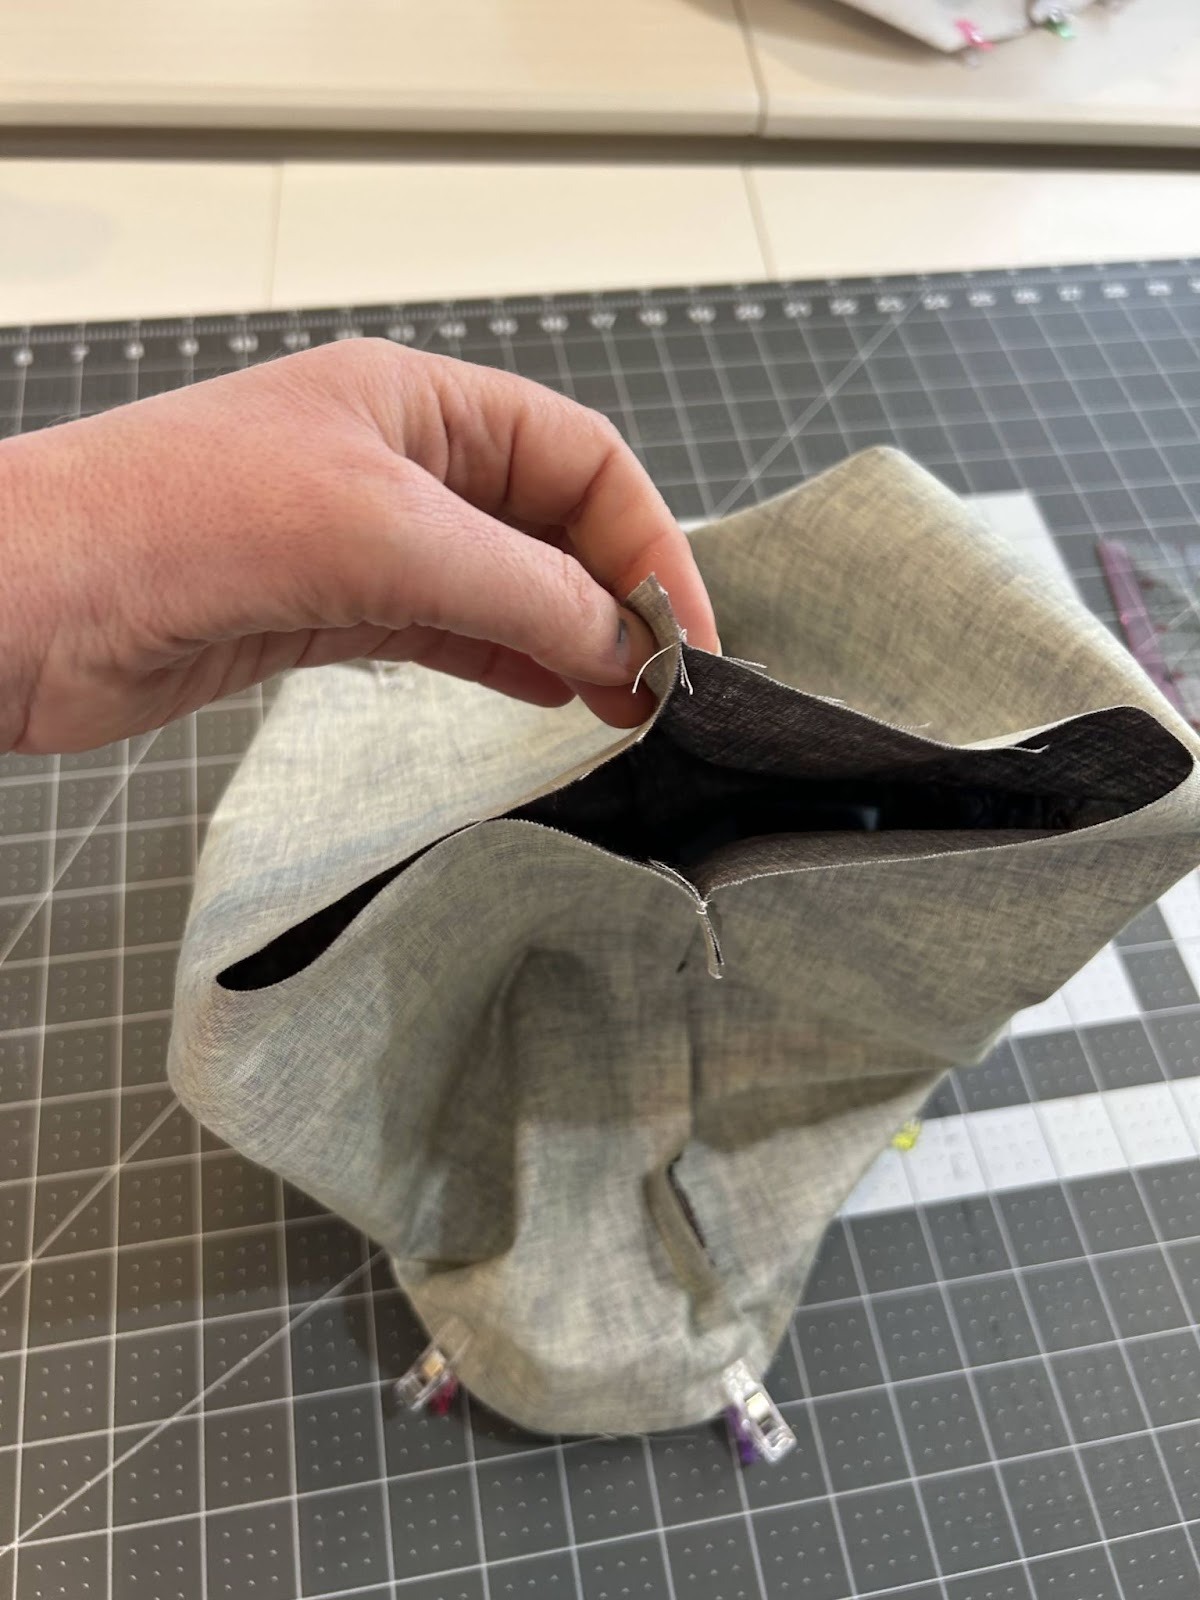
Now we are going to reach through the opening in the lining and pull the cover through so that it’s all right side out.
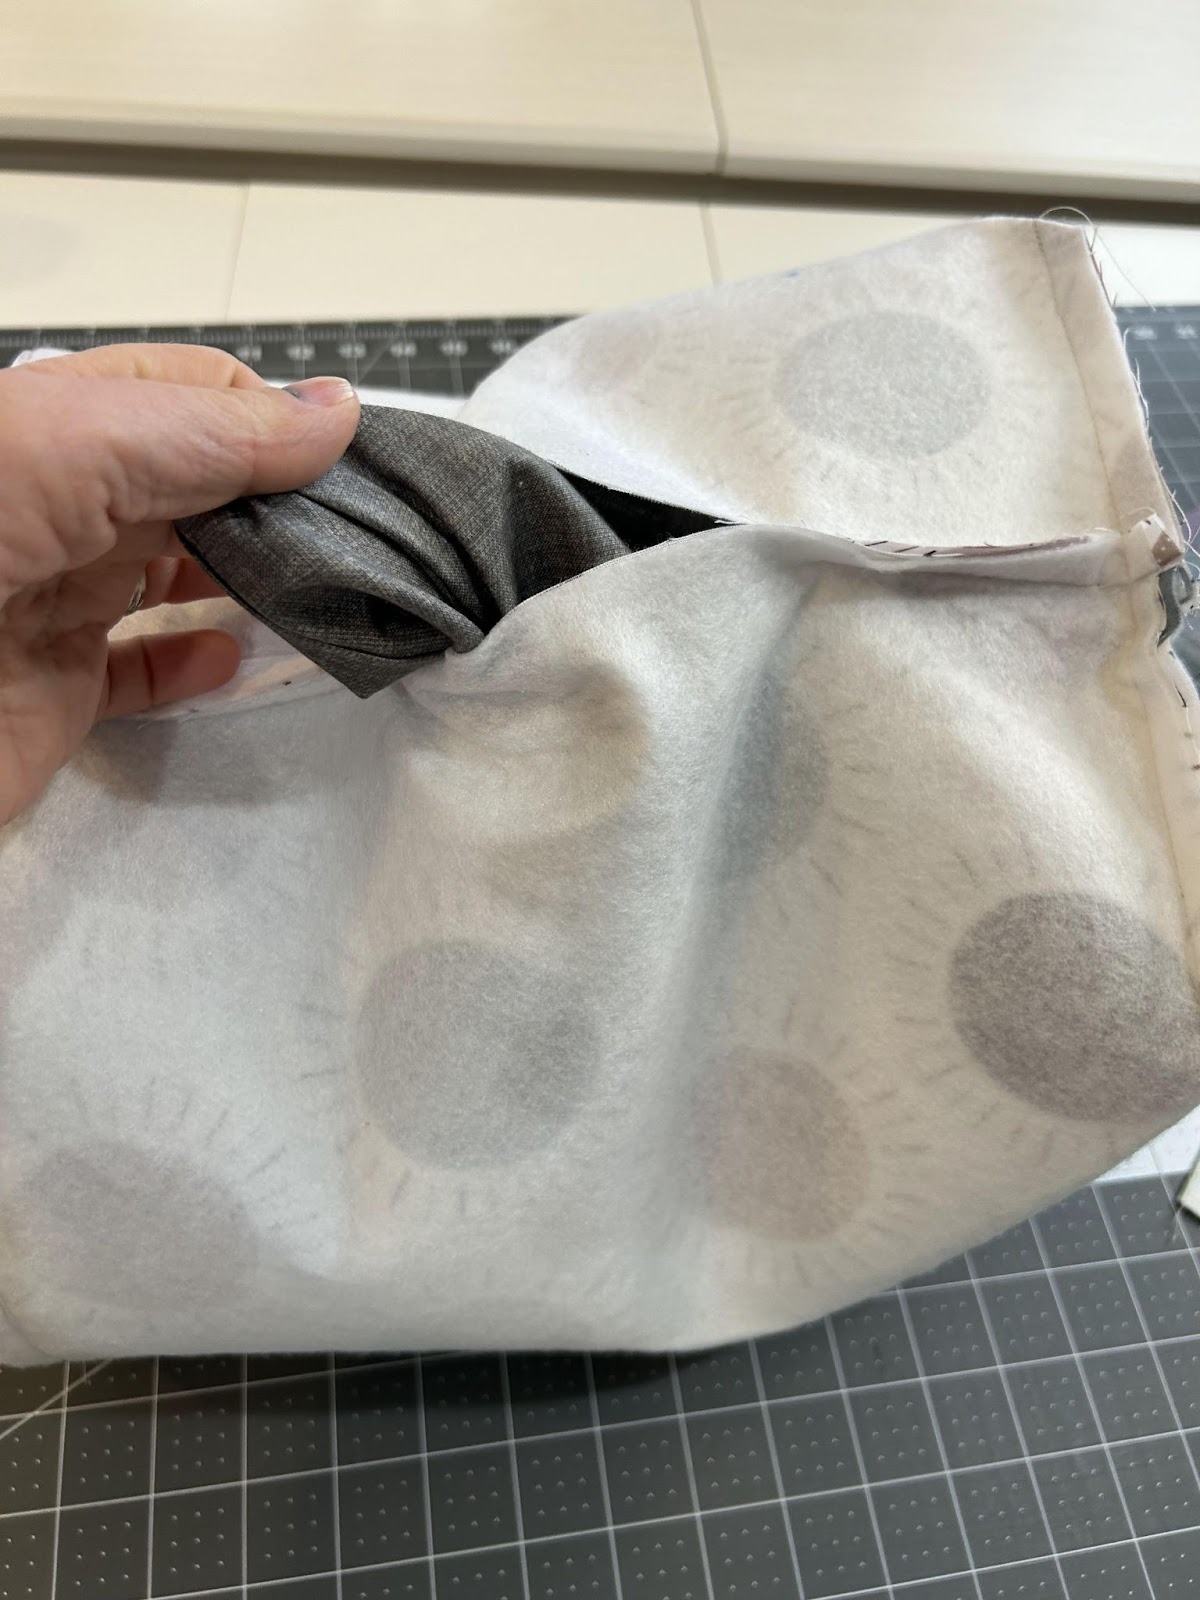
This is what it looks like after you have pulled it all through the opening.

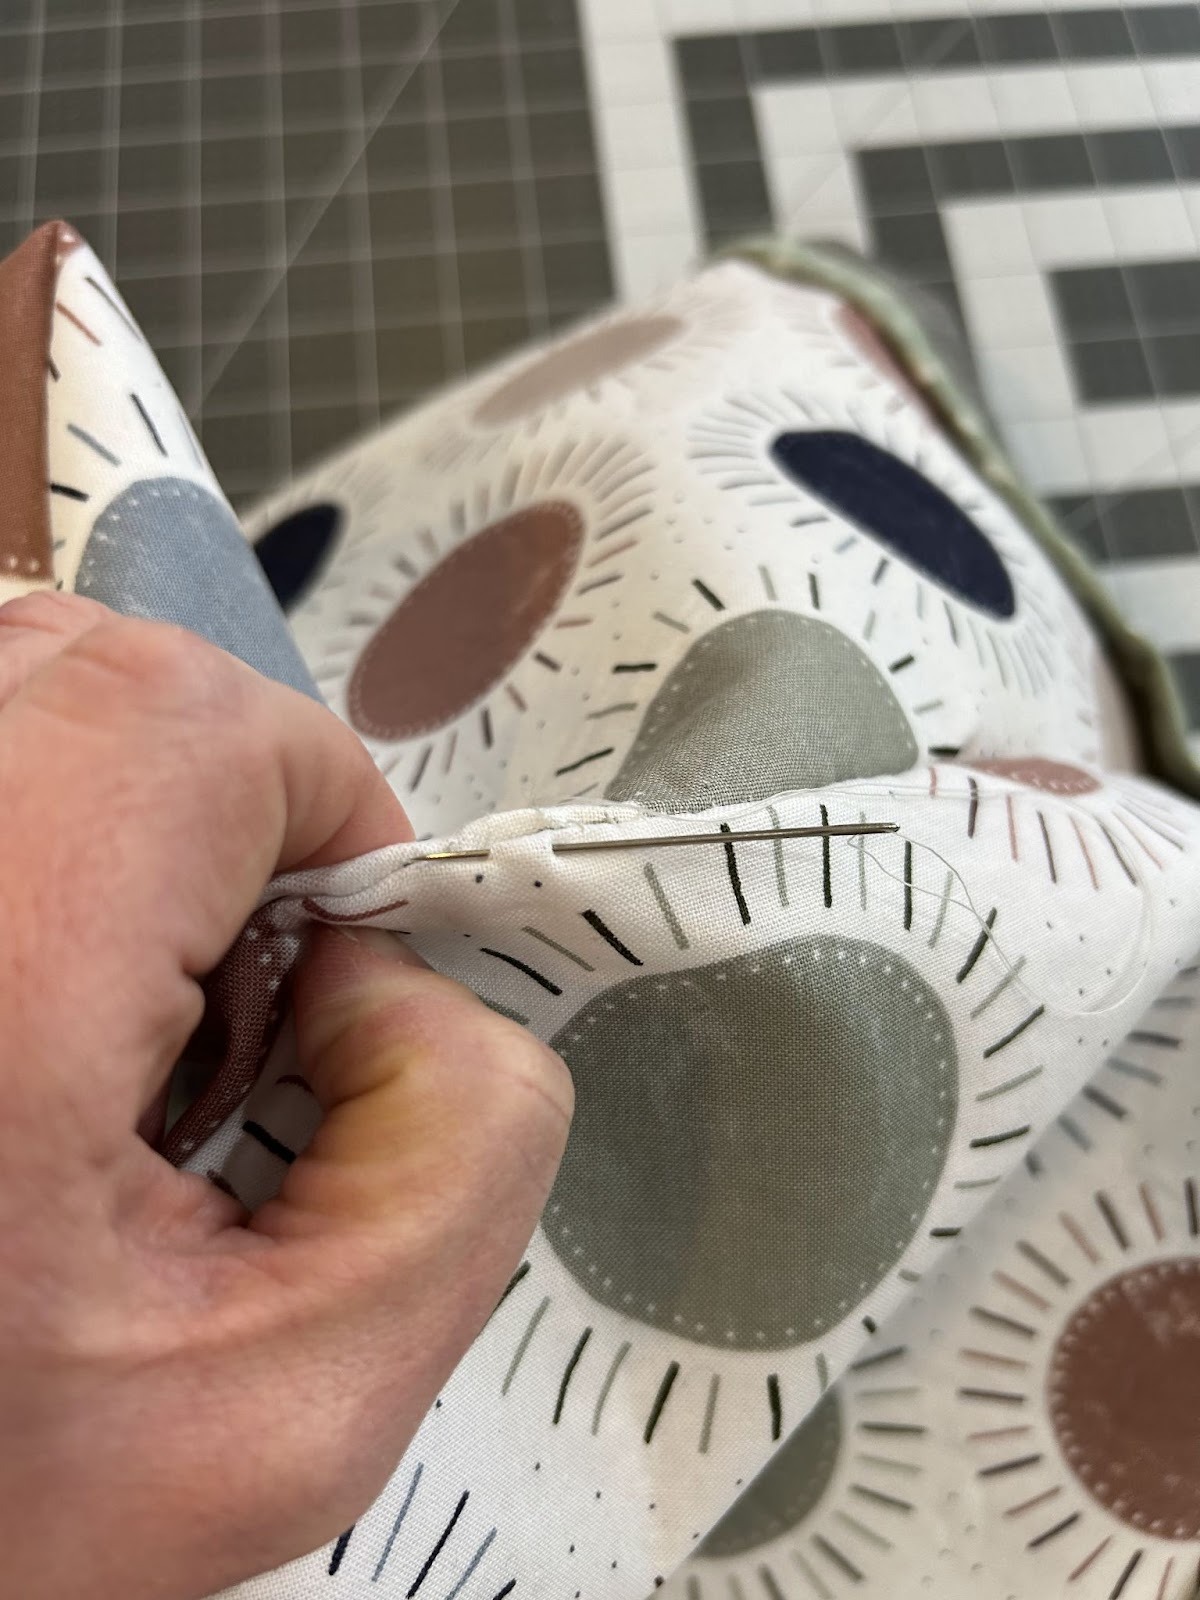
Stitch the opening in the lining closed. You can hand stitch it for an invisible look or sew a small edge seam on your machine for a faster option.
Once it’s closed, push the lining back down into the bag. I like to pull the casing up and press the lining and cover down.
Then I do an edge stitch close to the seam on the cover. Don’t stitch on the casing as you’ll need all the space in there to get your drawstring through.
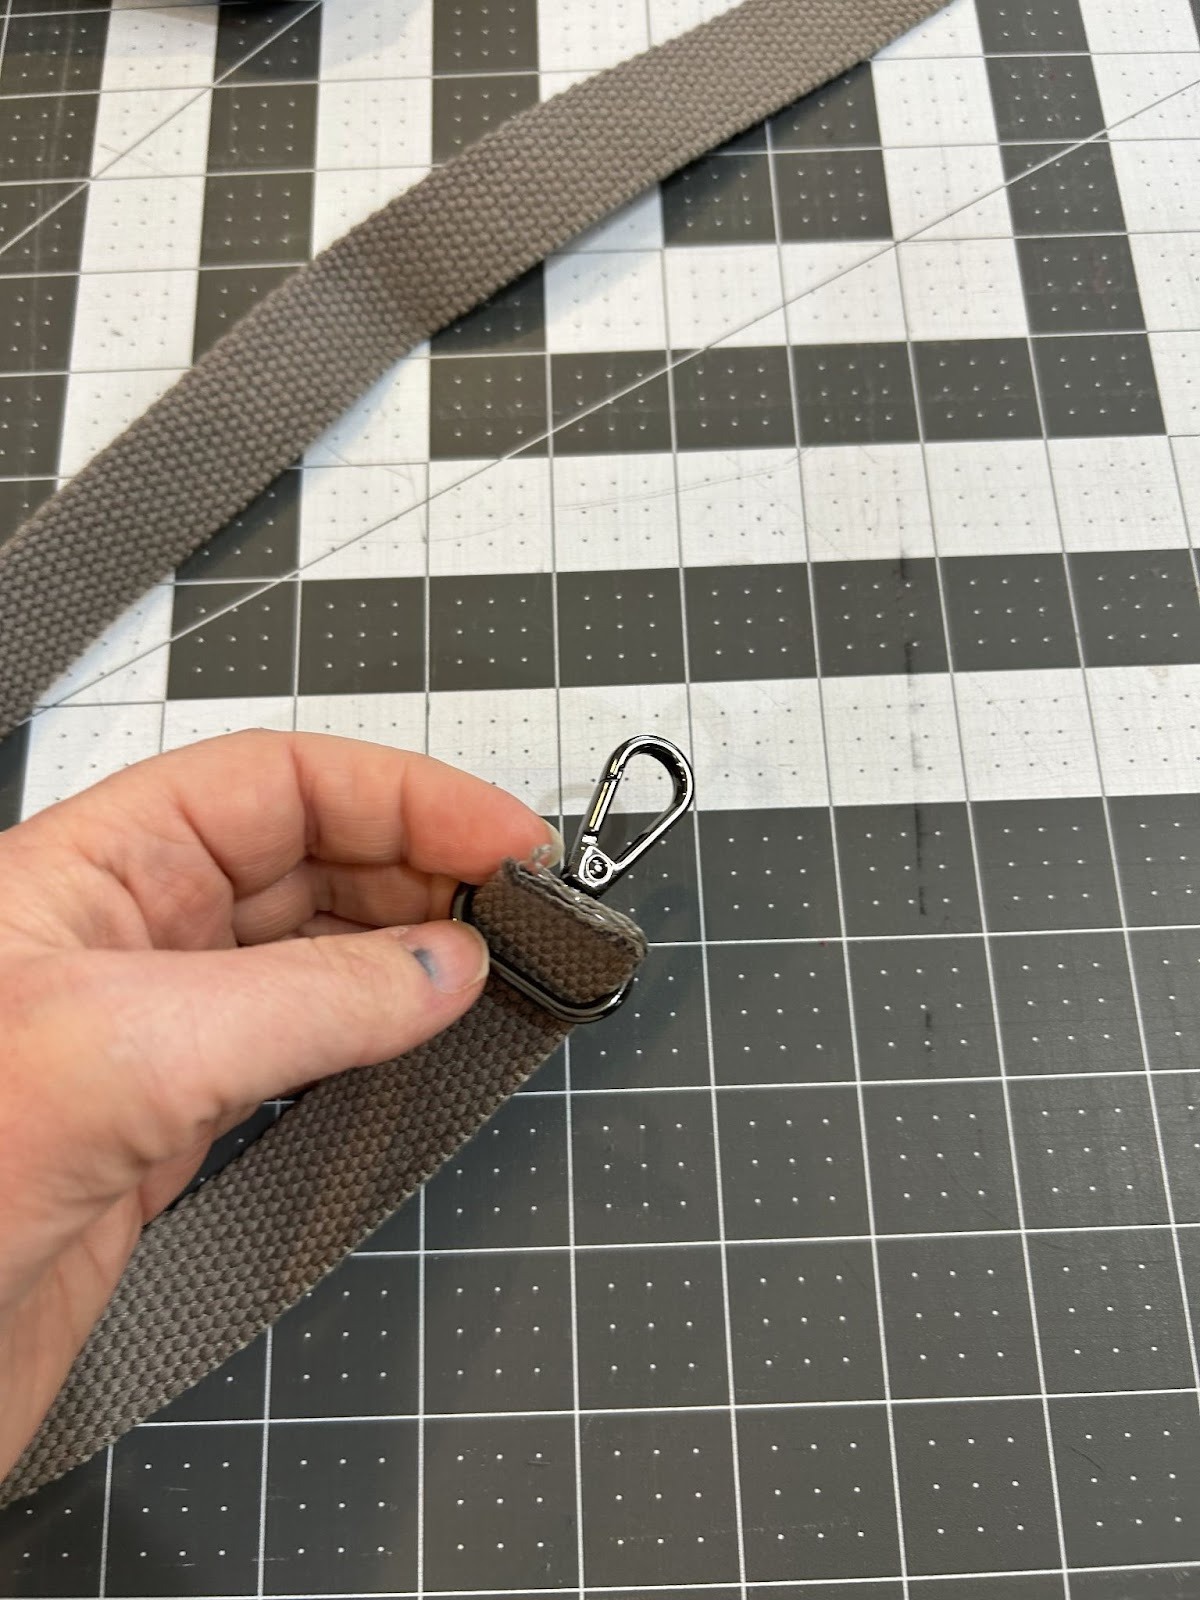
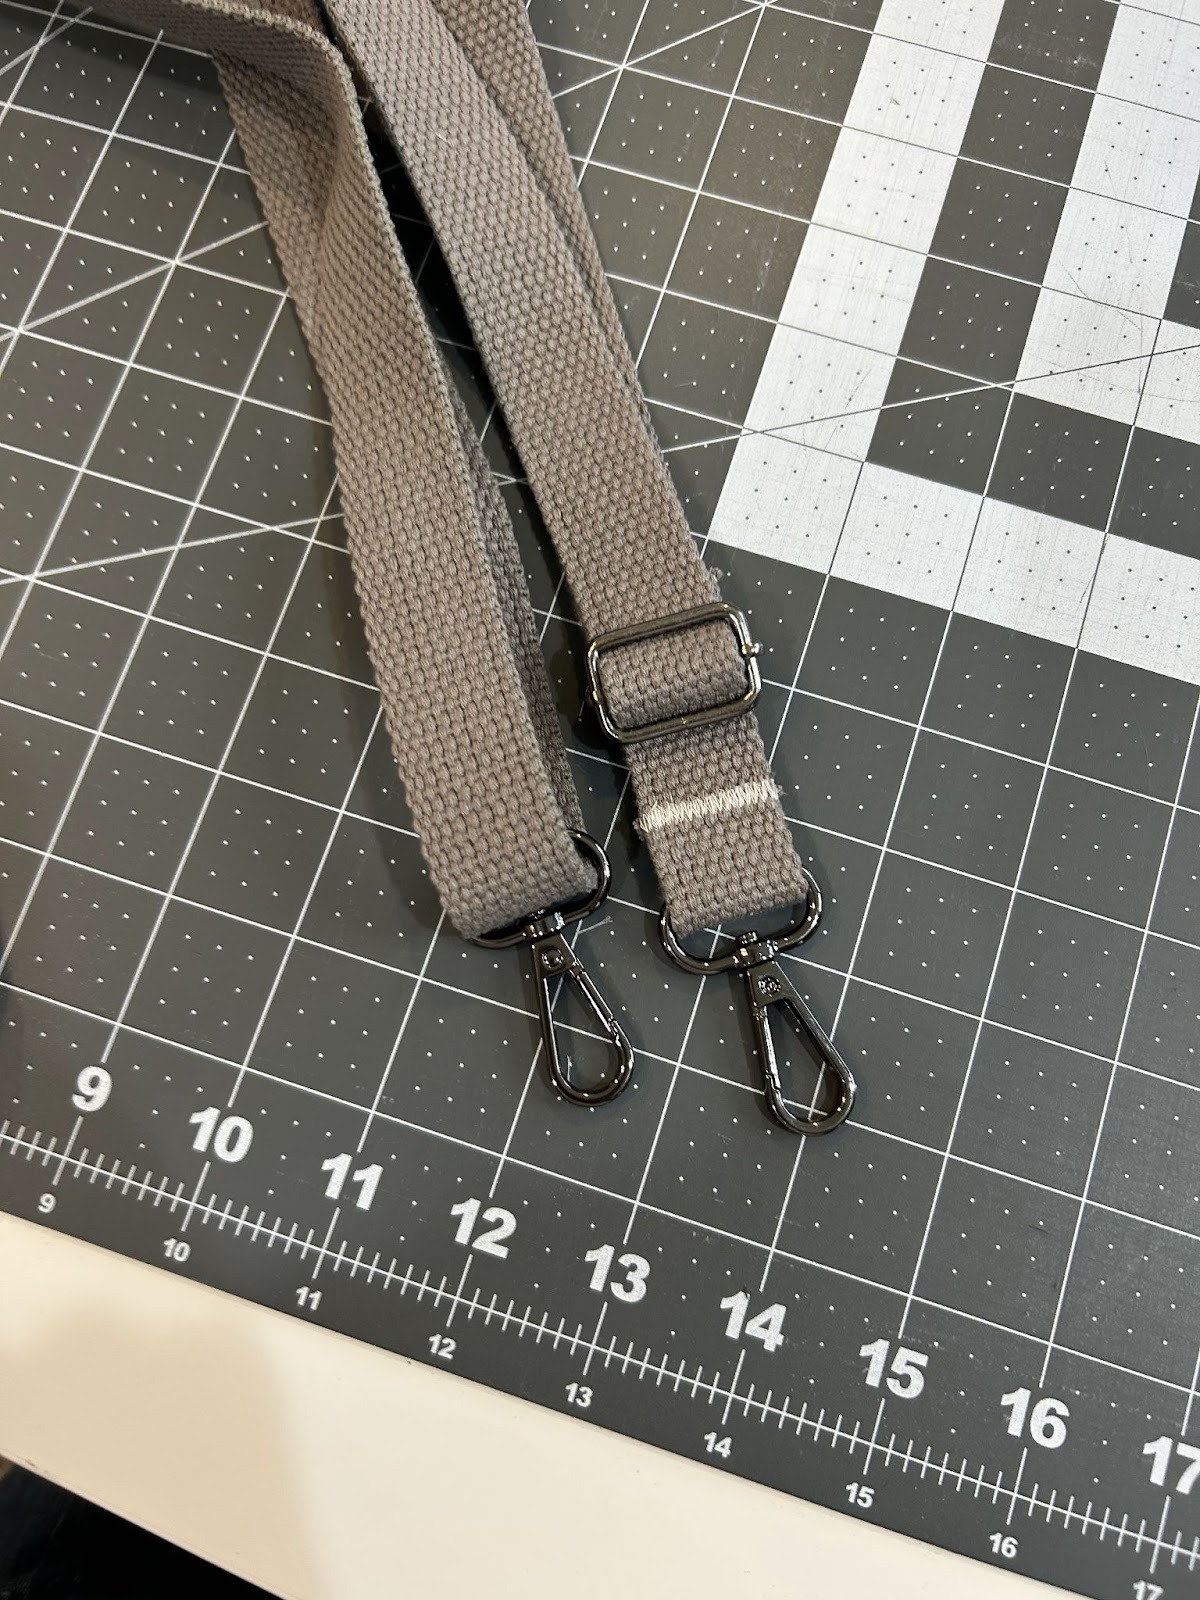
Now the bag is pretty much done, but it still needs a shoulder strap. Using the remaining webbing, we will feed on one of the swivel clasps to about the middle of the strap.
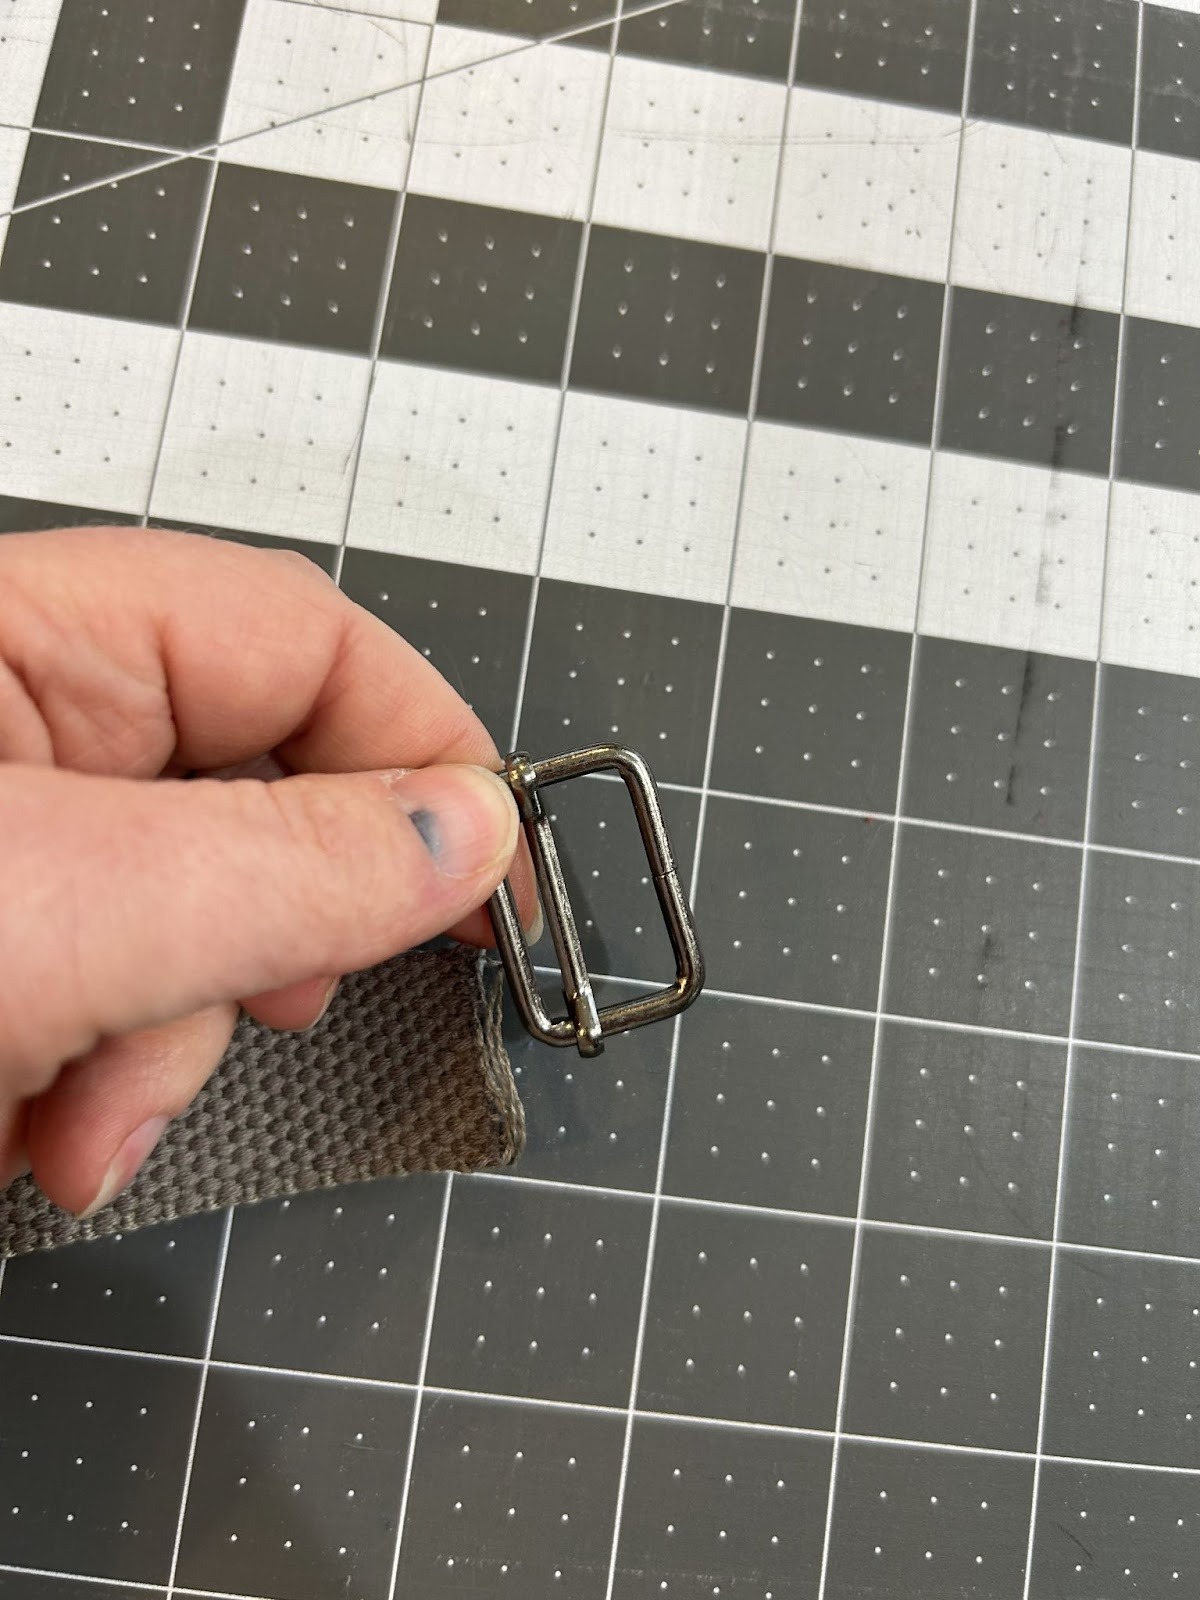
Then we will come up through one side of the buckle slide and down the other side of the slide.
Overlap the webbing by about 1½” and stitch it down. I like to do a wide zigzag to help keep the strap from fraying. Depending on the width of your machine's presser foot you may have to overlap a bit more or you can do a bit less.
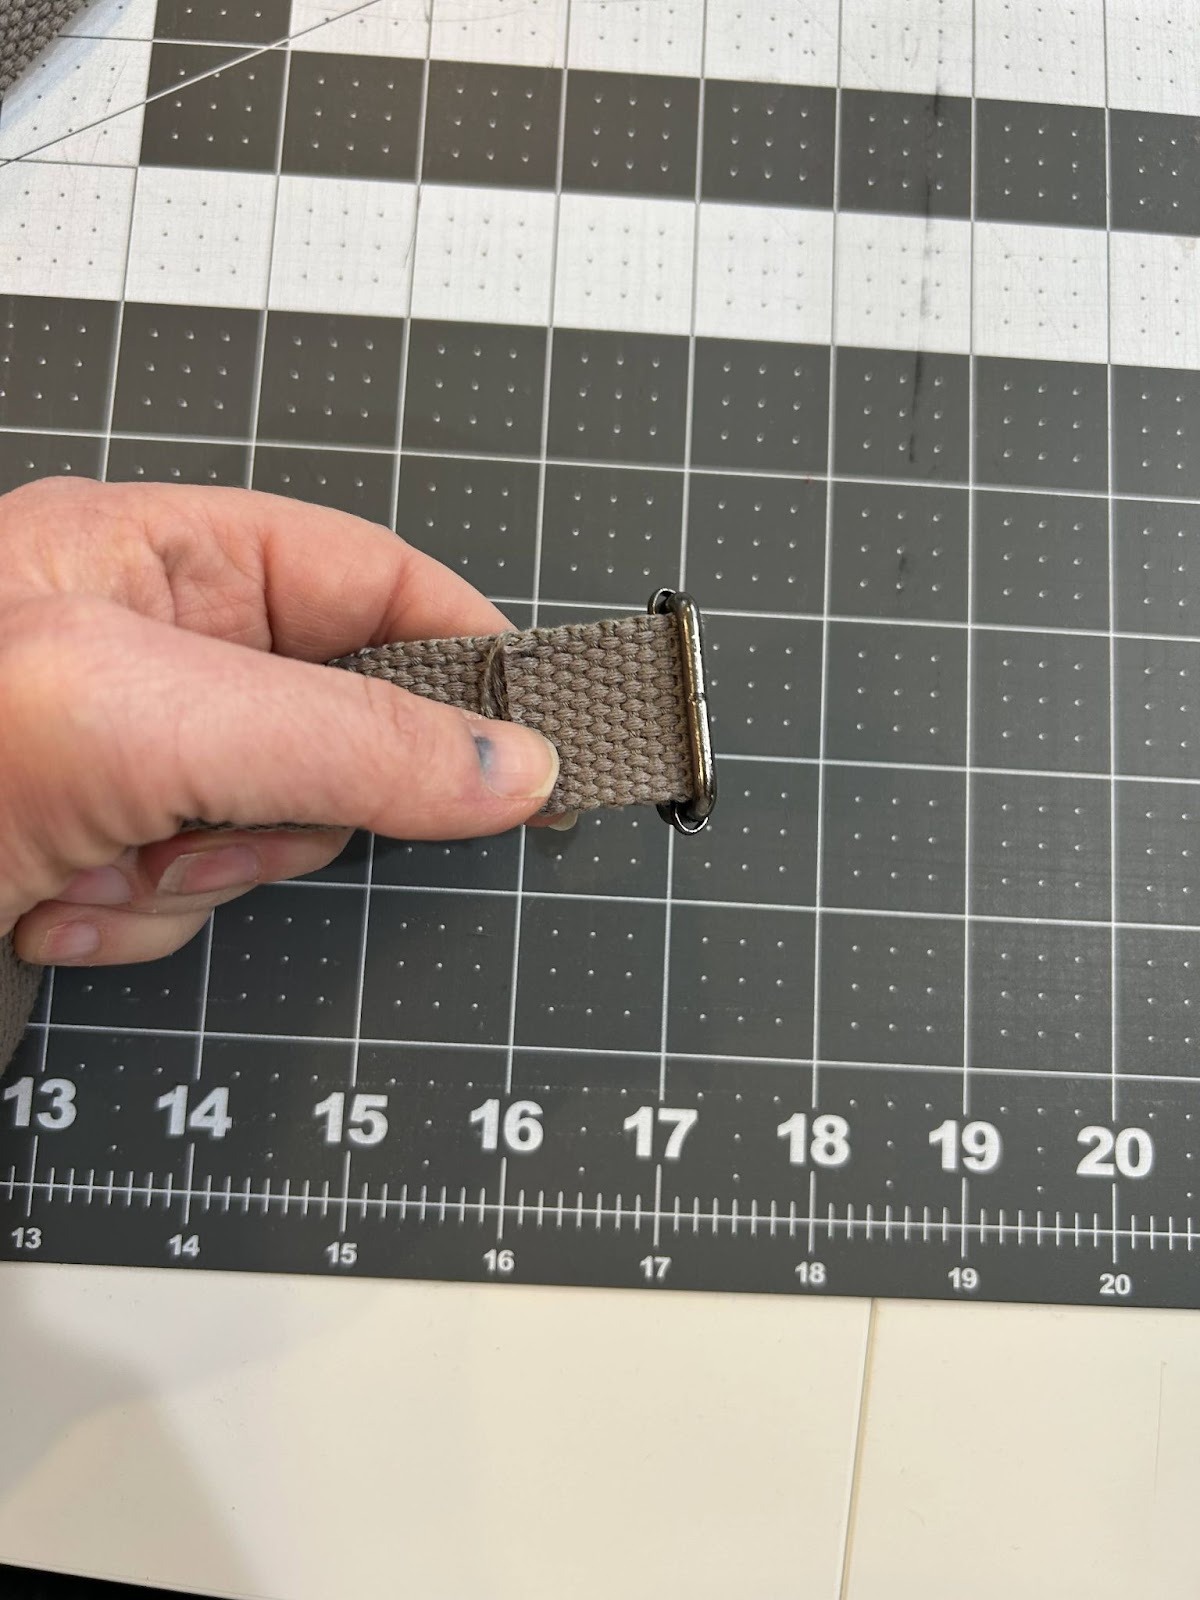
This is my finished slide.

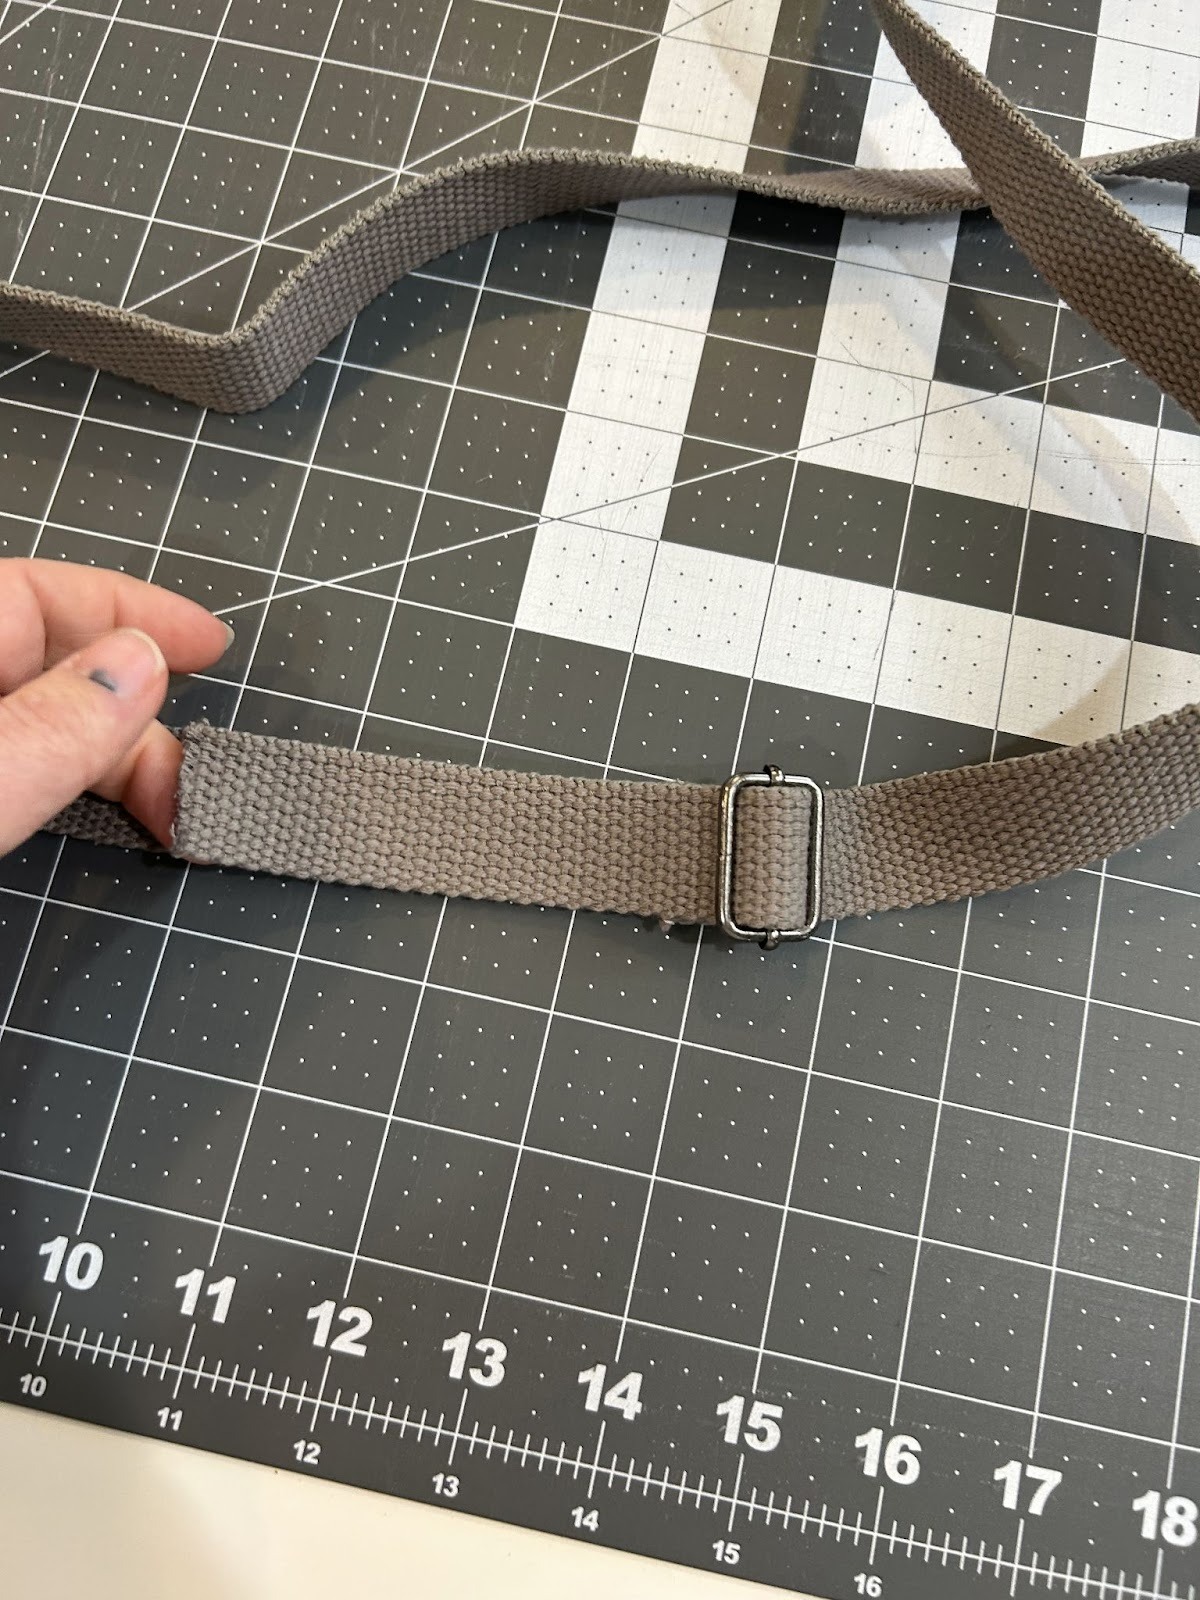
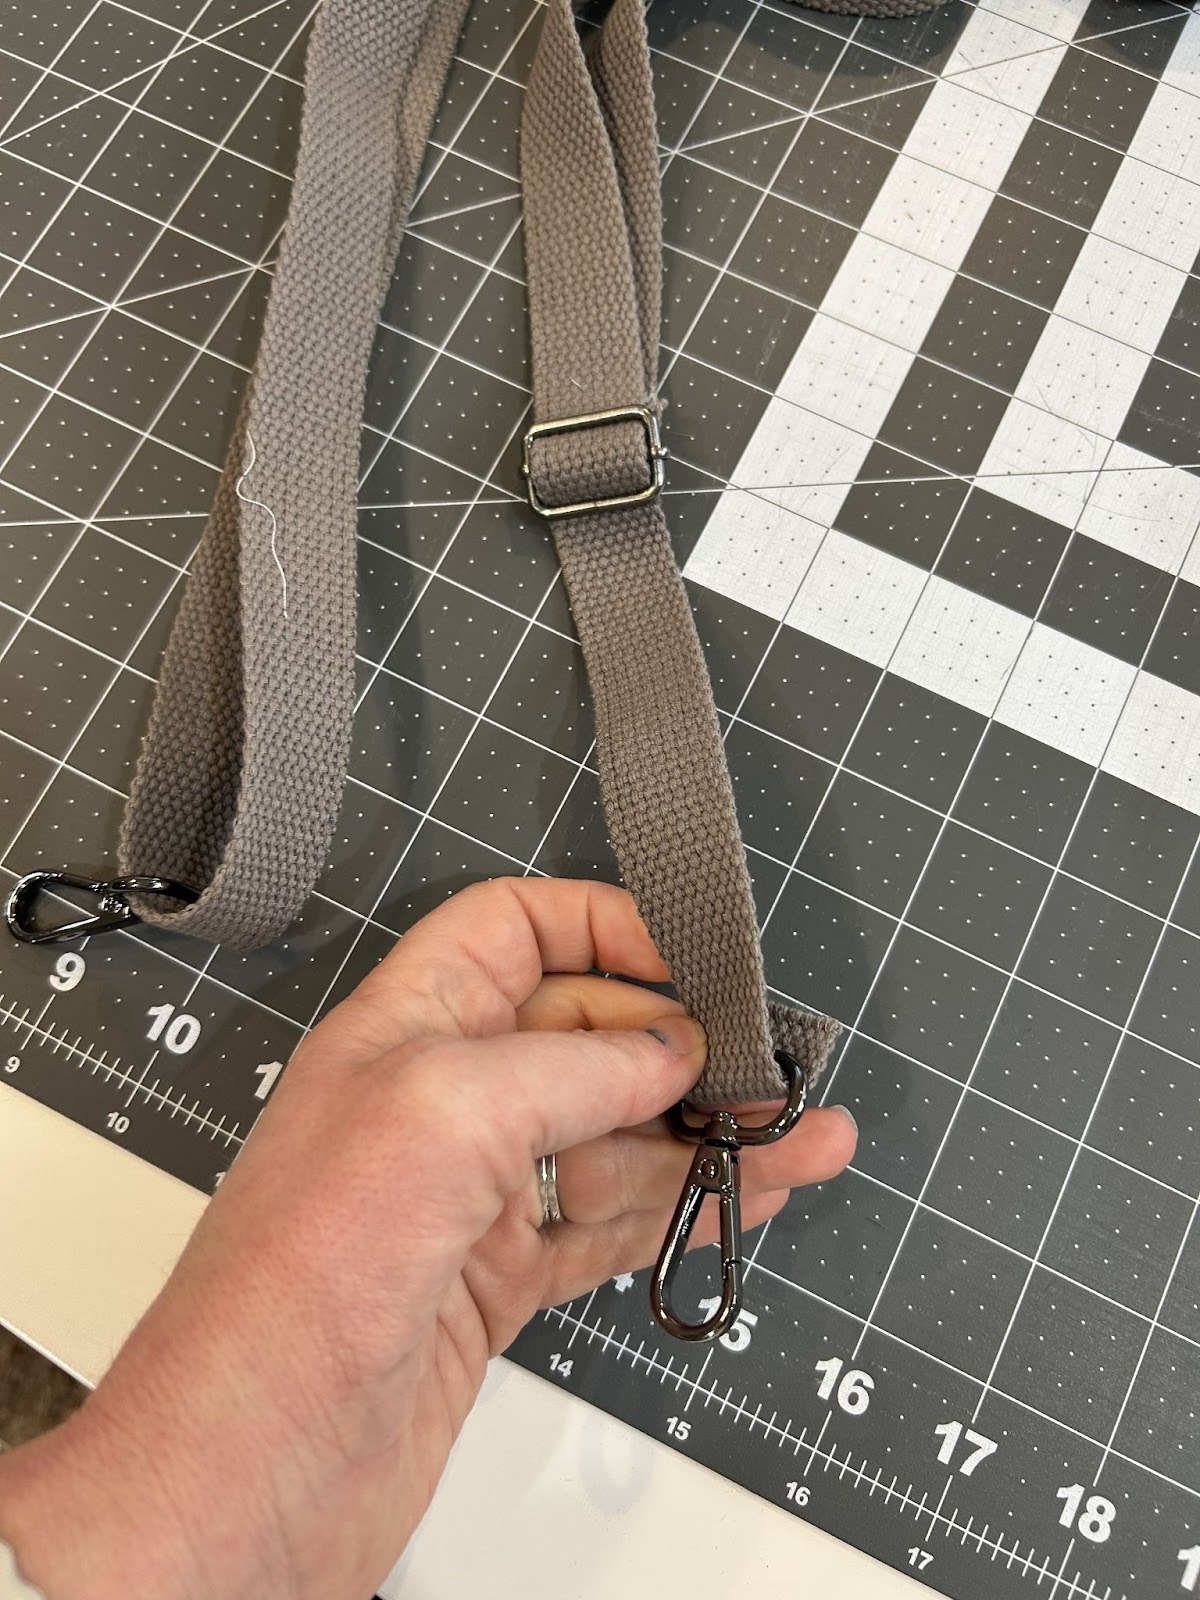
At this point we want to make sure we aren’t twisting our strap. I like to slide the swivel clasp already on the strap down close to the slide.
Making sure the strap isn't twisted, start from the outside edge of the slide and pull the strap up through it.
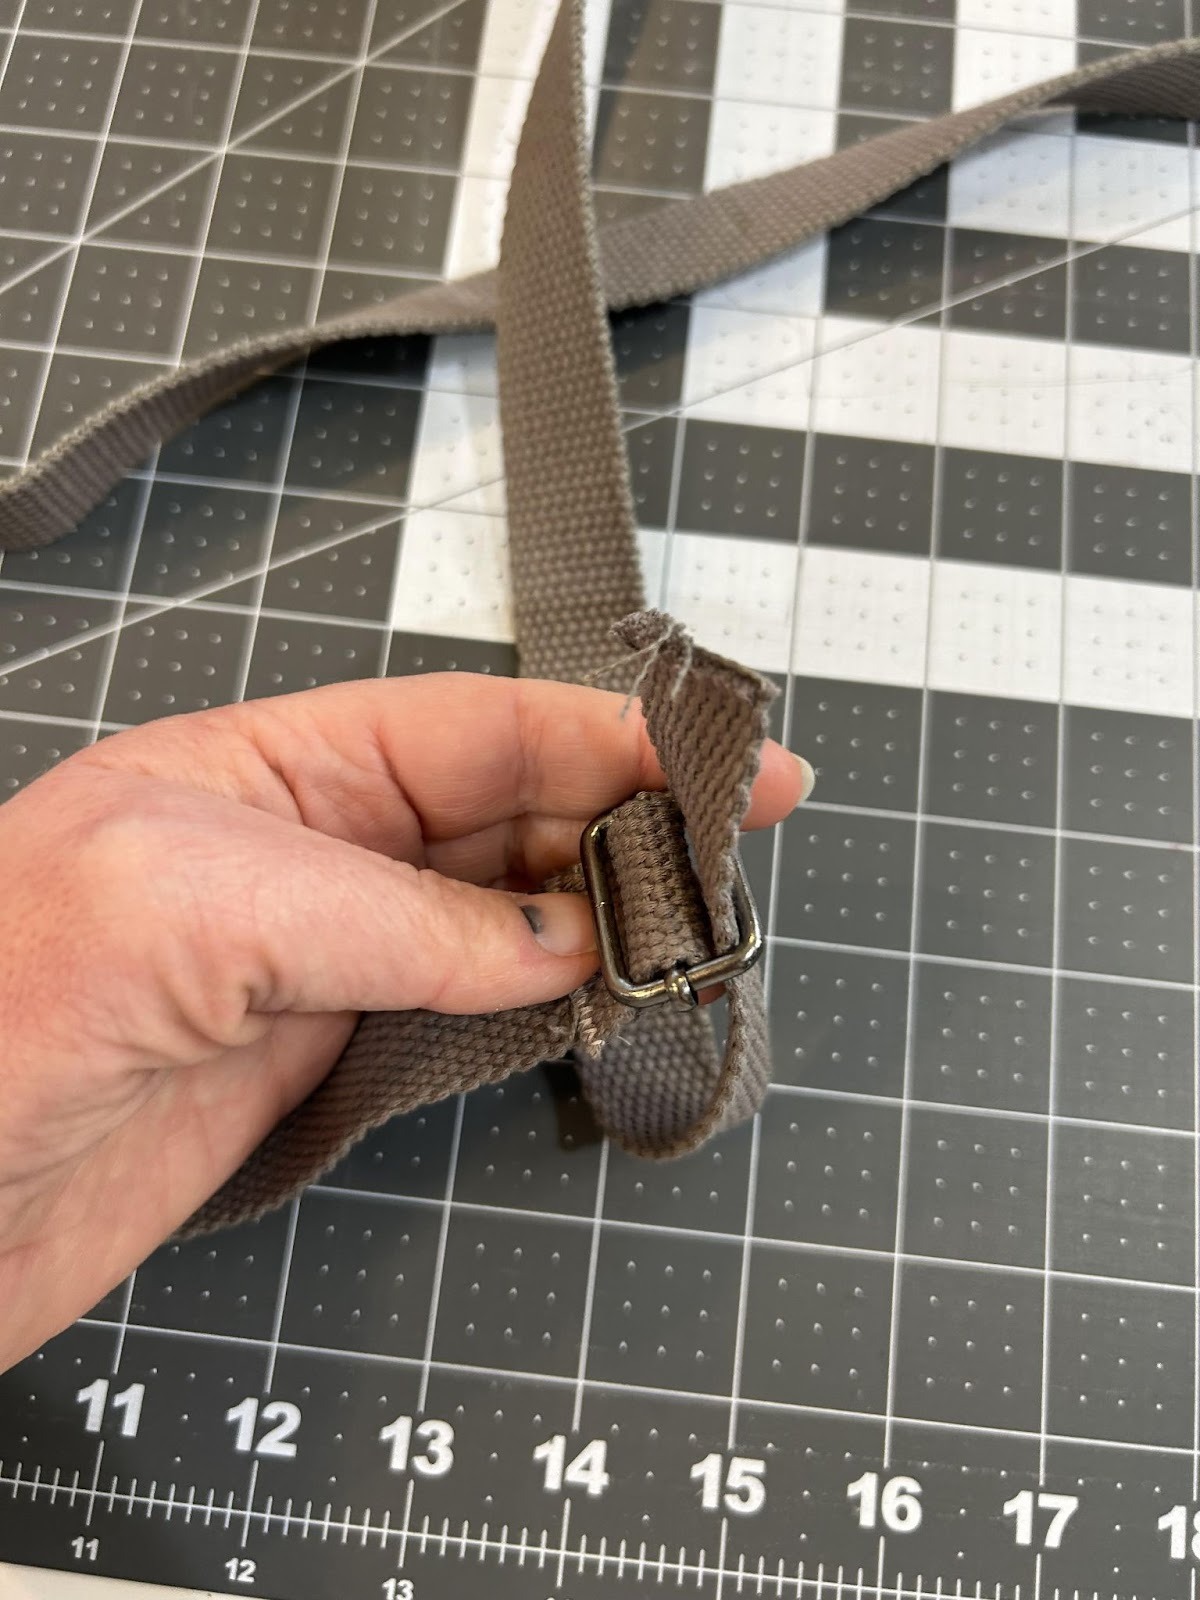
And back down the other edge of the slide. Pull the strap through so you have at least 6” to work with.
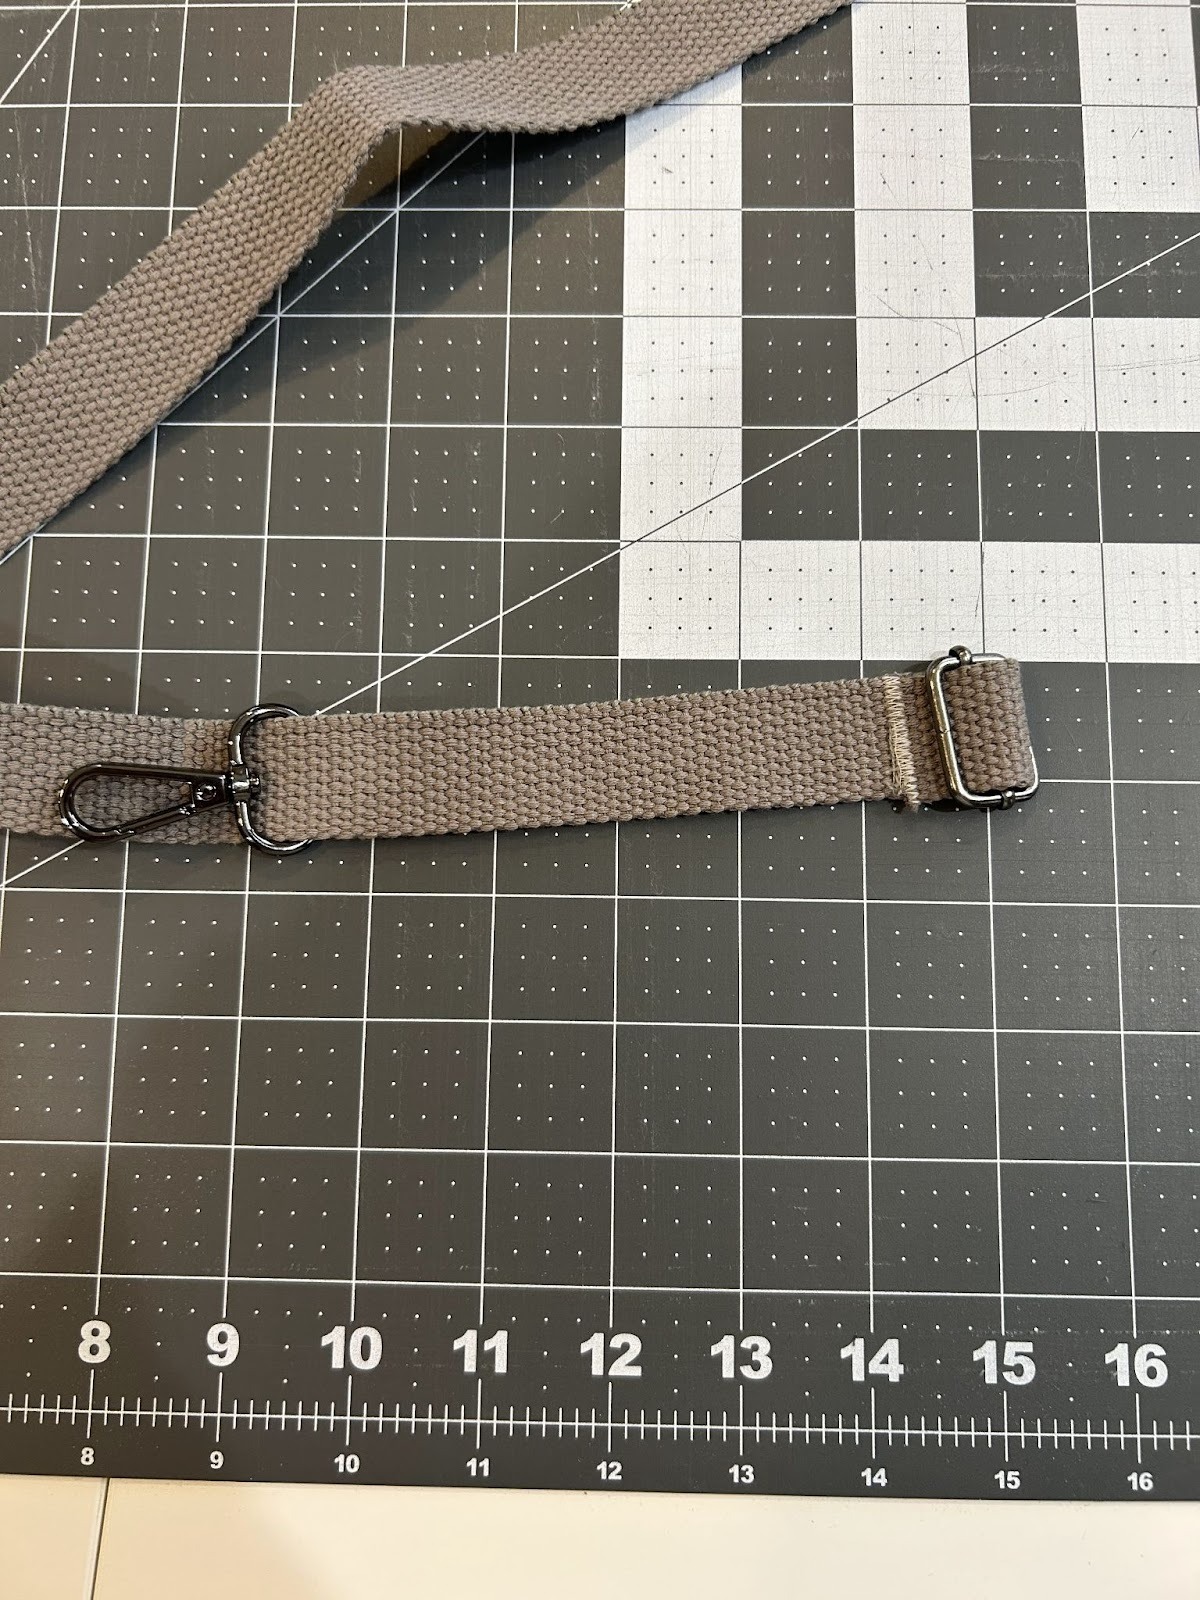
Place the other swivel clasp just at the edge of your strap. My brain thinks that there’s a right side and a wrong side to this, so I make sure that the top of the slide shows at the same time as the “front” of the swivel clasp and the tail tucks behind. I’m not sure there is a “right way” or a “wrong way,” but that’s what looks finished to me!
Stitch it in place and your strap is done!
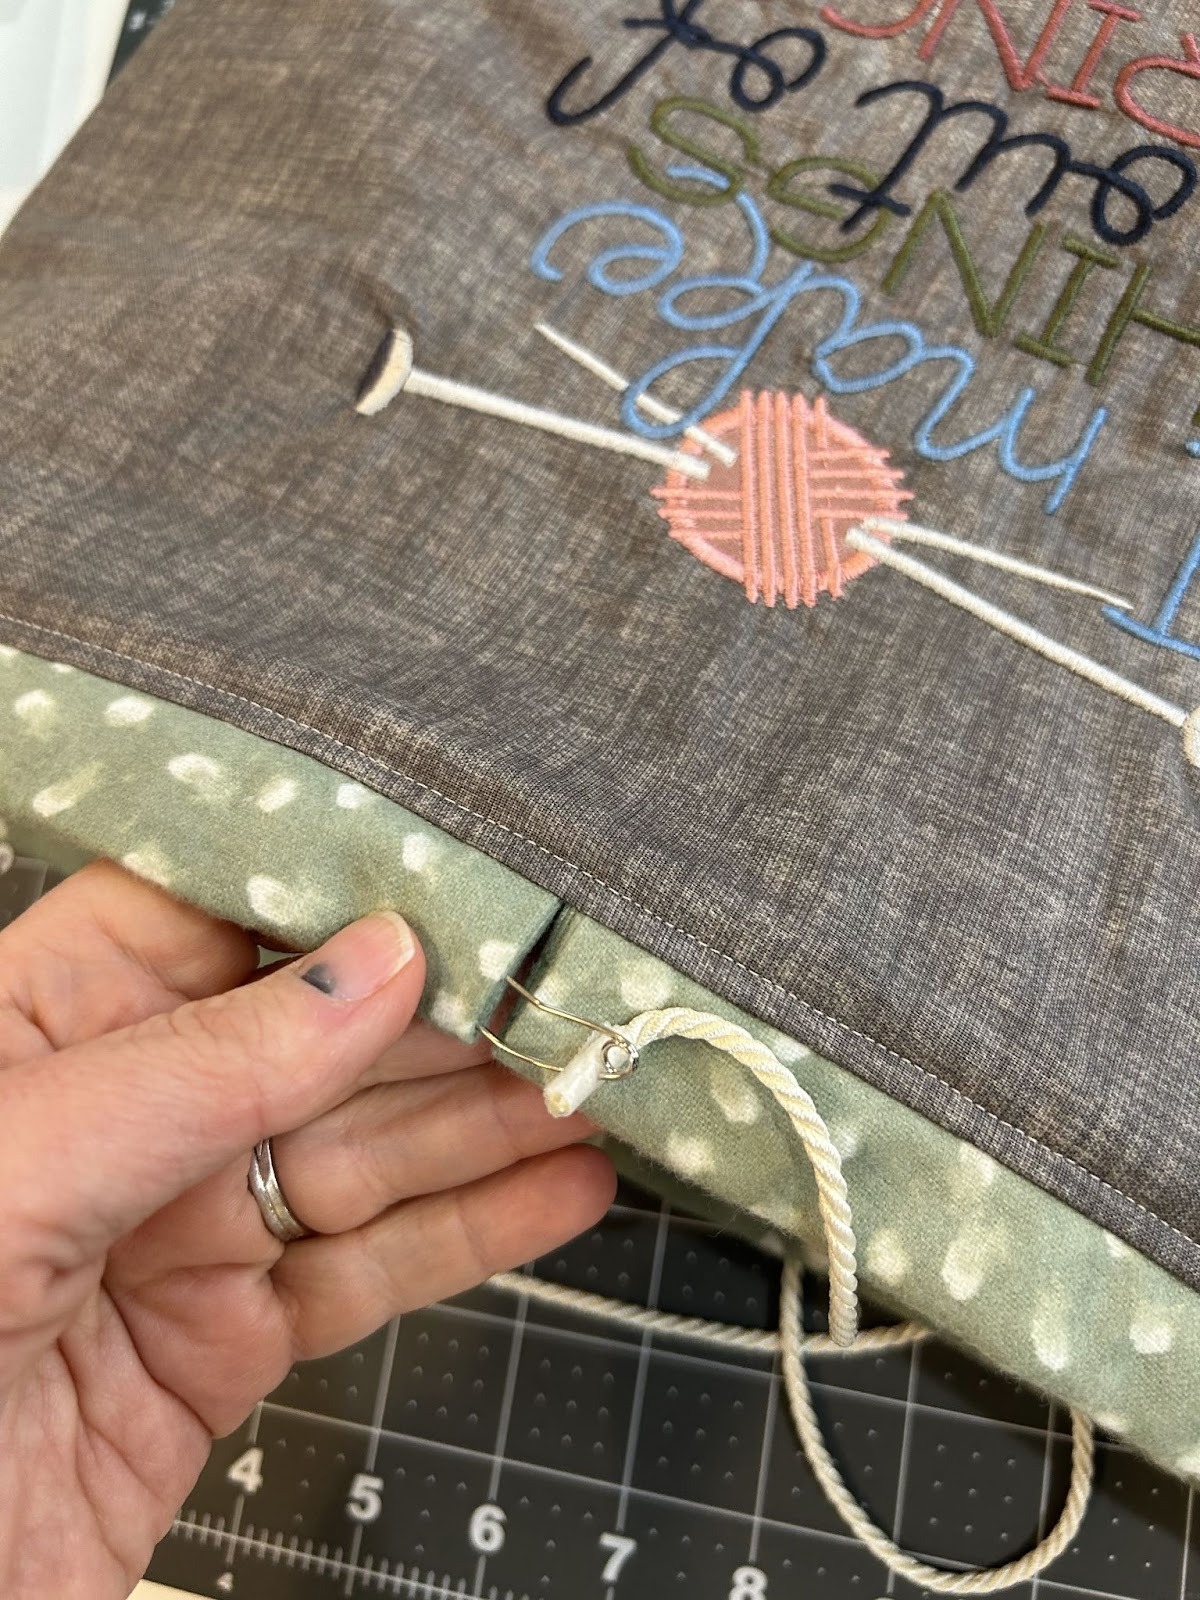
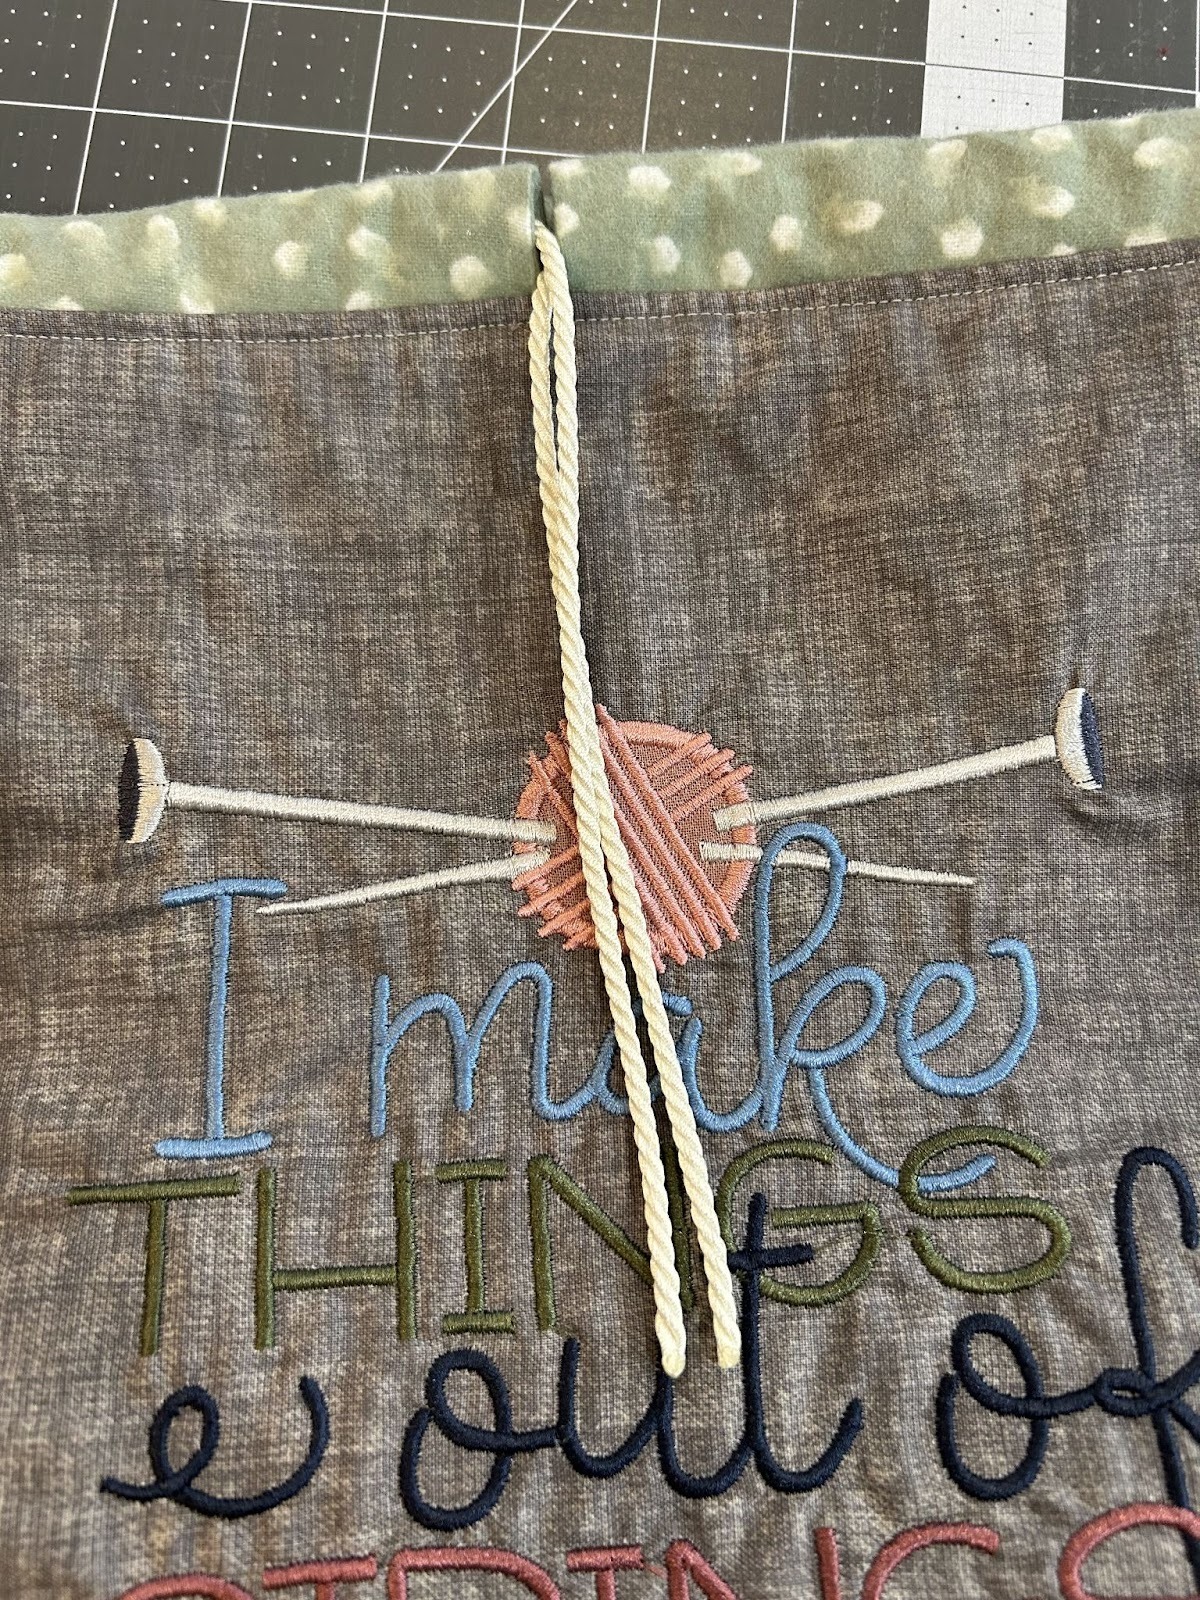
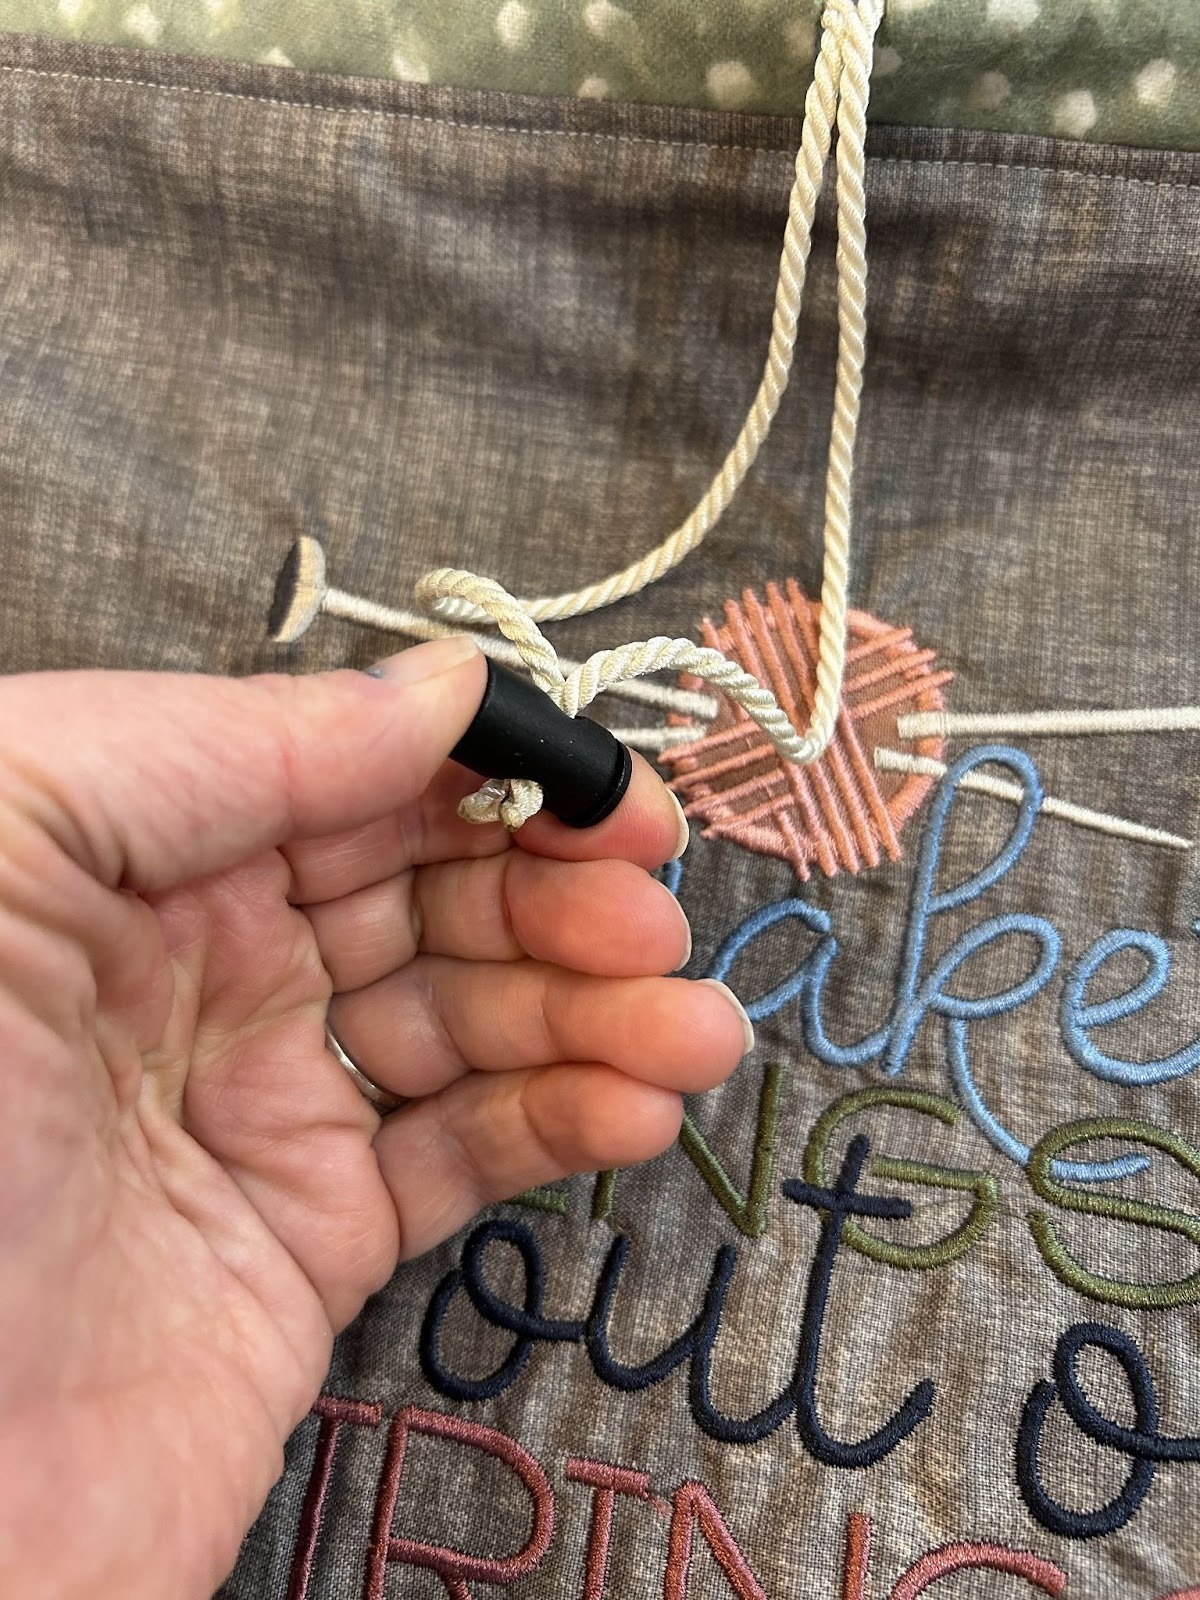
Now we just need to pull the cord through the casing. I like to use a safety pin, but I know there are other gadgets out there to help make it easier. You can use whatever works for you to pull the cord through the casing.
Trim the ends of your drawstring to where you like them. I melted the ends so they wouldn’t unravel.
Slide on your cord stop. I like this because it helps keep the bag closed. I still tie a nice bow afterwards but I know it’s not going to inadvertently come open.
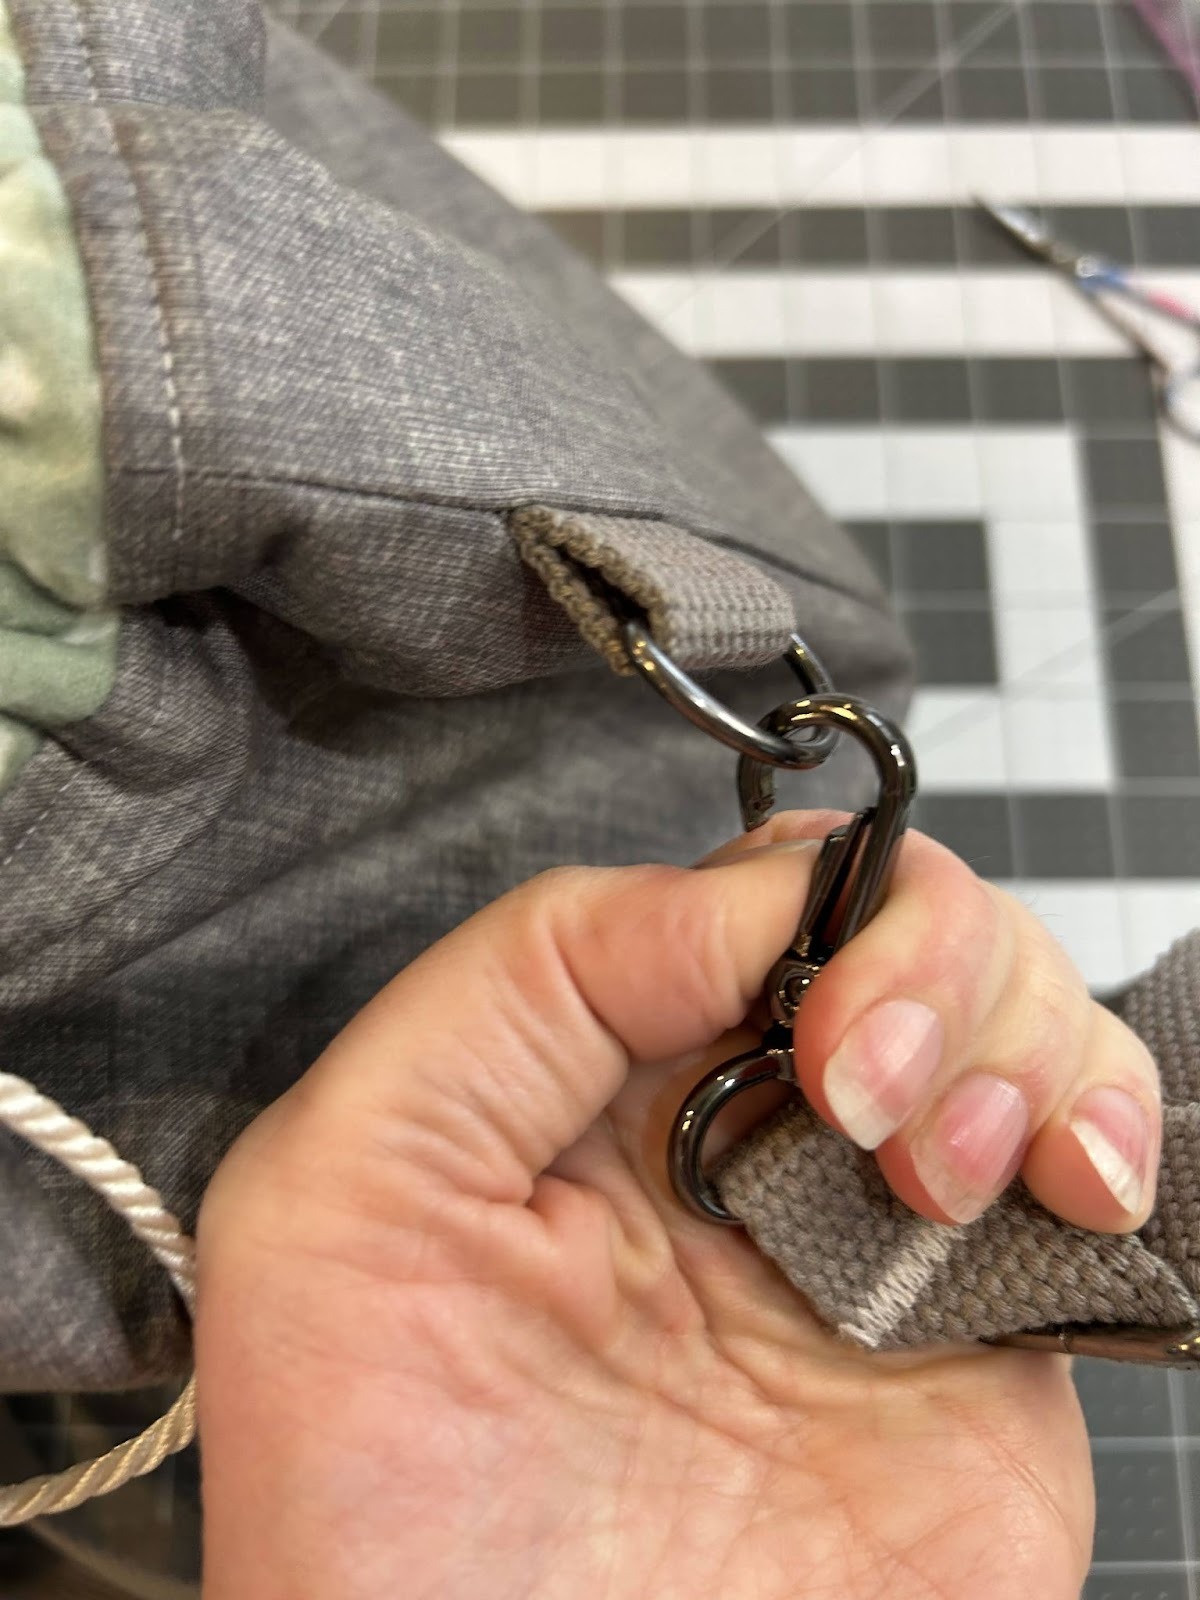
Take your strap and clip it to each side of the bag.
And your shoulder bag is finished! I can now take my project with me wherever I go—and some days it seems that’s all I do!
I’d love to see what you stash in your bag! If you make one, please post pictures of it in the Designs by JuJu Embroidery Blessings Facebook Group, or use the hashtag #designsbyjuju anywhere on social media, and inspire me. Remember, I can’t have too many bags!
