Toggle Nav
 Inspire.
Create.
Stitch.
Inspire.
Create.
Stitch.
Search
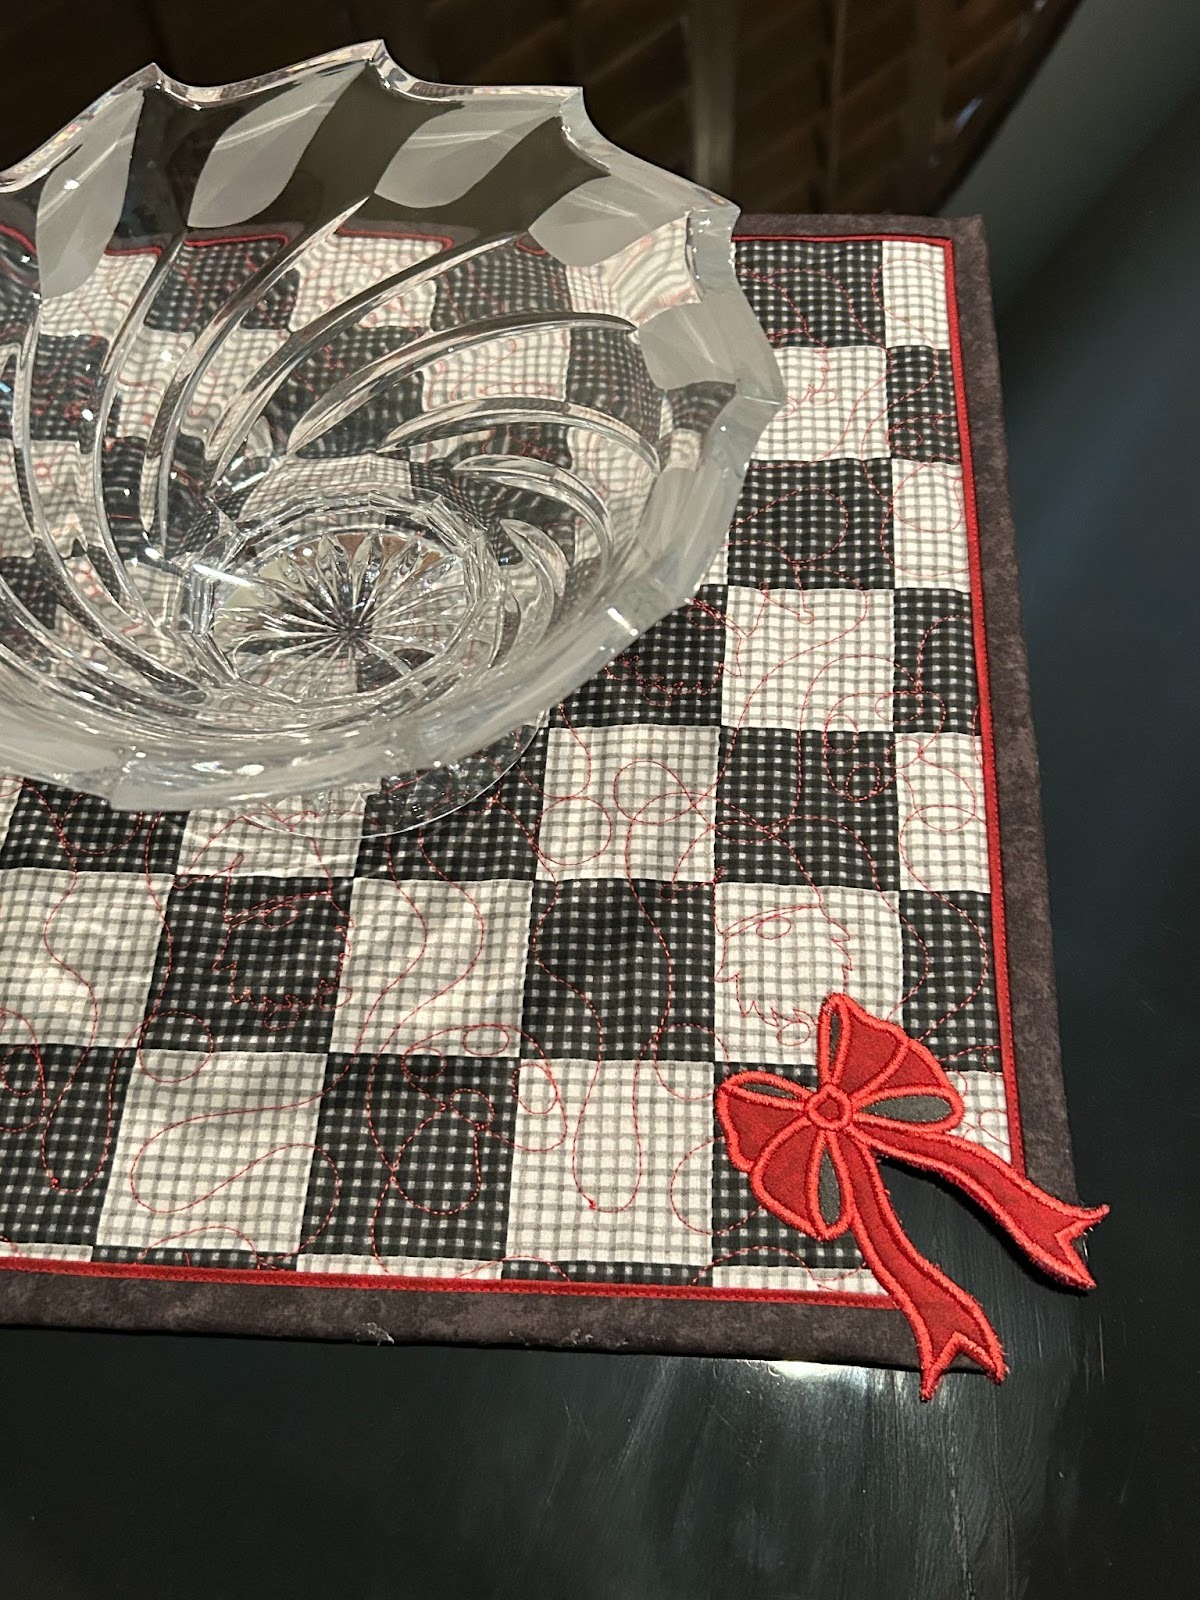
DBJJ’s Cutaway Bow design fixes badly mitered corners while adding a decorative upgrade to purchased quilts.
Have you ever had a quilt where the miters on the corner didn’t turn out quite right? Or have you had a premade quilt that you’d like to add a little something to? Today I’m going to show you how to use the DBJJ Cutaway Bow design to help solve both of these situations. The Cutaway Bow completely eliminates a rough-looking mitered corner. It can also add a little handmade feel to a premade quilt. And the best part? It’s super easy and only takes a few minutes!
Check out the DBJJ team’s favorite supplies in the Designs by JuJu Amazon store.
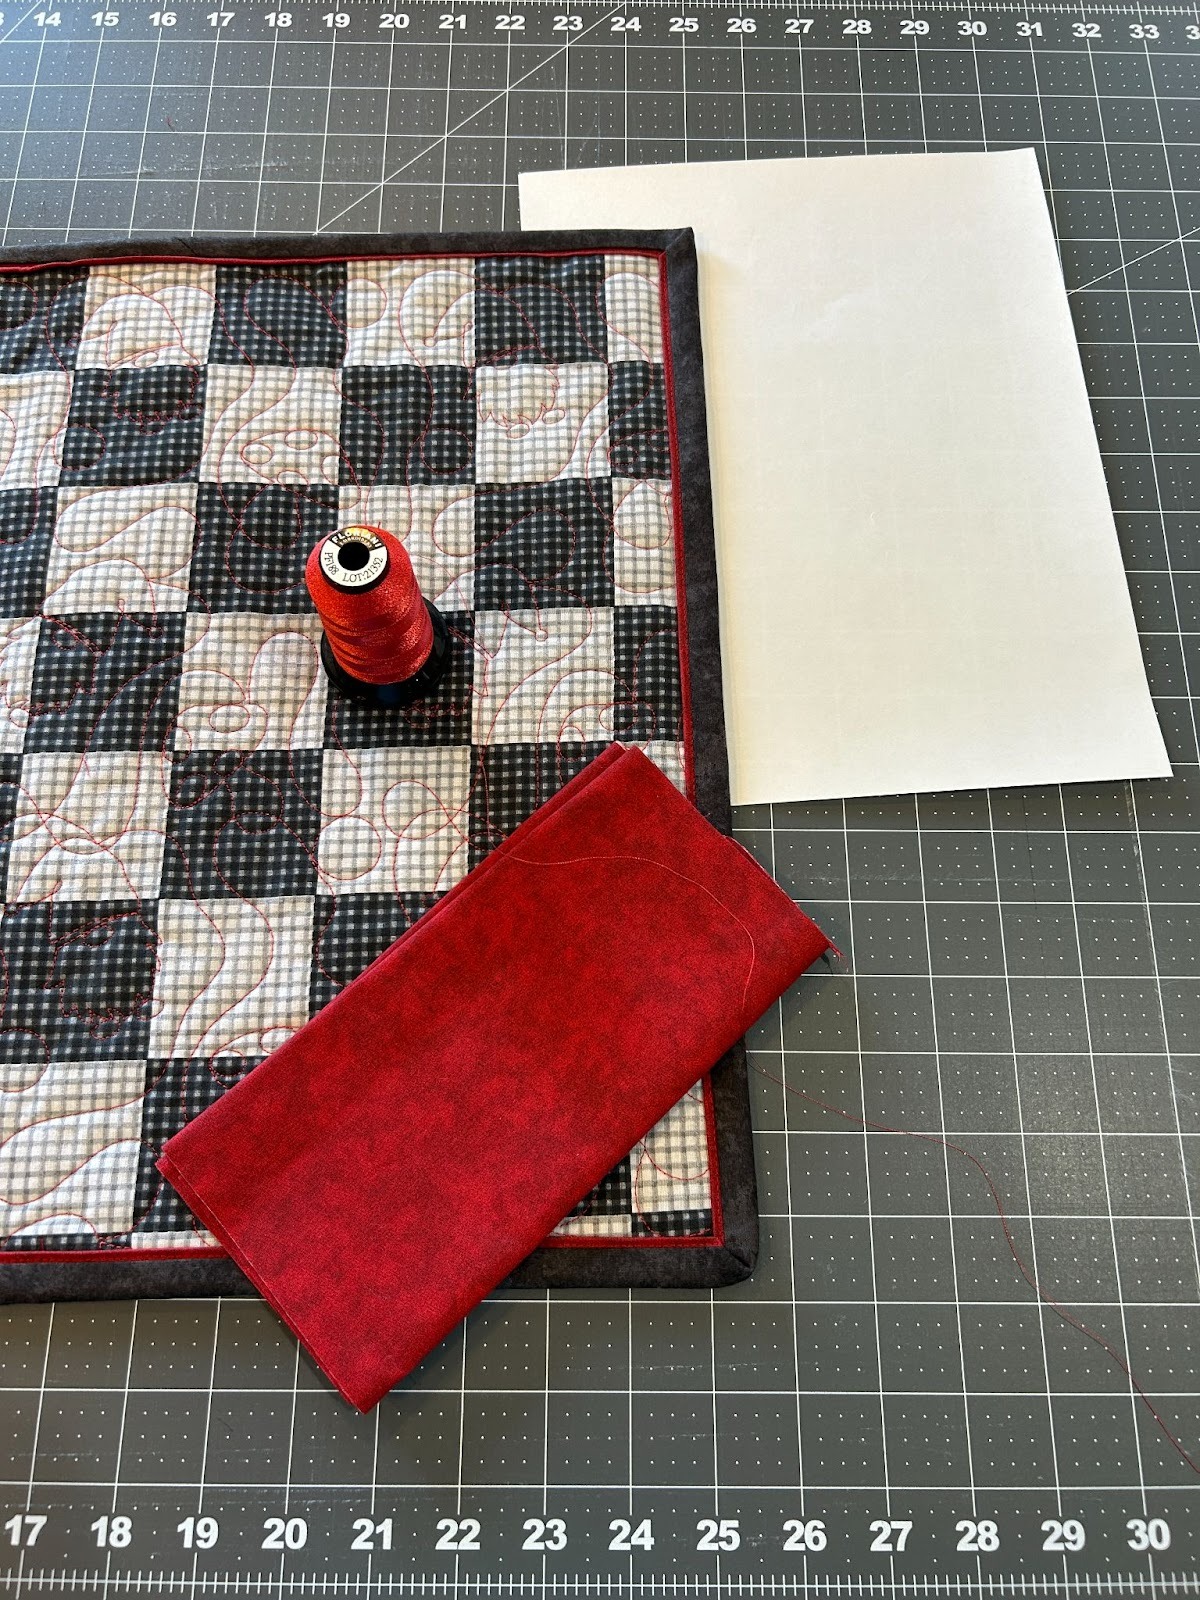
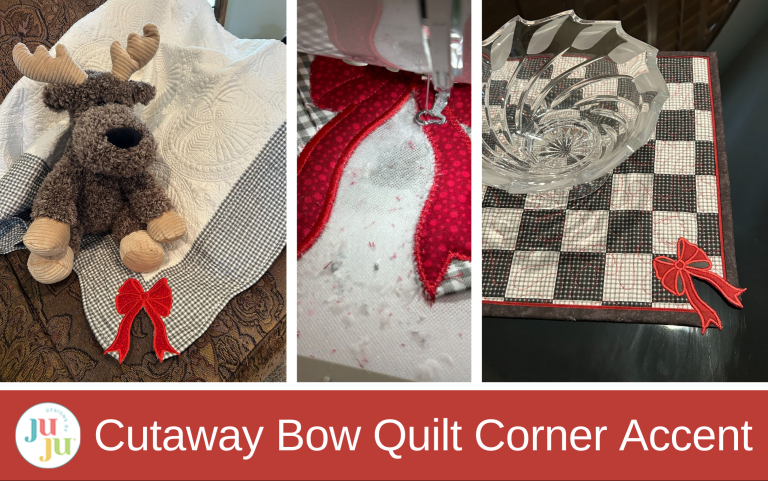
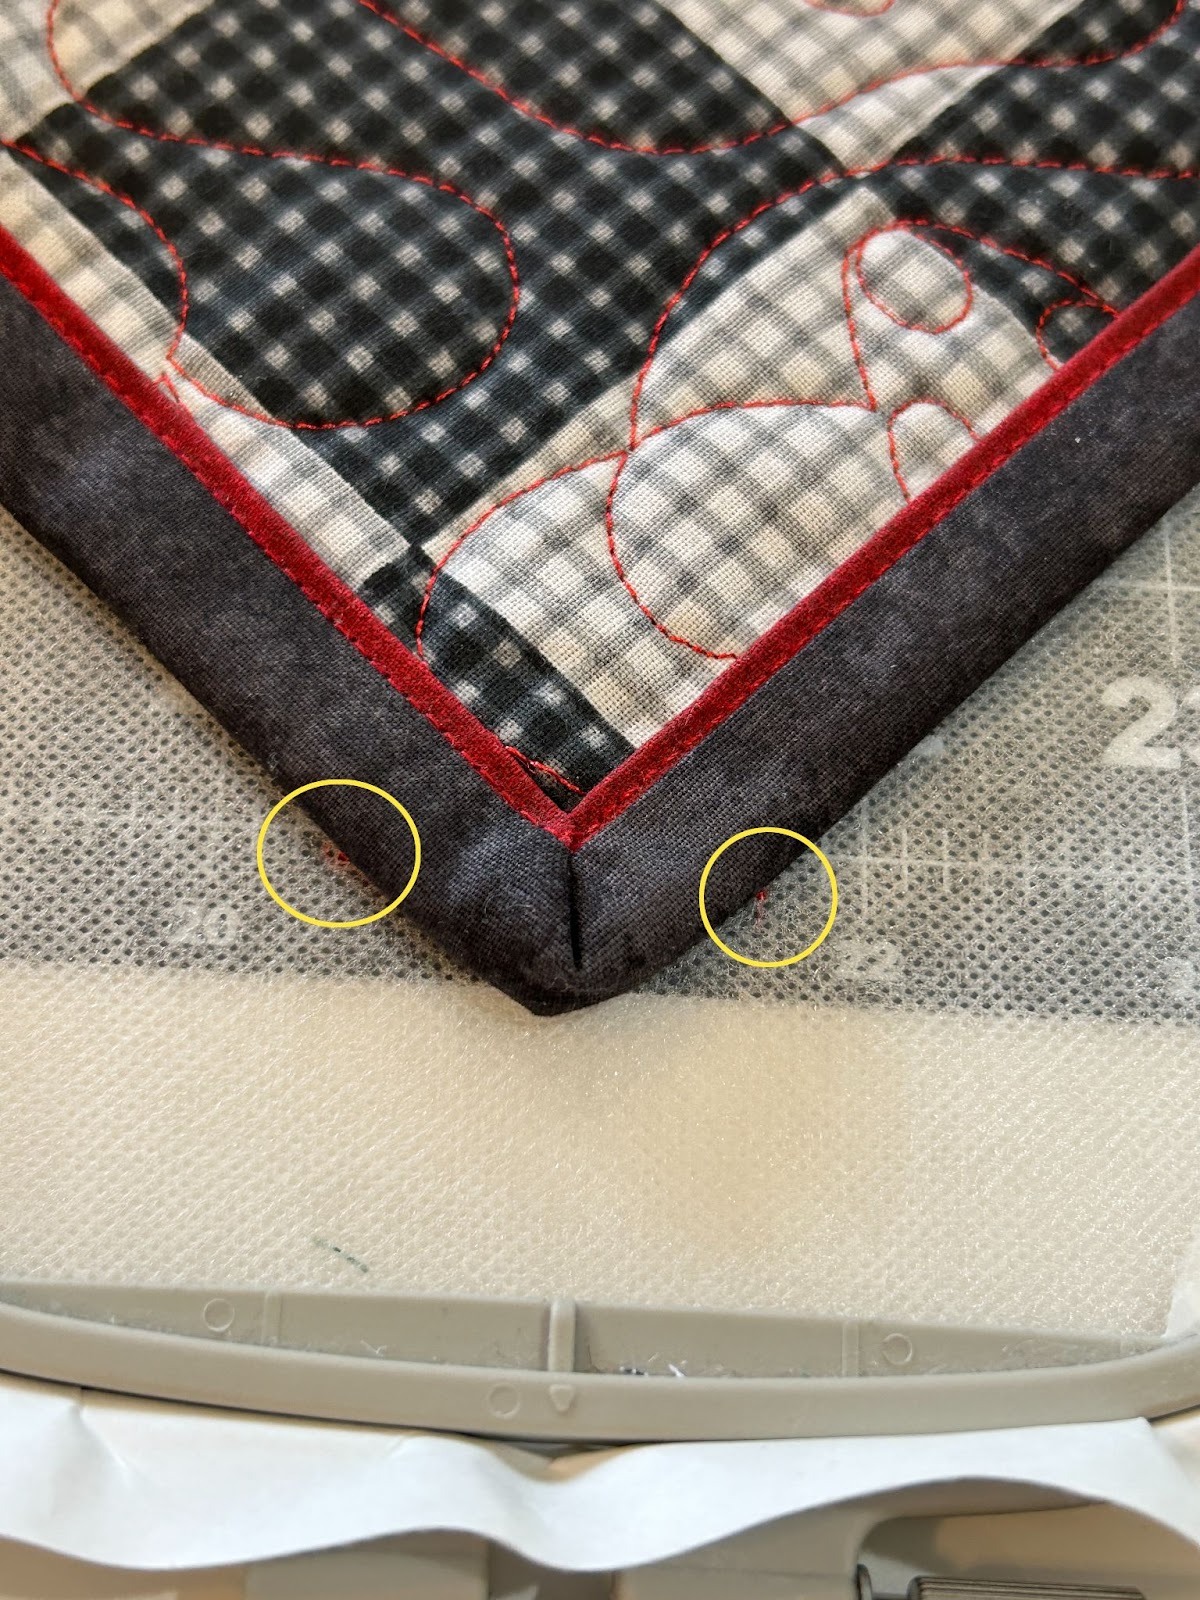
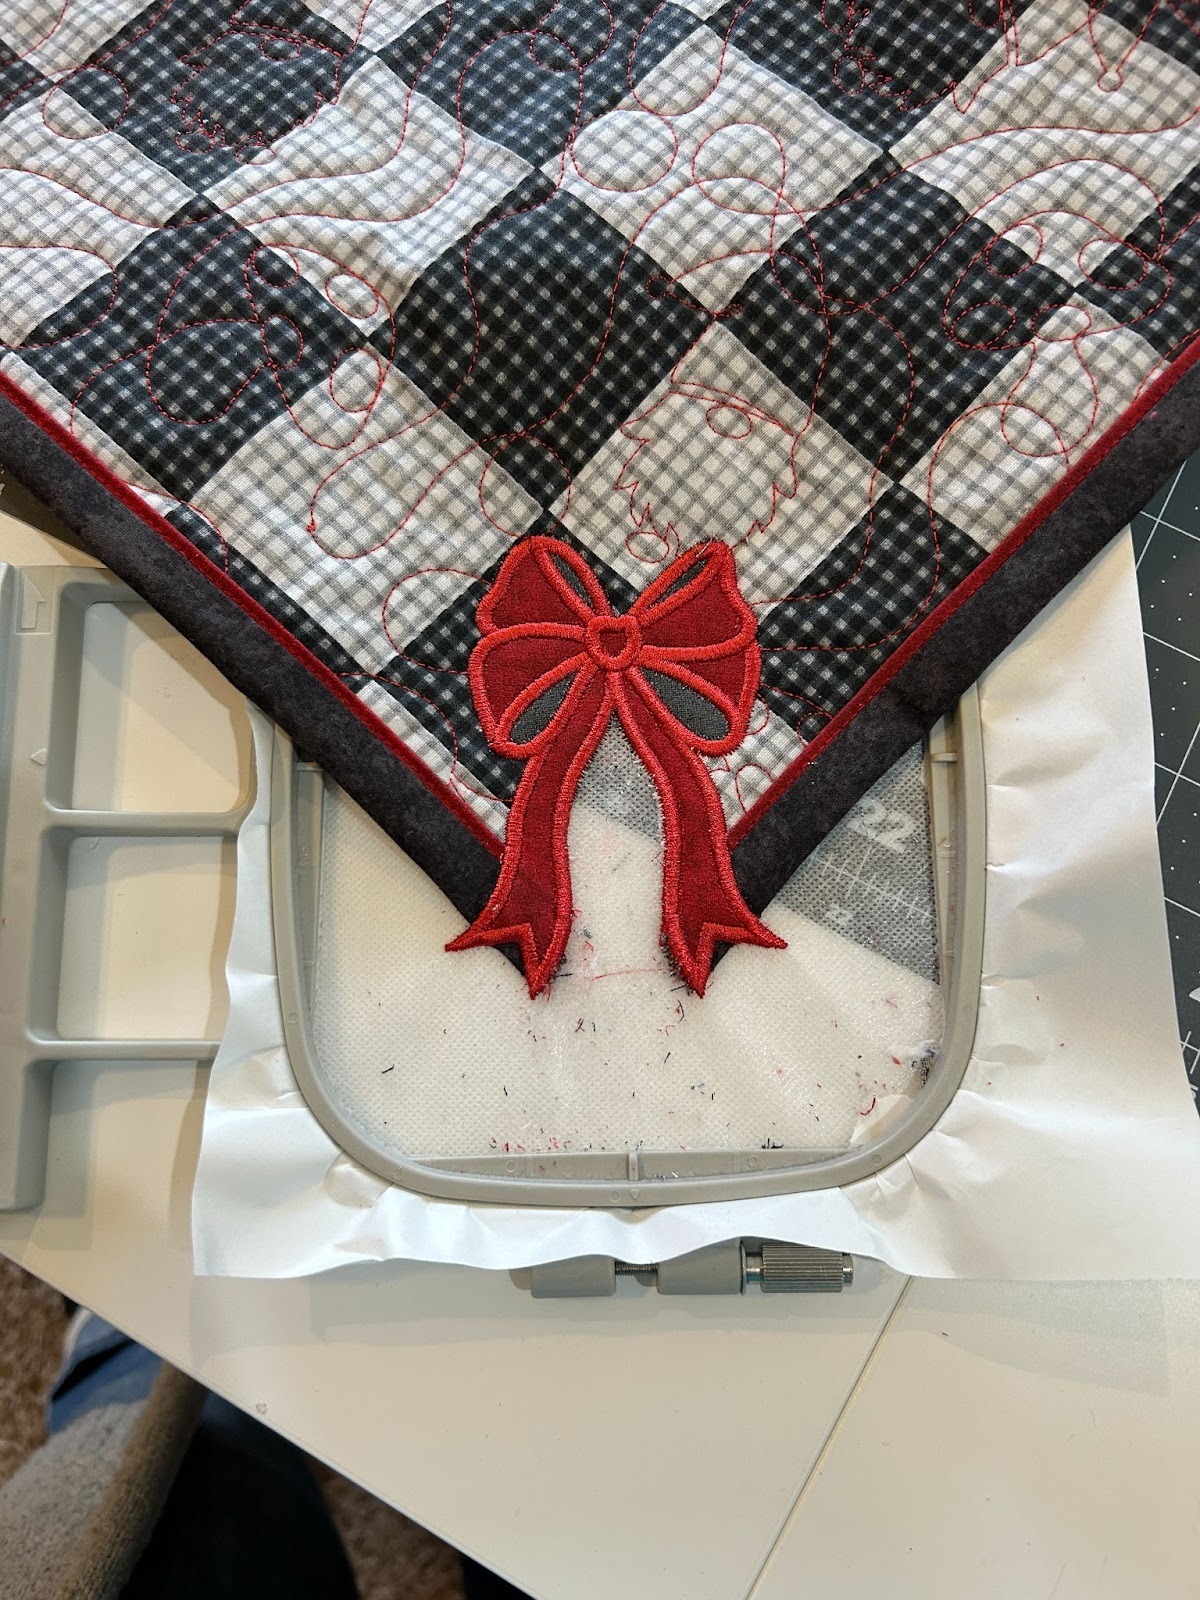
Find the corner you want to “fix.” On this quilted table mat I made, one of my corners seemed a bit sloppier than the others. So I thought I’d use this method to get rid of it.
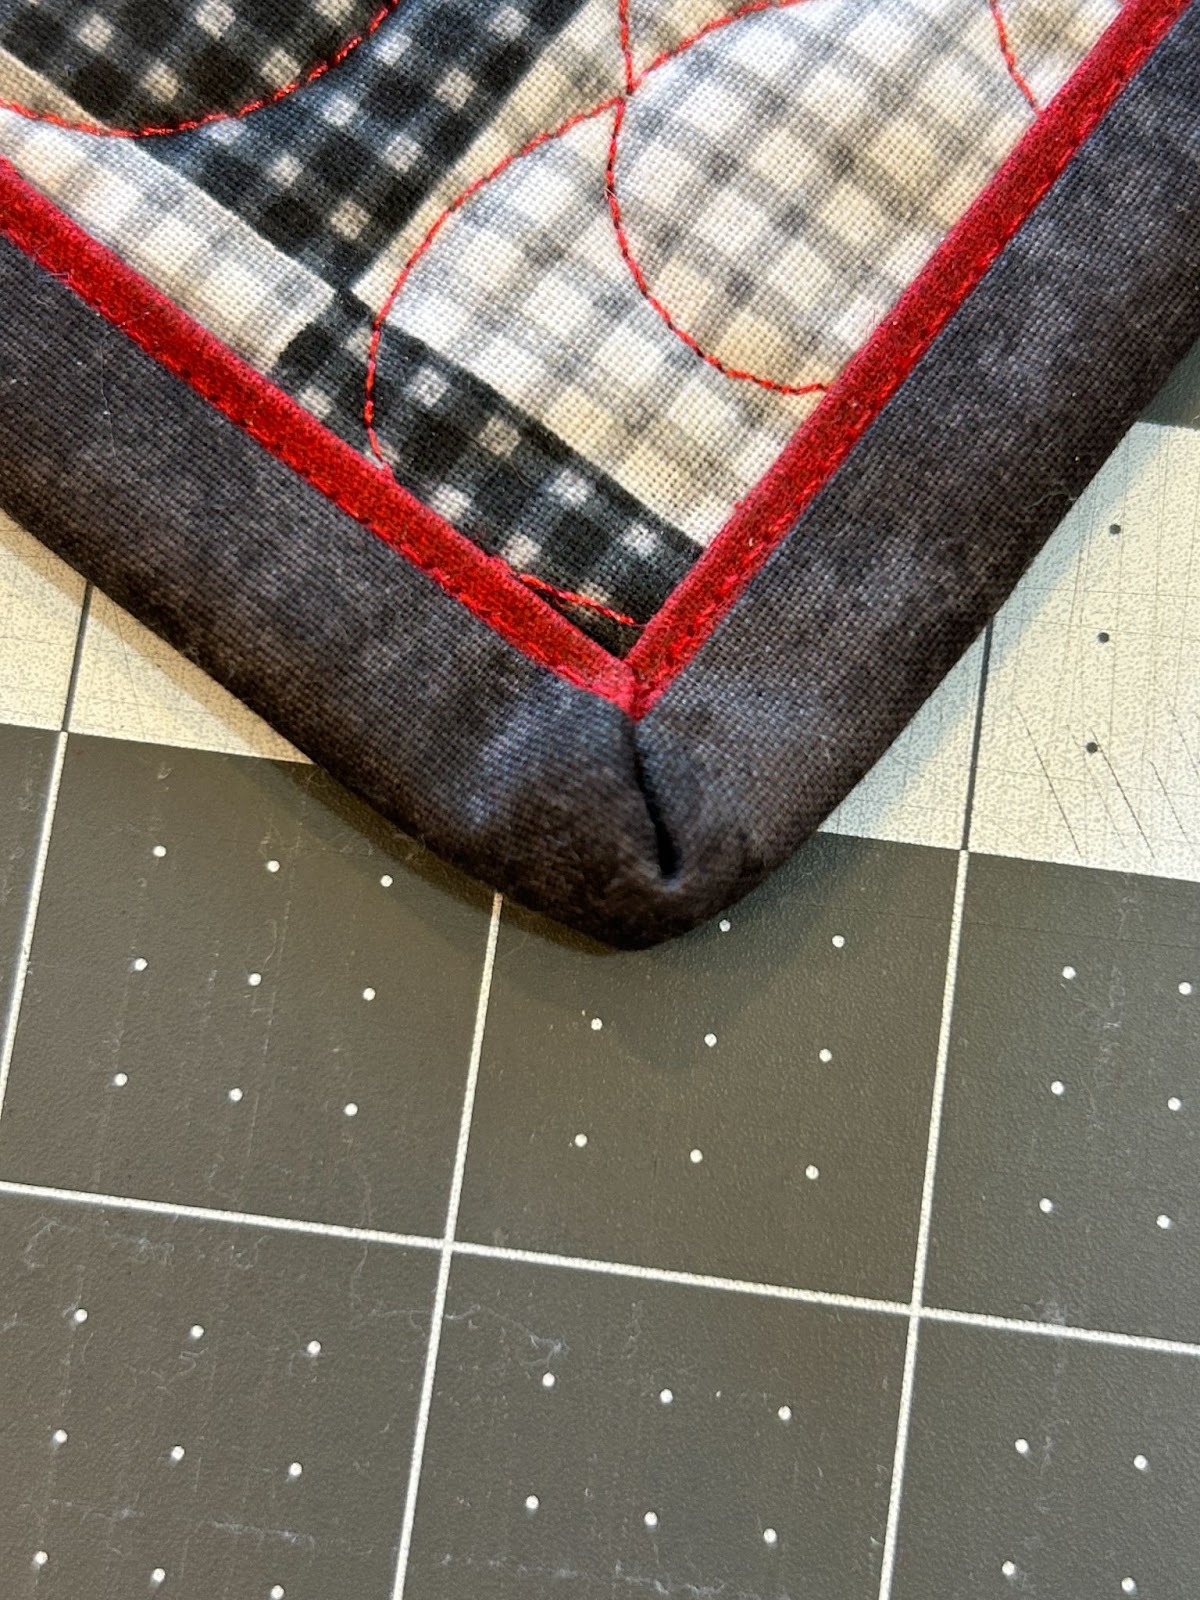
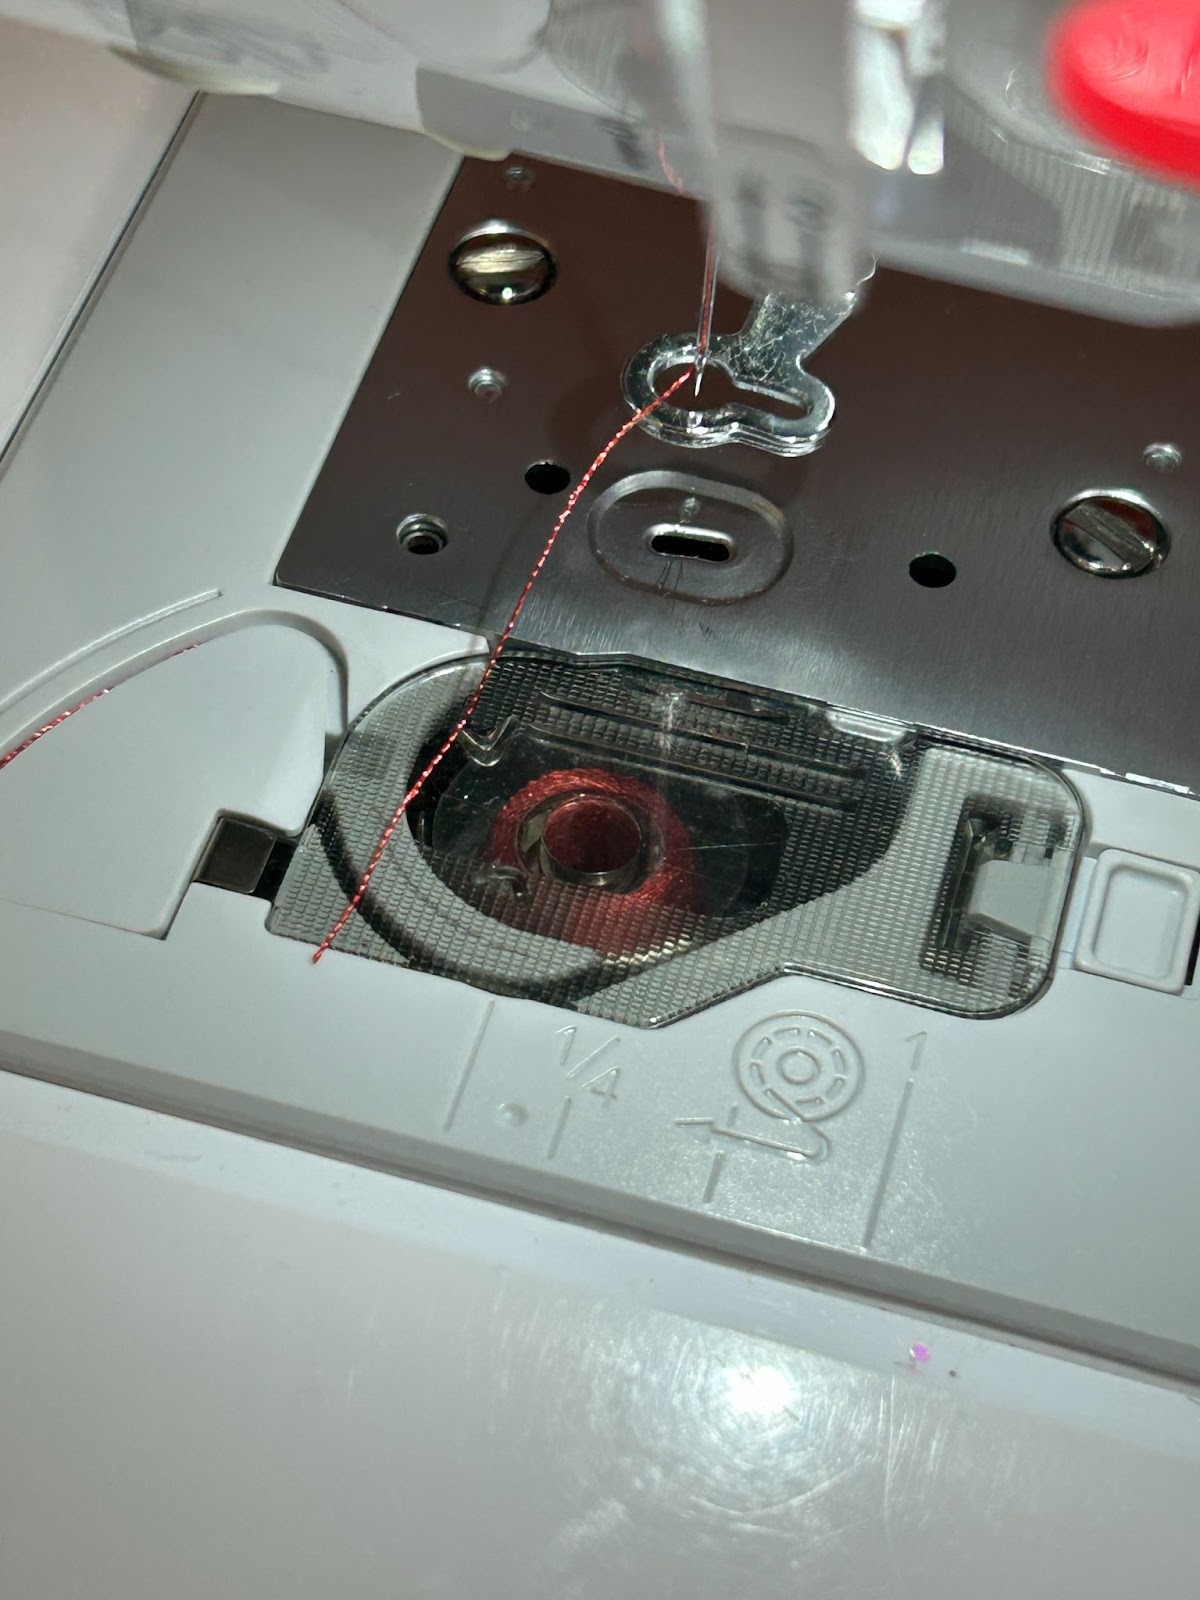
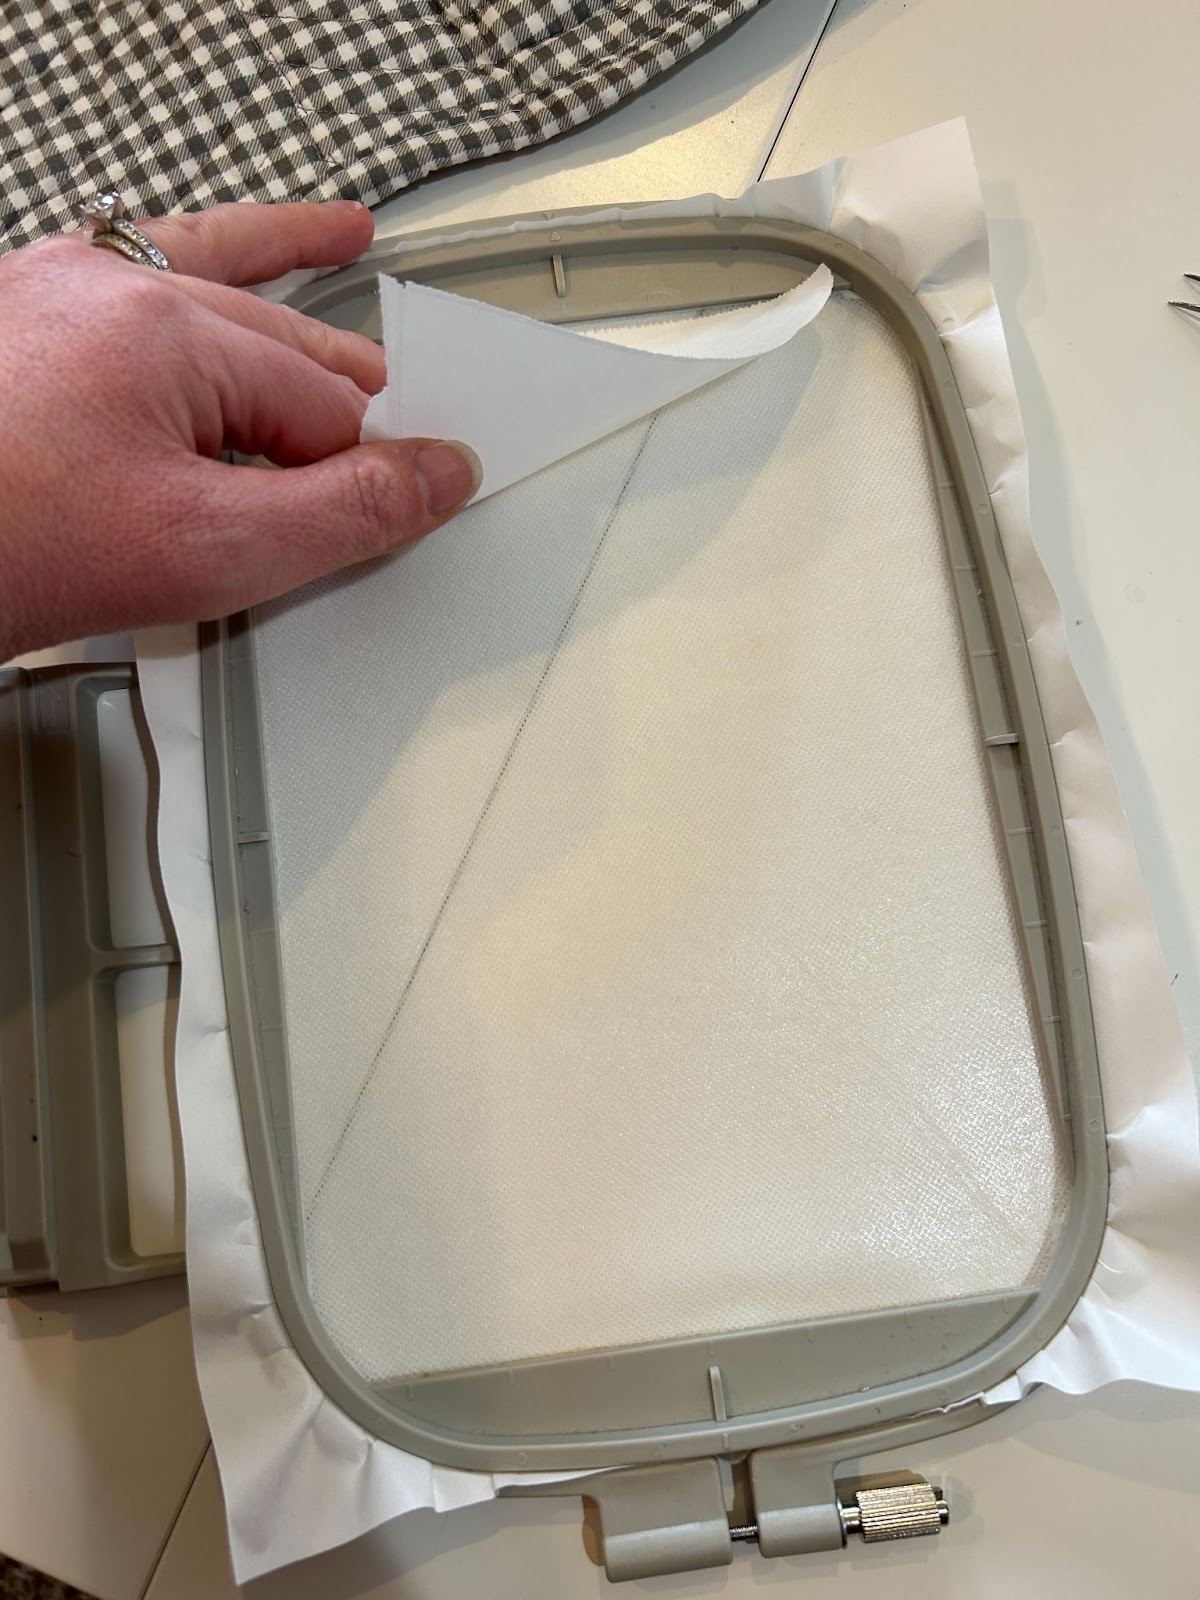
Hoop your water-soluble sticky stabilizer.
Score the paper that is covering the sticky back and remove it from your hoop.

For this project I like to use a matching bobbin for the back of my bow. Quilts are often seen from both sides and I like to have the back as pretty as the front. Because this is a table mat, I still want a pretty color in my bobbin, but I’m only going to use fabric on the front. I’ll show you how to do a two-sided design for a quilt below.
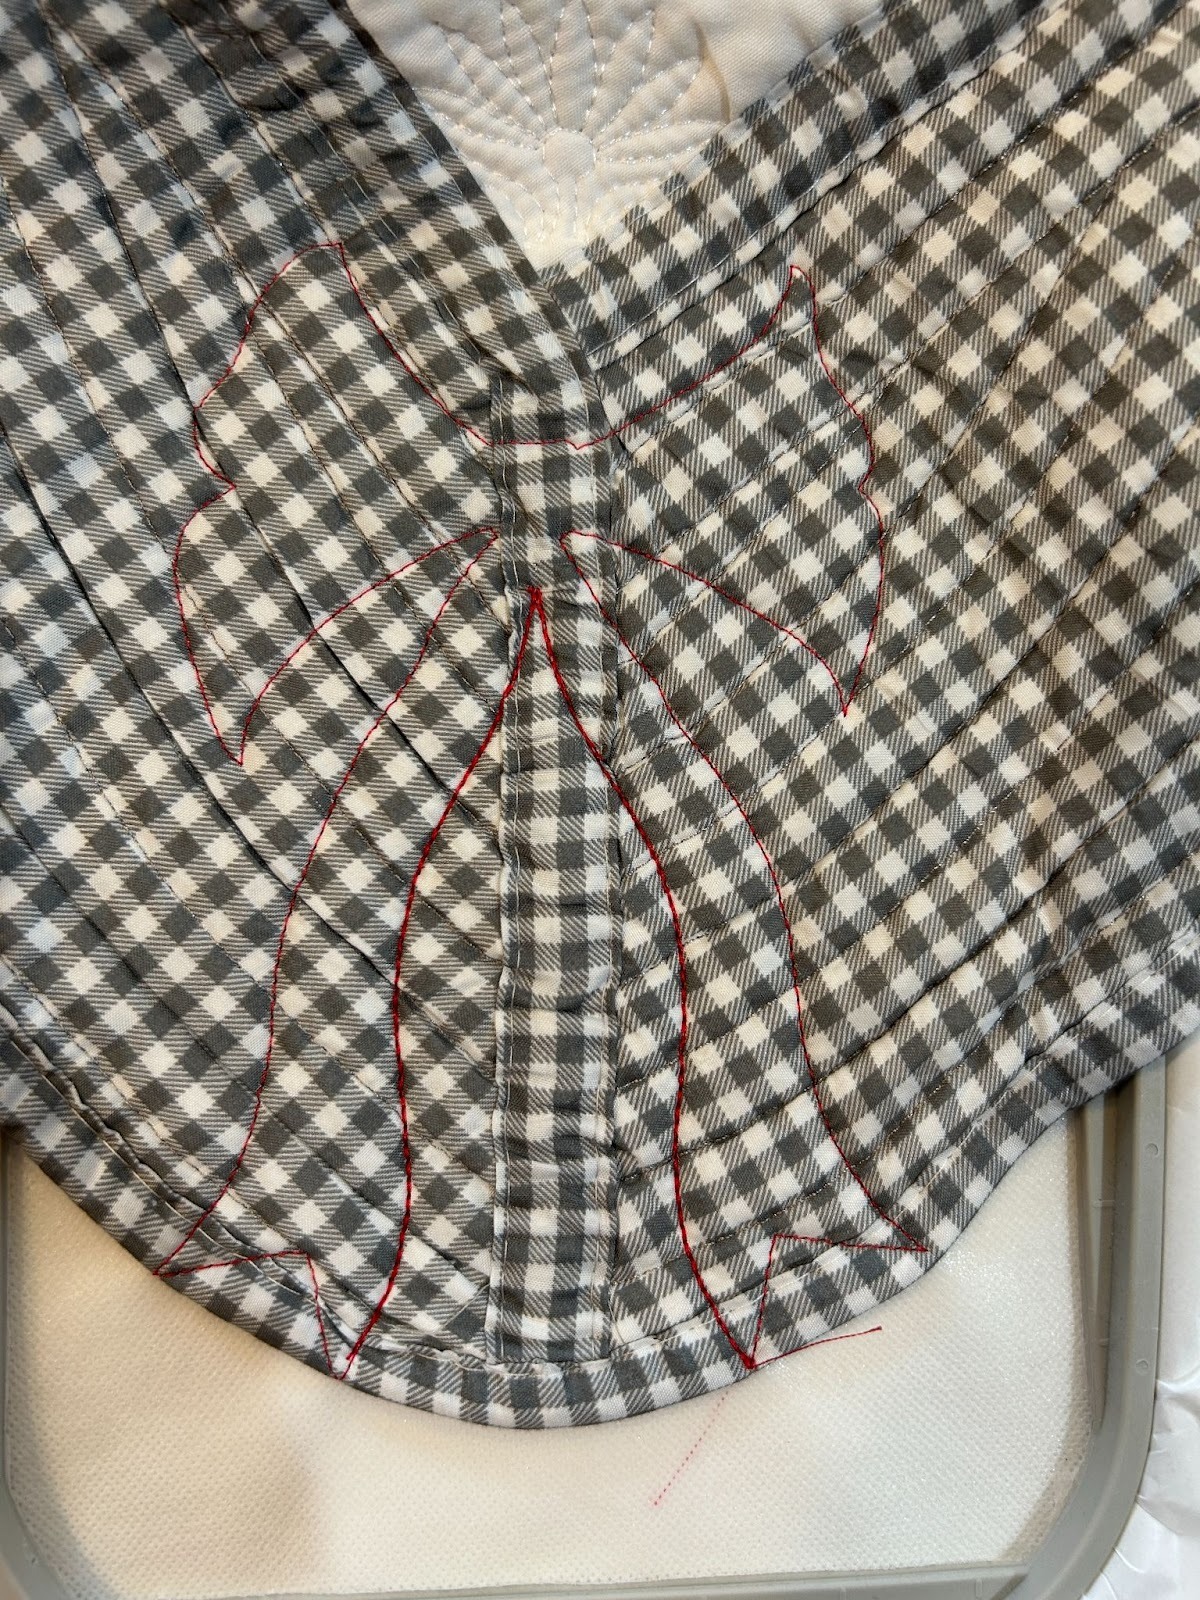
Stitch out the placement lines for the bow.

Now we will line up the table mat on the stabilizer. We will line up each edge with the bottom marks. The point of the mat will extend past the stitch lines, but we don’t need to worry about that right now. Try to have your table mat at a nice 45 degree angle to the stitches. If you measure each placement stitch and make sure they are the same distance from the corner, this helps with the 45 degree angle.
Stitch your tack-down stitches for the bow. You can see how they go right to the edge of my table mat.

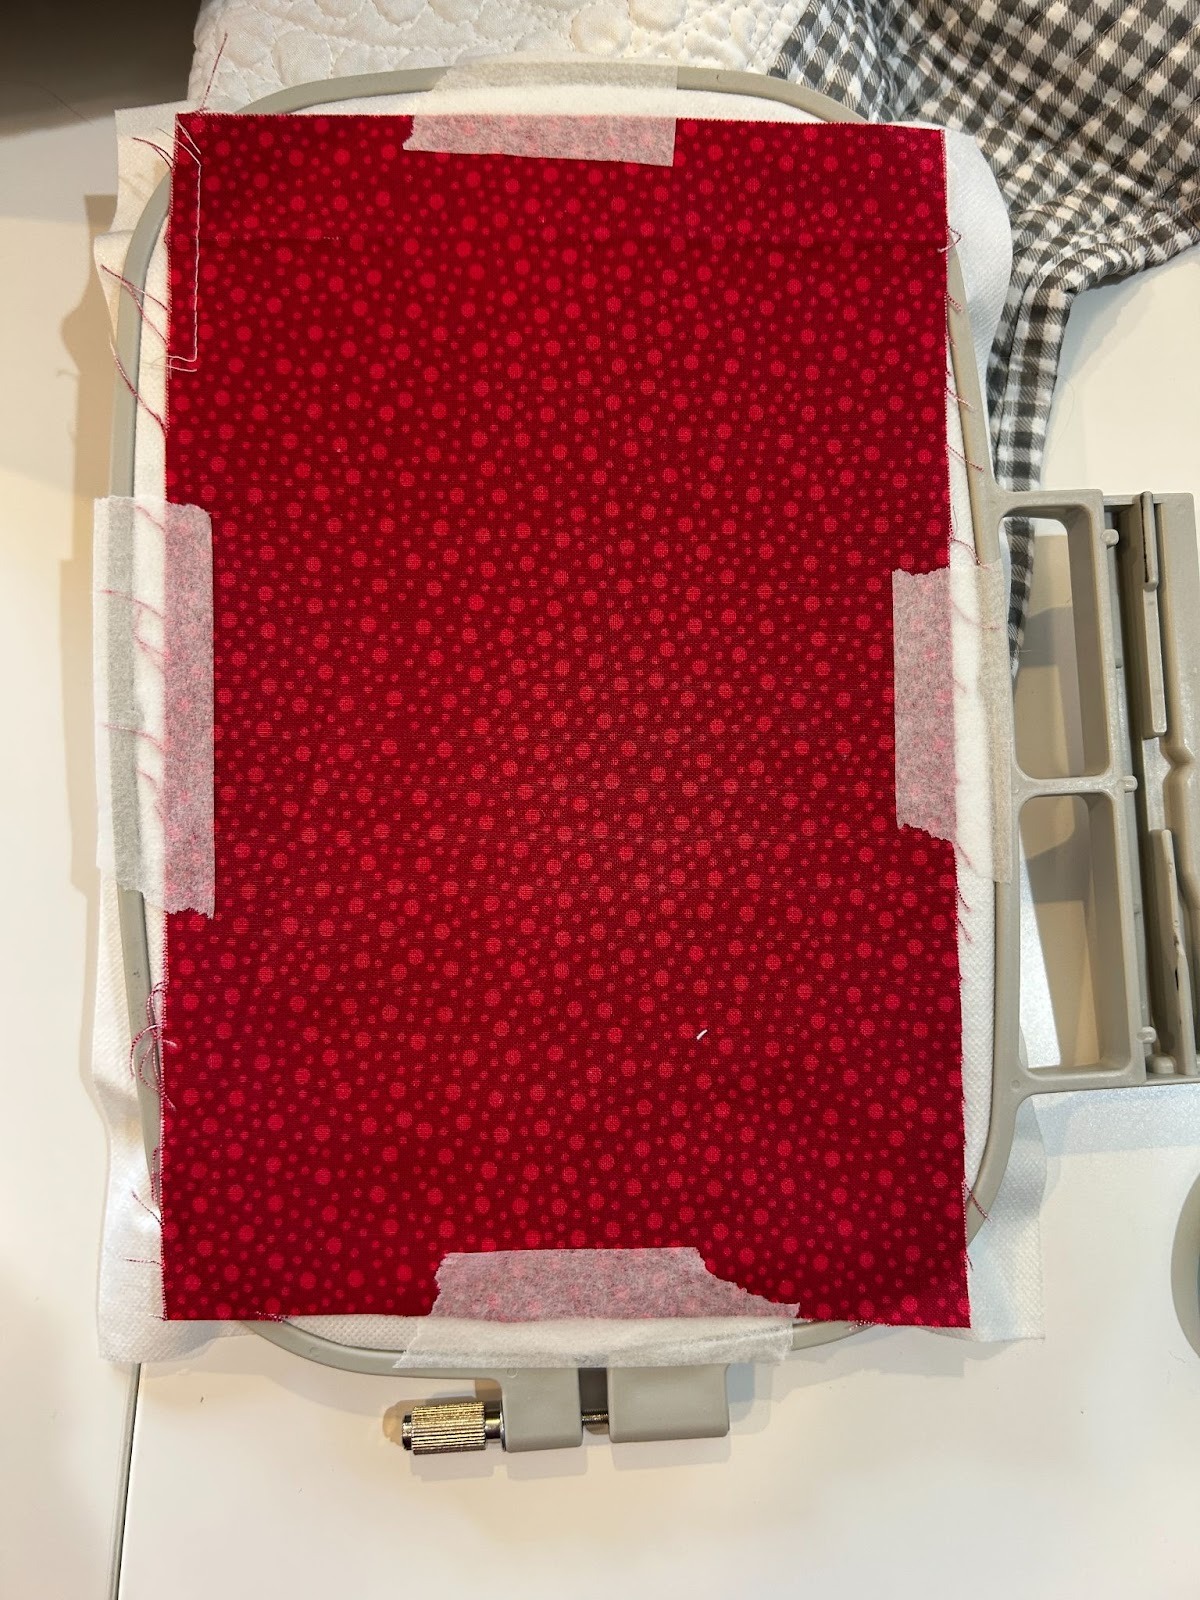
Stitch your first placement stitches. These are the contrast areas for the bow if you desire a two-toned bow. Cover them with fabric and stitch the tack-down stitches. If you’re only using one color, you can skip this step and join in when we do the bow placement stitches.

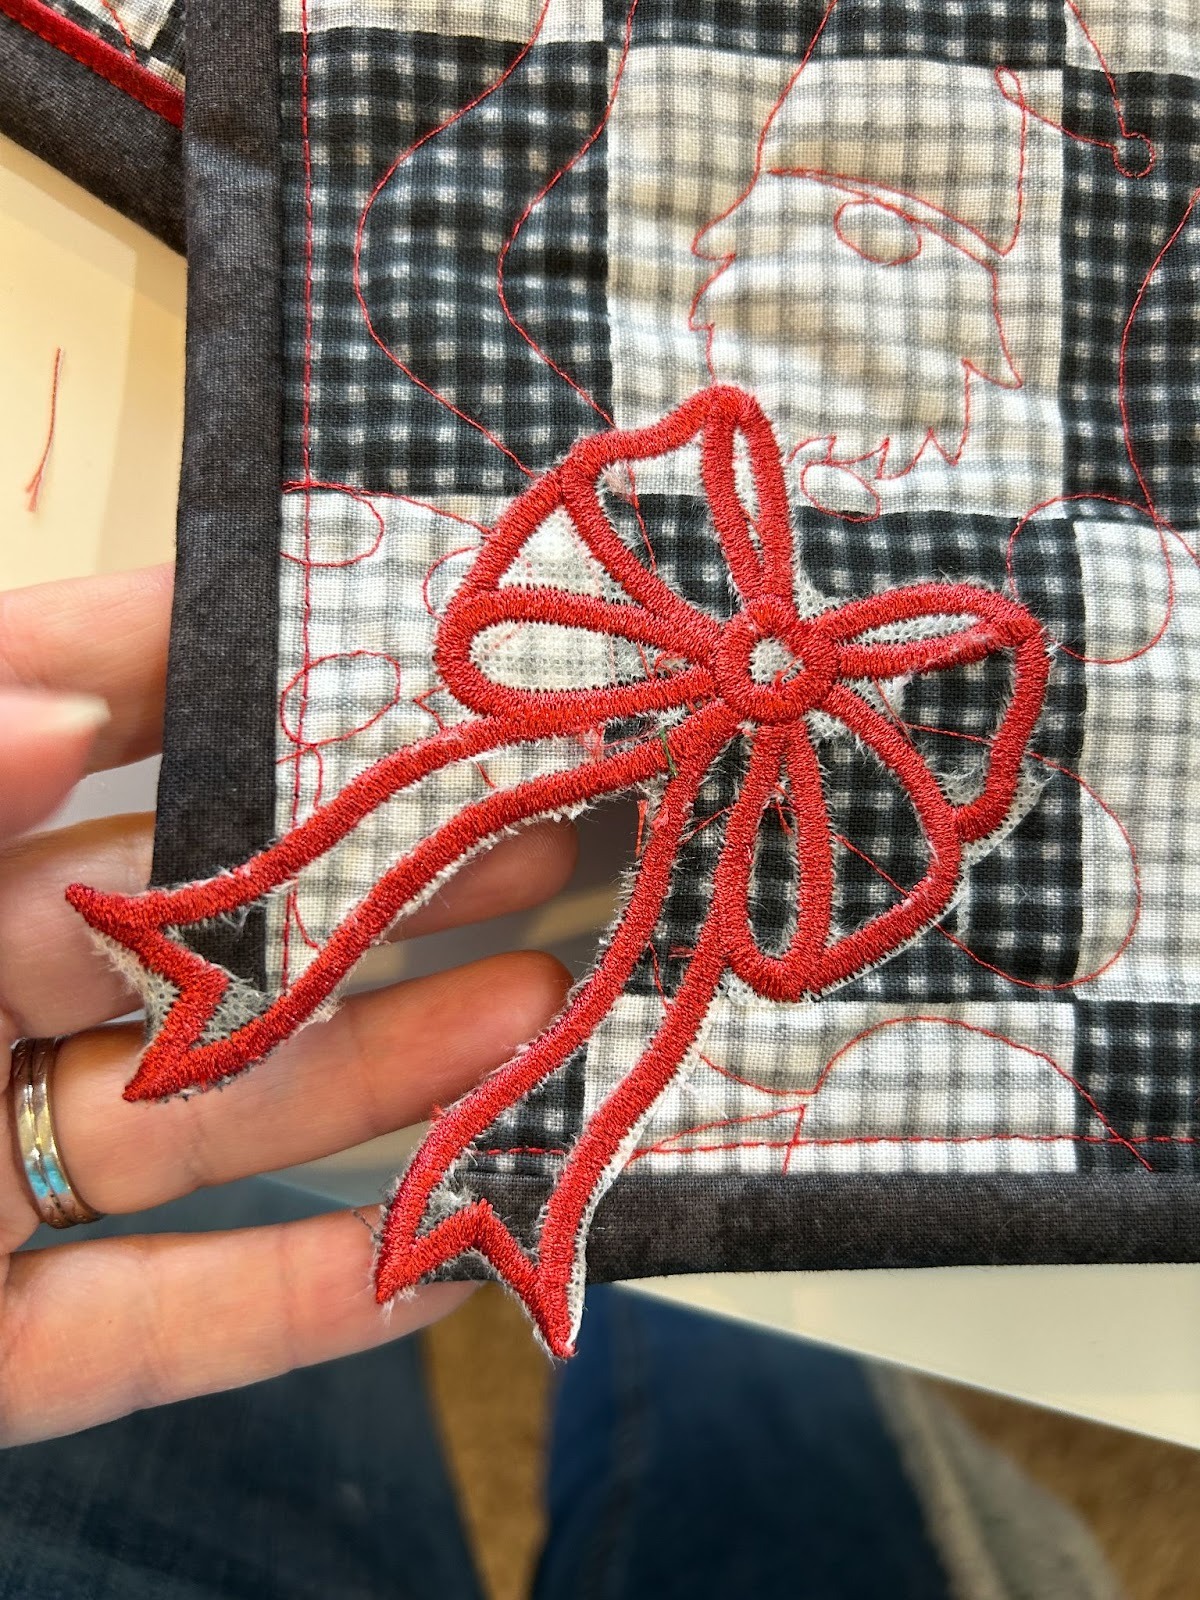
Trim away the excess fabric.

Now stitch the placement stitches for the main bow fabric. Cover them with fabric and stitch the tack-down stitches. If you’re doing a bow with only one color, go back and stitch the tack-down stitches you skipped for the contrasting fabric too.

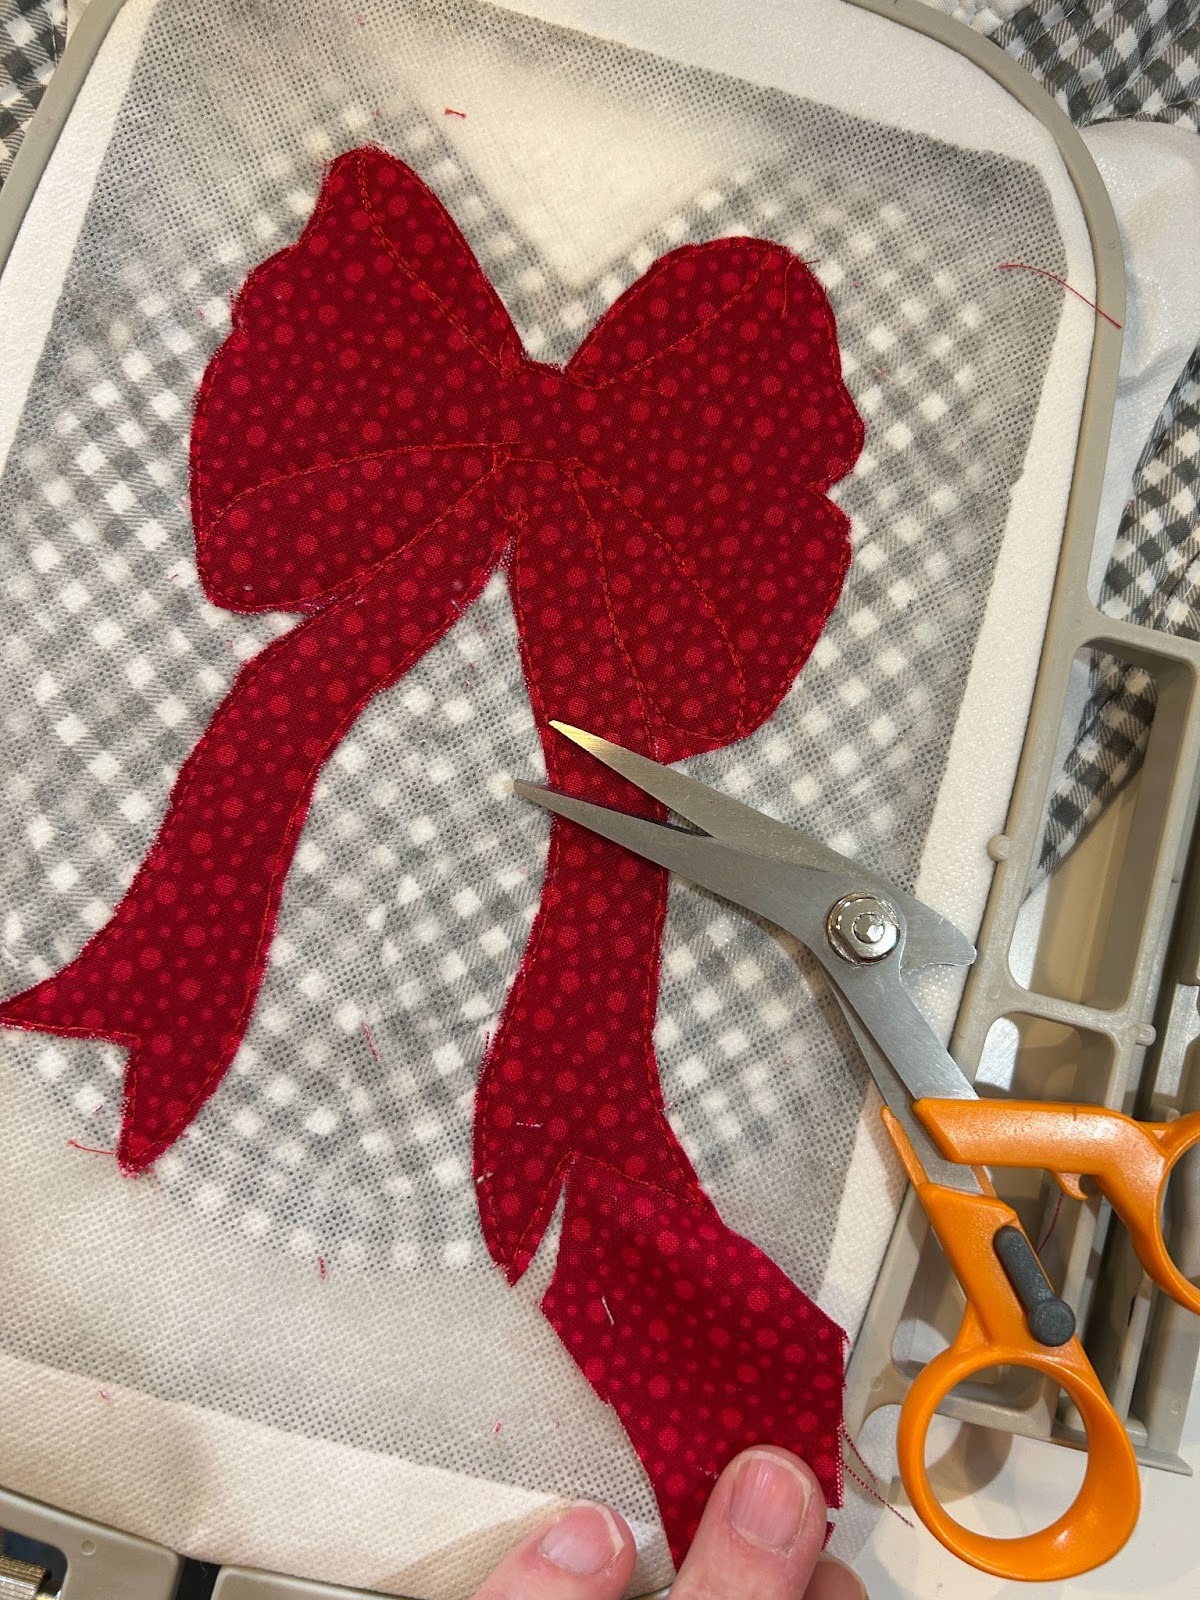
Trim away the excess fabric from around the bow.
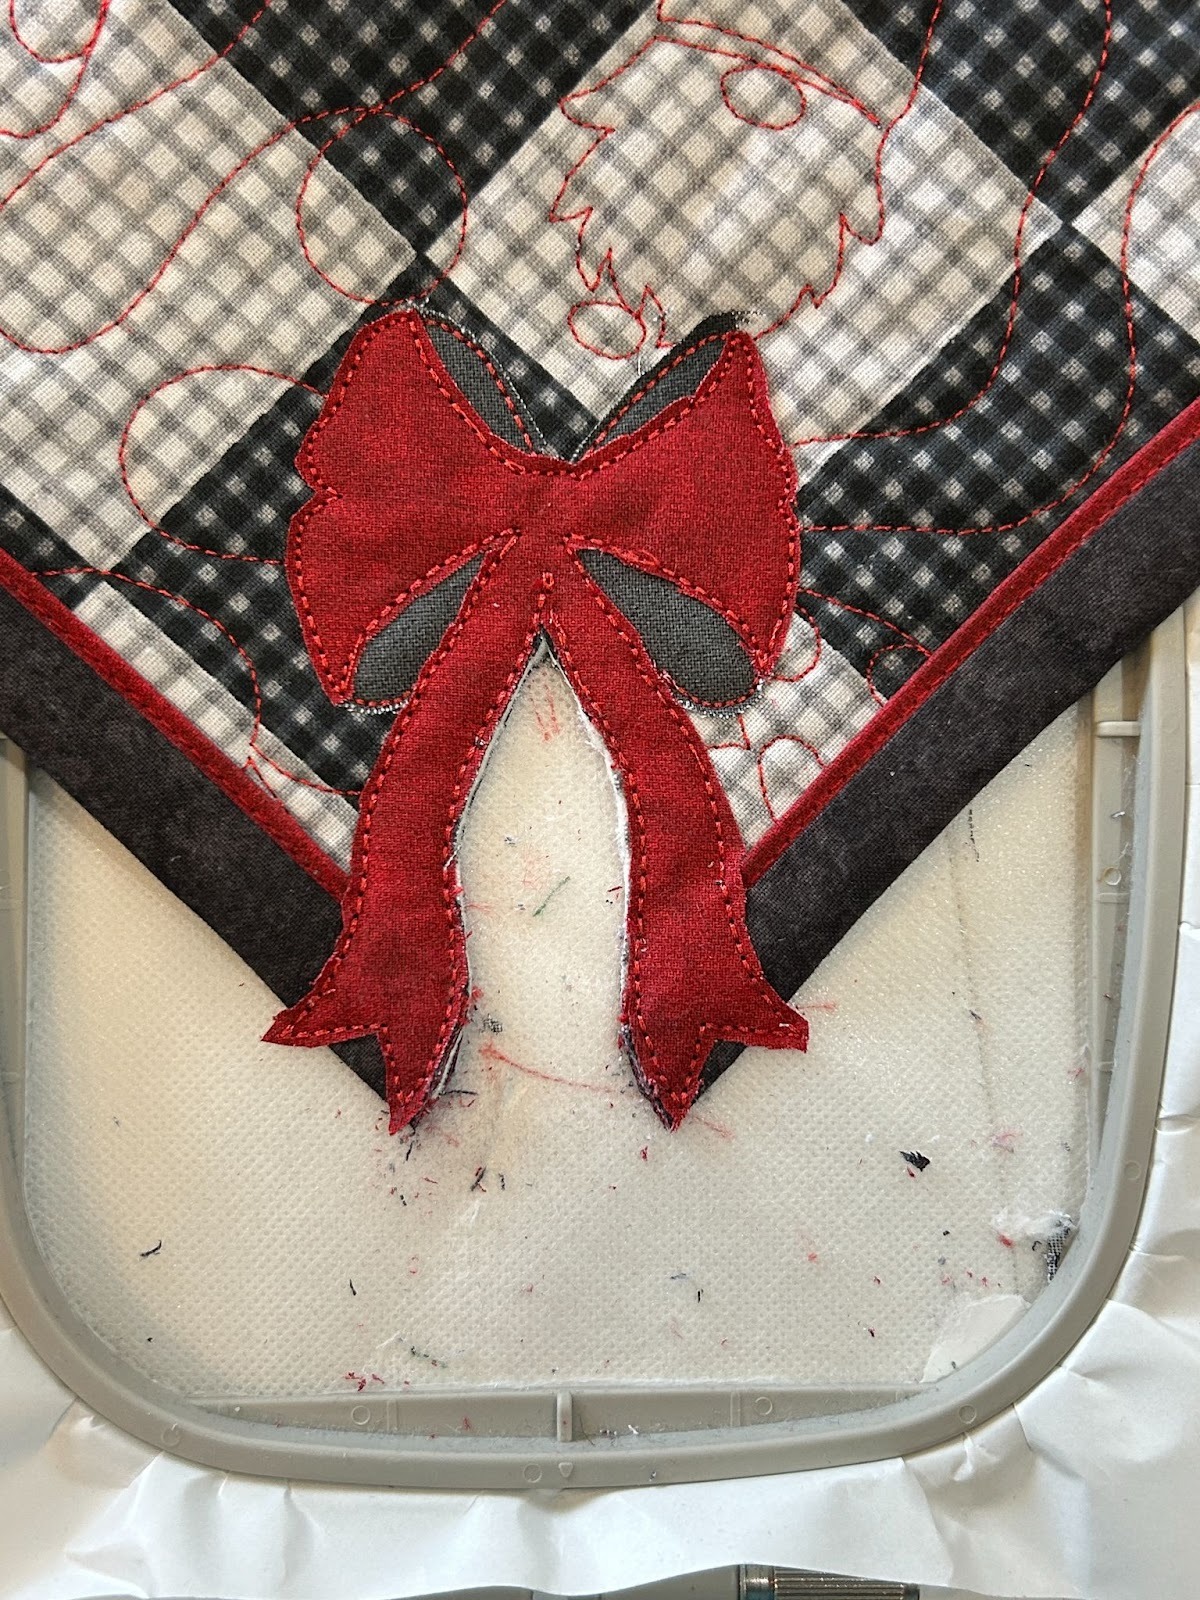
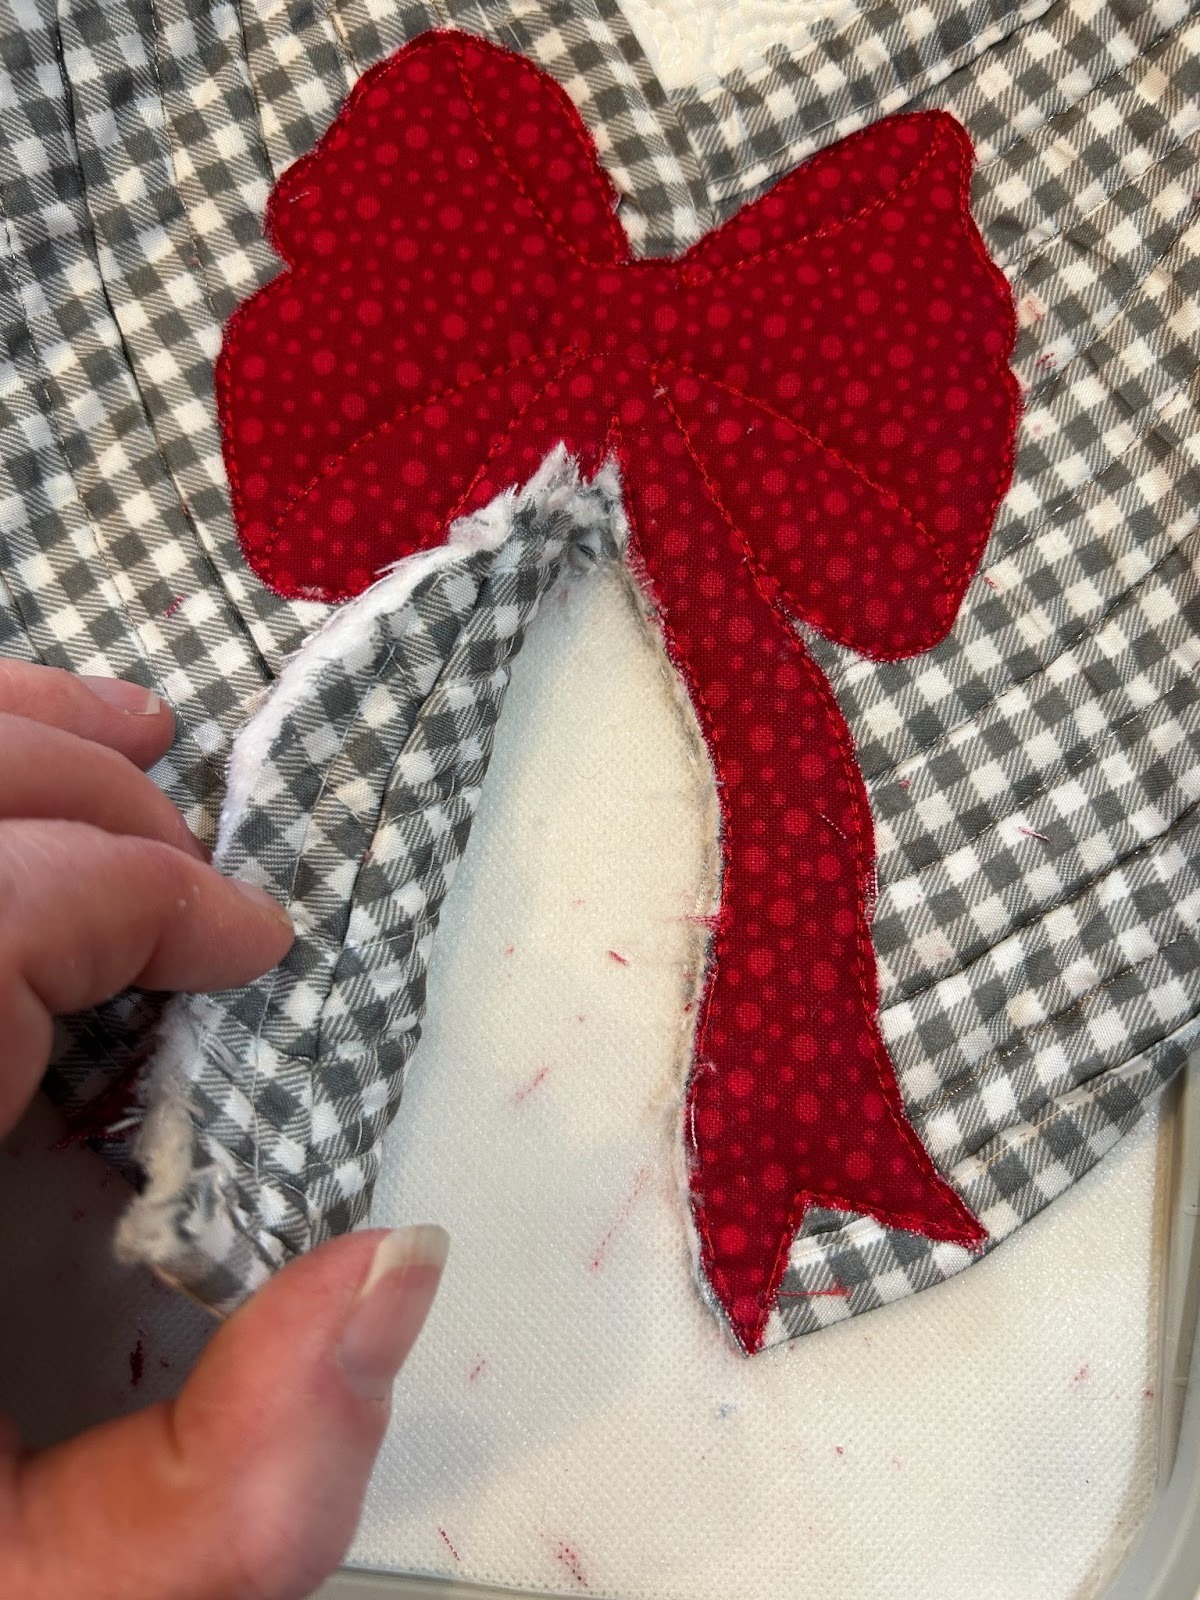
Now we will carefully trim the table mat from the inside of the bow ends. We want to be careful to not remove it from the hoop while we are doing this. Use sharp scissors and go slowly. I had to try some different scissors before I found the ones that worked well to cut through the bulk of the mat and binding, but I was able to do it. Clip as close to the stitches as you can without cutting through them.

And there you have it. The stabilizer got a little messy but it’s not going to matter (I tell myself as my eye is twitching).
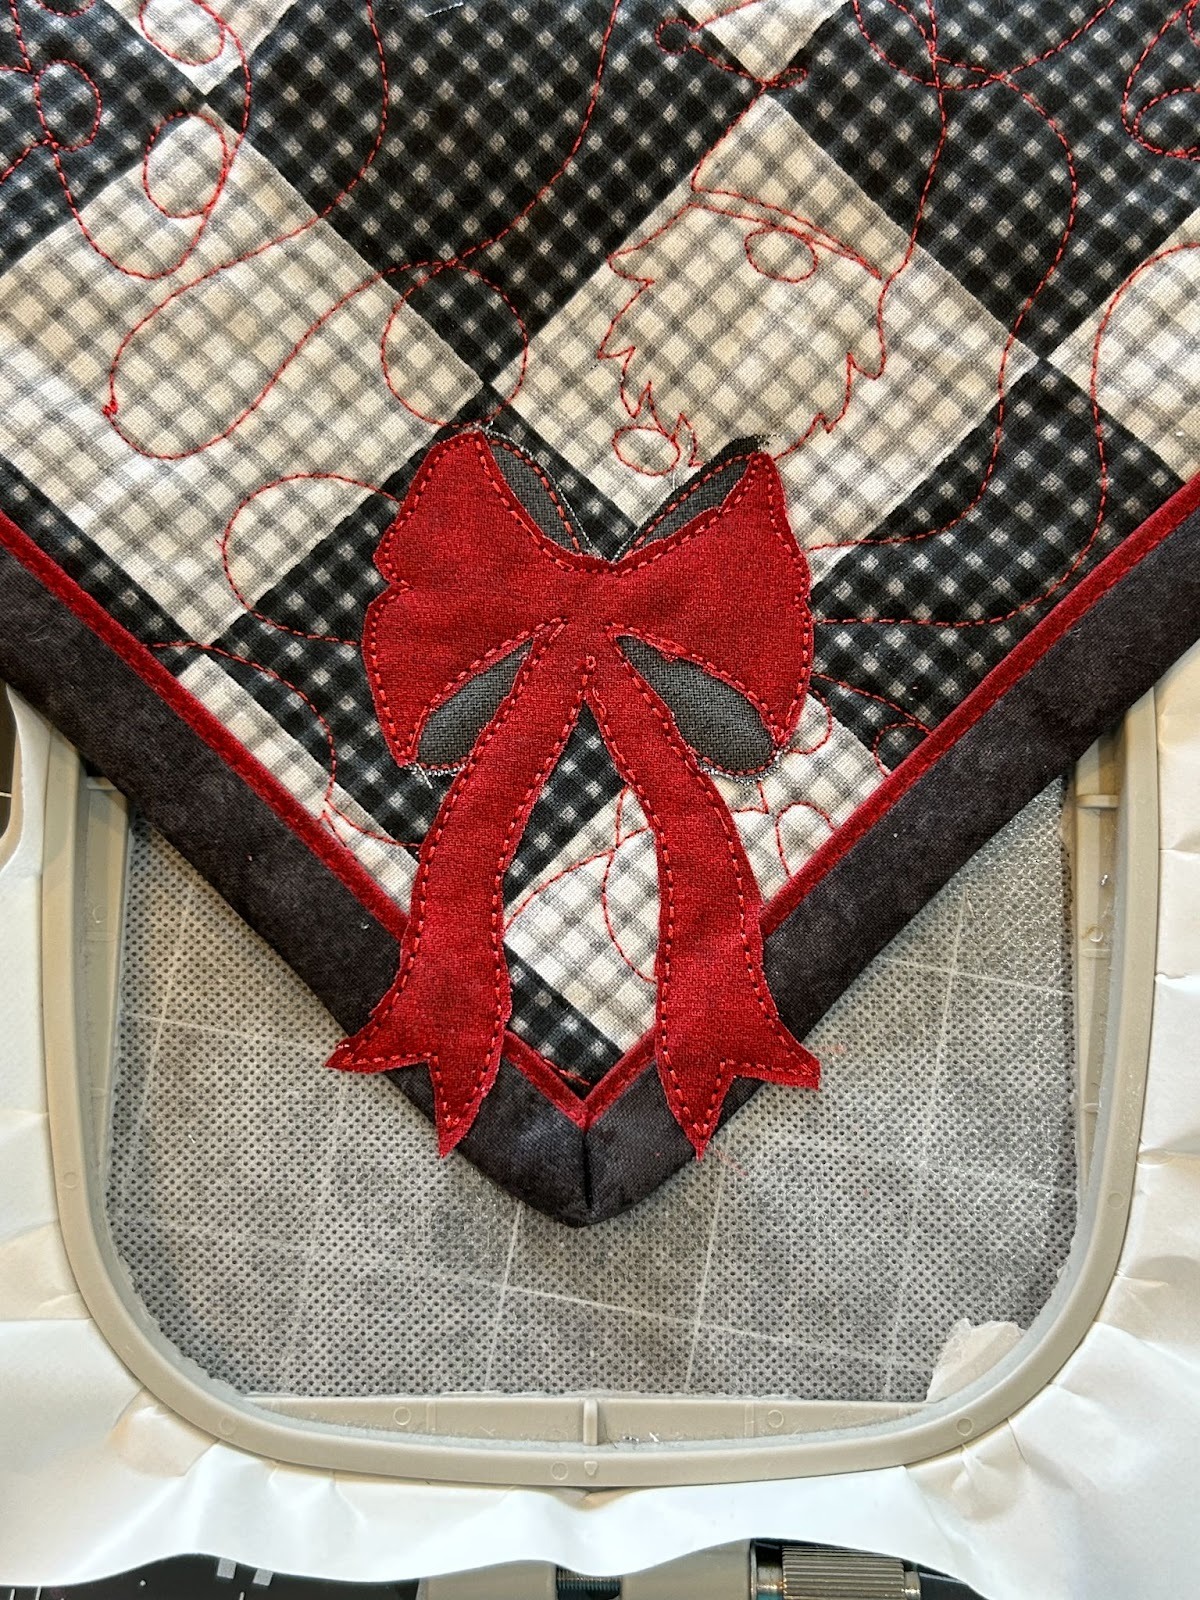
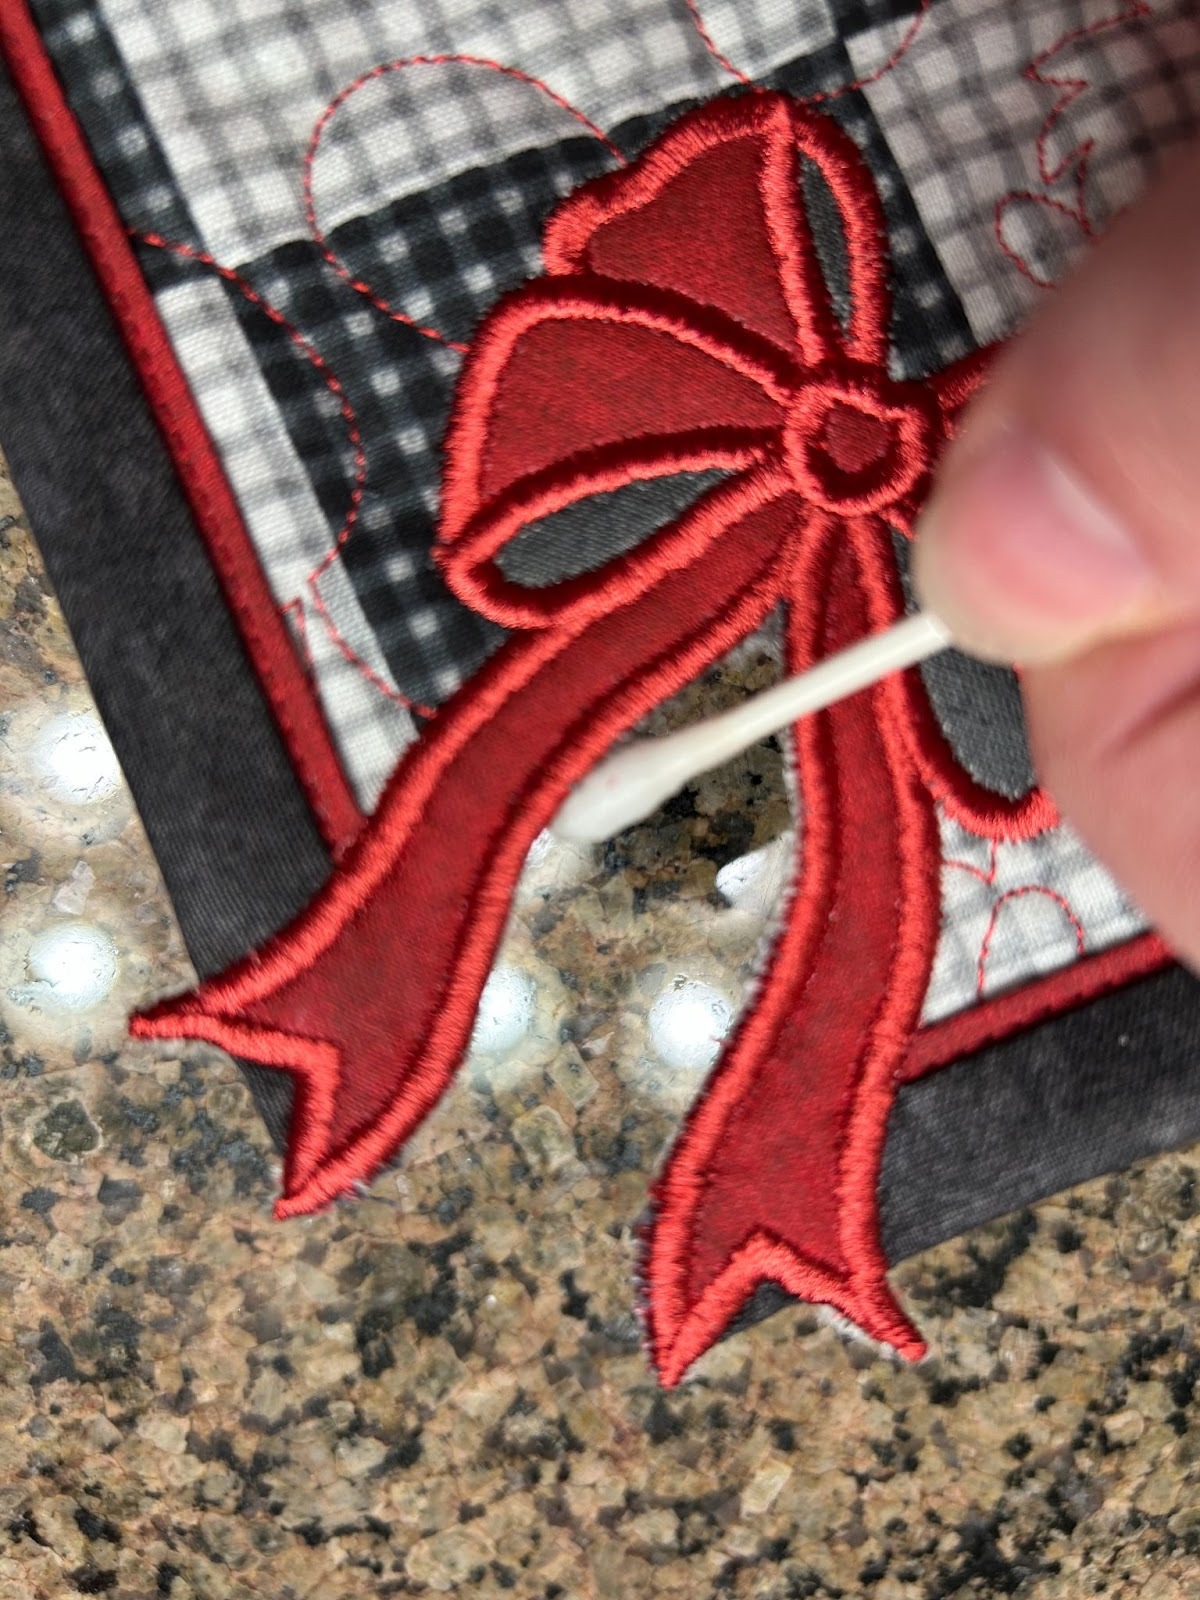
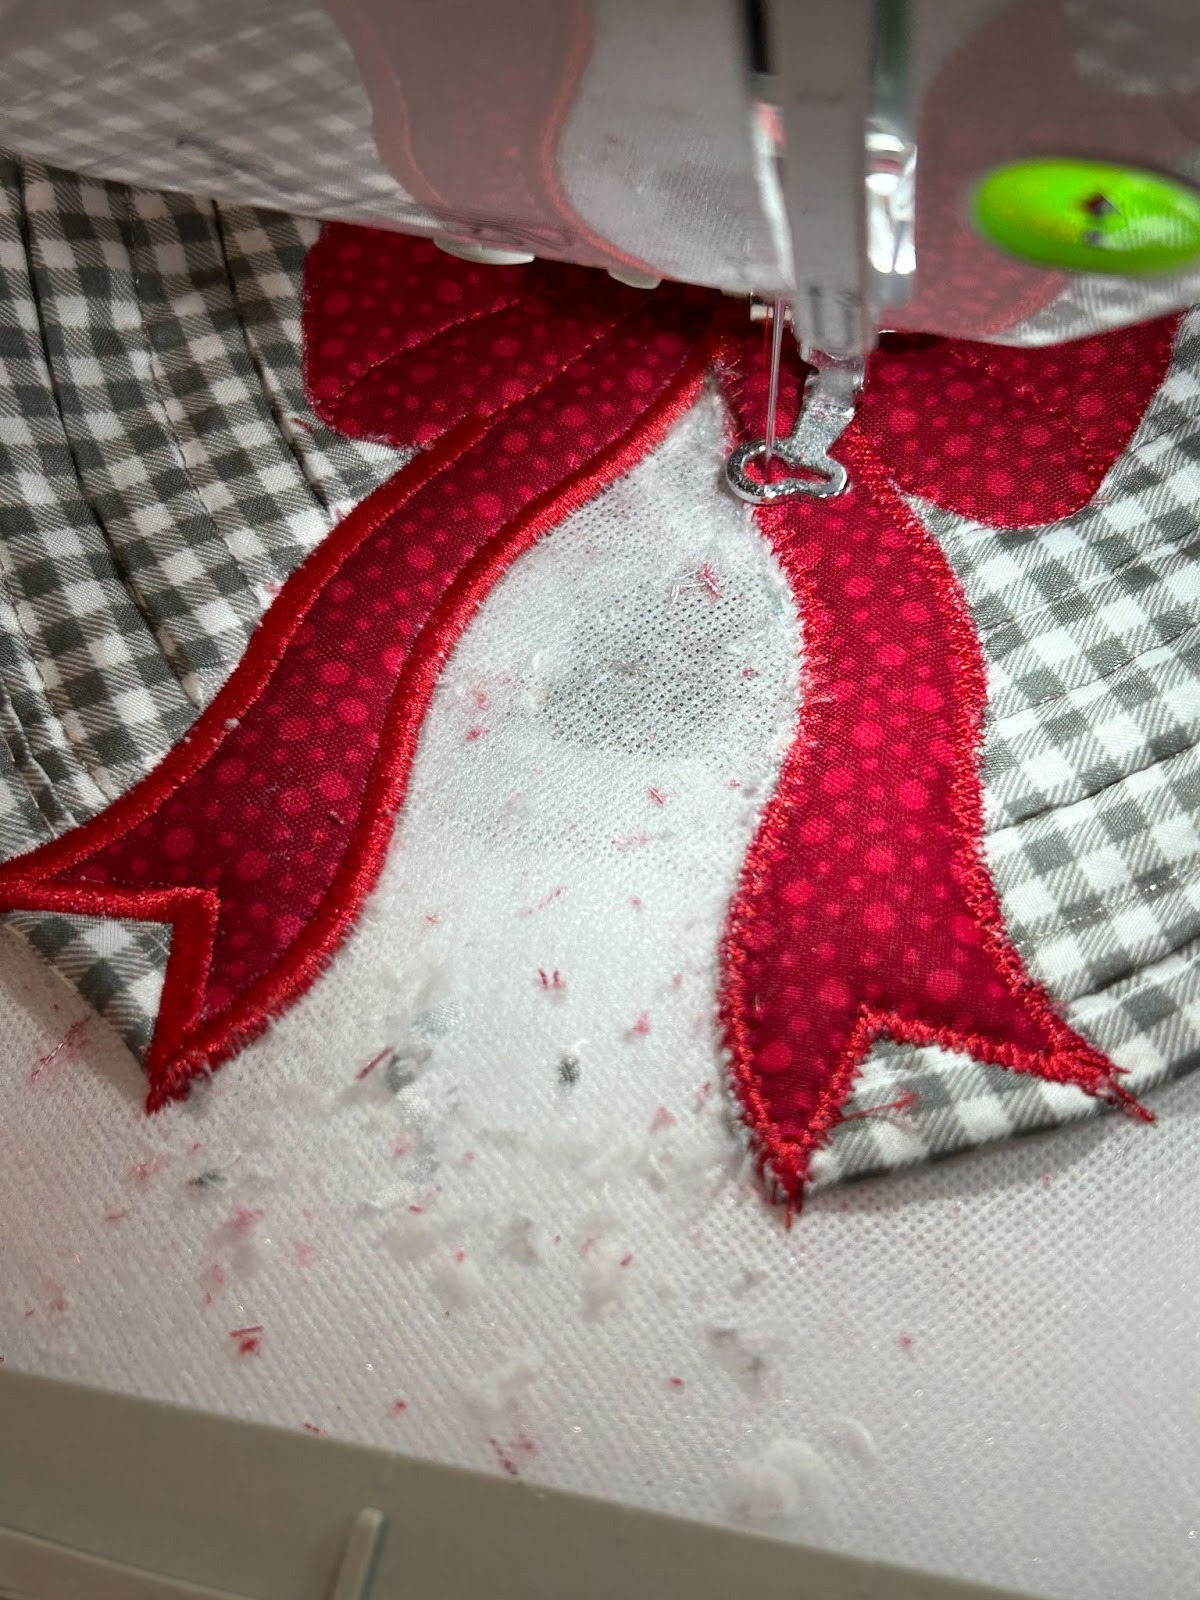
Take it back to your machine and stitch the cover stitches for the bow.
Remove it from the hoop. Remove as much stabilizer from the back side as you’d like. If you don’t like the look of just the bow outline on the back, you can add fabric to the back when you do the fabric in the front and trim both sides accordingly. I’ll show this on the next project.
Our design is mostly finished. And it looks pretty, fun, and definitely custom!

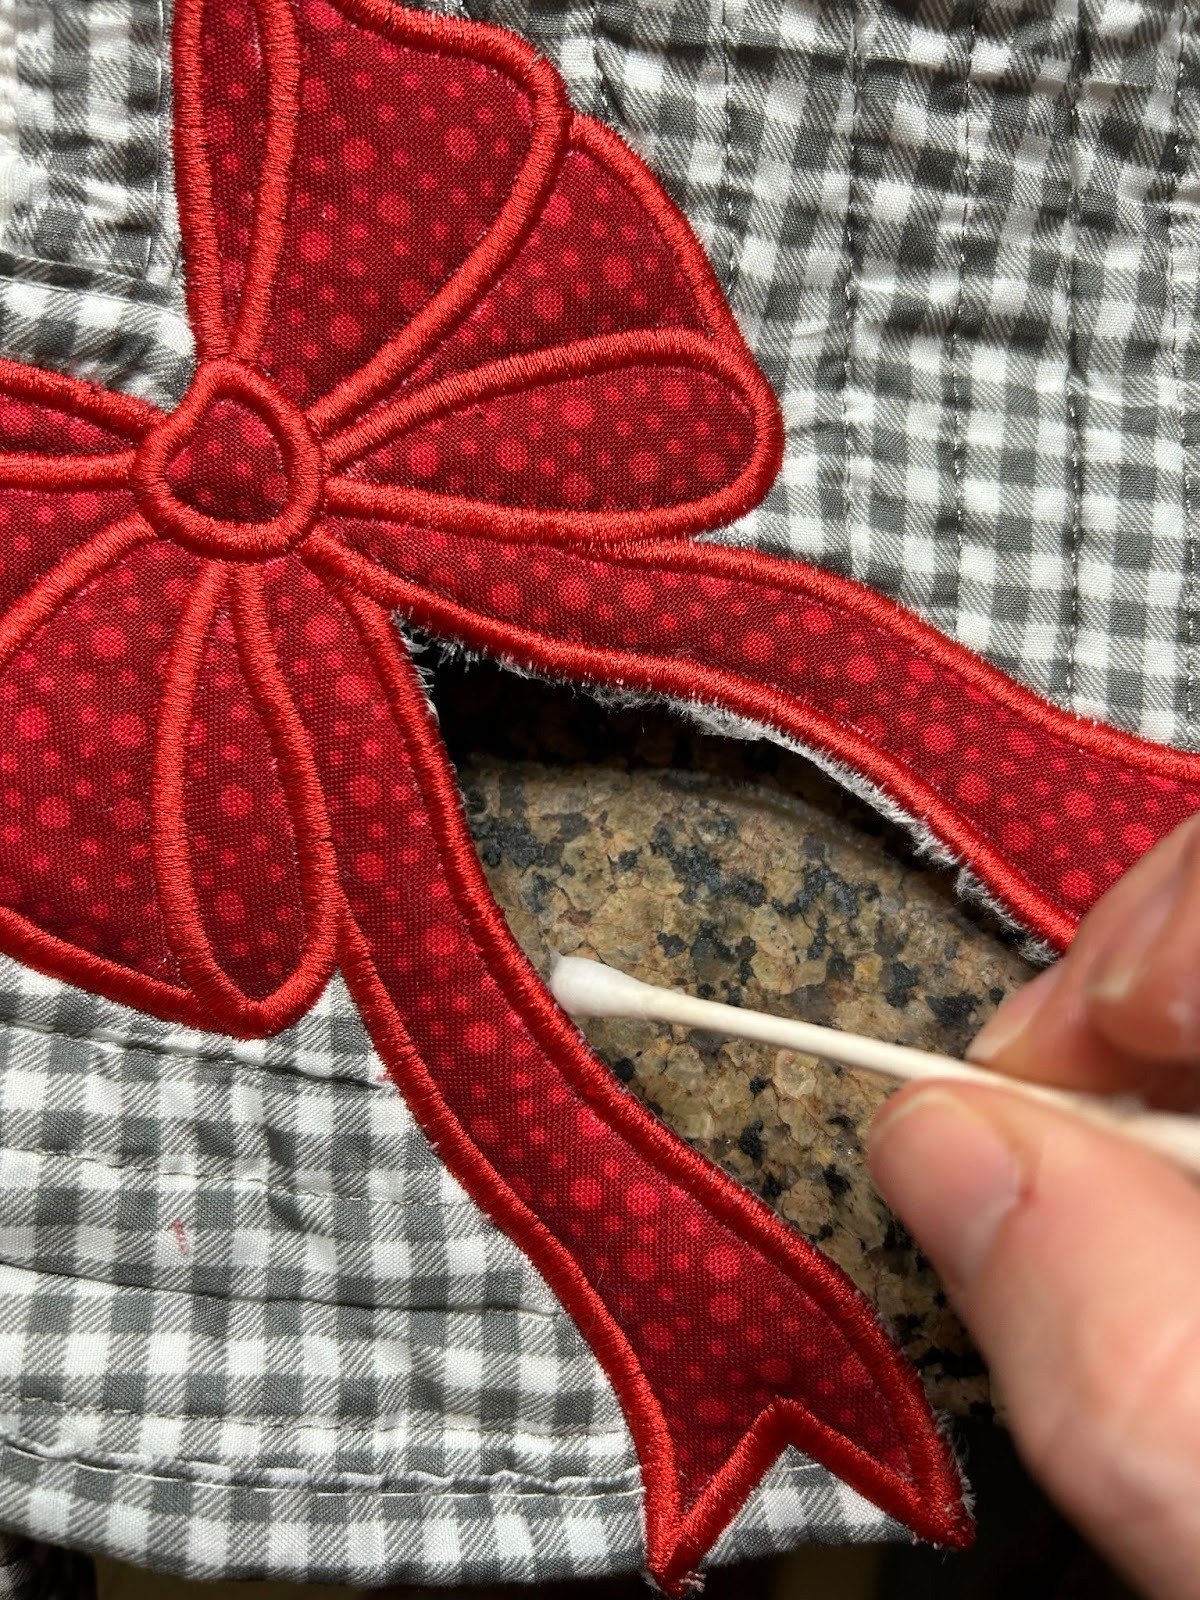
To remove the rest of the stabilizer, I use a cotton swab in hot water and run it around the edges of my design.
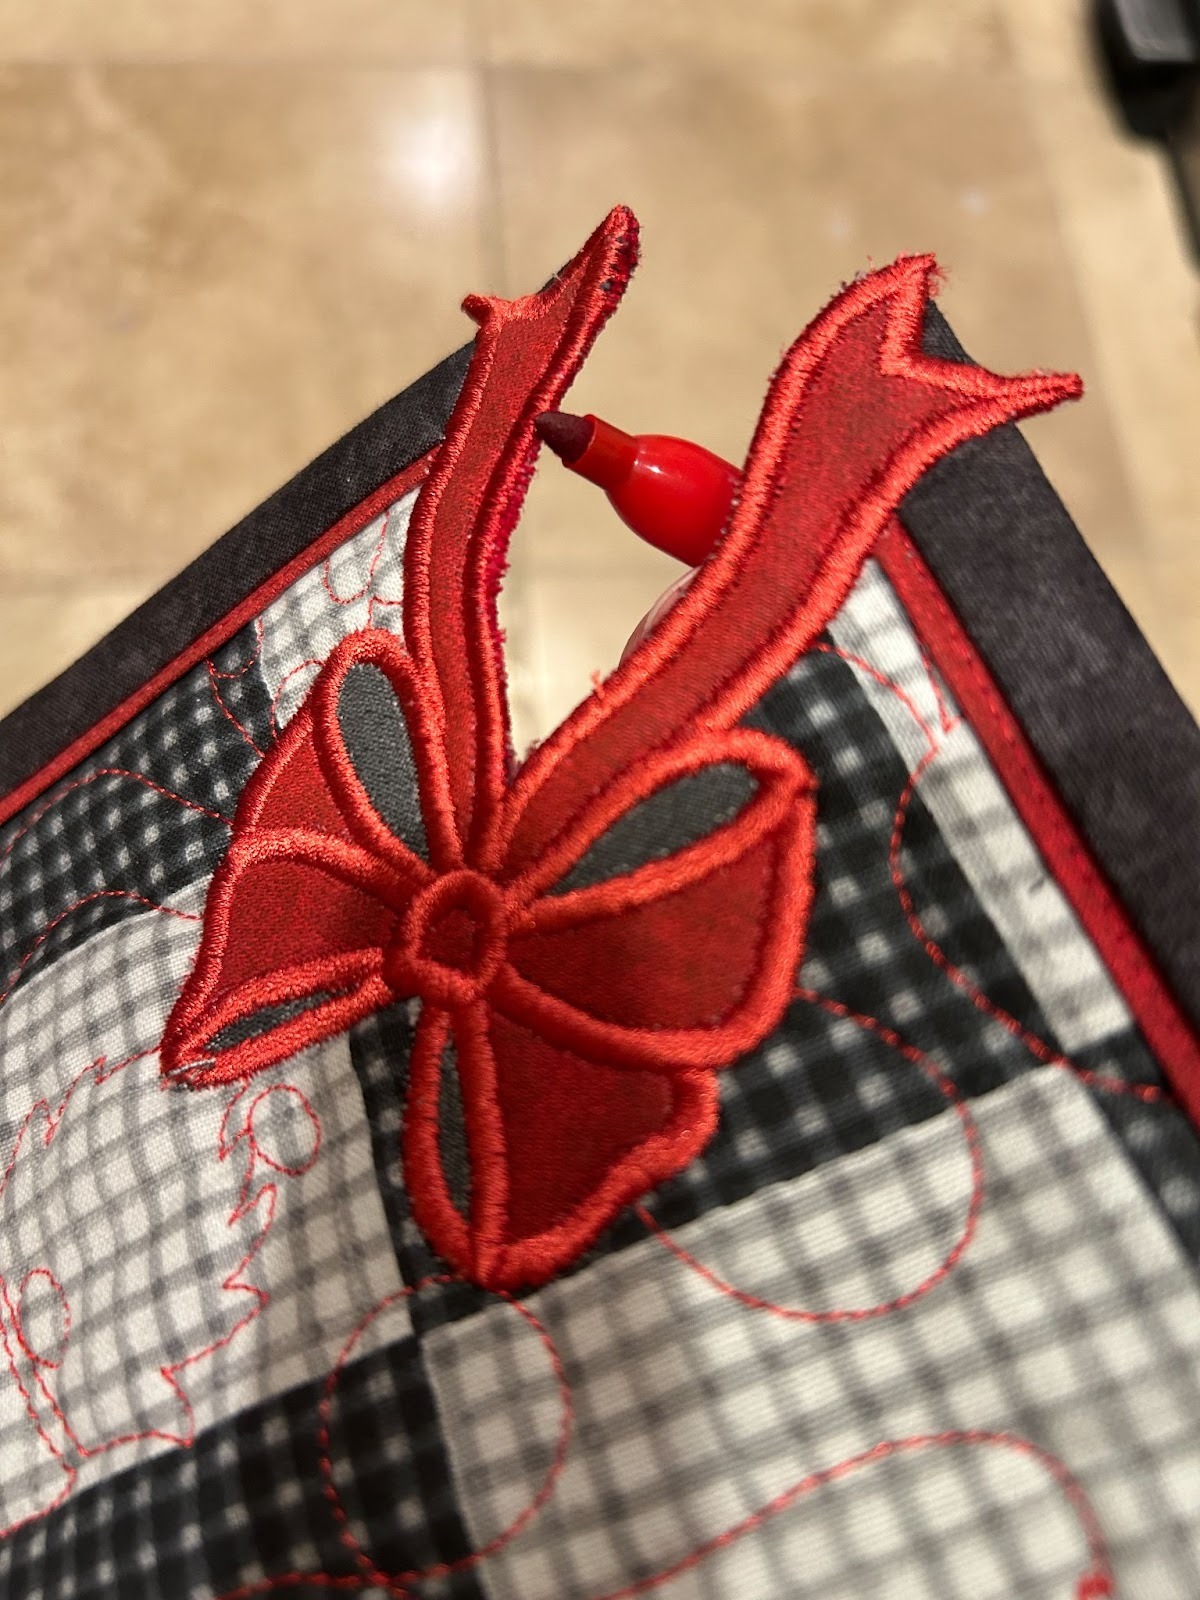
In a perfect world I wouldn’t need to do this, but because I didn’t clip close enough on some of the batting and a little white batting poked through, I used a red Sharpie to color it to match the stitches.
And there we have the perfect embellishment to hide a less-than-perfect mitered corner.
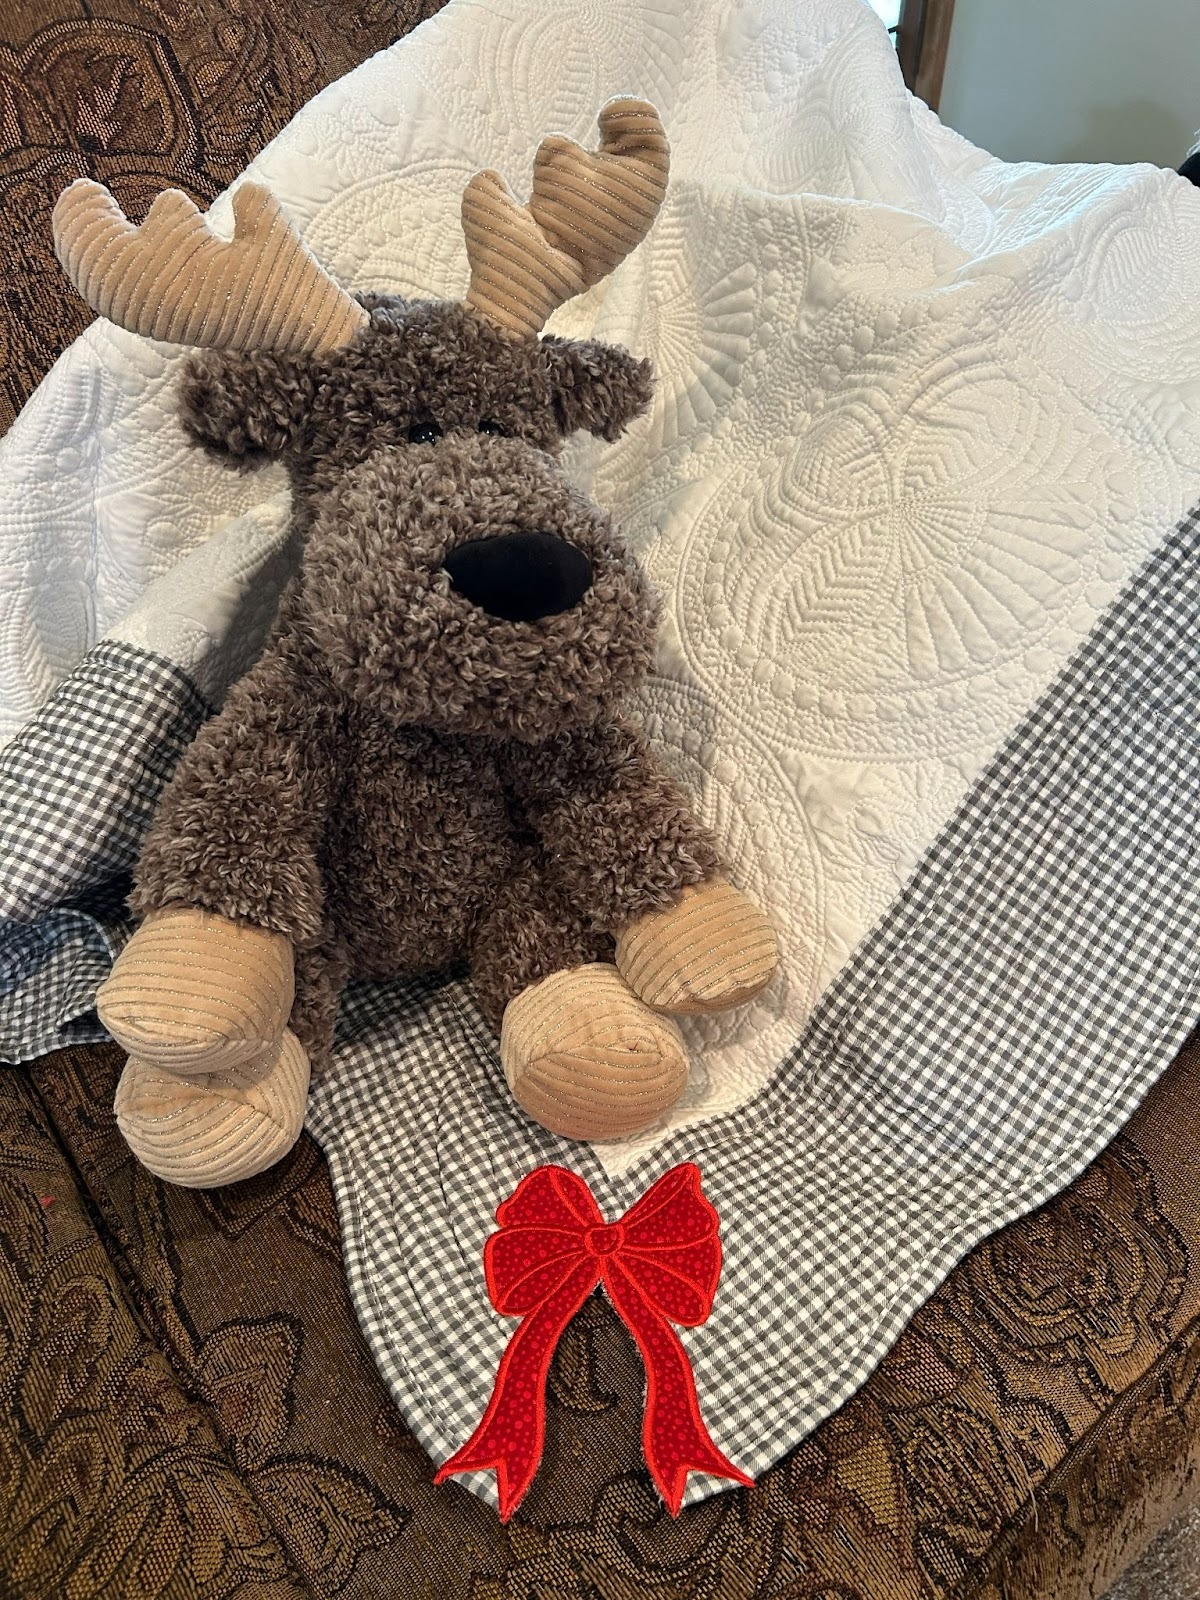
I have a couple of premade quilts that are easy to add a small embroidered picture to or some birth stats. But sometimes I want to do a little something extra to the quilt. So let’s add a bow to the corner!
We will start the same way, by hooping the water-soluble sticky stabilizer and removing the paper backing. Choose a bobbin thread that matches your top thread.
Stitch out the placement stitches and line up your quilt.

Stitch your tack-down stitches for the bow. I won’t be using a contrasting fabric this time so I’m just going to stitch the placement stitches for the main bow.
Remove your hoop and place a piece of fabric on the back side of the hoop, covering the bow outline. Secure the fabric in place with tape.
Turn the hoop right side up, cover the front stitches with fabric, and place the hoop back in the machine.

Stitch the tack-down stitches. If you’re only using one color of fabric, make sure to go back and stitch the tack-down for the “contrasting” of the bow. Remove from the machine and trim away the fabric on the front and back.
Now is the fun part. Being careful to not remove the quilt from the hoop, trim away the quilt from in between the ribbon ends. Trim as close to the stitches as you can.
Place the hoop back in the machine and run the cover stitches.
Remove from the hoop and remove the stabilizer.

Use a cotton swab to help remove it from the edges of your bow.
And now your premade quilt can definitely be classified as “homemade!”
We would love to see how you use the Cutaway Bow to help personalize a quilt or hide a funky corner! Share with us in the DBJJ Embroidery Blessings Facebook group or anywhere on social media using the hashtag #designsbyjuju so we can see how you did it!
