Toggle Nav
 Inspire.
Create.
Stitch.
Inspire.
Create.
Stitch.
Search
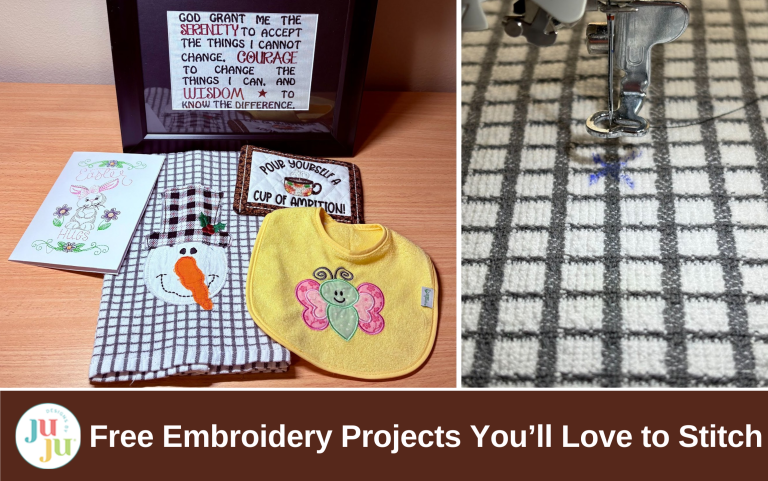
Free embroidery designs? Yes, please! Whether you're just starting or a stitching pro, these are for you.
Looking for fun and free embroidery designs to bring your next project to life or create a heartfelt handmade gift? You’re in luck! Designs by JuJu offers over a hundred high-quality free designs—perfect for beginners and seasoned stitchers alike. As with all JuJu designs, you can count on professional results that stitch out beautifully every time.
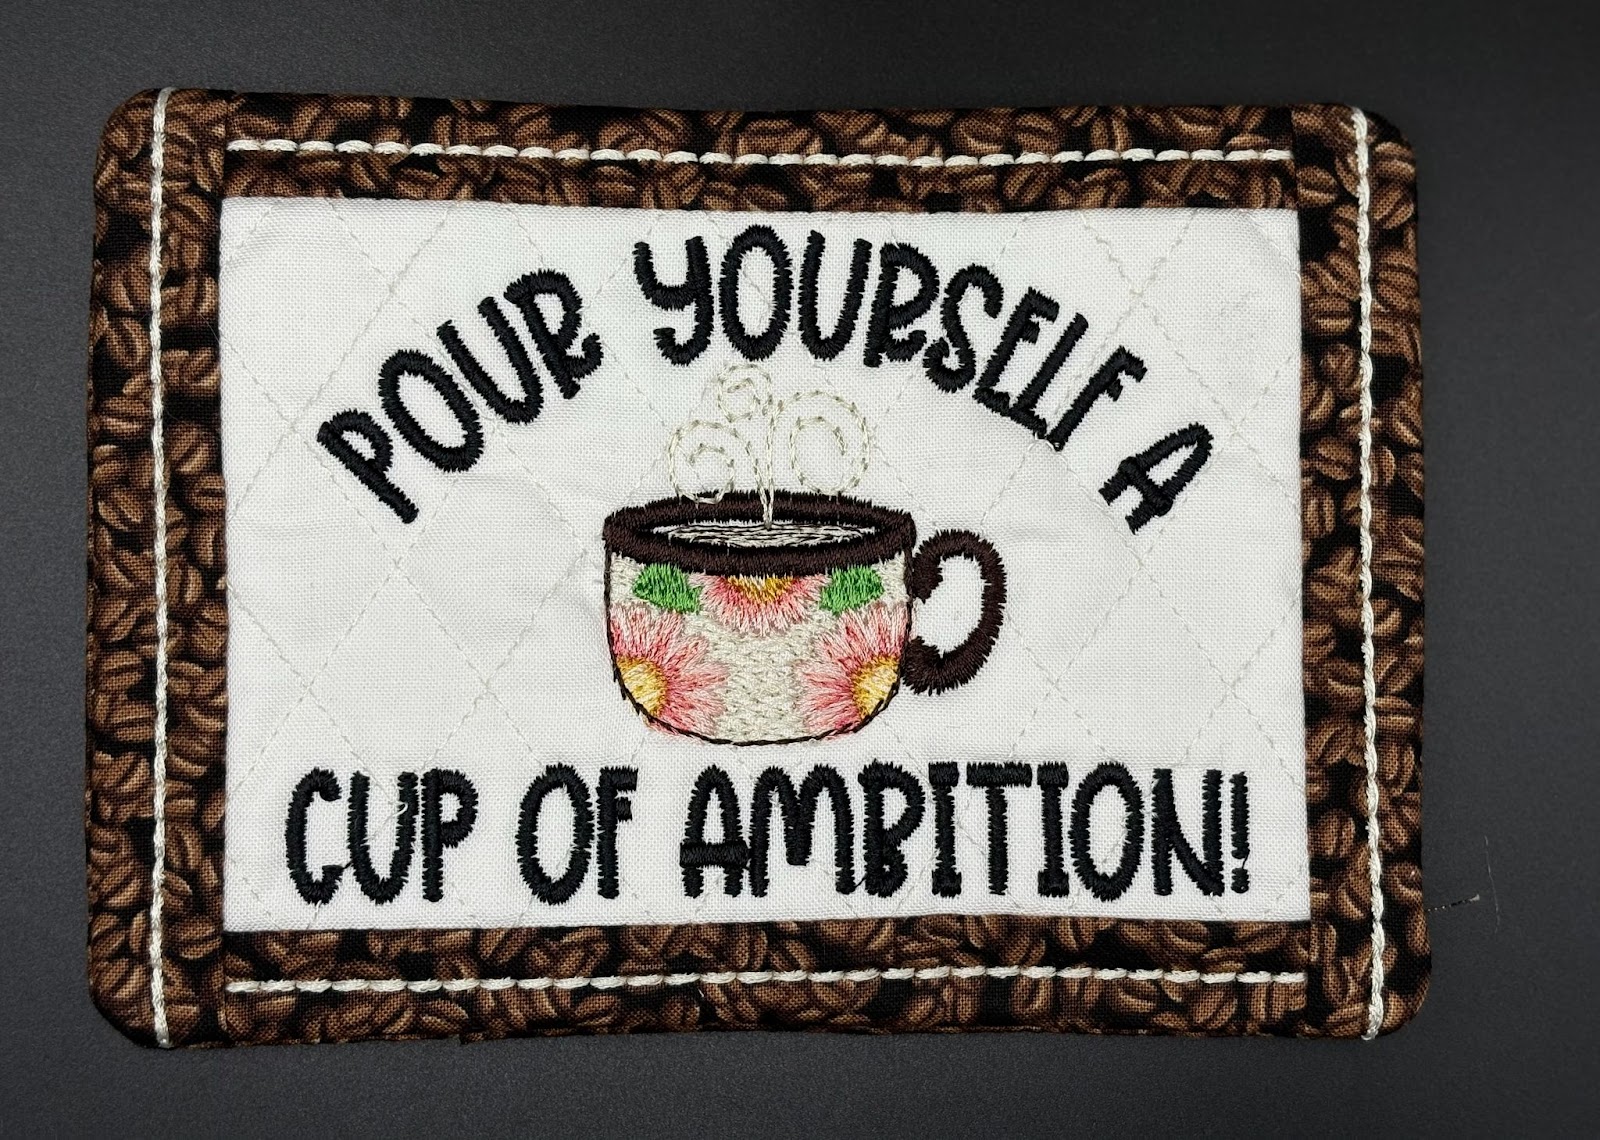
Curious about “in the hoop” projects but not sure where to start? Try the Cup of Ambition Mug Rug—it’s a beginner-friendly favorite! You could also stitch a cheerful greeting card to brighten someone’s day, create a cozy baby bib for the perfect shower gift, or make a festive holiday towel to warm up your seasonal decor.
And that’s only the beginning! You’ll also find 96 beautiful, free Bible verse designs—ideal for towels, framed art, or even inspiring quilts.
These free designs are a wonderful way to spark your creativity, build your embroidery skills, and make something truly meaningful. To find all of these amazing free designs, visit the Free Embroidery Designs on the Designs by JuJu website or type "free designs" into the search bar.
Check out the DBJJ team’s favorite supplies in the Designs by JuJu Amazon store.
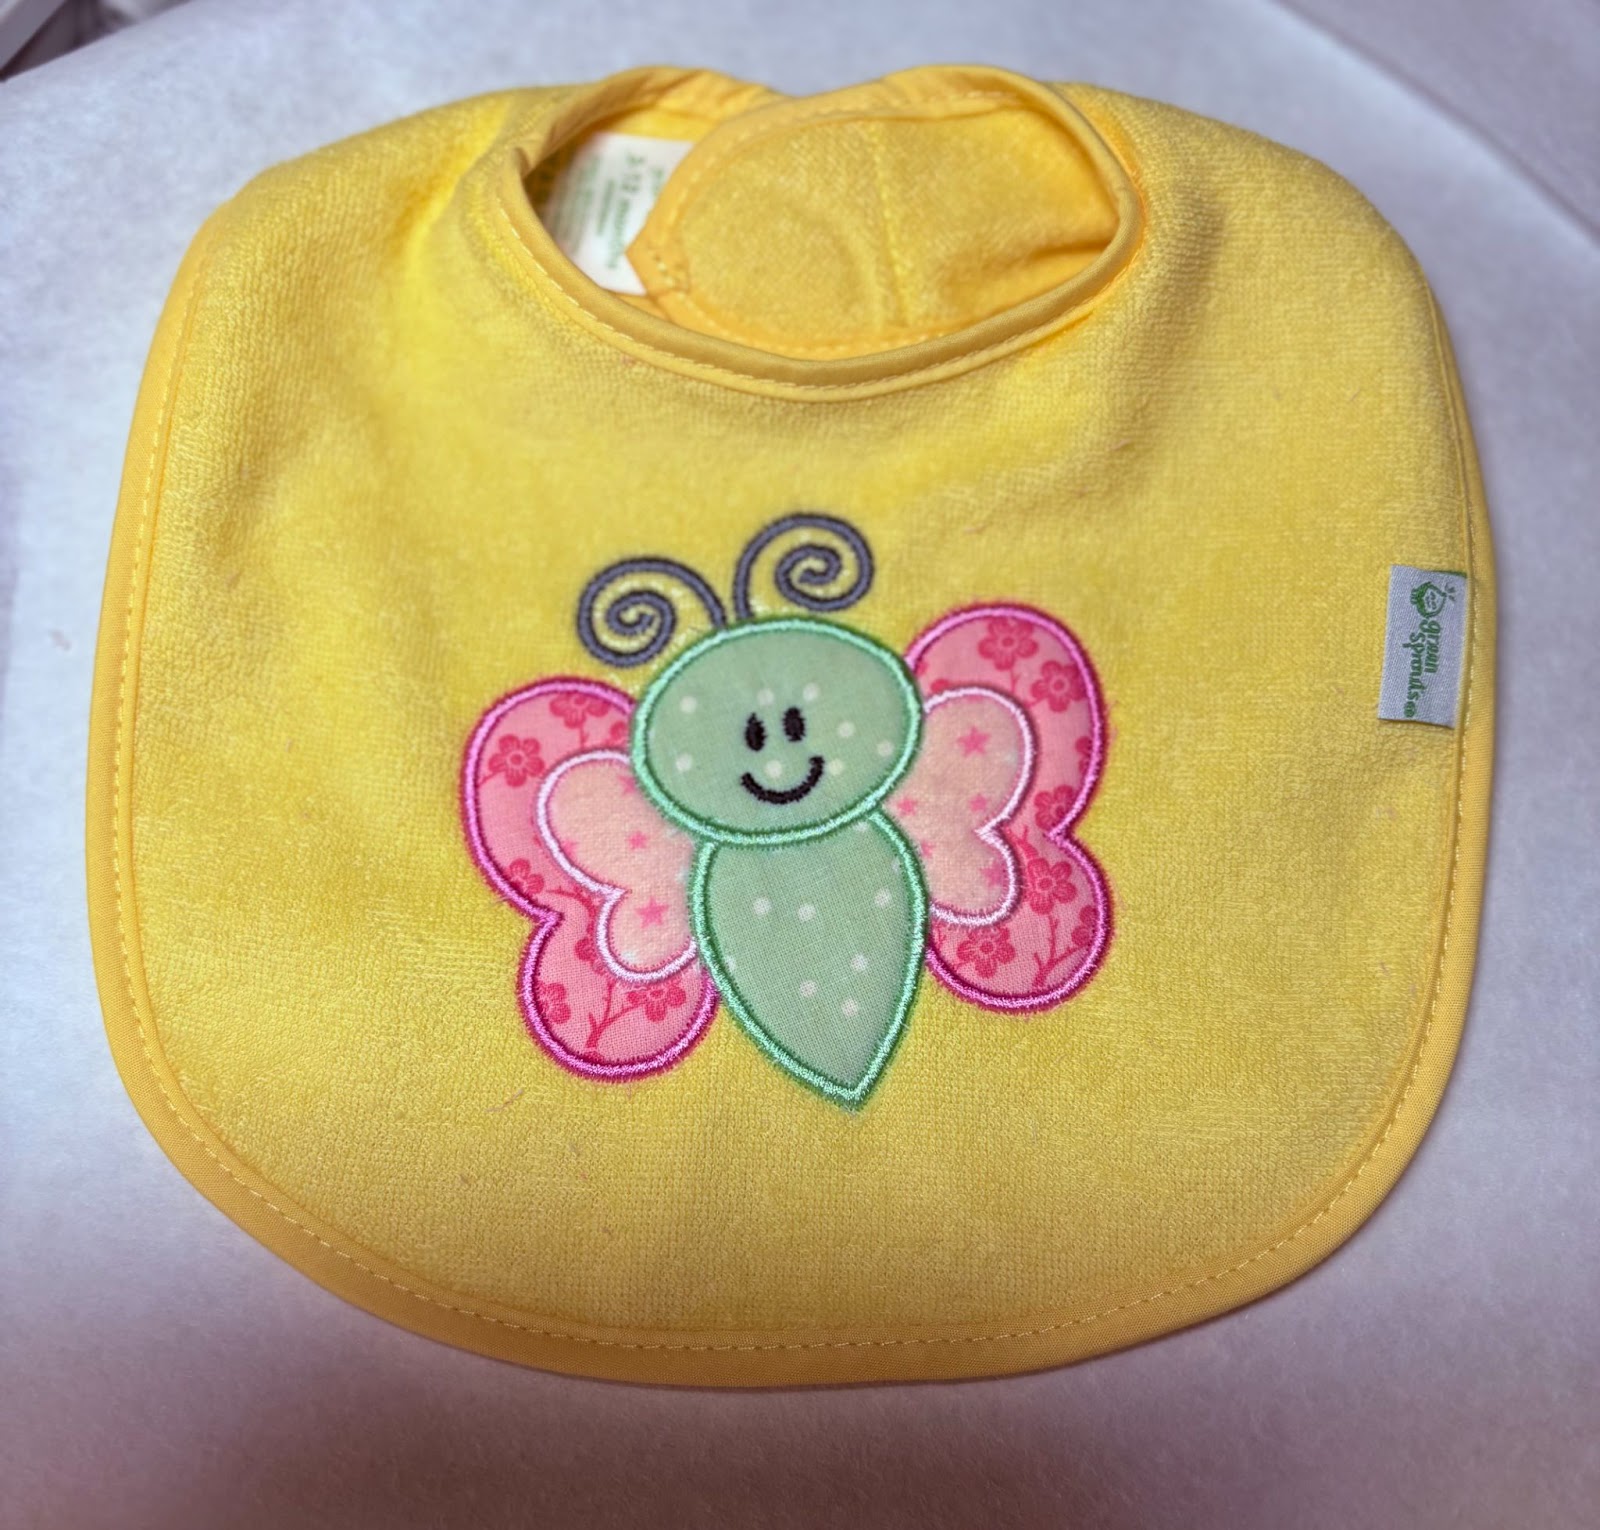
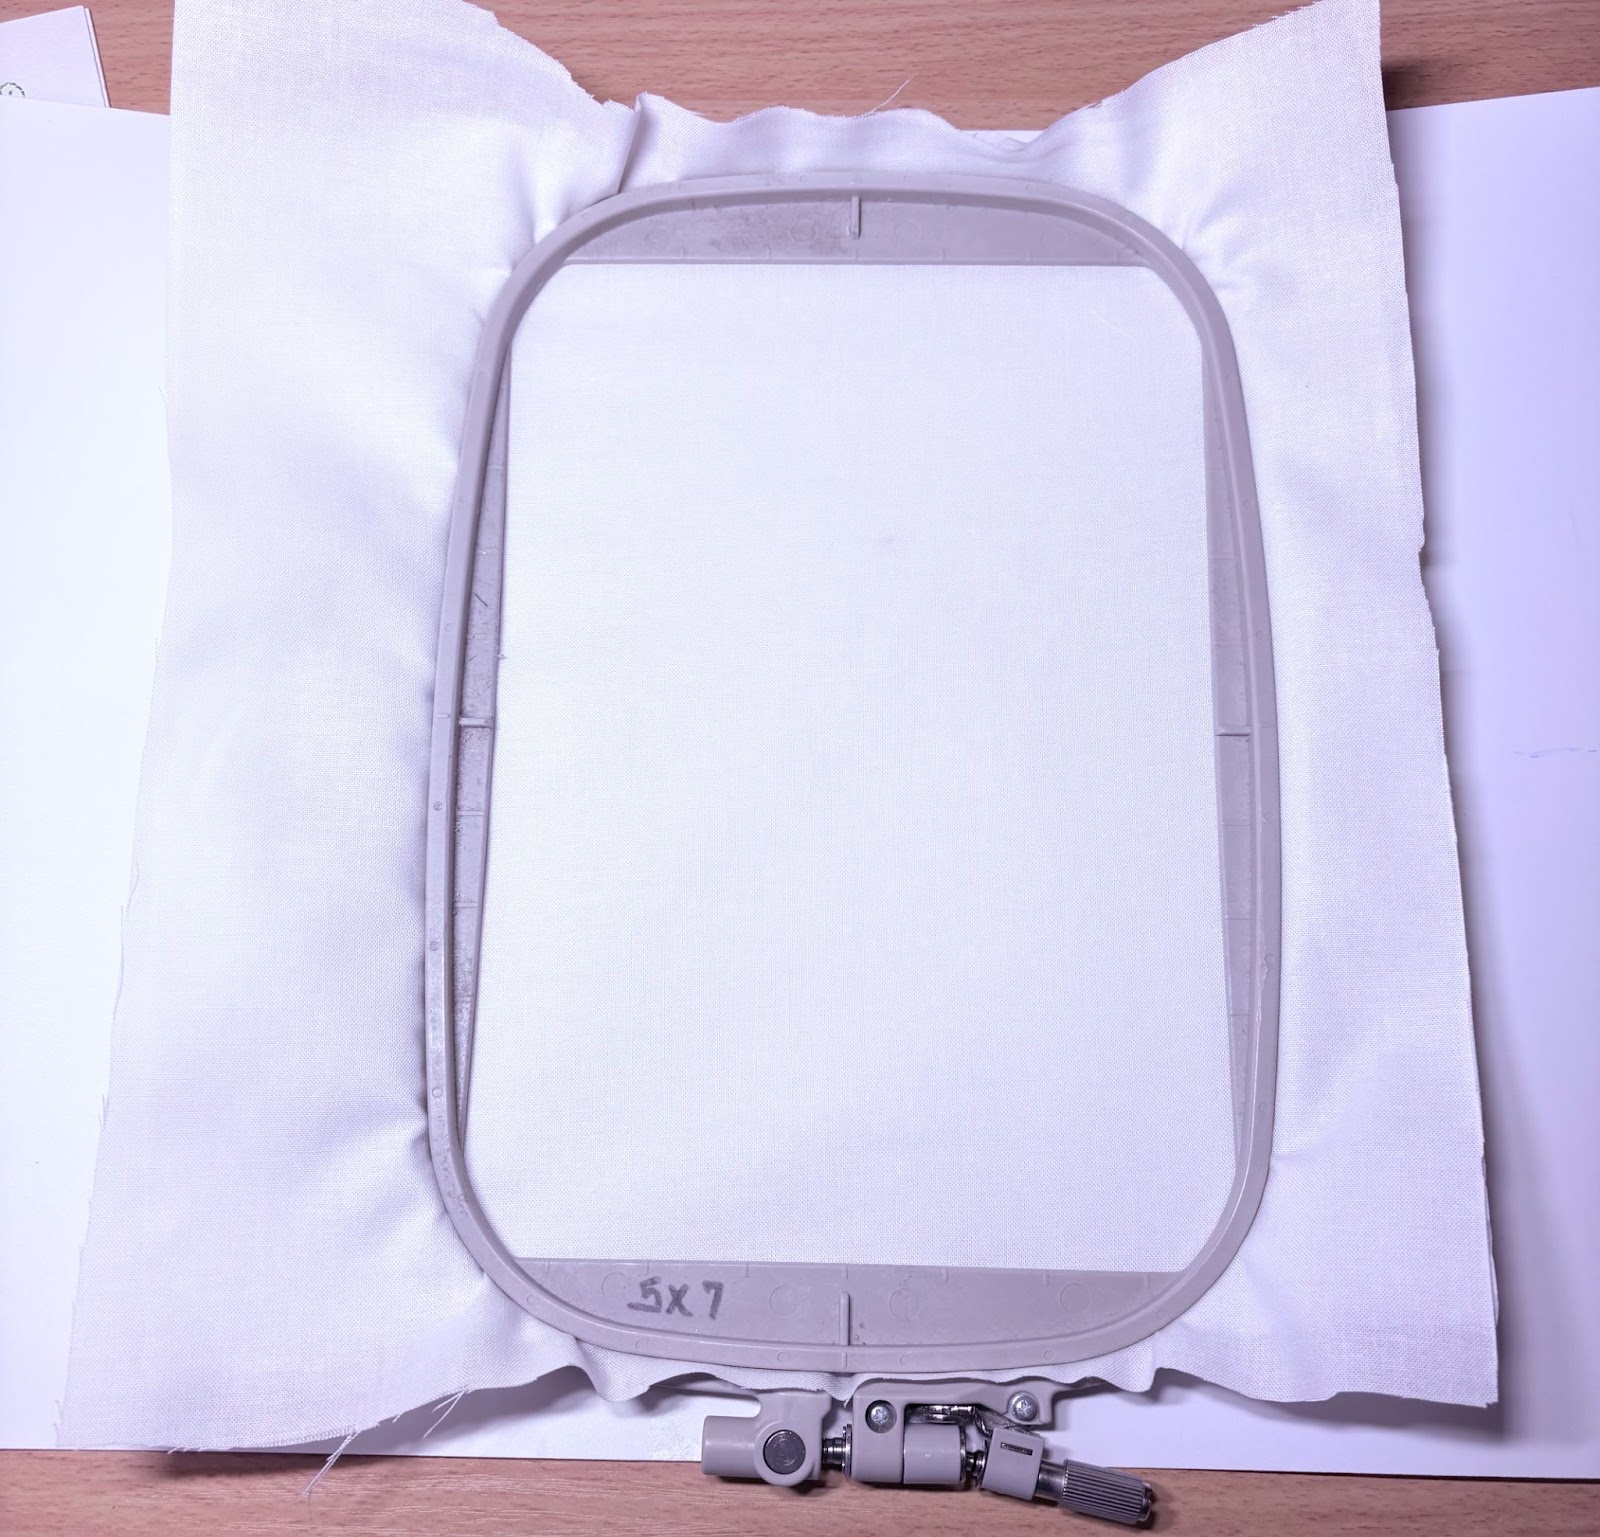
Upload the embroidery design to your machine. There are three sizes available. For my bib I chose the smallest size which is 3.70” x 3.91”. This can fit into a 4x4 hoop if needed. I chose to use a 5x7 hoop to allow more room to place the bib.
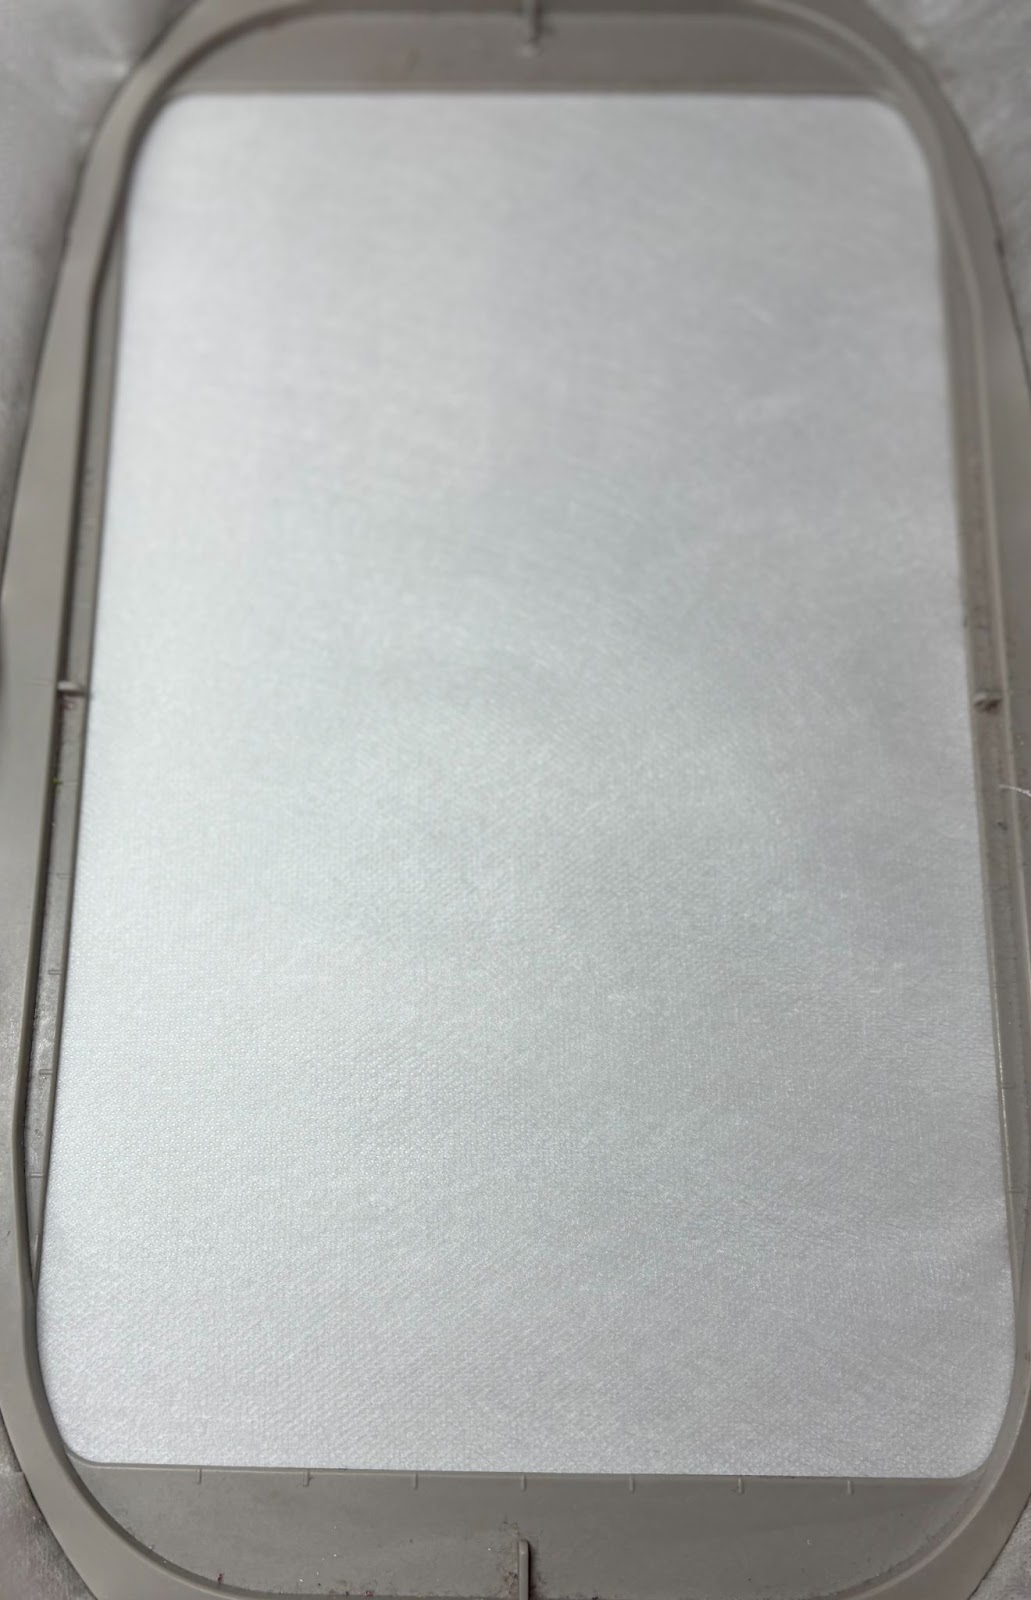
Hoop wash-away stabilizer and take it to your machine.
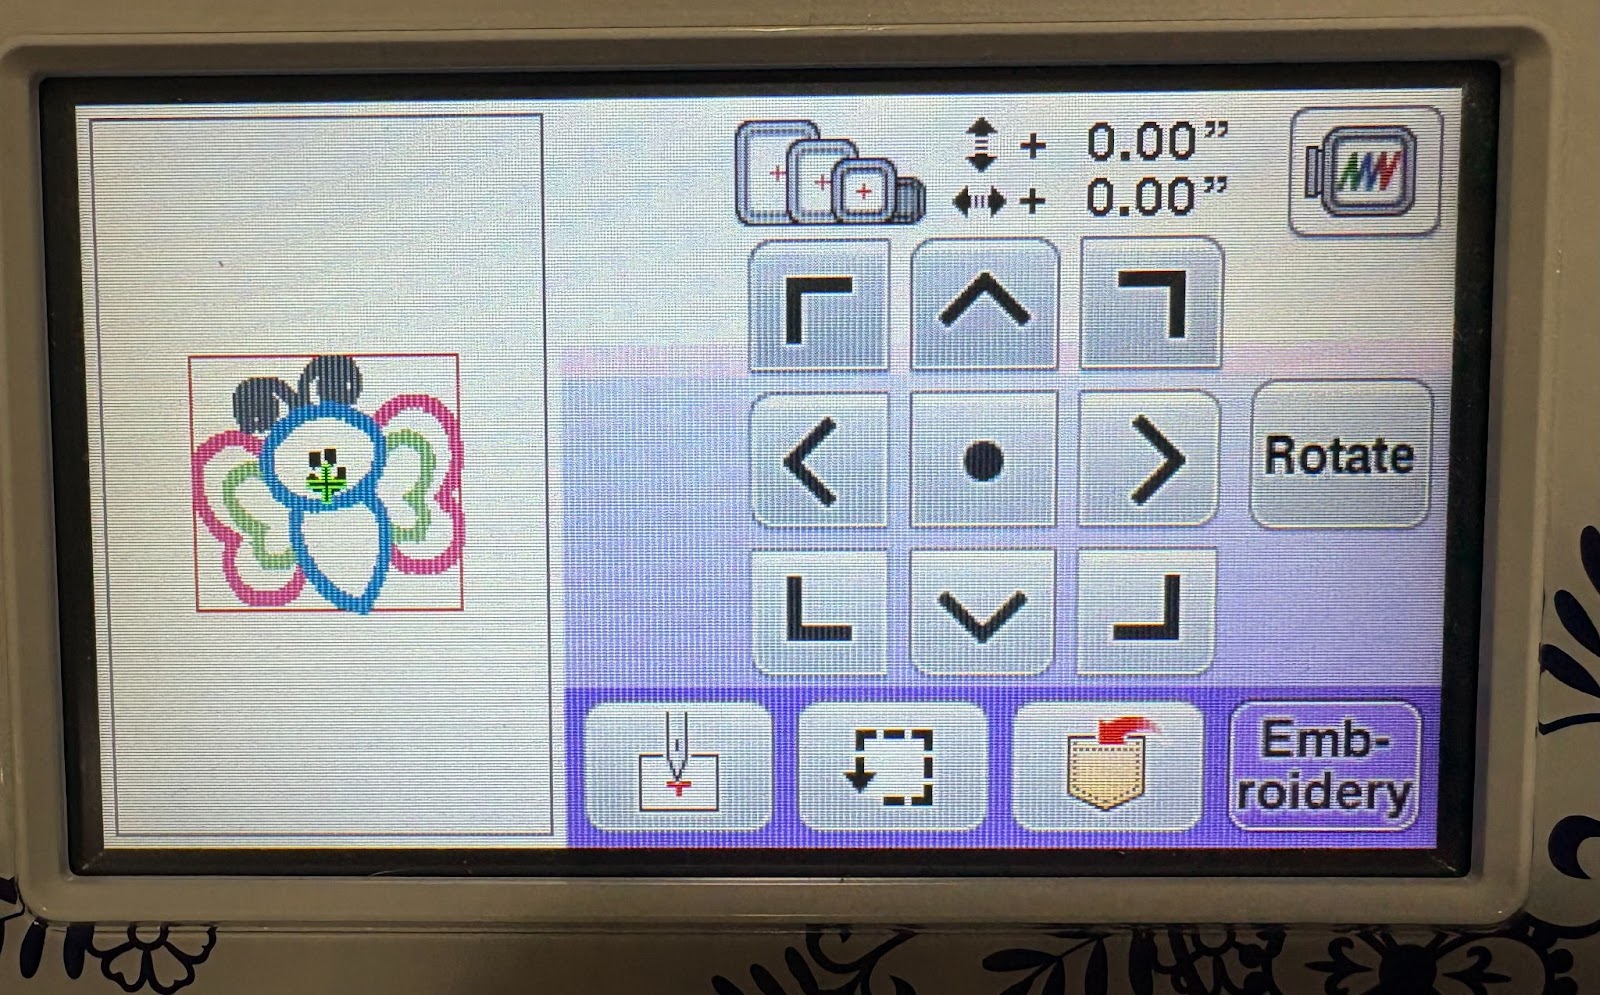
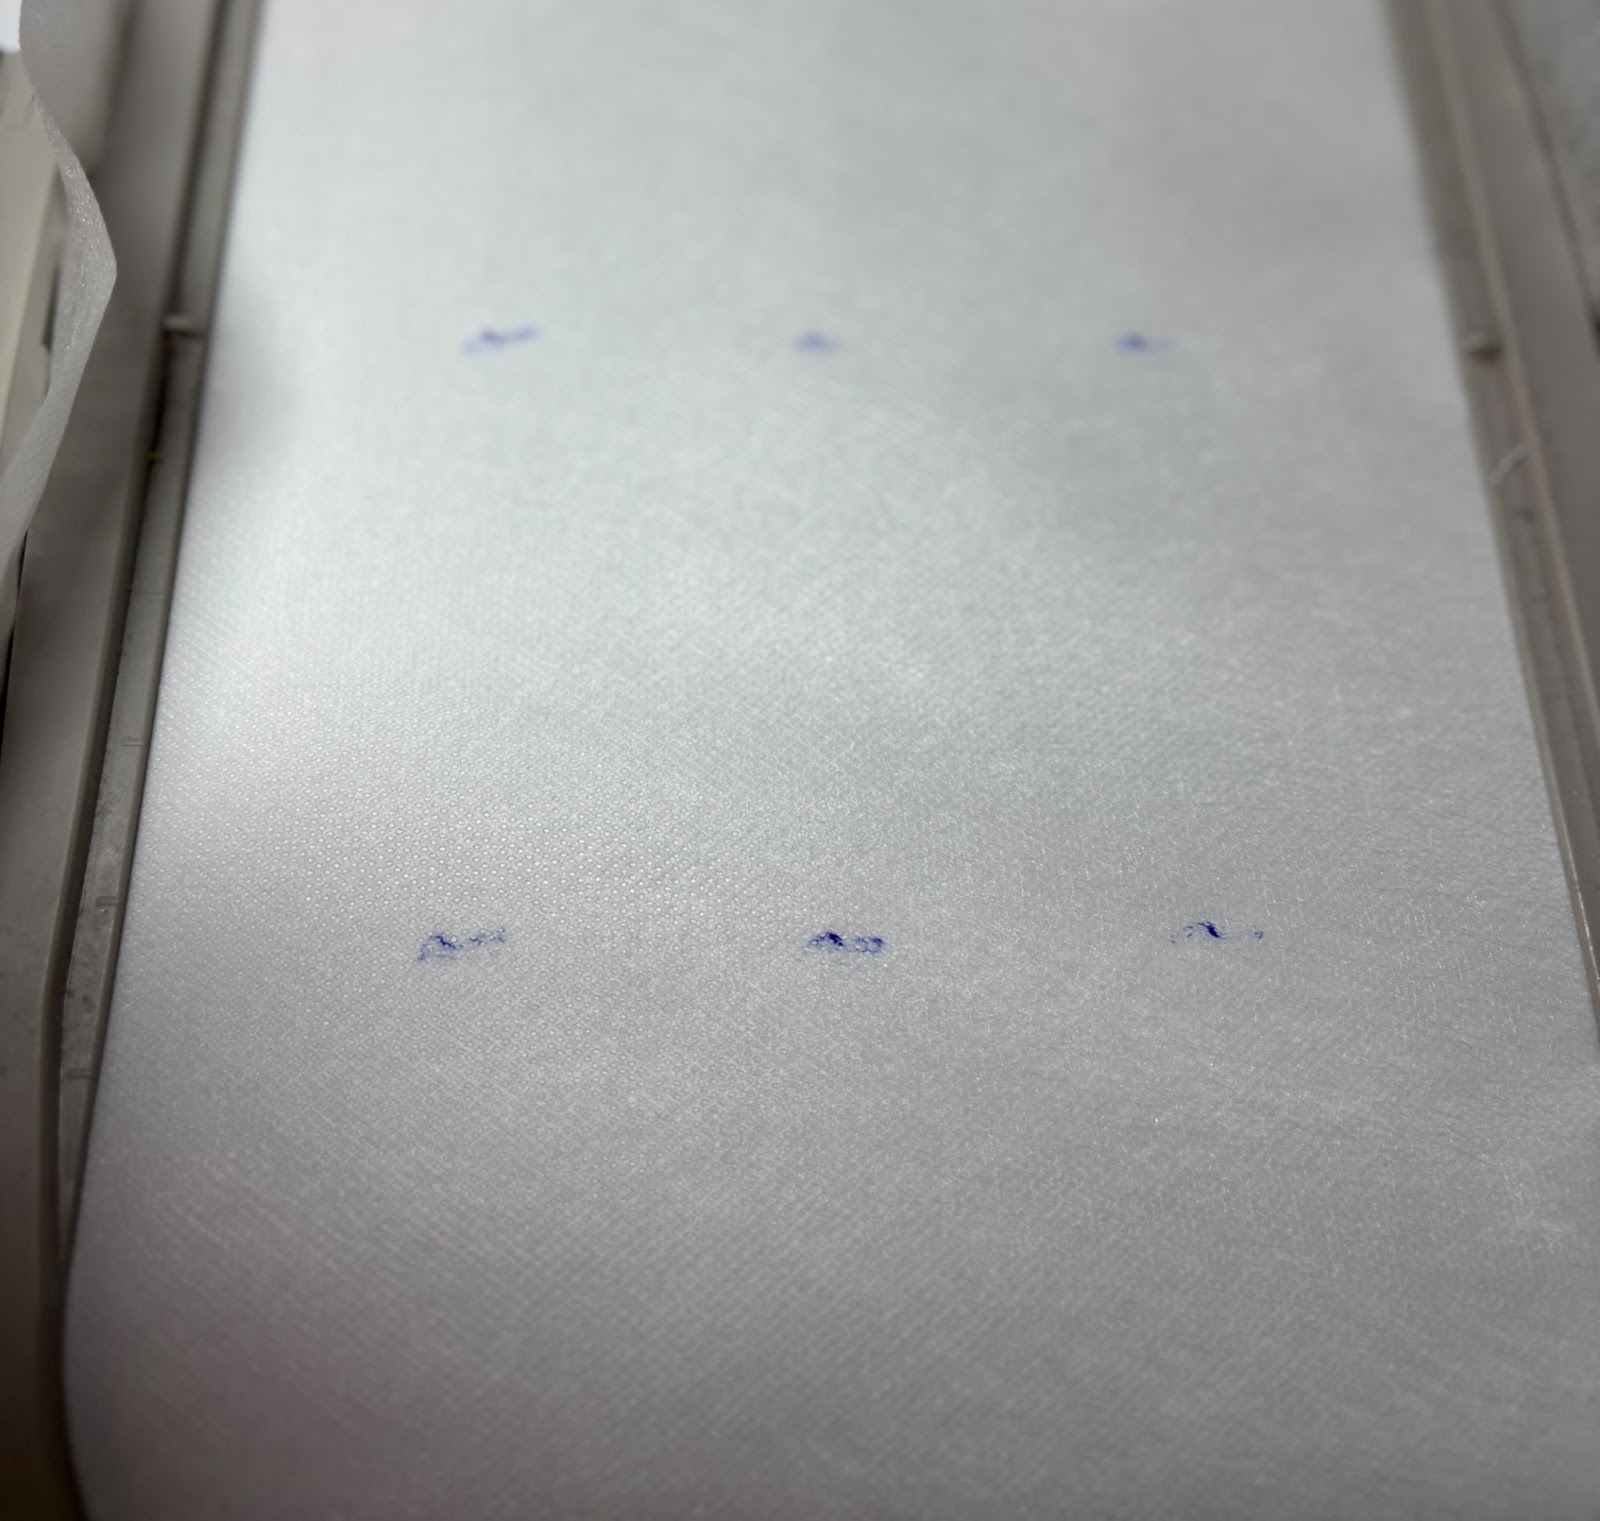
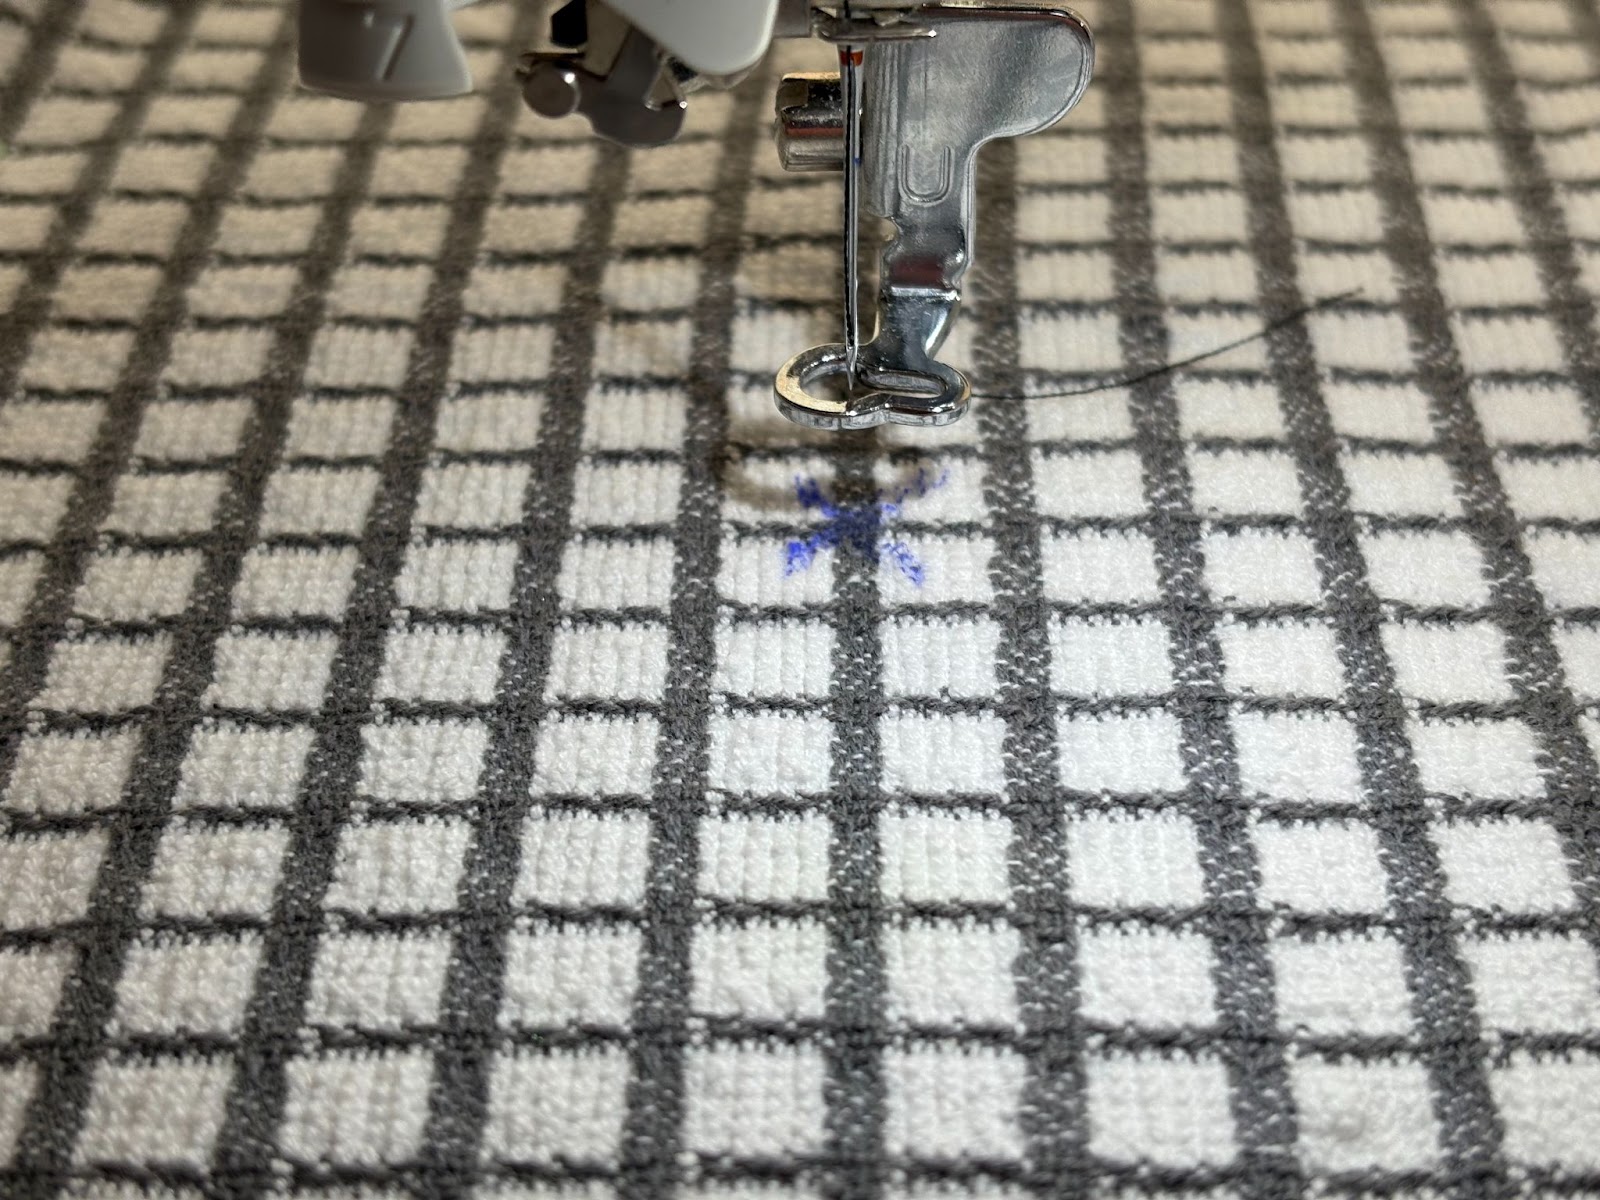
Use the design placement keys to locate and mark the center of the design. My machine is a Brother 1600E; your screen may look different.
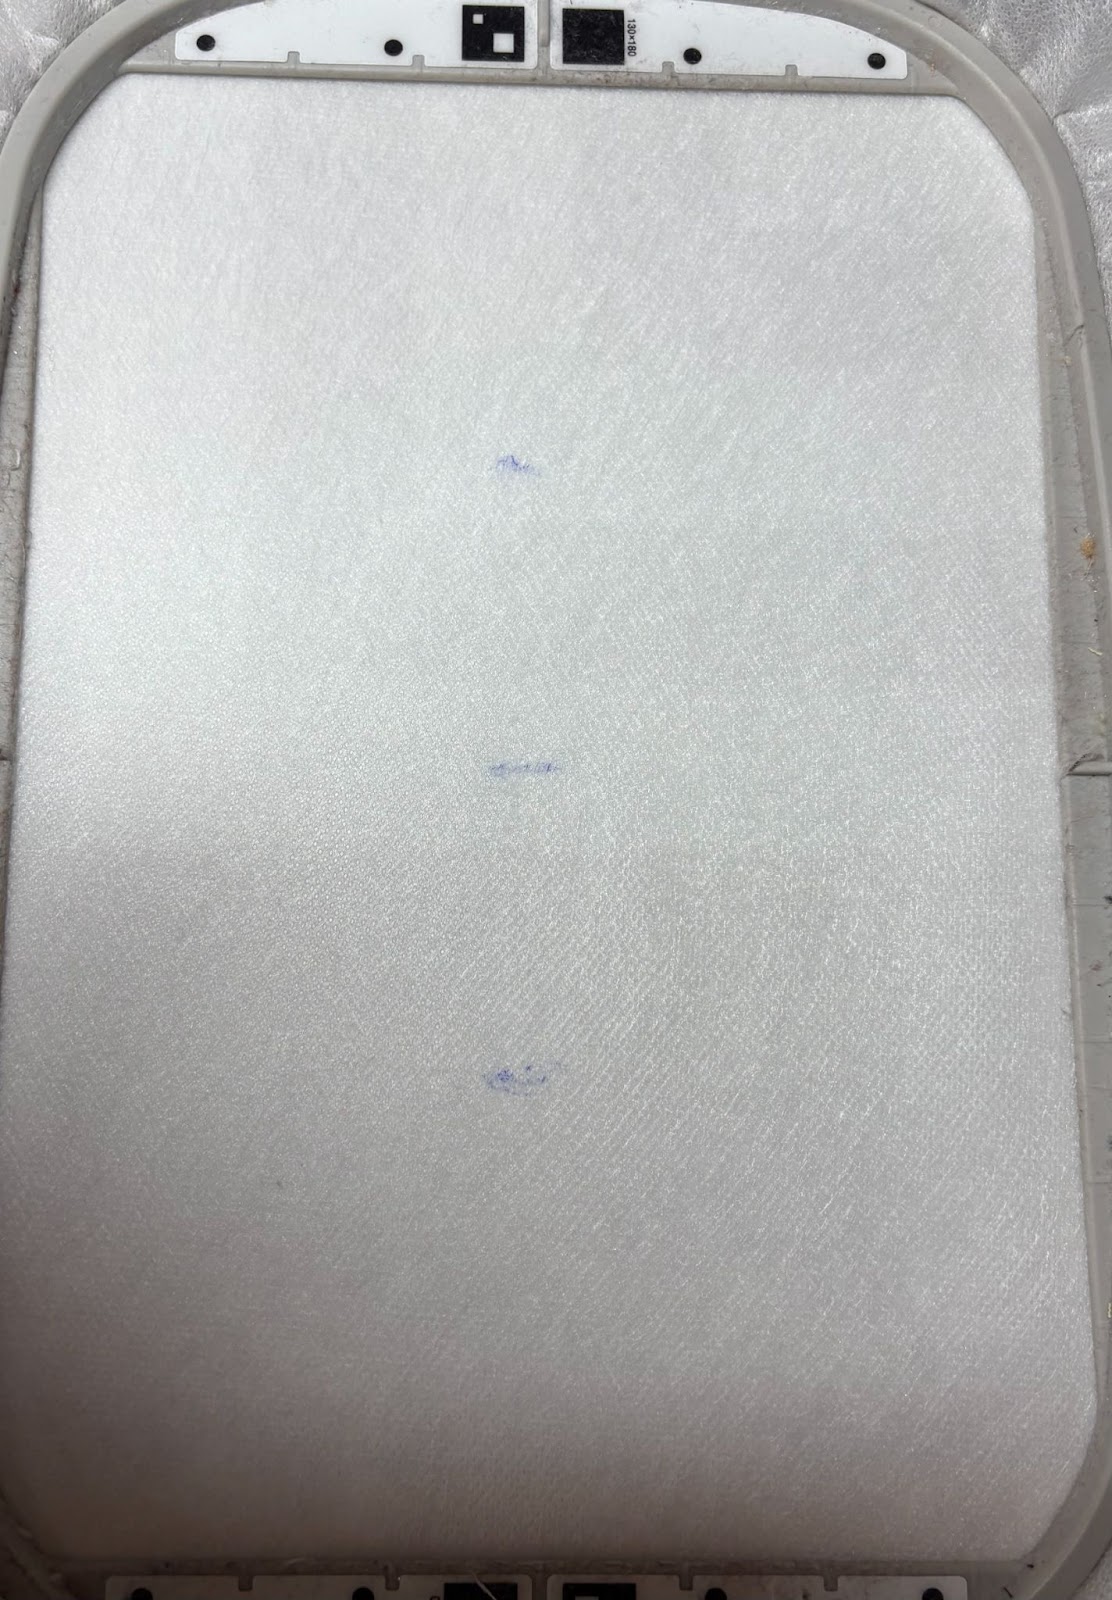
Additionally, marking the top and bottom centers can assist in positioning the bib correctly. Once you have marked it, remove the hoop and place it on a flat surface.
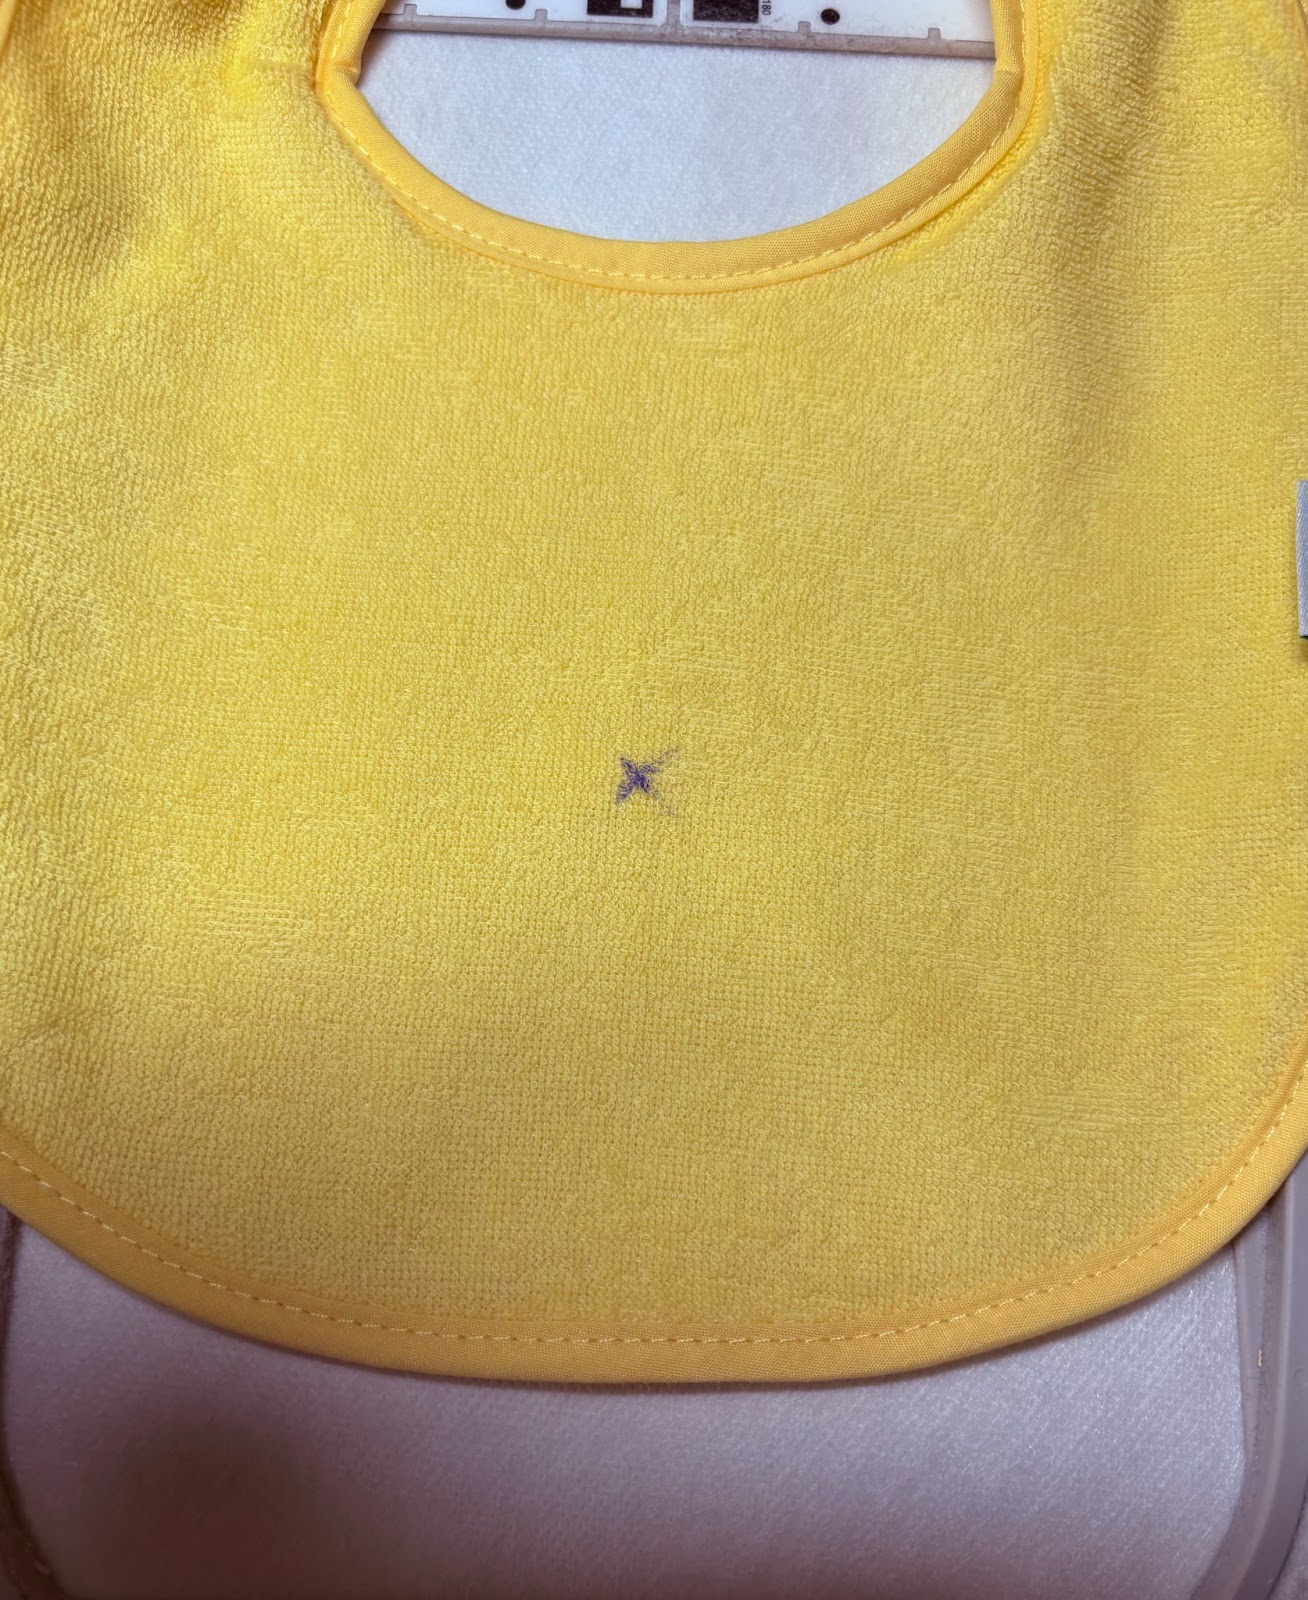
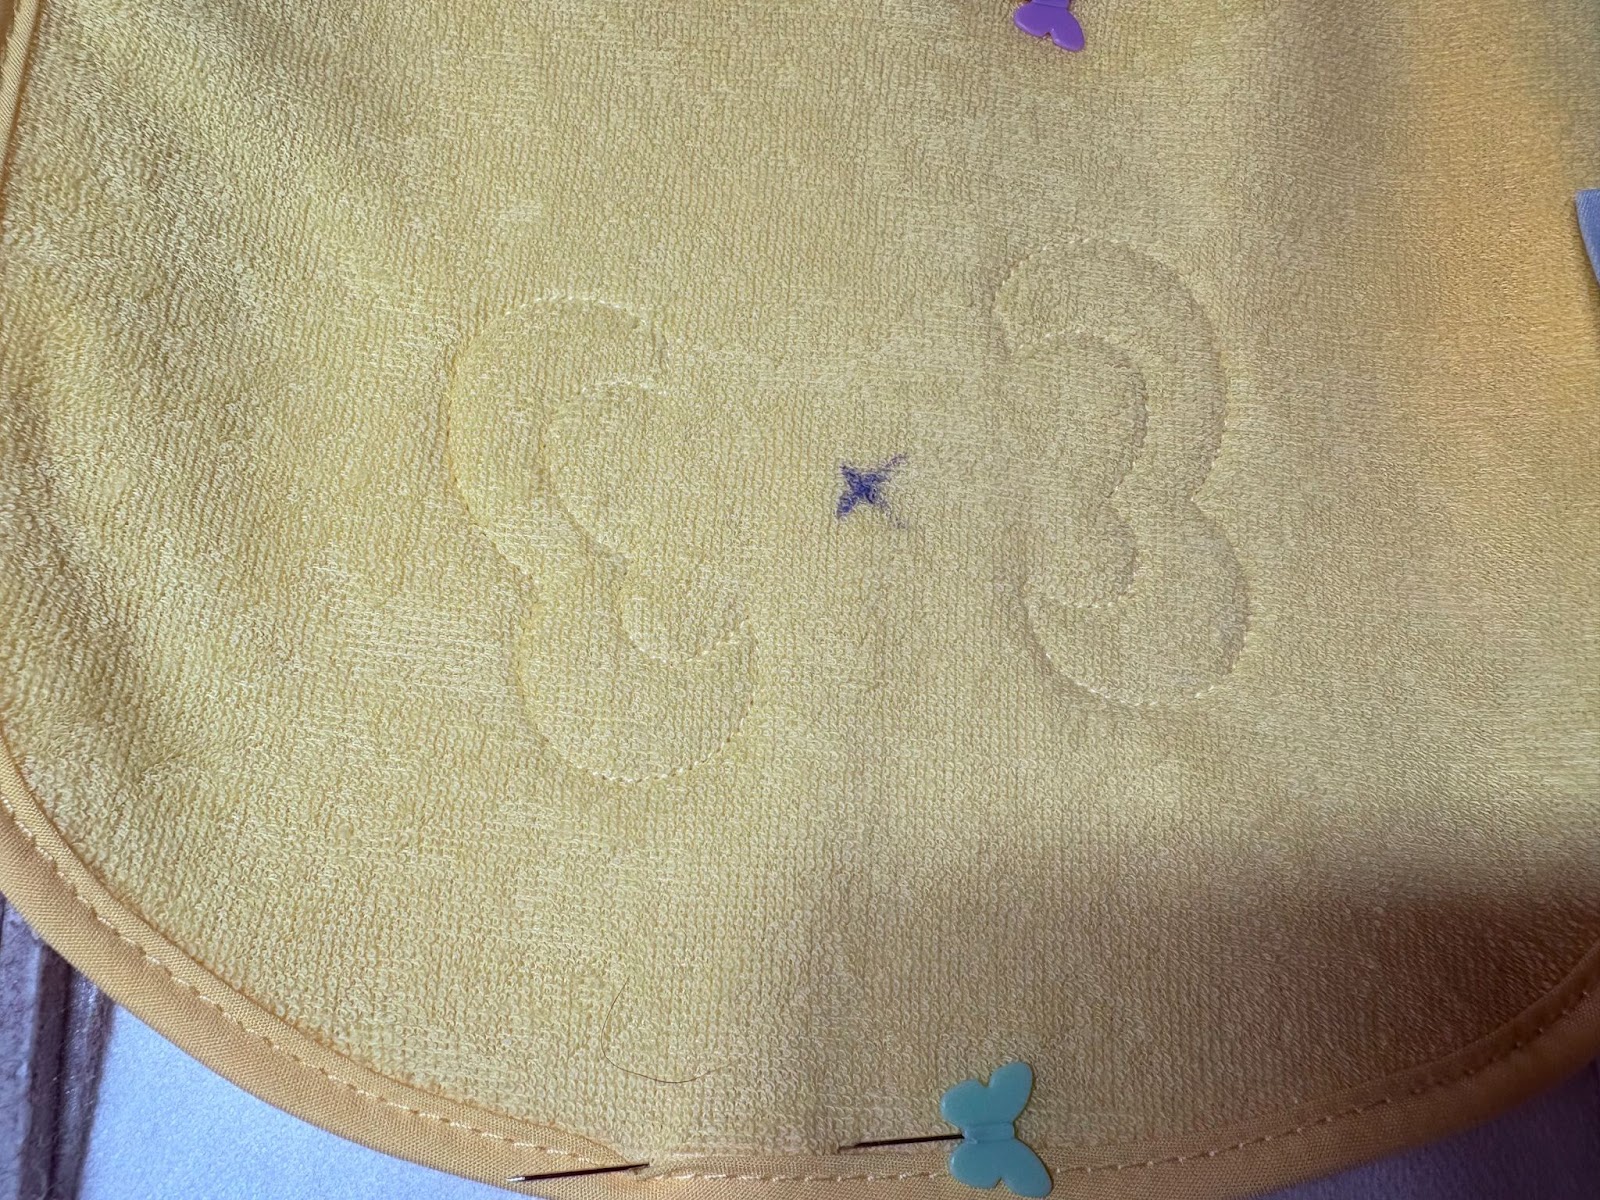
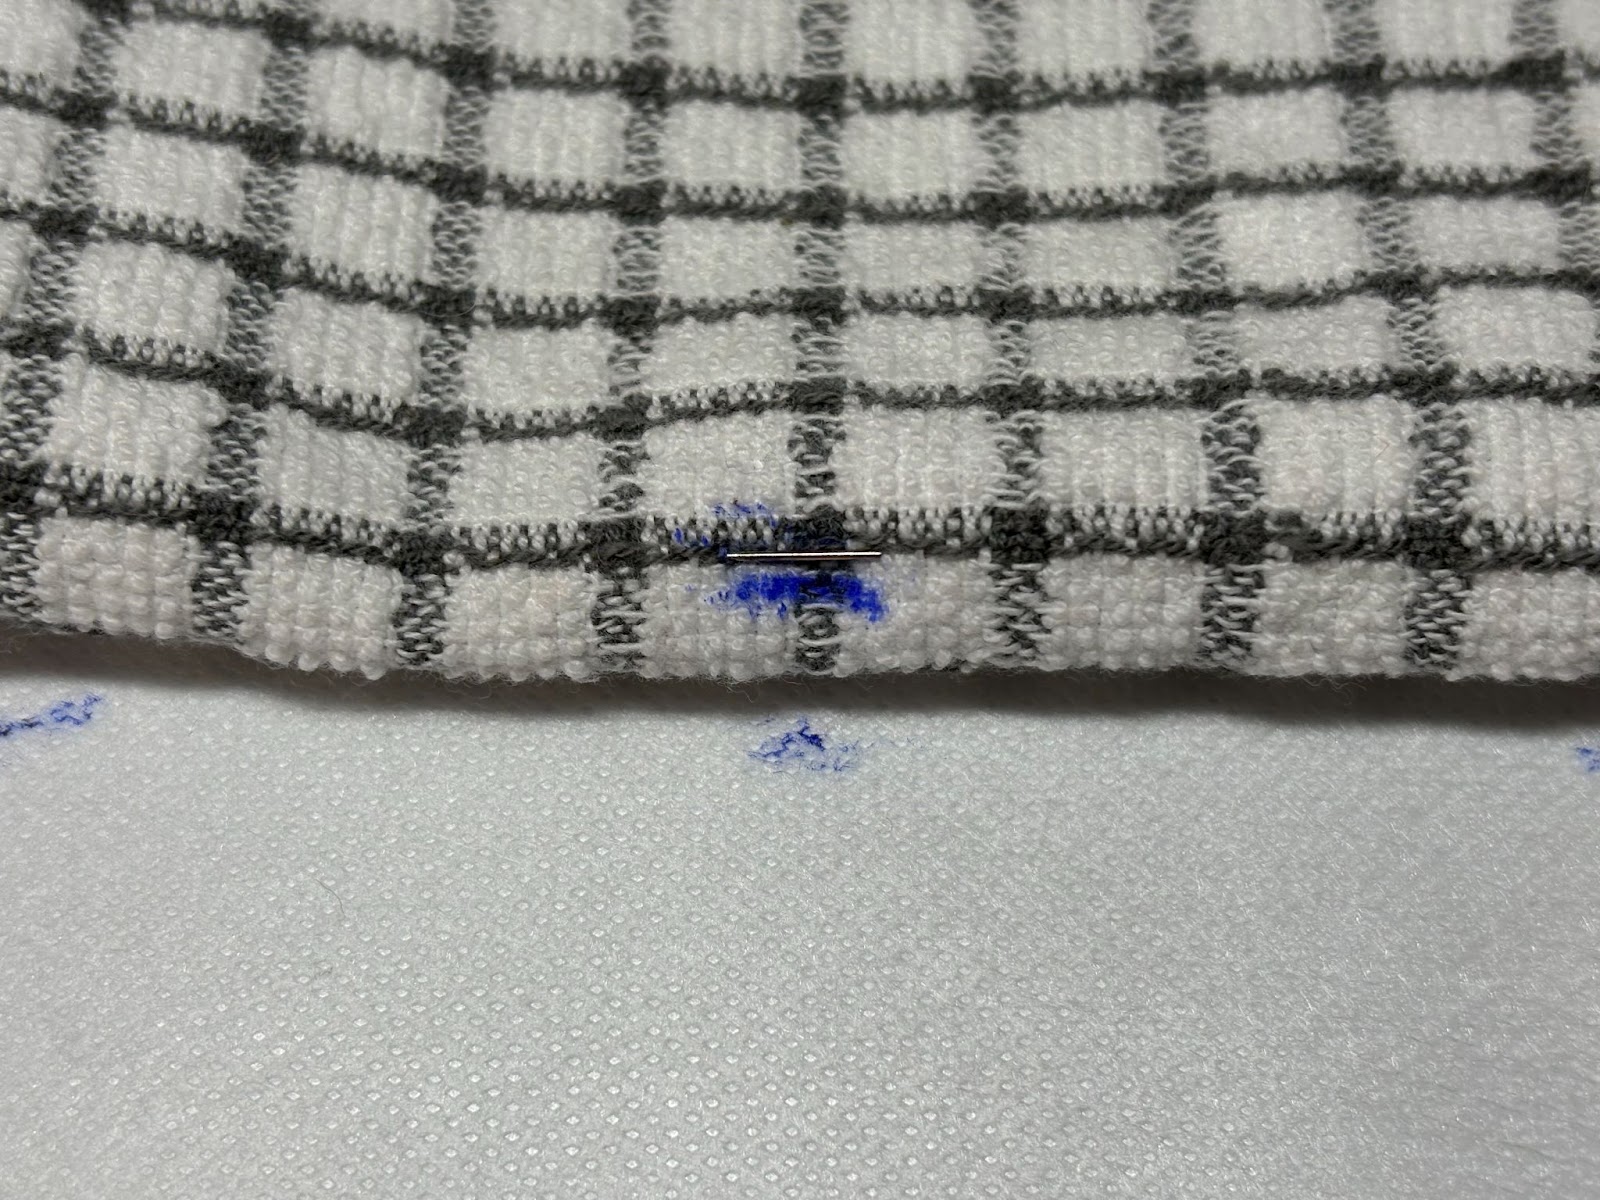
To find the center of the bib, fold it in half both lengthwise and widthwise, and mark the center with an erasable fabric pen.
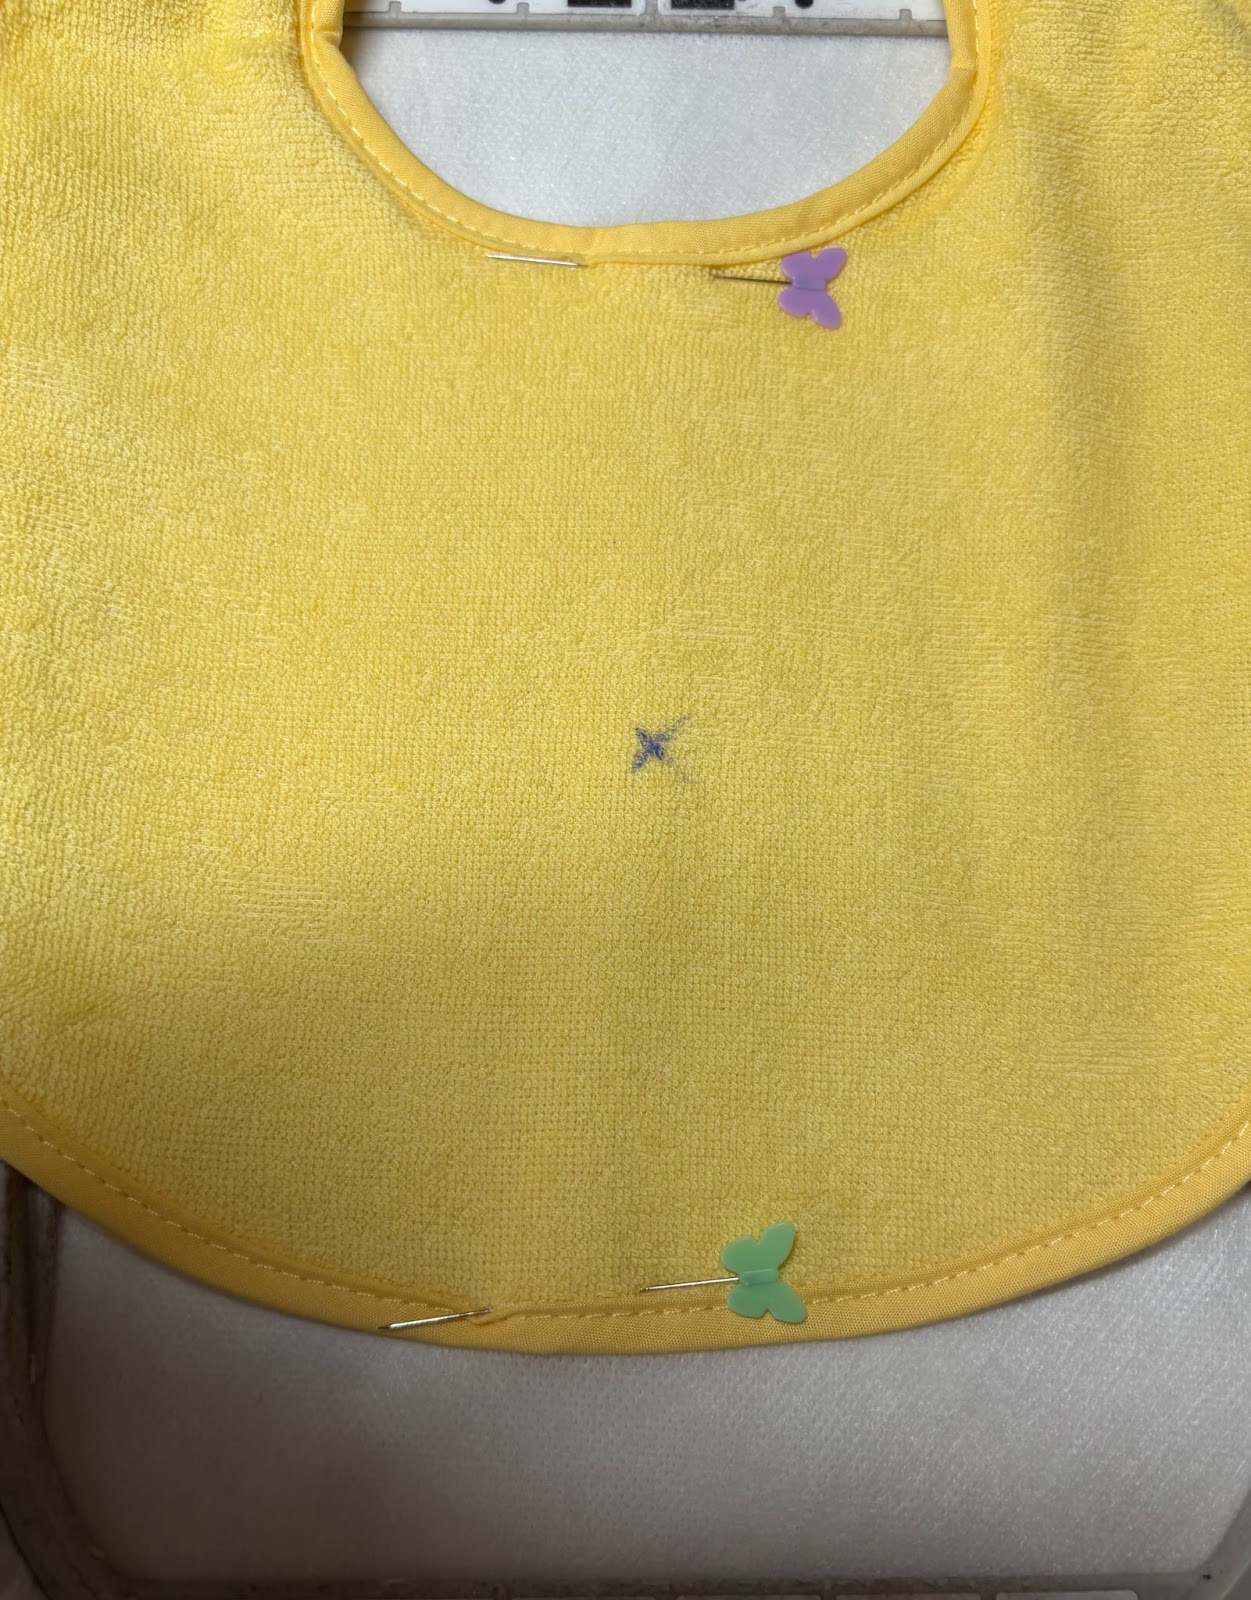
If you are using a fabric adhesive spray, apply it to the hooped stabilizer. Align the center mark on the bib with the center mark on the stabilizer, then smooth it flat. If you are not using adhesive spray, pin the bib to the stabilizer, making sure to keep the pins out of the design area.
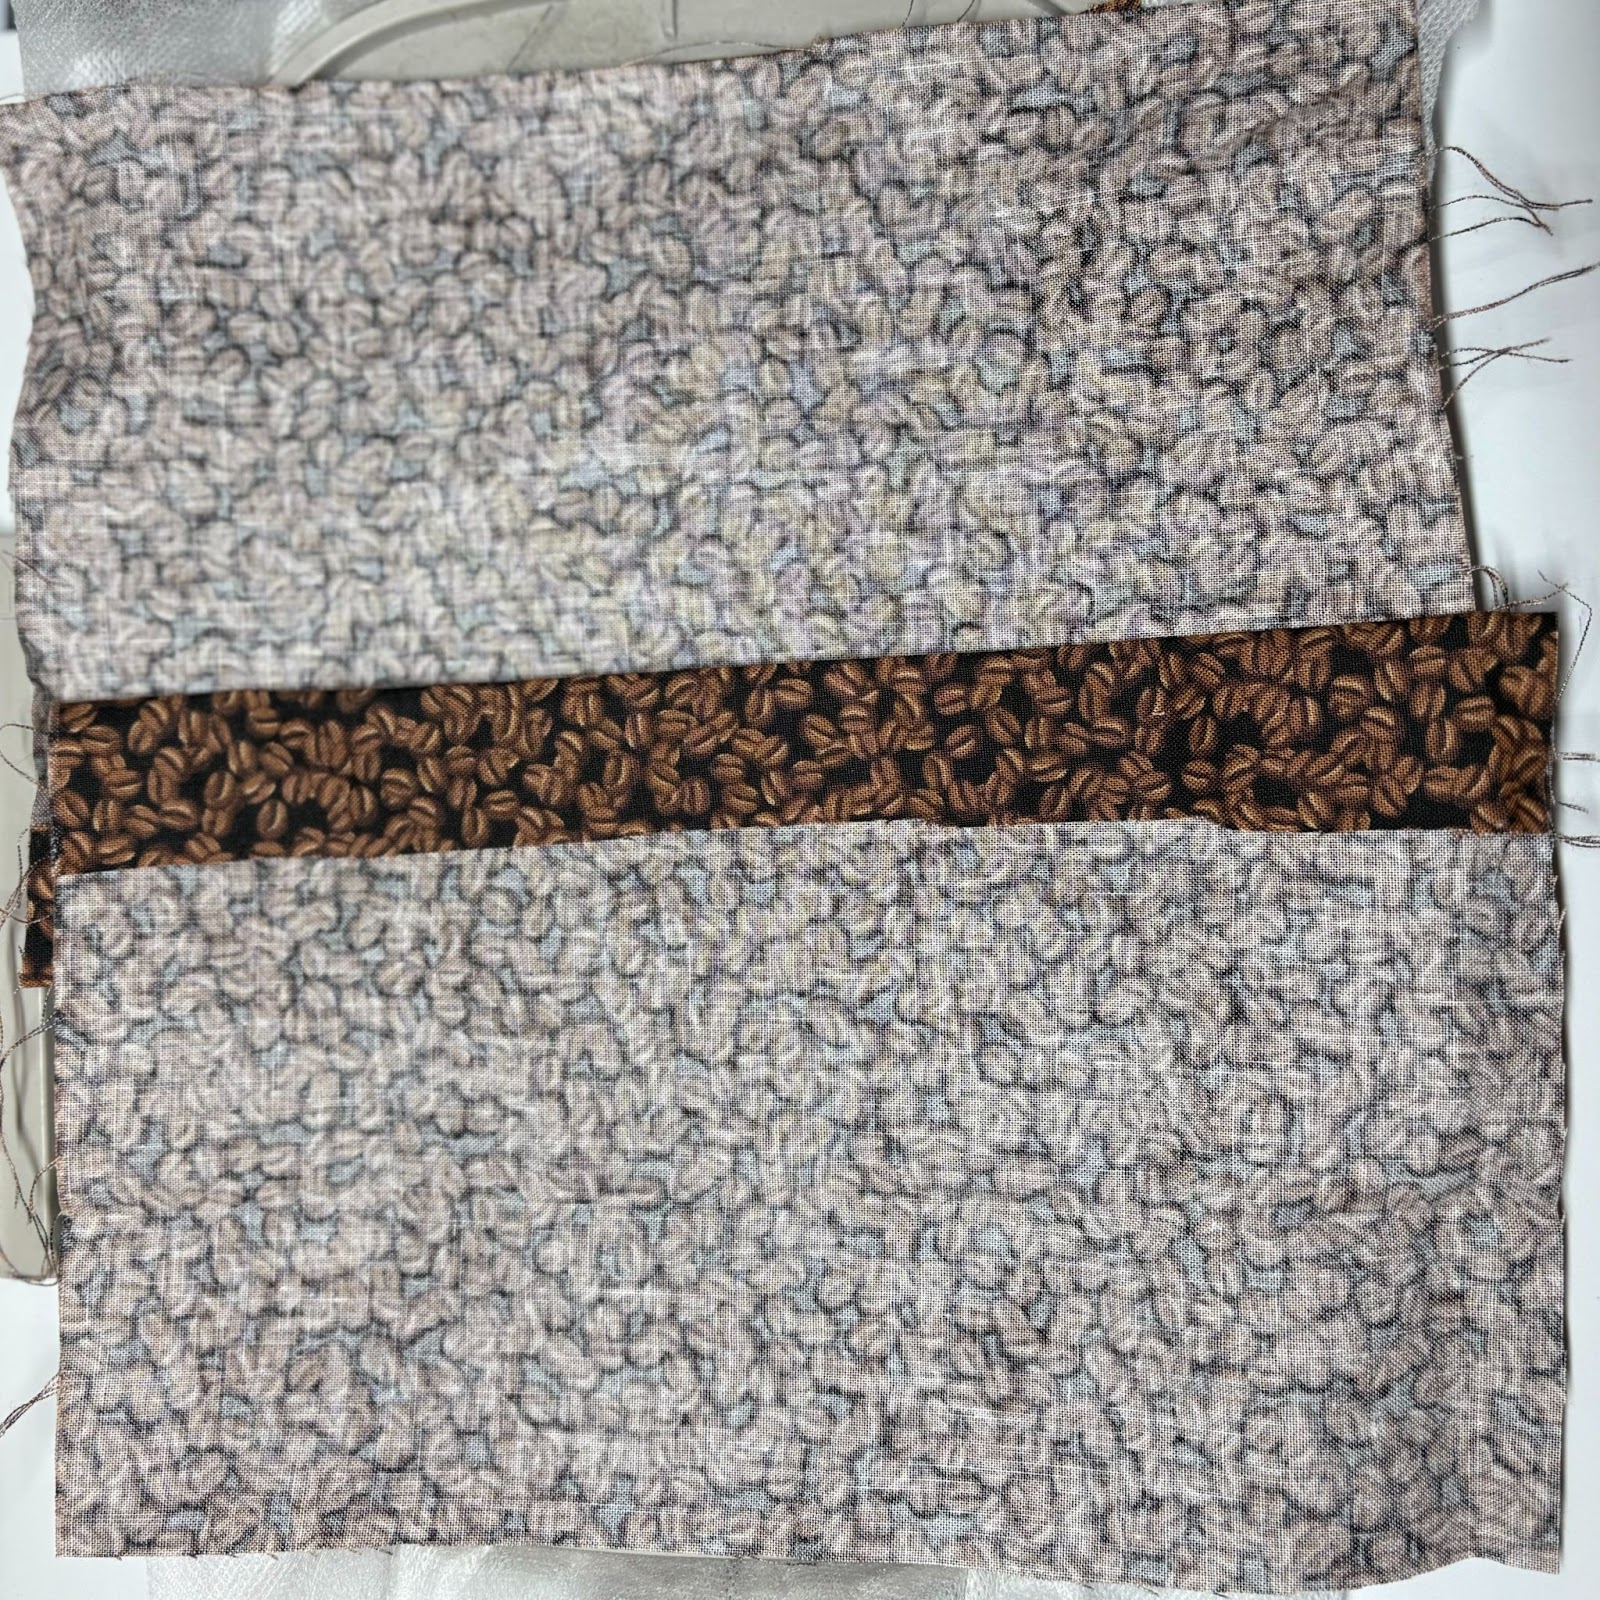
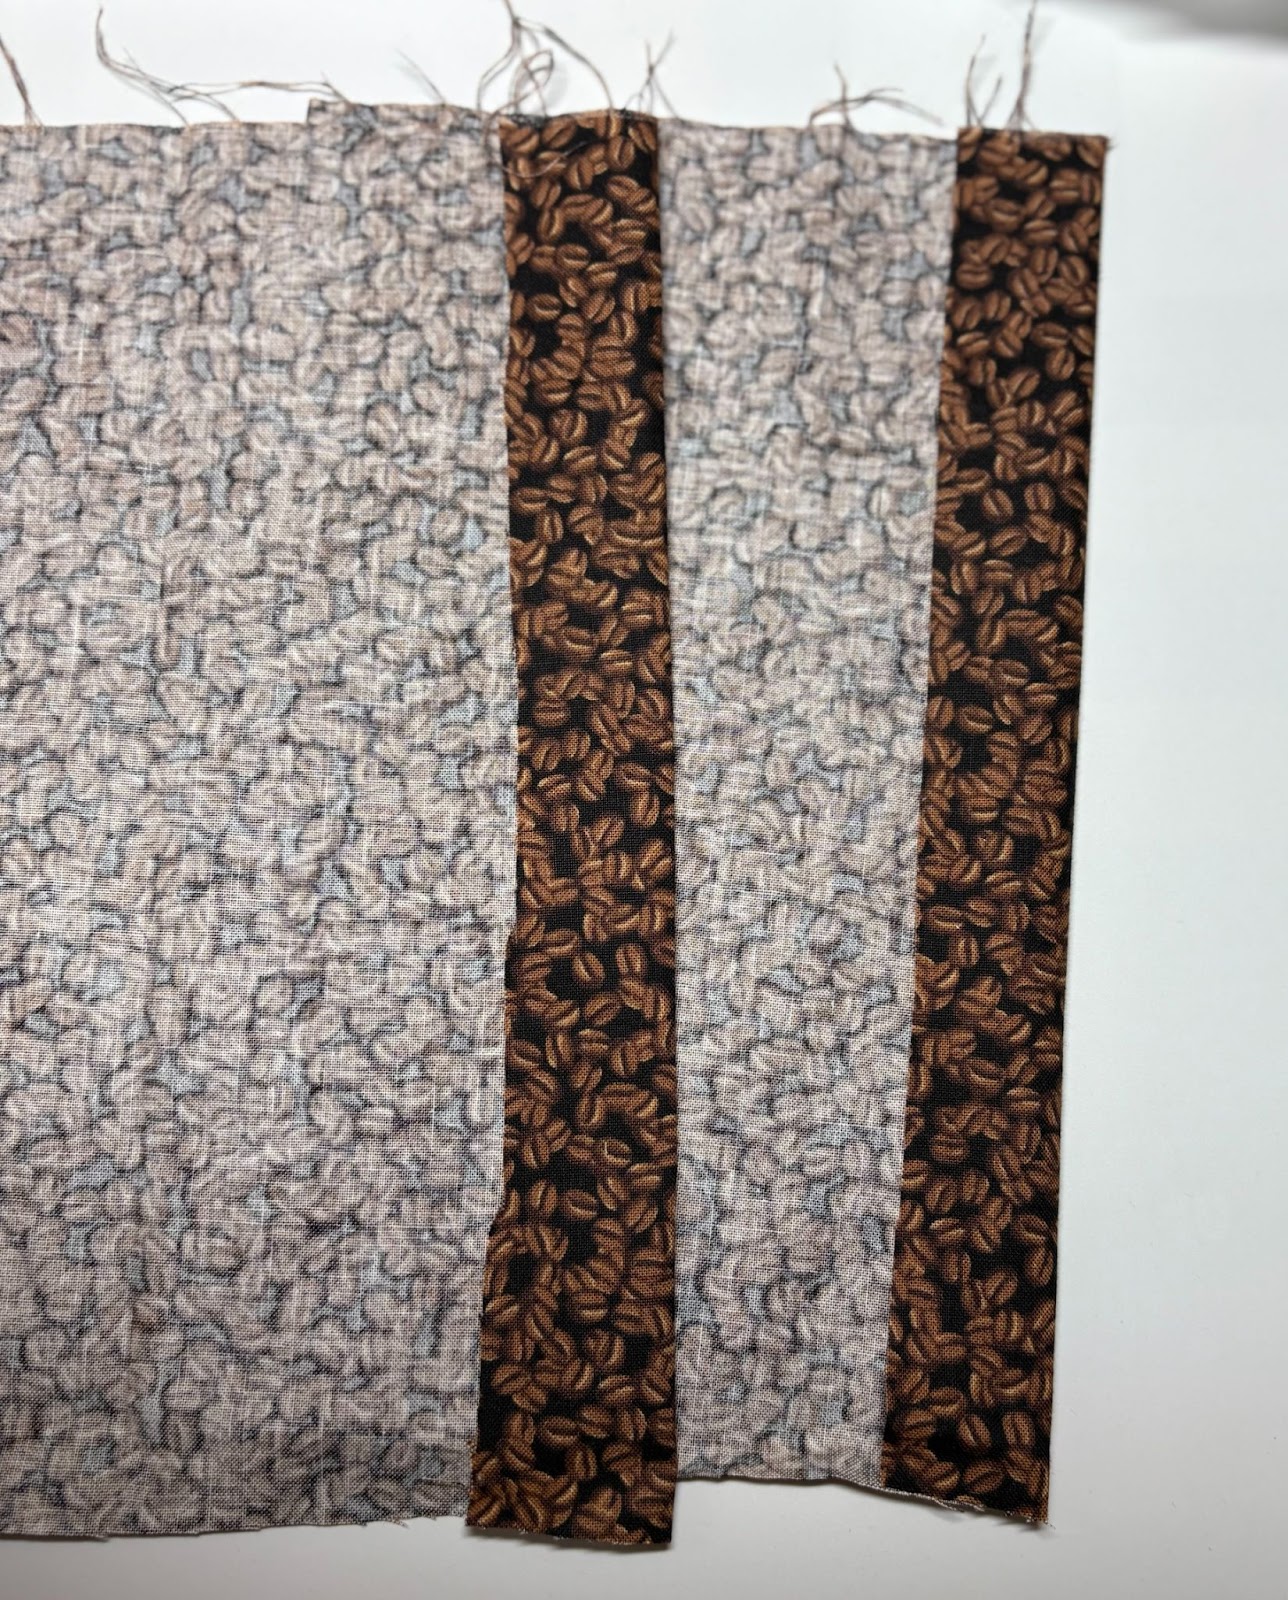
Choose three coordinating colors of fabric. These can be scrap pieces.
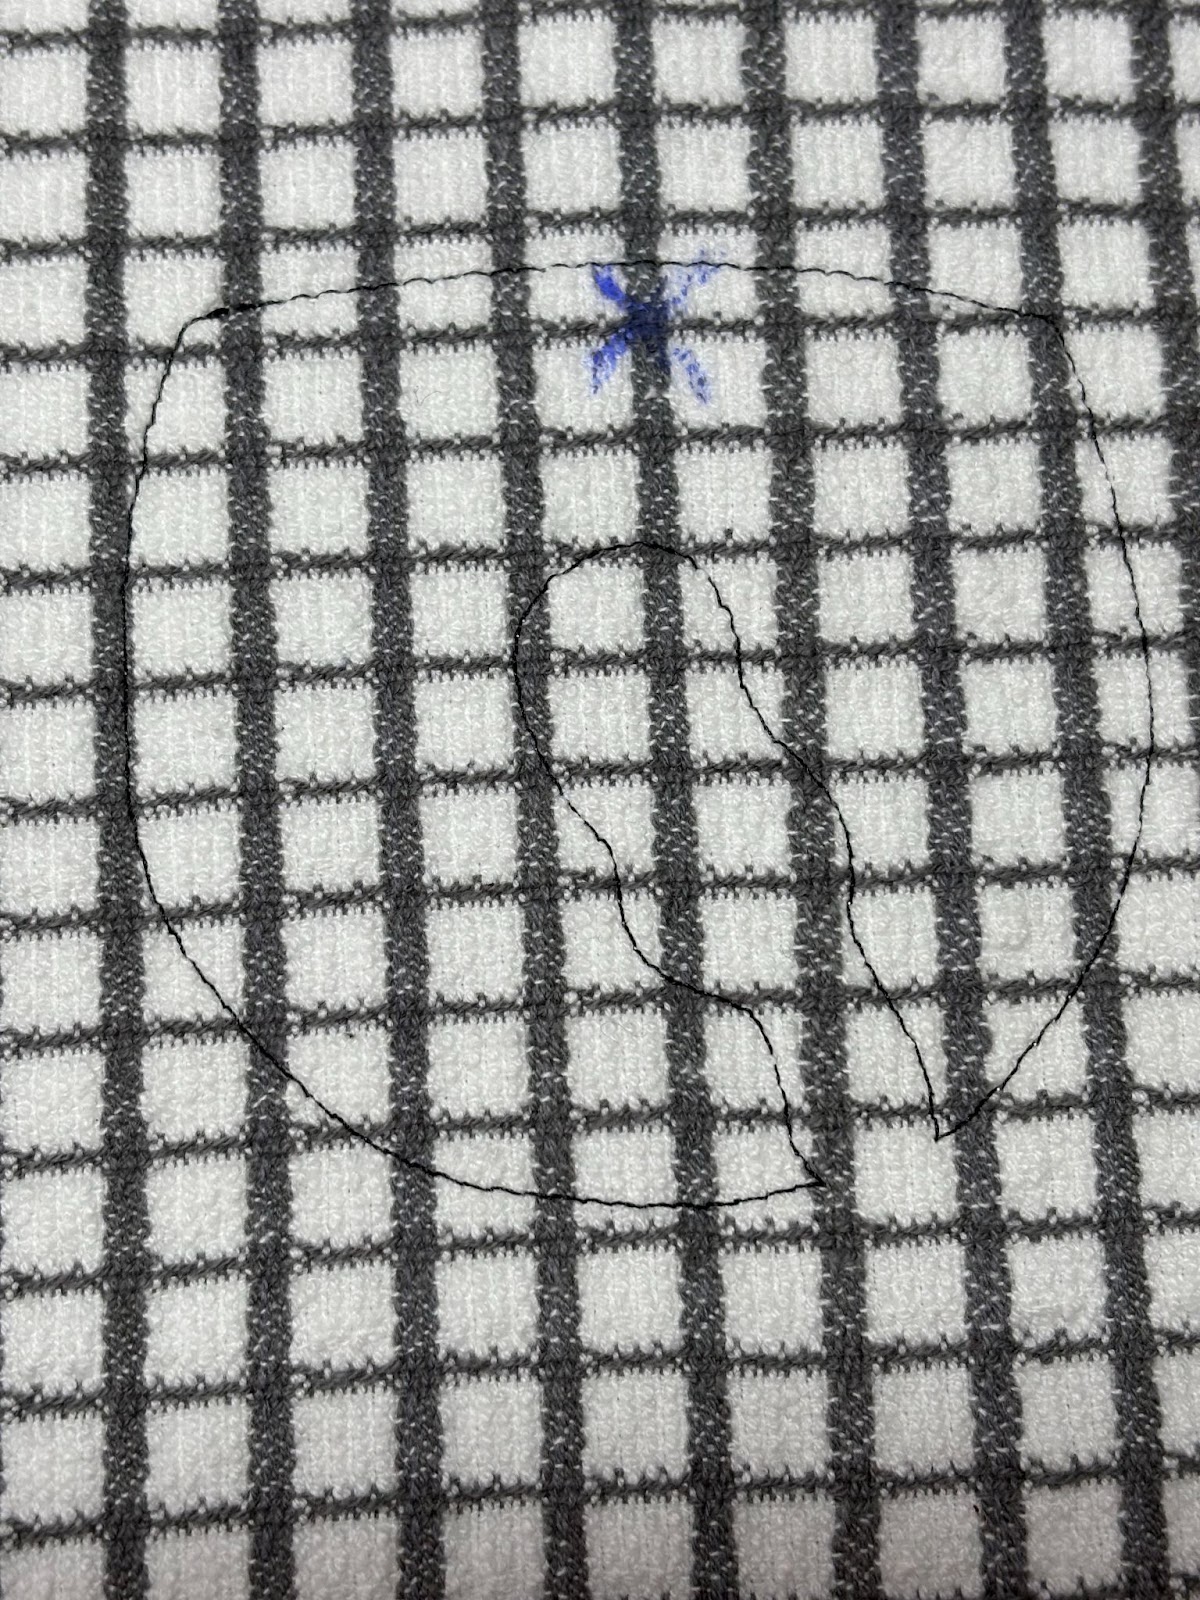
Run the first step, which will create a placement stitch for the first piece of fabric. Remove the hoop and place it on a flat surface.

Position the first piece of fabric over the placement stitches, ensuring it covers all the stitches completely. Return the hoop to the machine and run the next step, which will be the fabric tack-down stitch. Again, remove the hoop and place it on a flat surface.
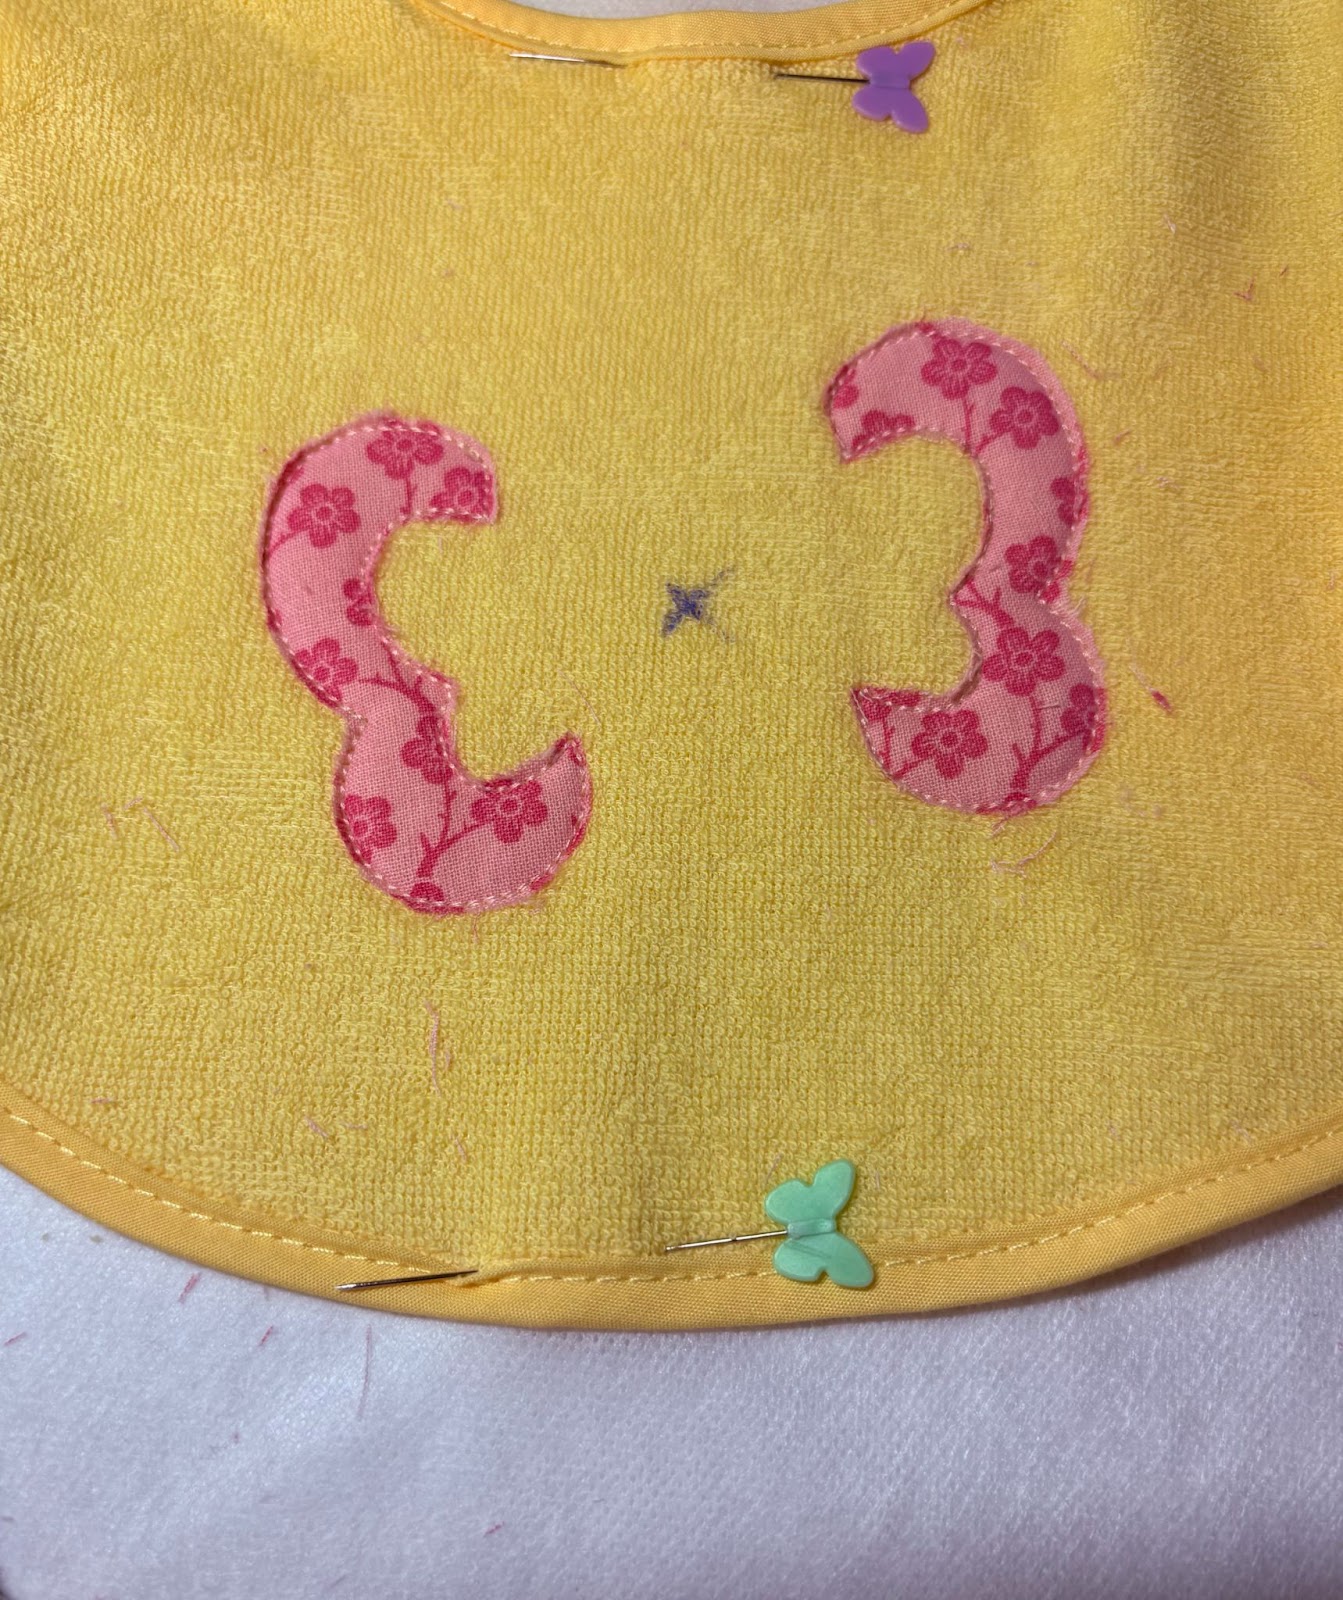
Trim the excess fabric close to the stitches, and then return to the machine to continue with the remaining steps. Remember to trim the fabric before moving on to the next steps.
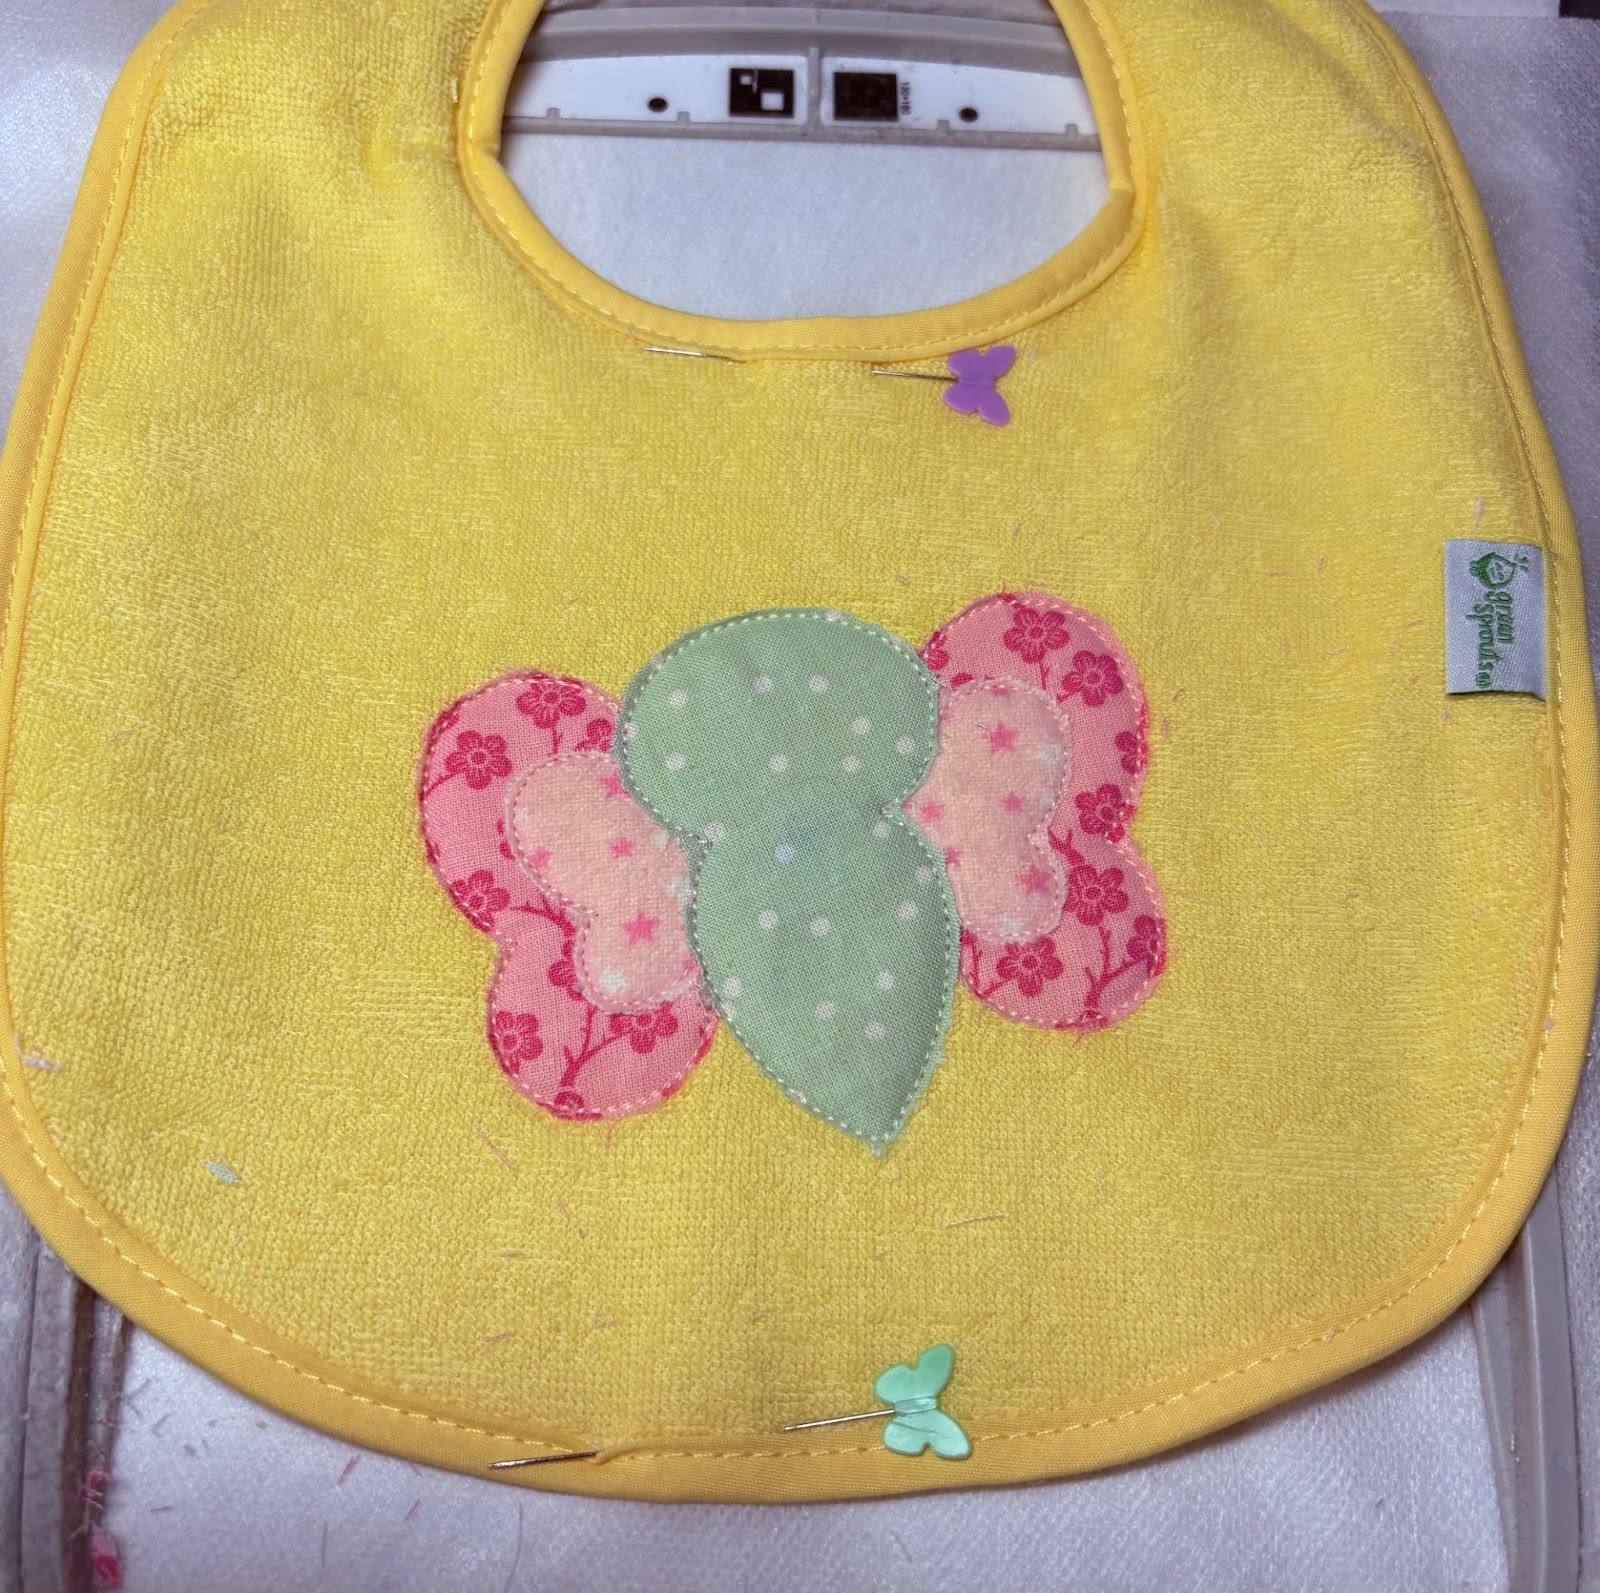
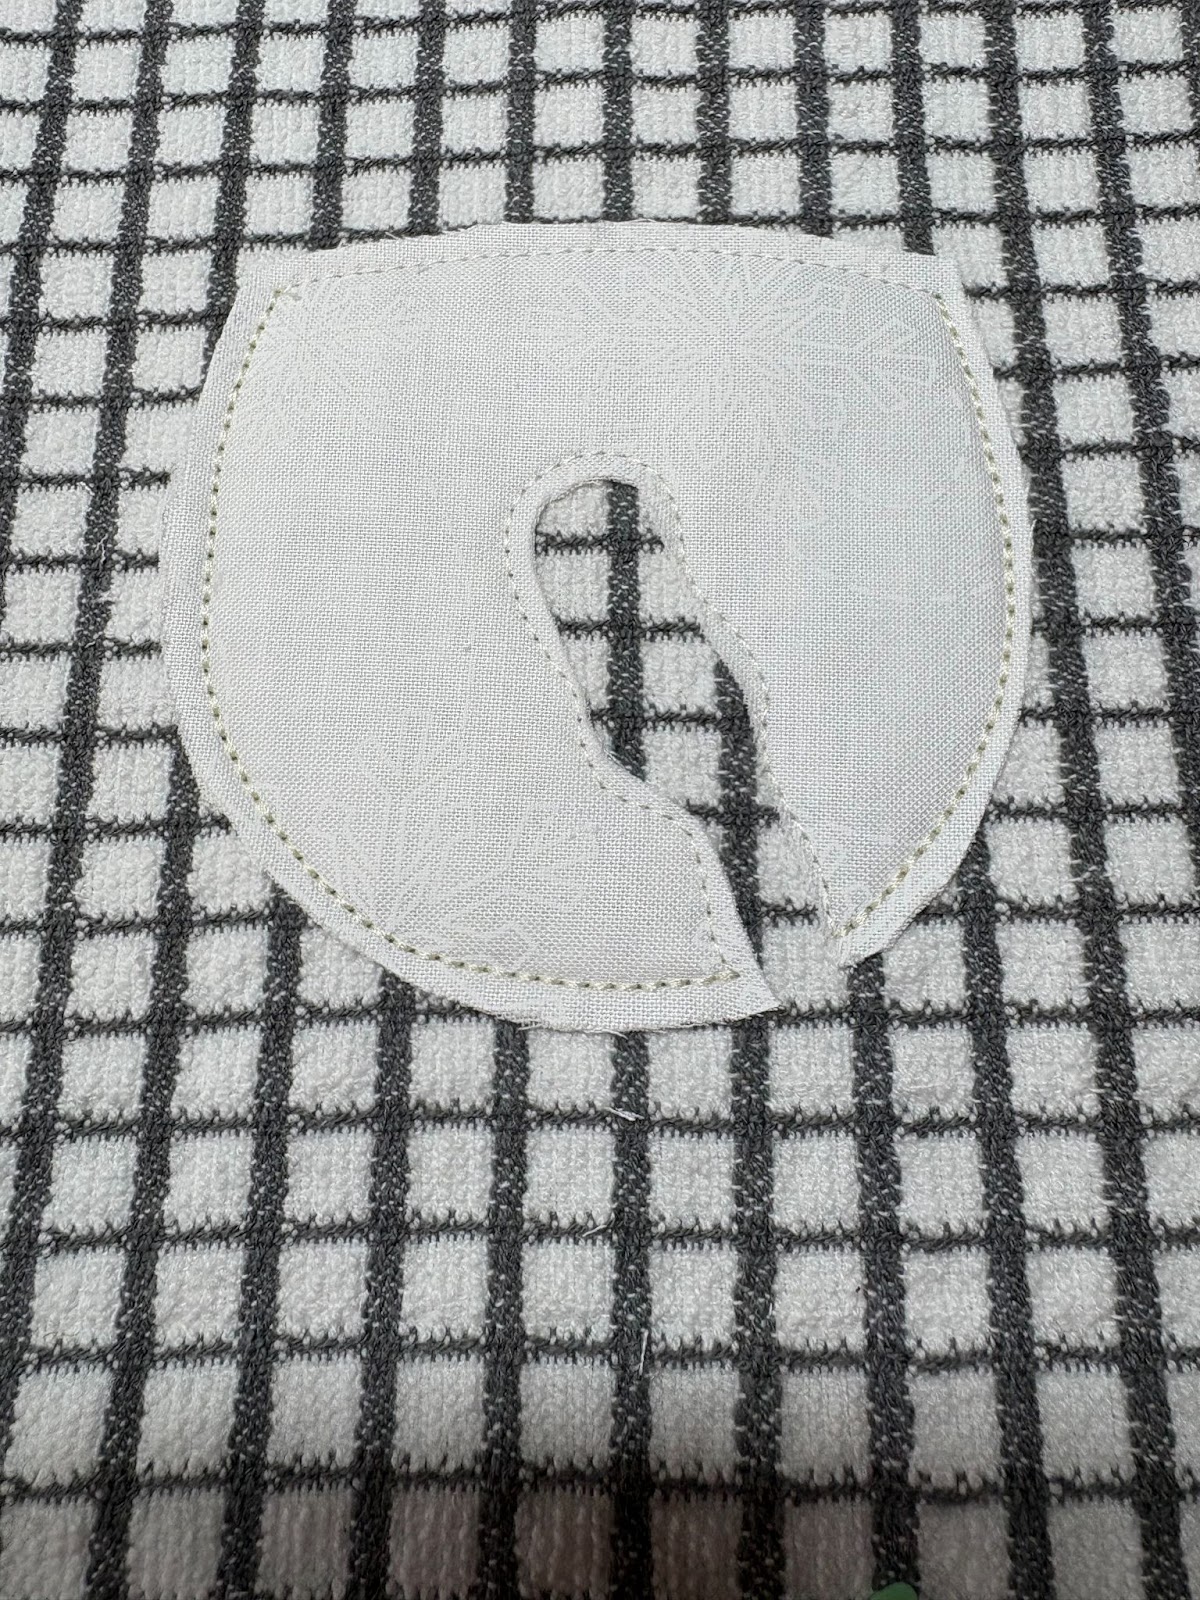
Once you have finished all the applique work, your bib should resemble the desired design. The remaining steps will include adding butterfly details and satin stitches.
If your bib is made from raised terry cloth, consider using a film topper to prevent the stitches from sinking into the fabric. This will enhance stitch clarity and give the design a polished finish. This step is optional; if your bib is made from cotton fabric, a topper is not necessary.

Once everything is finished, remove the bib from the hoop. Tear away the film topper if you used one.
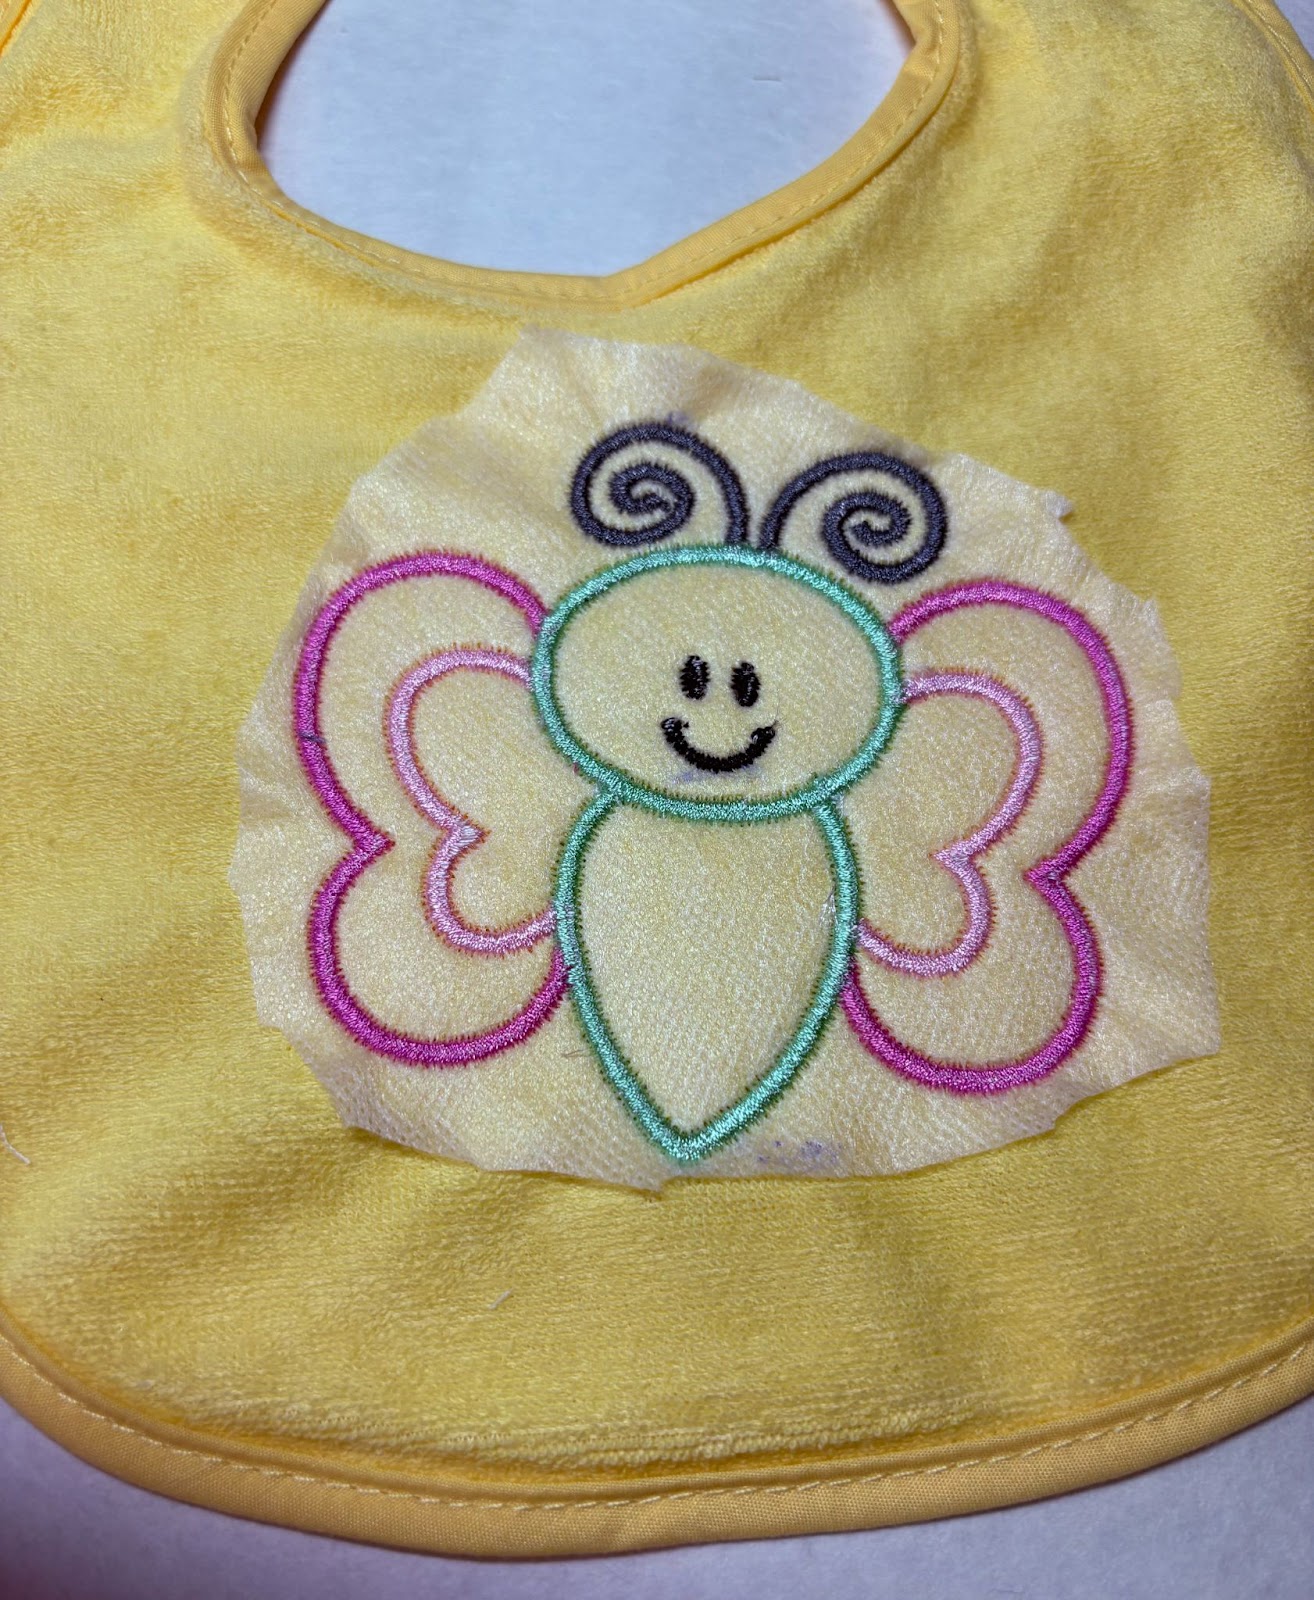
Trim the stabilizer around the back of the design. To fully remove all stabilizer, wash and dry the bib.
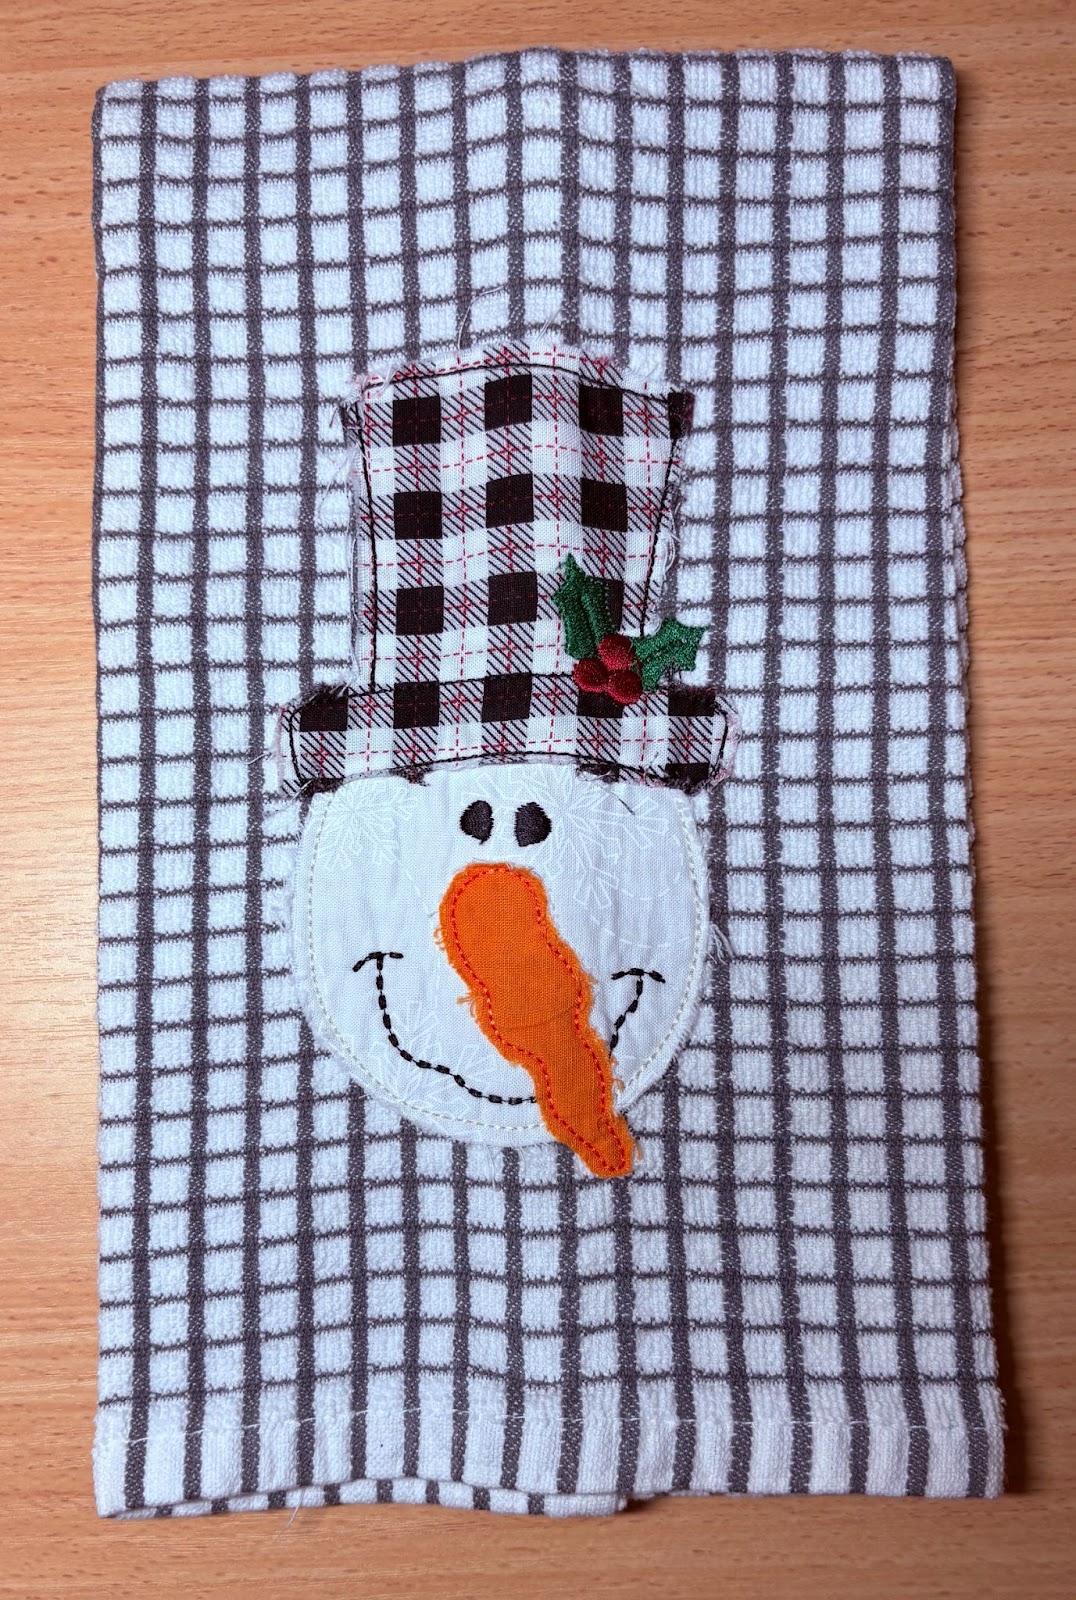
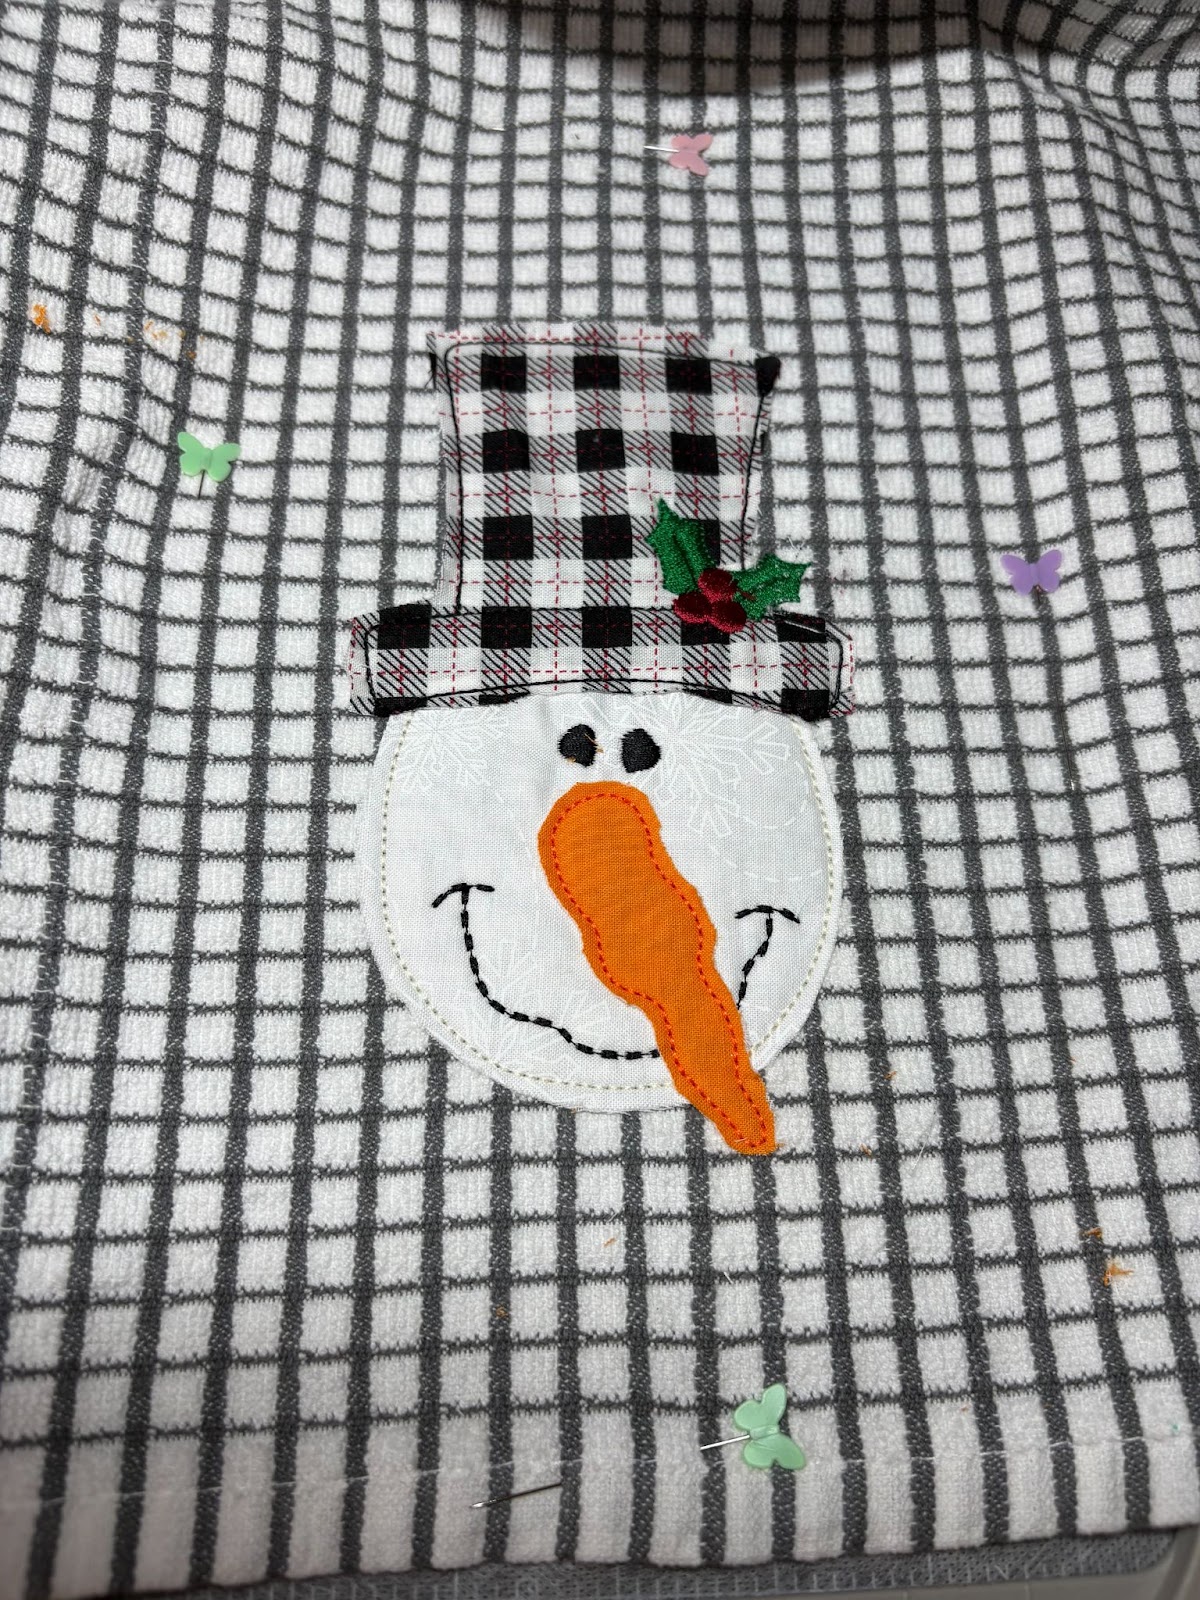
Upload the embroidery design to your machine. This design comes in four sizes. For my towel I chose the 6.80” x 3.83”.
Hoop wash-away stabilizer and take it to your machine.
Using the design placement keys, find and mark the center top, middle, and bottom with a pen.
I also recommend marking the left and right sides of the design, as this will help in placing the towel and ensuring it is straight.
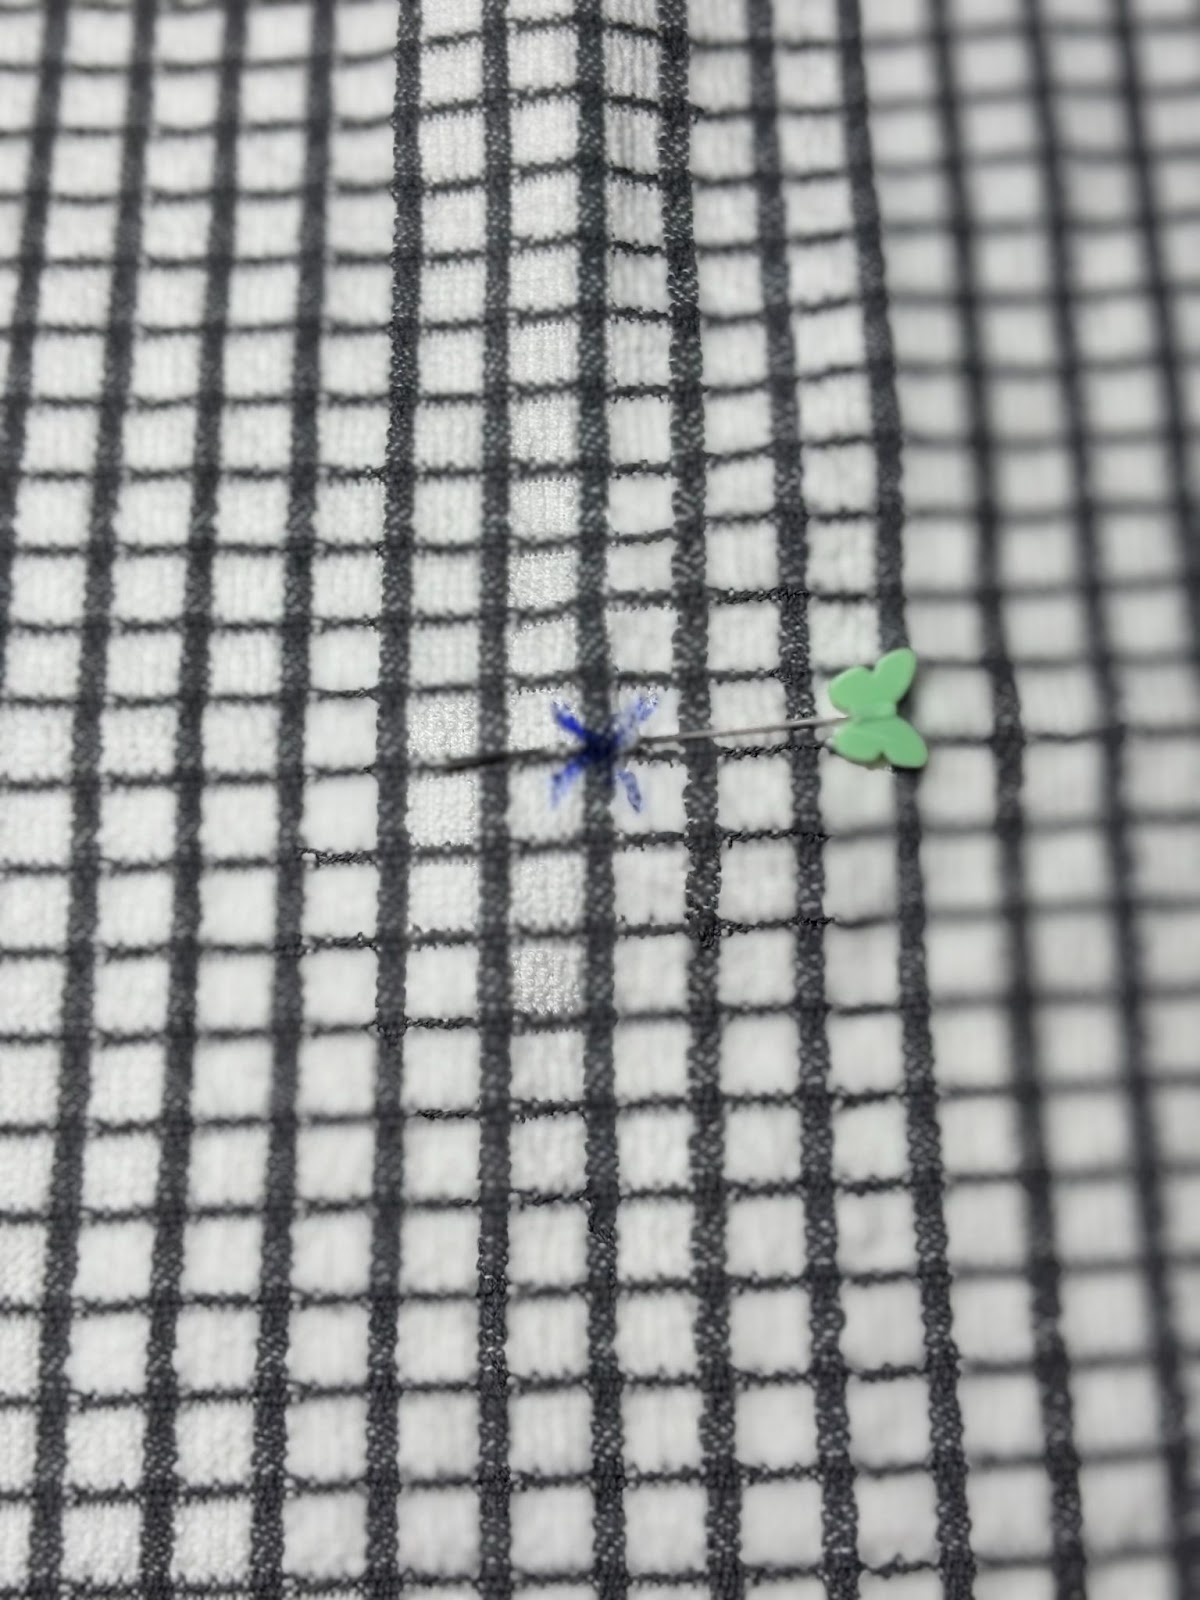
With an erasable pen or a straight pin, mark where you want the center of the design to be.
Align the center mark on the stabilizer with the mark on the towel. Use the remaining marks on the stabilizer to ensure that your towel is straight.
Pin the towel to the stabilizer and take it to the machine. Double-check that the center of the towel is lined up with the center of the design. Make any necessary adjustments before proceeding.
Run the first step, which is the placement stitch for the first piece of fabric. Once completed, remove the hoop and place it on a flat surface.
Place the fabric over the stitches, ensuring that all the stitches are covered. Return the hoop to the machine and run the next step.
Remove the hoop again and place it on a flat surface. This design will be done with a bean stitch, so there will be no satin stitch around the finished design. When trimming, aim to cut ⅛” to ¼” around the fabric. This will allow the fabric to fray slightly after washing.
Return the hoop to the machine and continue with the remaining steps. Remember to trim after each piece of fabric before proceeding.
When finished, remove the design from the hoop. Trim away the stabilizer from the back, and wash and dry the fabric to remove any remaining stabilizer.
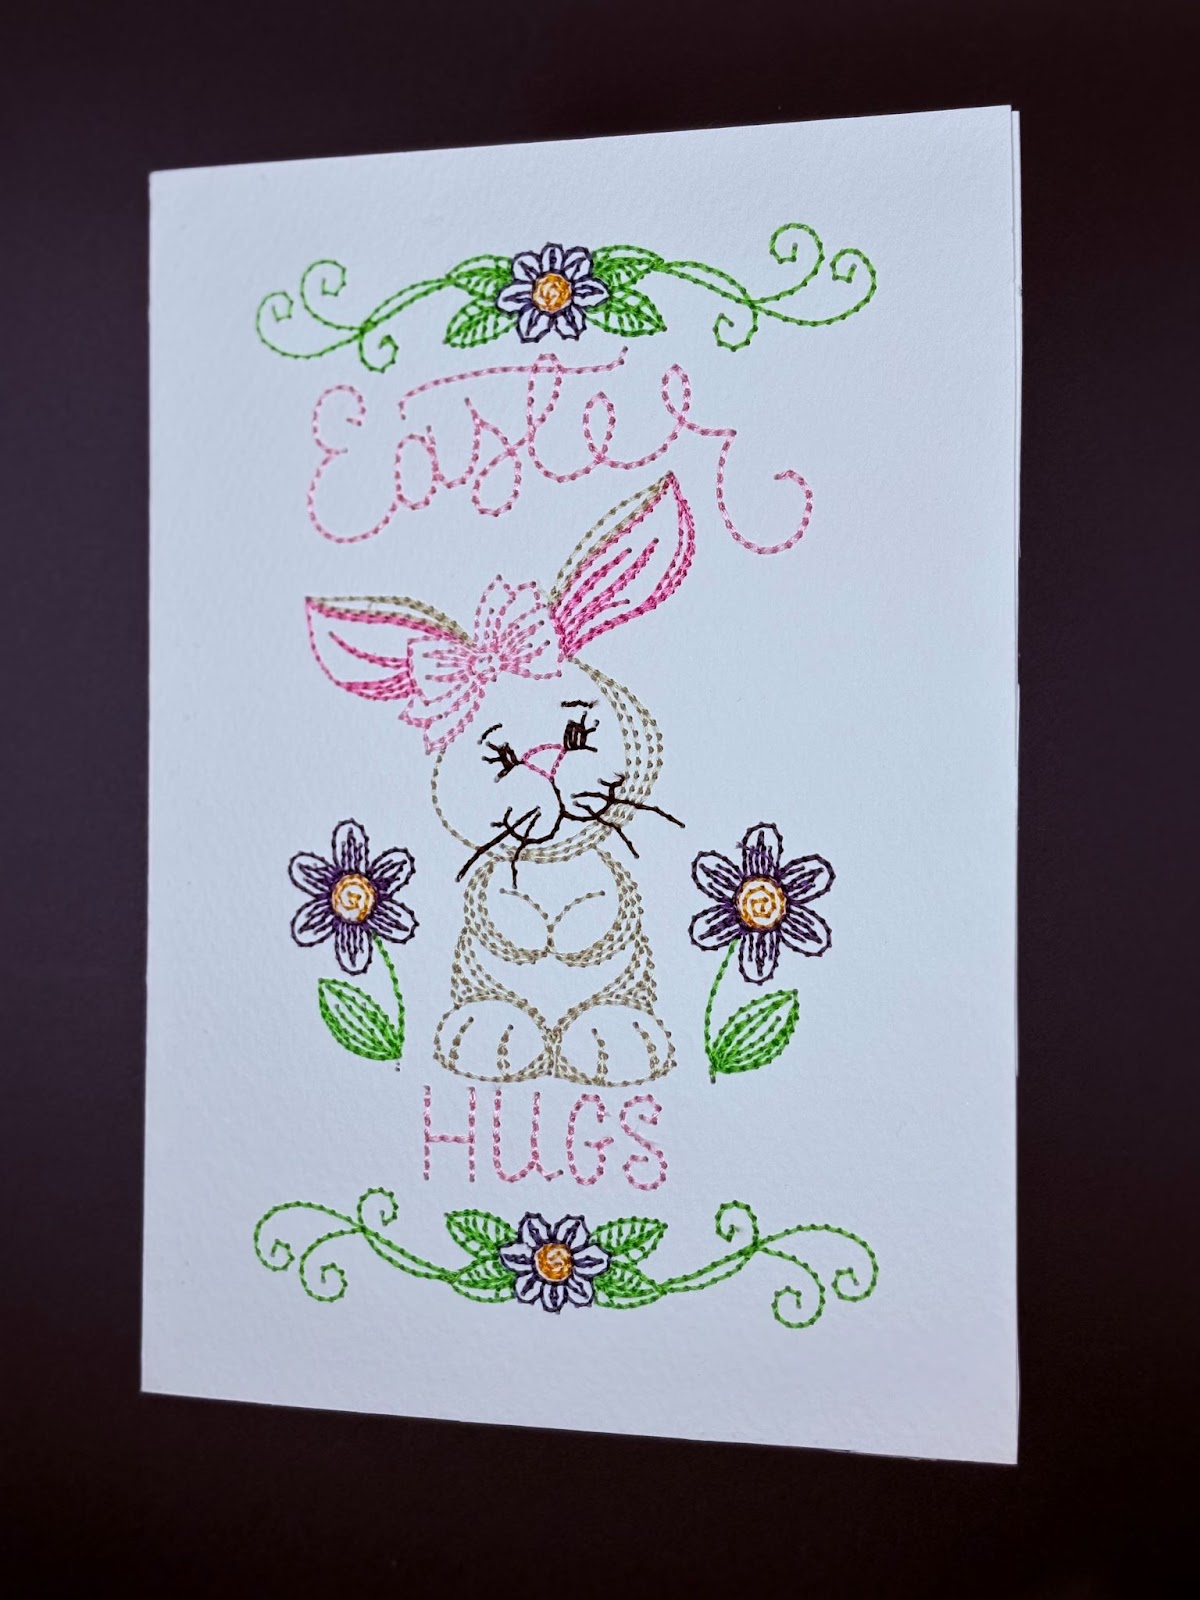
Start by uploading the card design to your machine. The card is available in two sizes: 6x4 and 7x5. I will be using the 7x5 size.
For a 6x4 card, cut a piece of cardstock to 6” x 8”. For a 7x5 card, cut the cardstock to 7” x 10”. Fold the cardstock in half to create either a 6” x 4” or a 7” x 5” card.
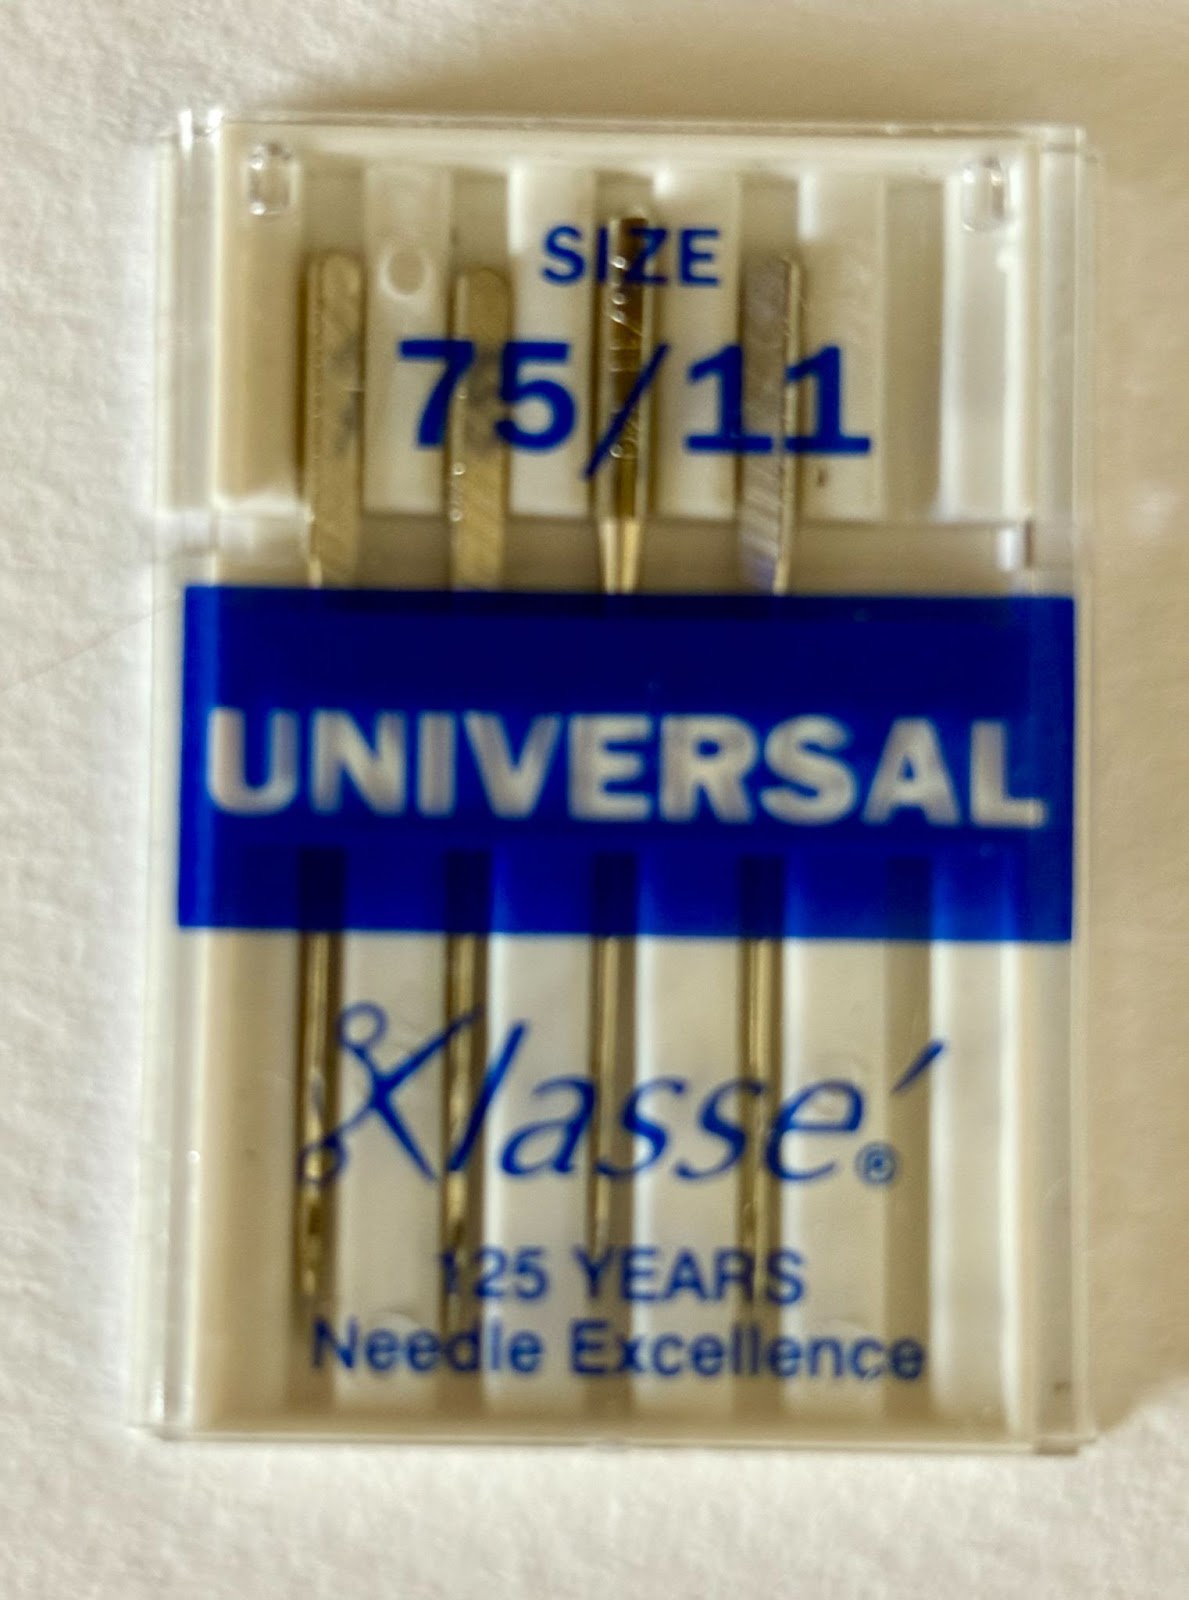
Before you begin, change the needle on your machine to a 75/11 size. This will make smaller holes in the cardstock.
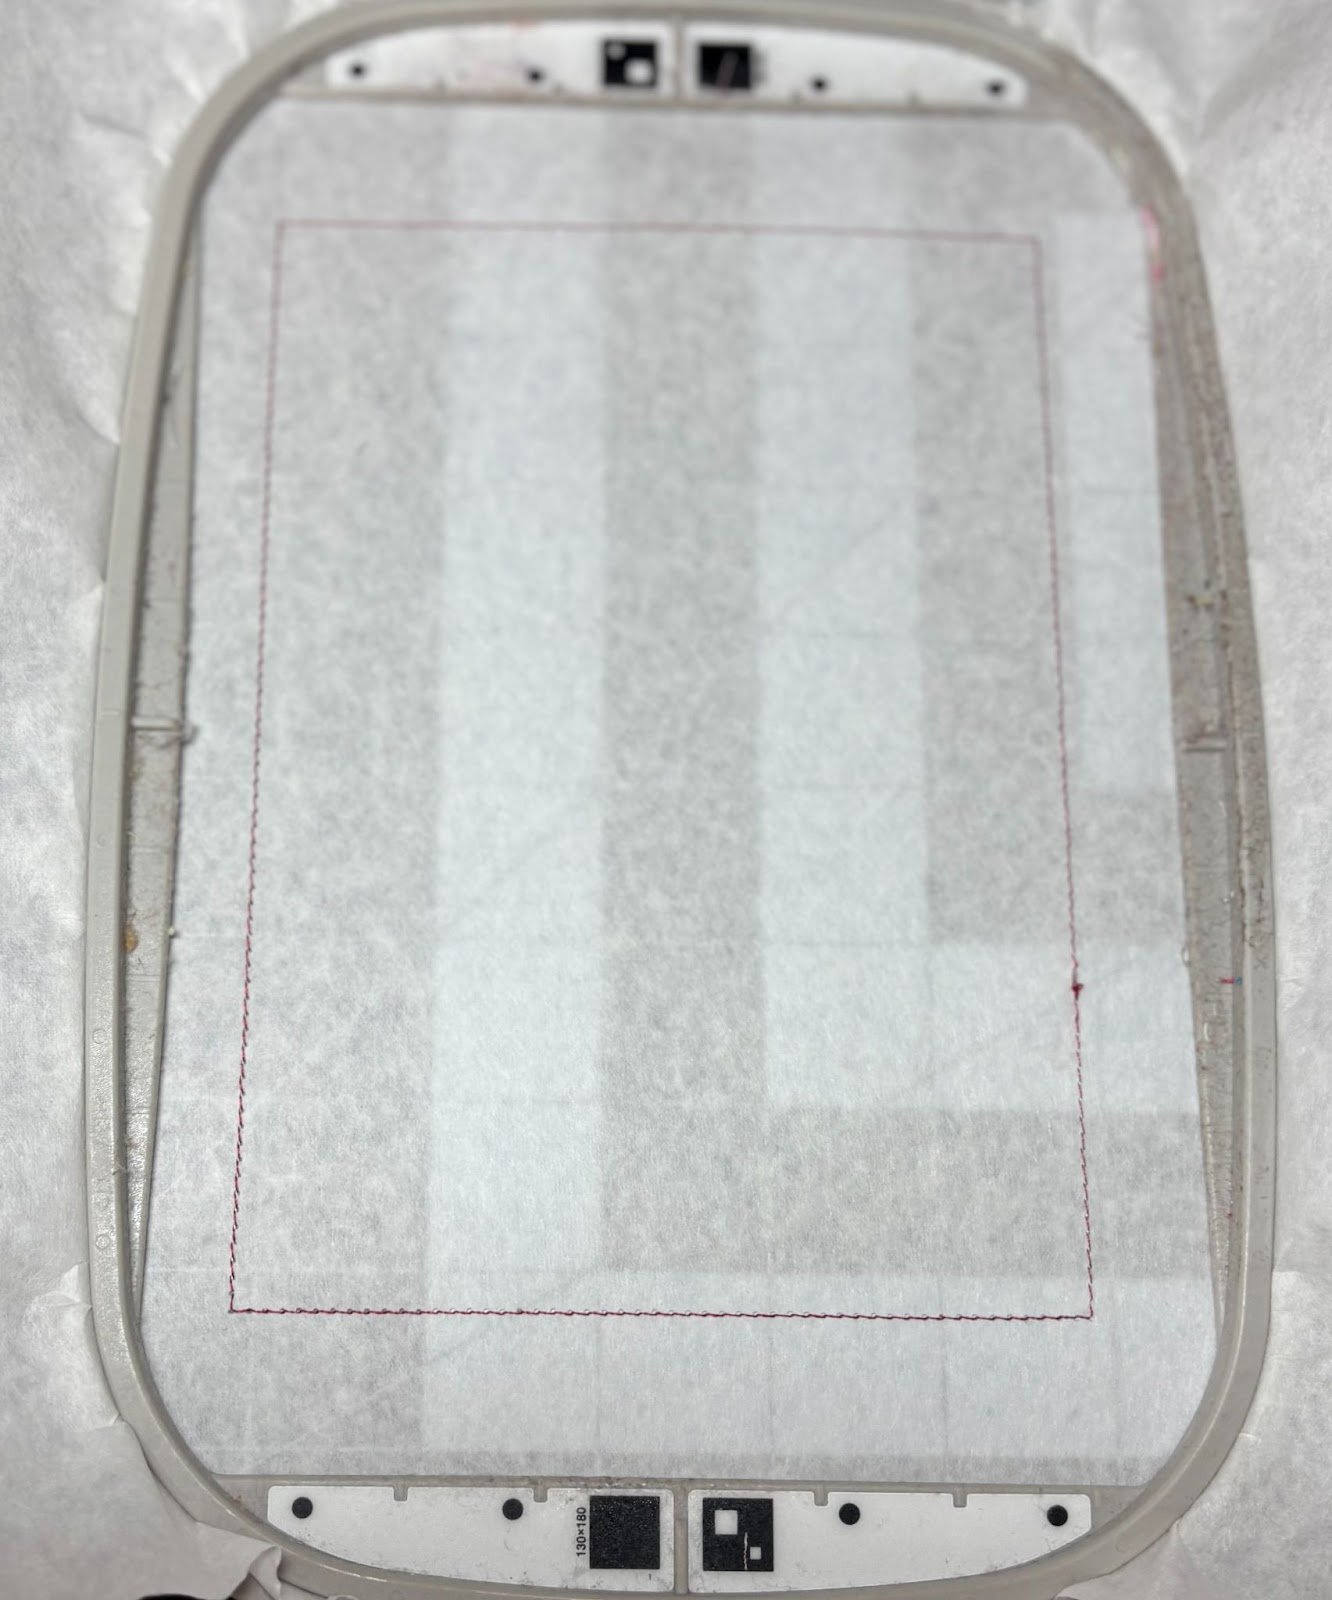
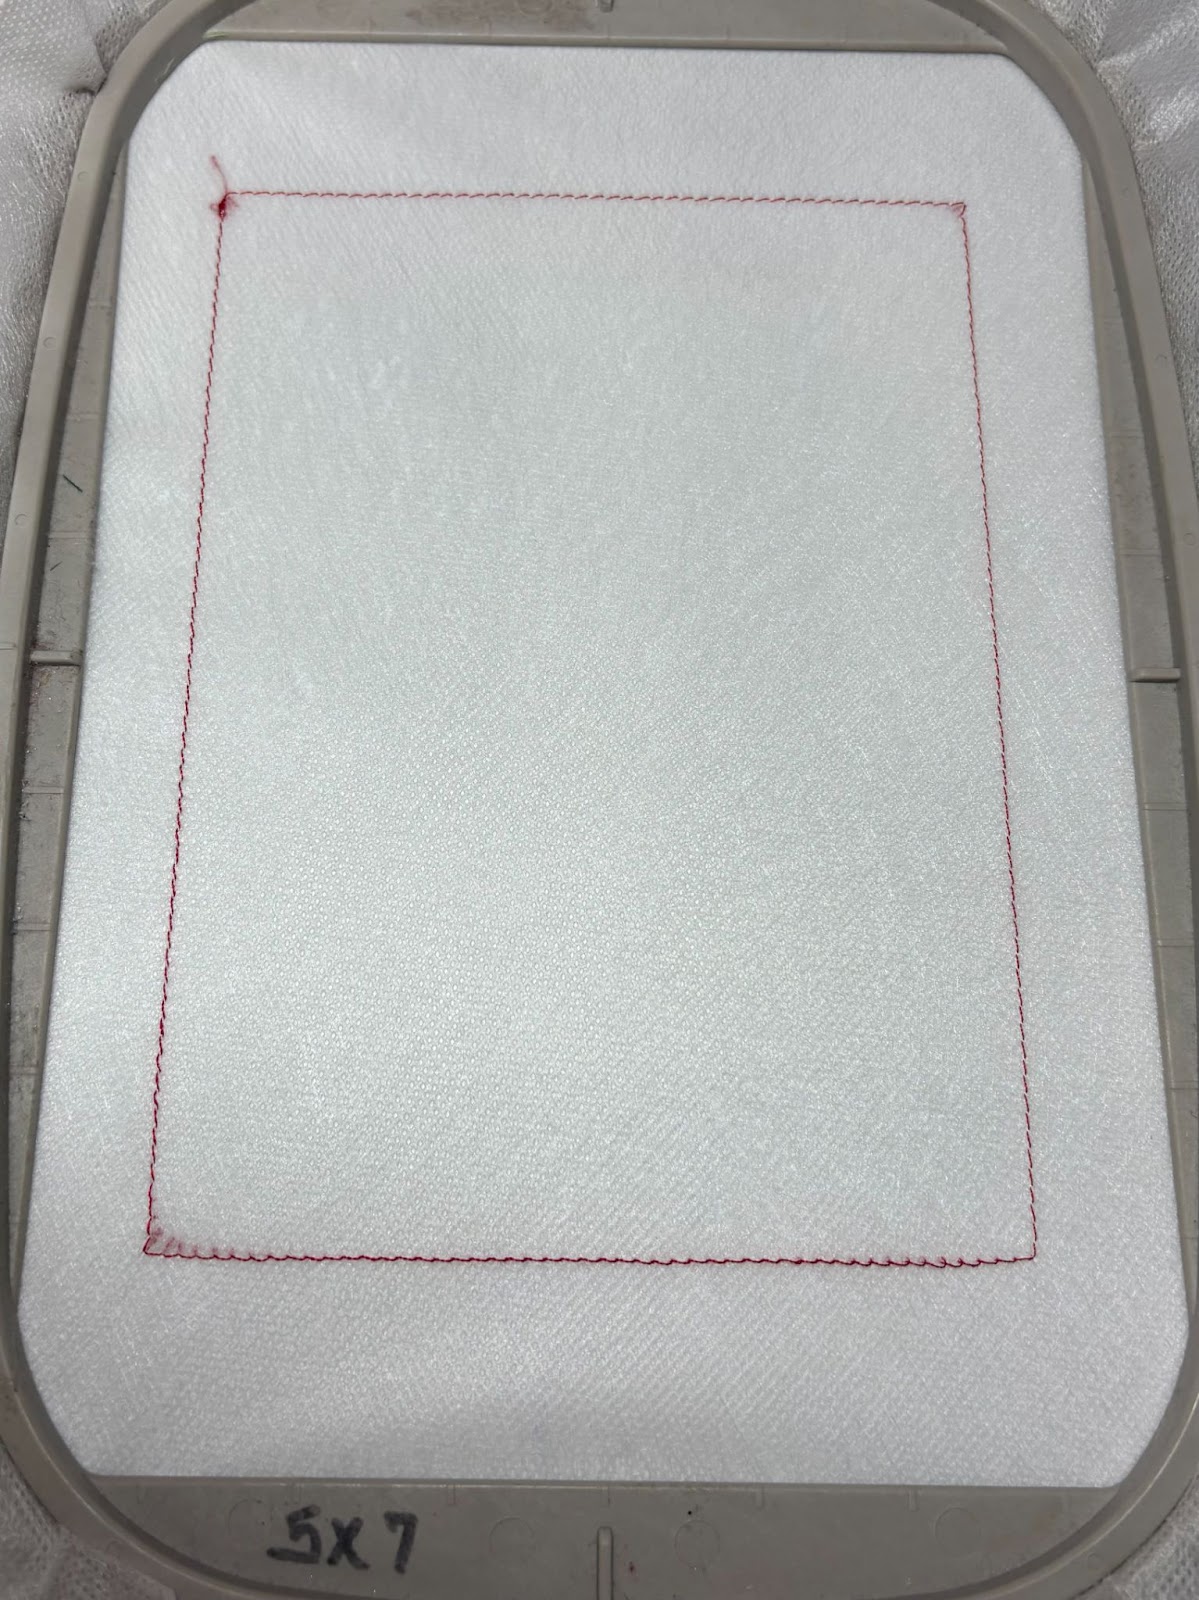
Hoop a piece of tear-away stabilizer and take it to your machine. Run the first step of the design onto the stabilizer; this will serve as the placement outline for the card. Remove the hoop and place it on a flat surface.
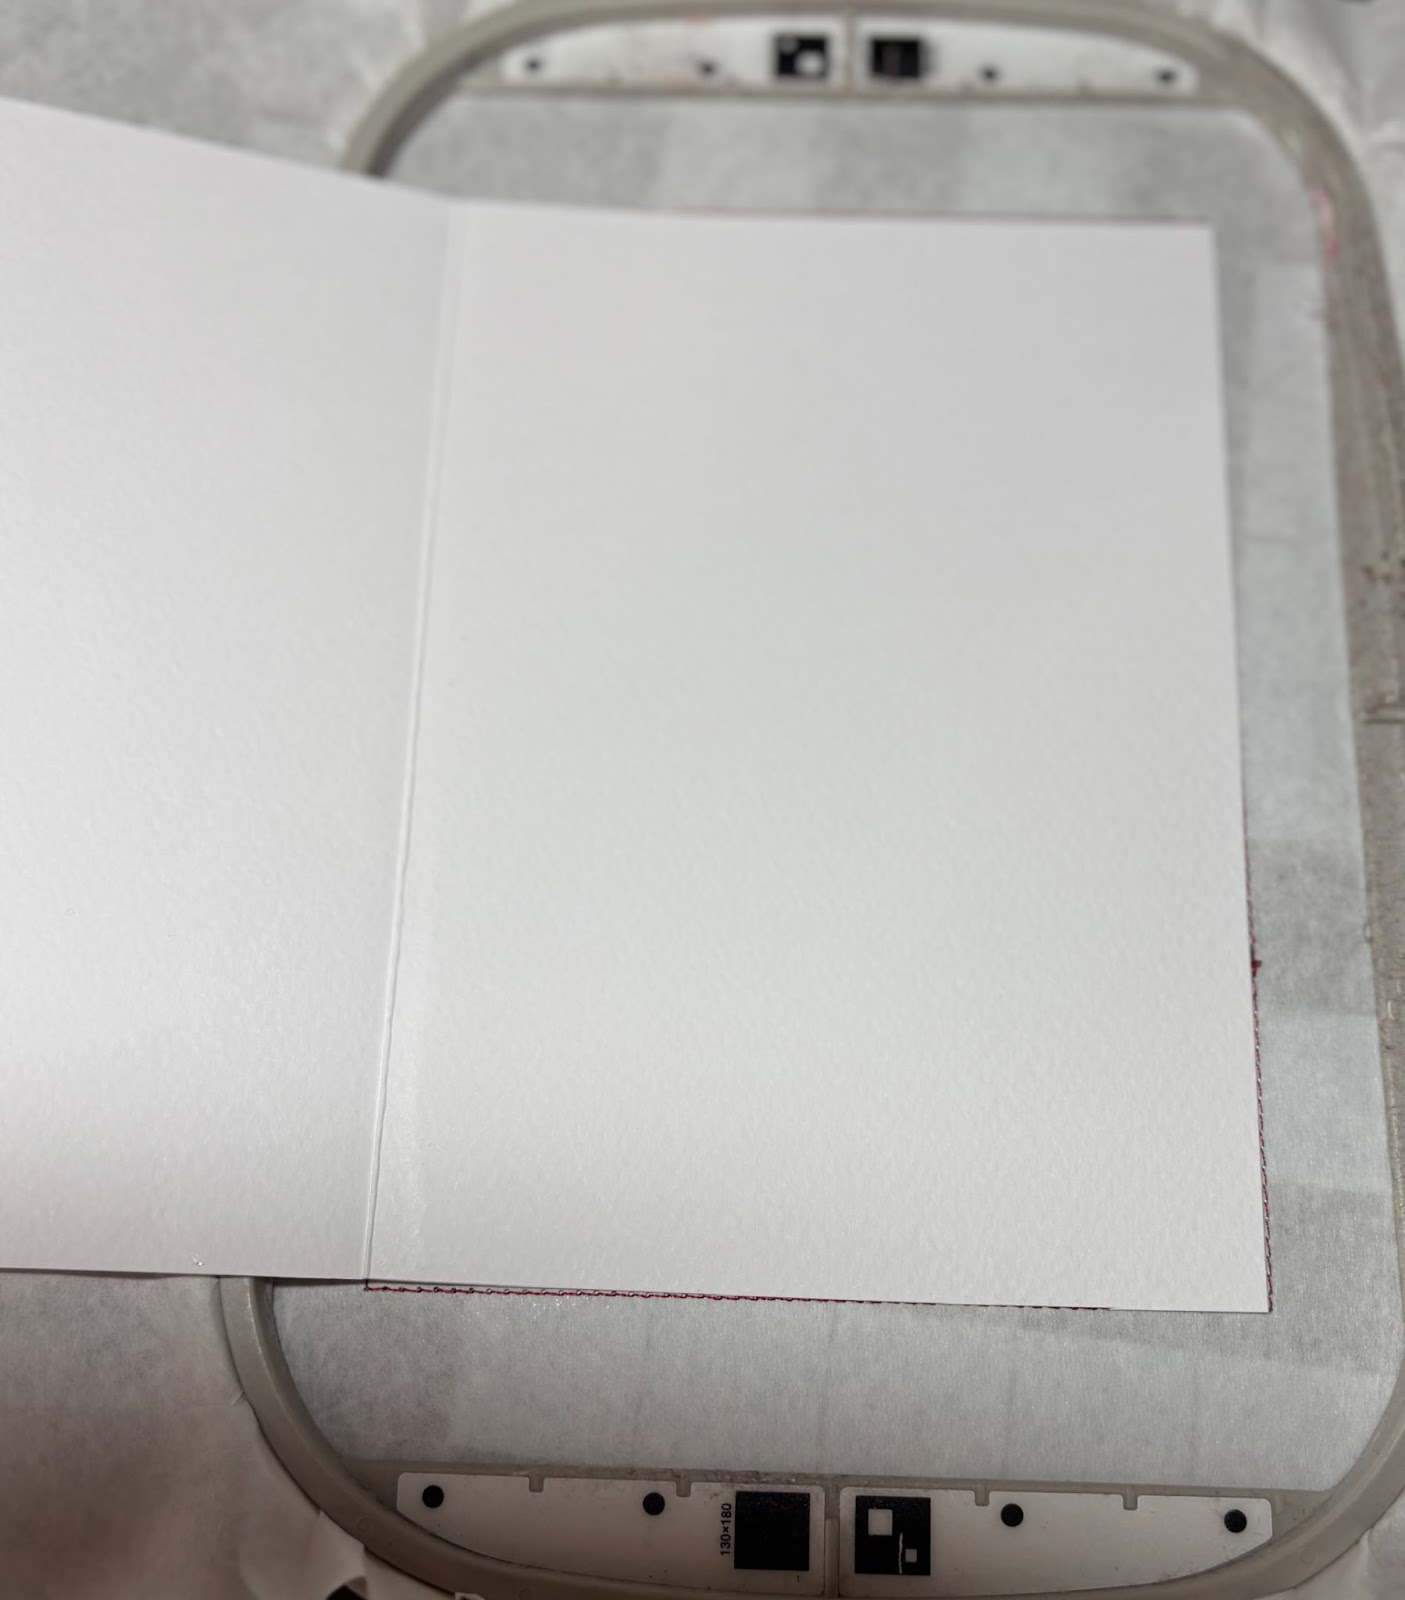
If you’re using spray adhesive, spray it onto the stabilizer. Positions the right half of the cardstock onto the stabilizer, aligning it with the outline stitches. If you’re not using spray adhesive, tape the corners down securely with tape that won’t tear the cardstock. I recommend embroidery, surgical, or painter’s tape.
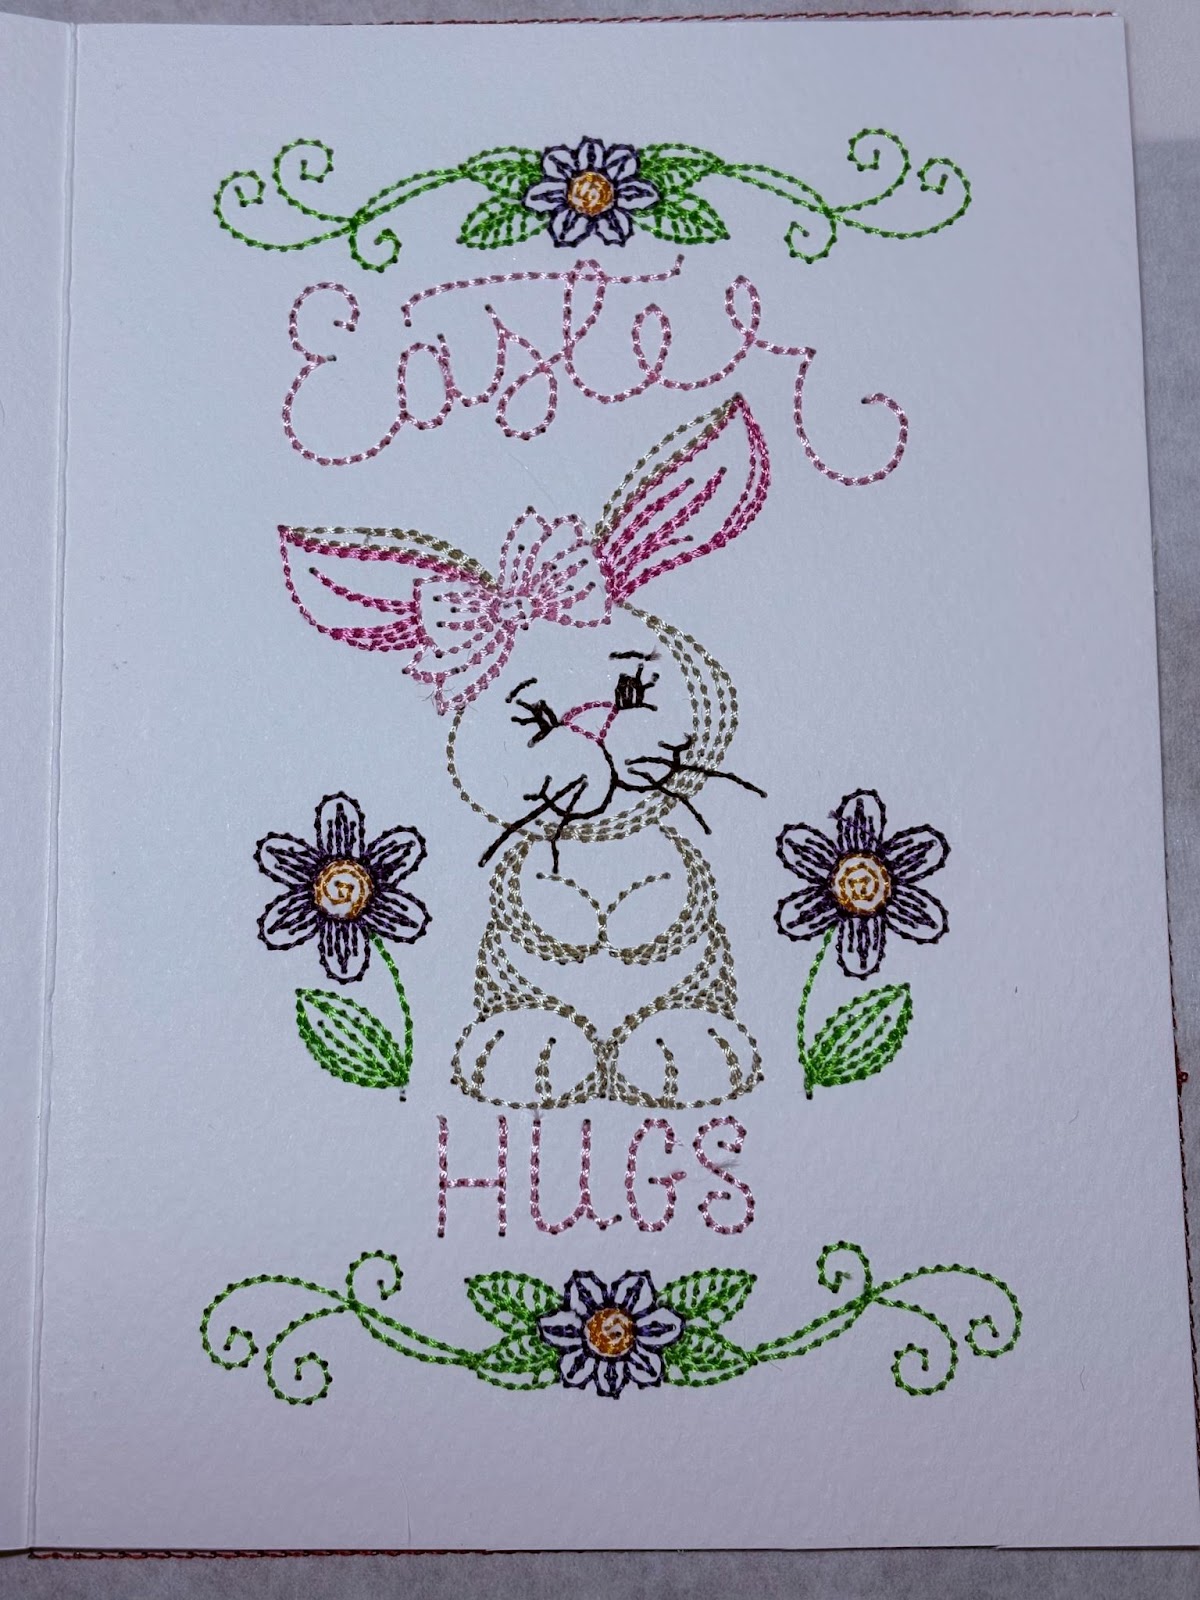
Return the hoop to the machine and stitch out the entire design. Once finished, remove the card from the hoop and gently tear away the stabilizer.
Finally, cut a piece of cardstock either to 6” x 4” or 7” x 5”, depending on your chosen card size. Use double-sided tape to attach this cardstock to the back of the design to cover it.
Upload the design to your machine. This design comes in multiple sizes. I chose the 5x7 size.
Hoop the stabilizer of your choice and place it on the machine.
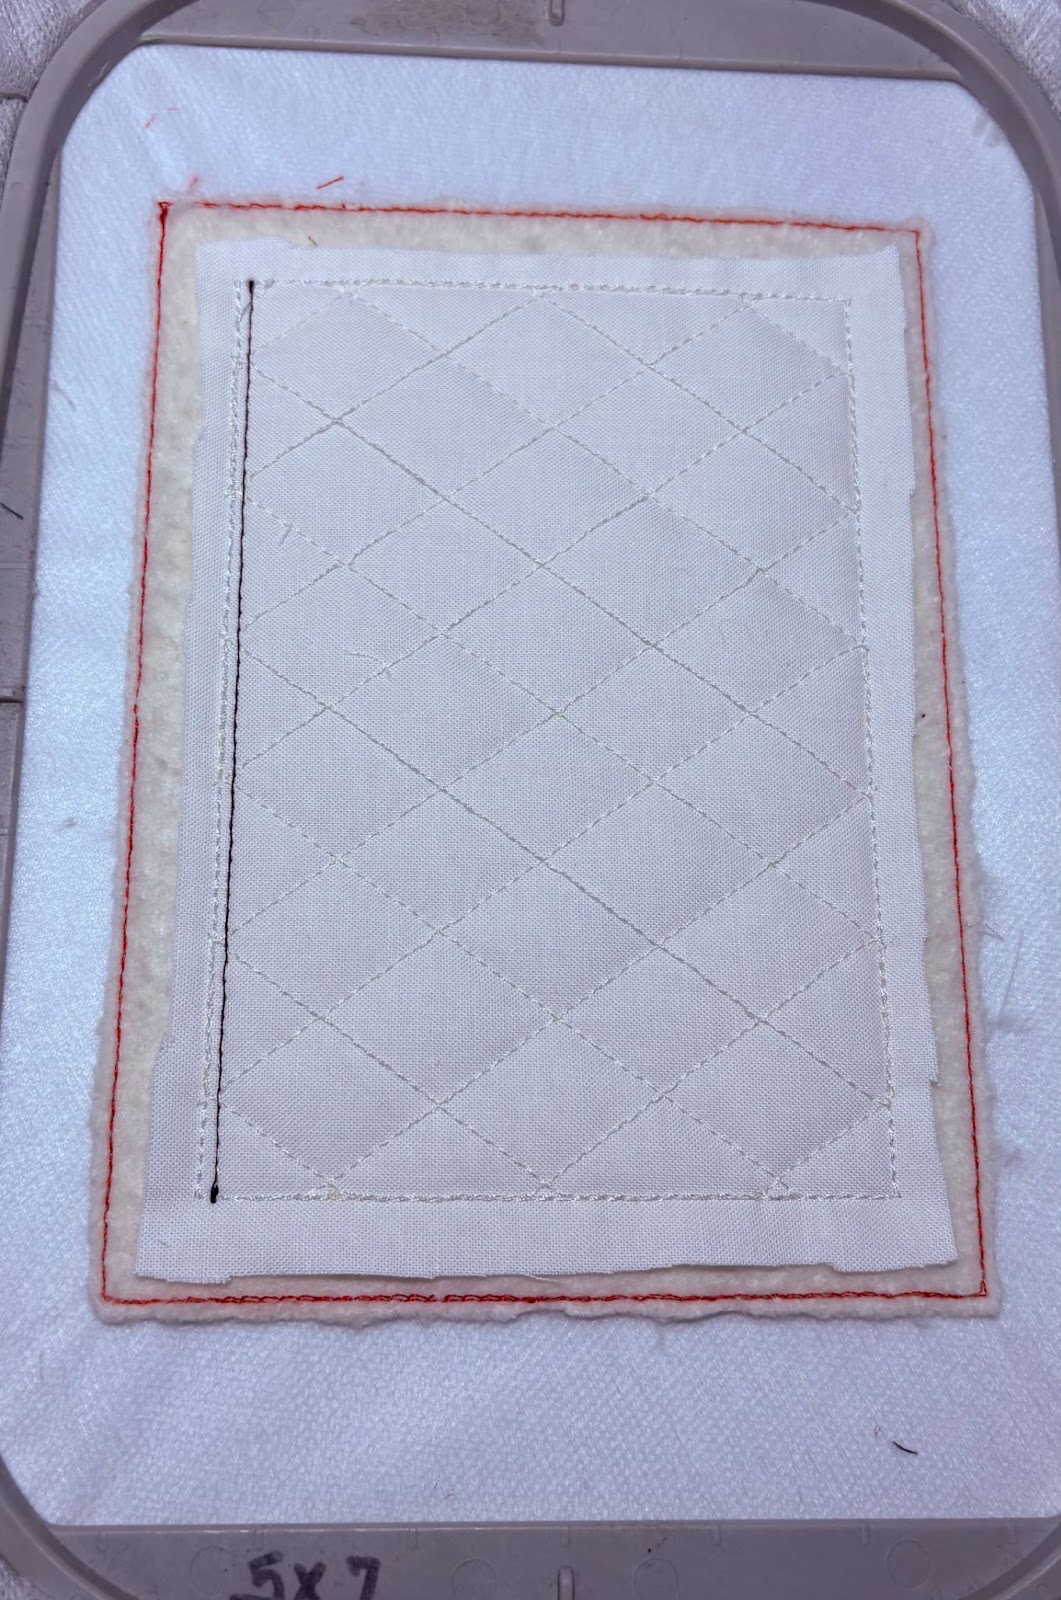
Run the first step. This is the placement stitch for the batting.
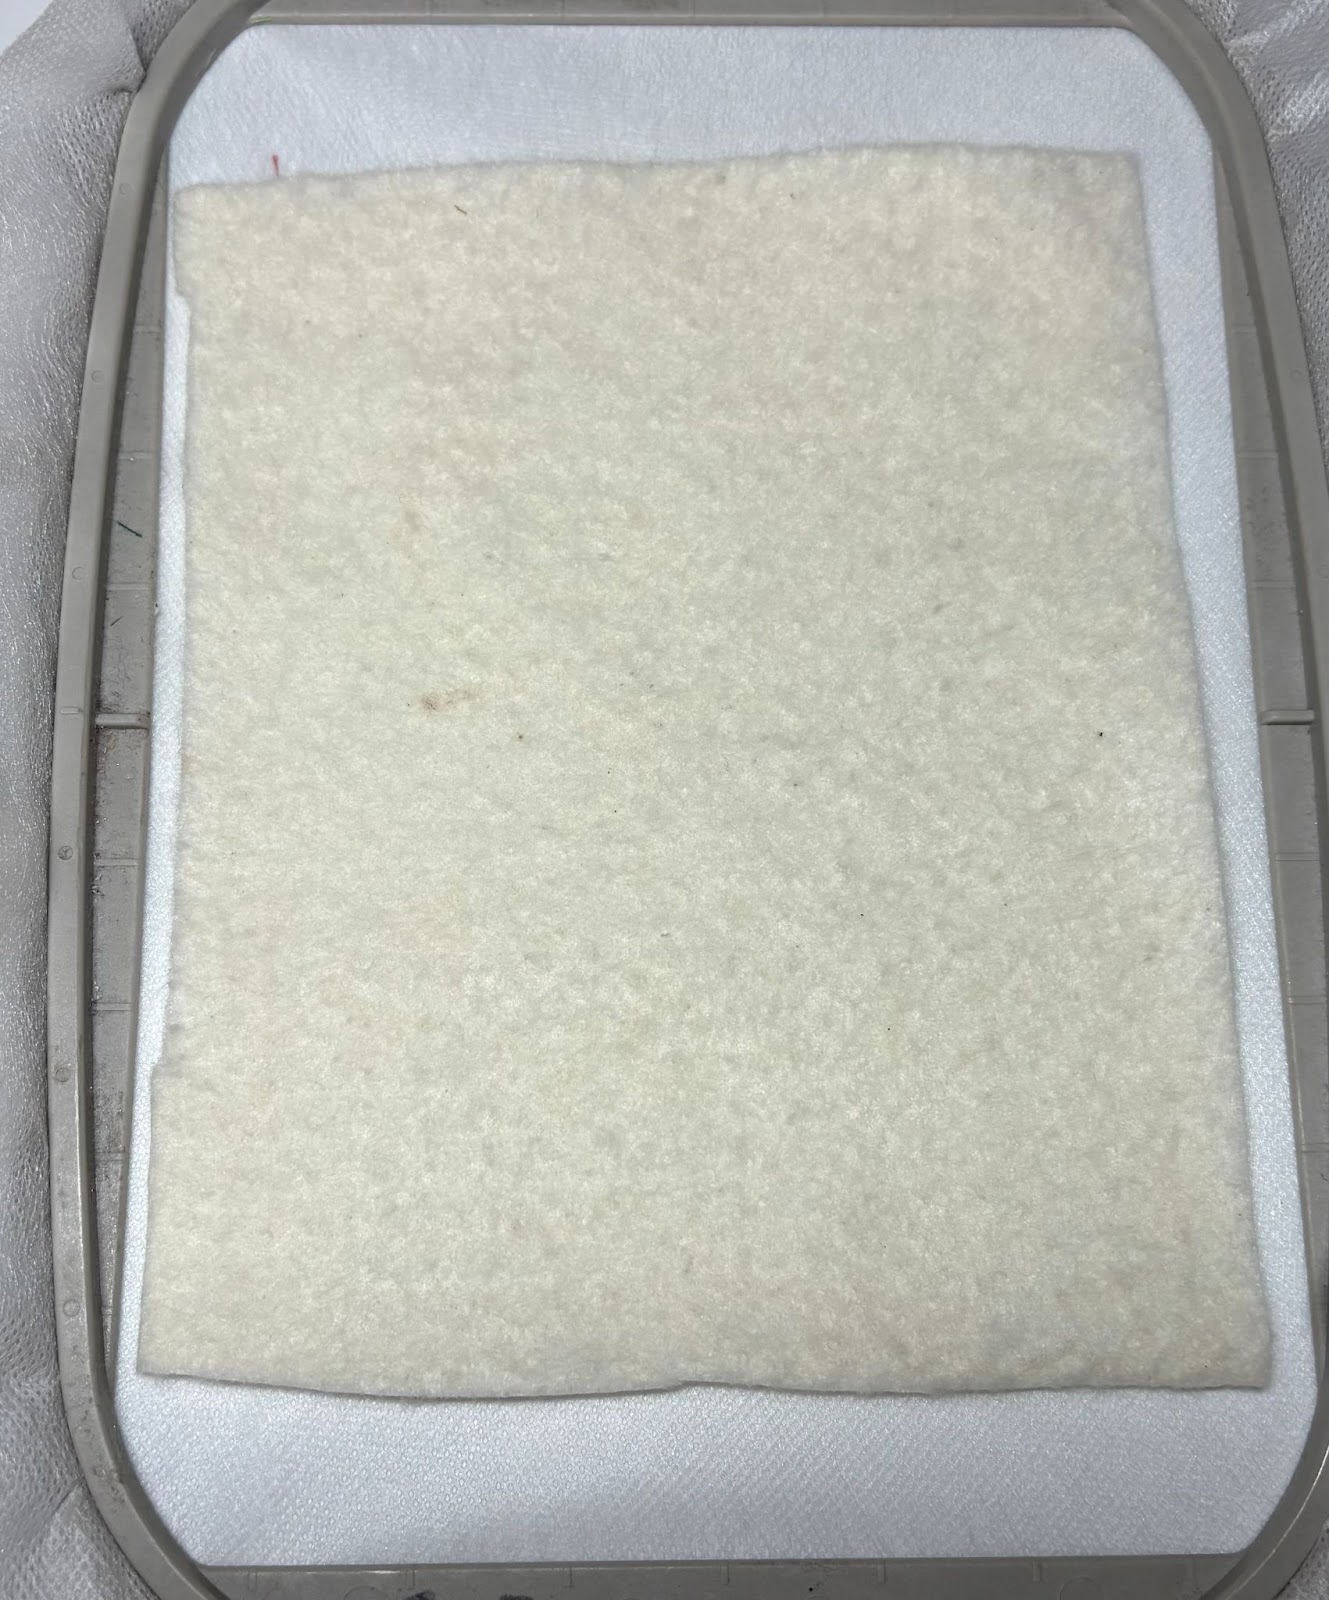
Place the batting down, covering the stitches, and run the tack-down stitch.
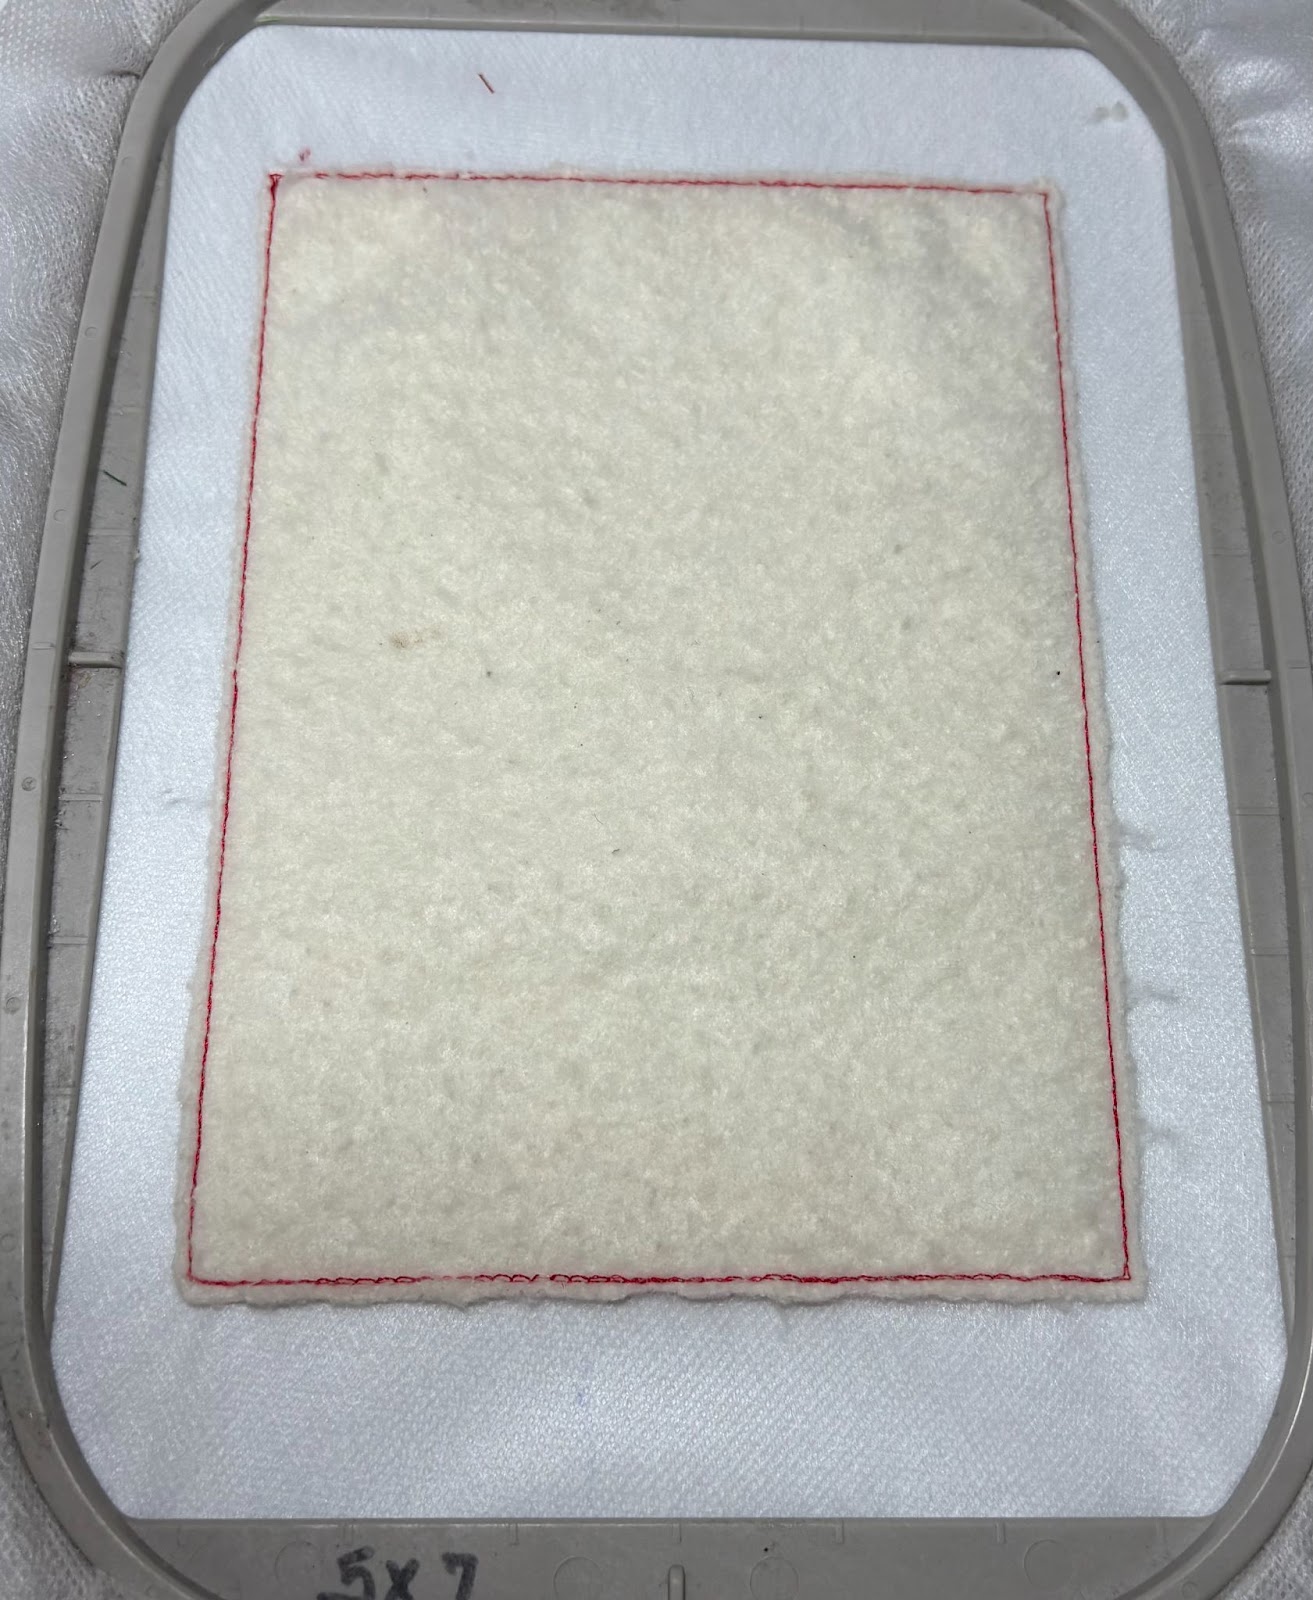
Remove the hoop and place it on a flat surface. Trim the batting close to the stitches. Return the hoop to the machine.
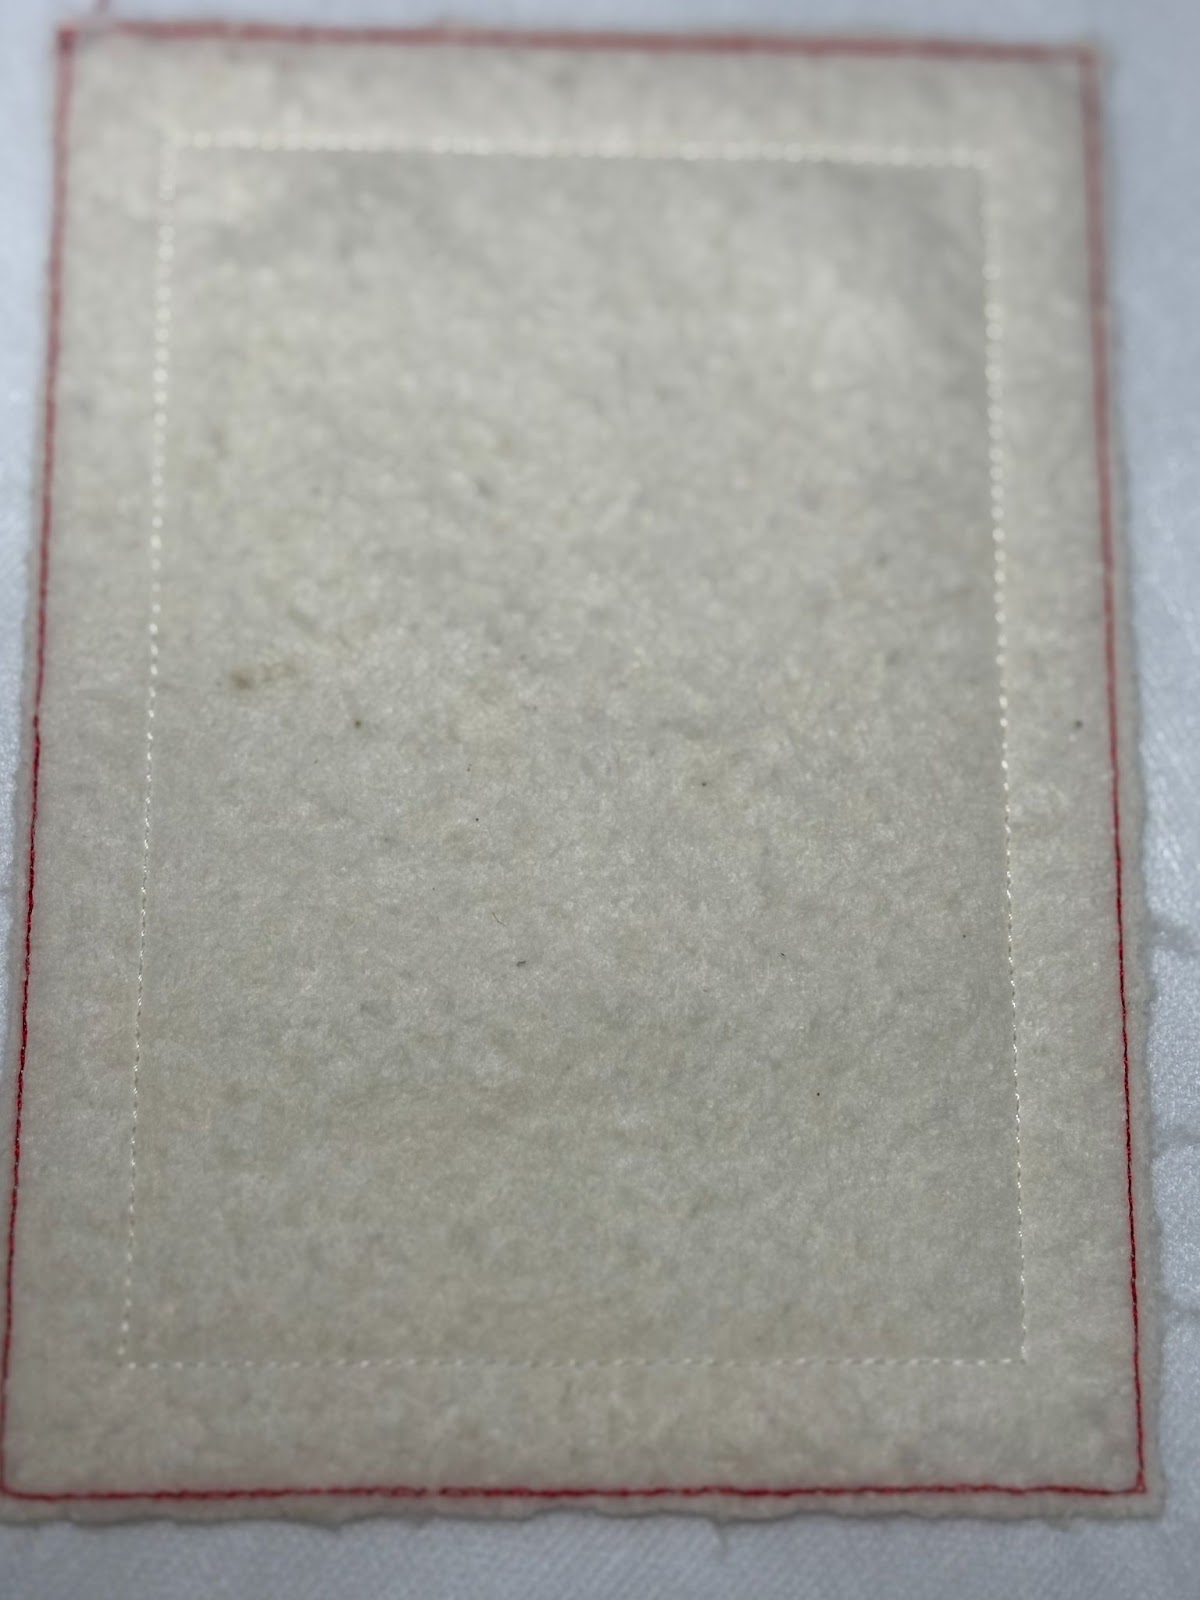
Run the next step, which is the placement stitch for the background fabric.
Position the background fabric over the batting and run the tack-down stitch.

Remove the hoop and place it on a flat surface. Trim the background fabric to approximately ¼” from the stitches. Return the hoop to the machine.
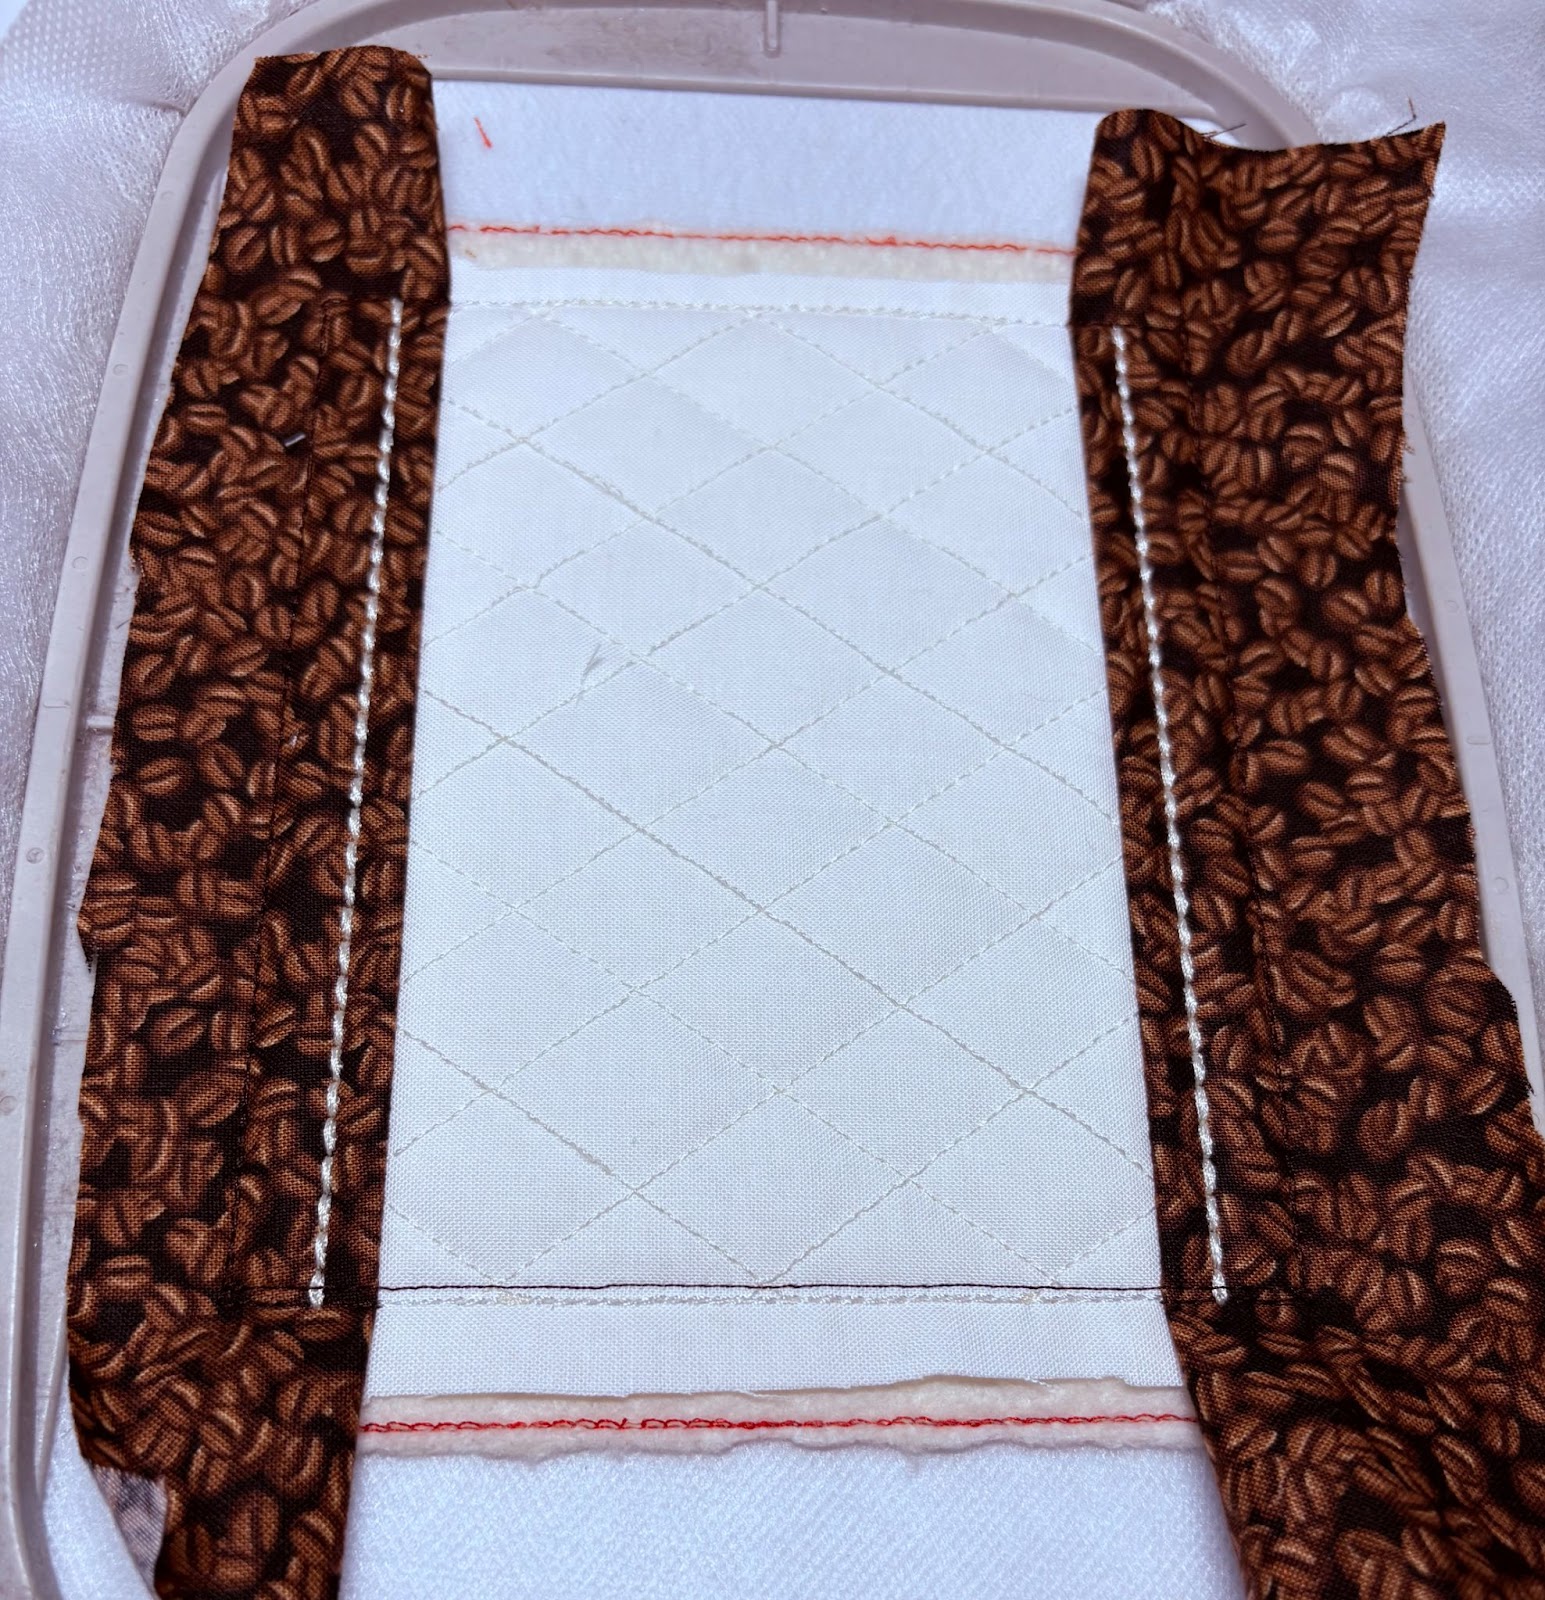
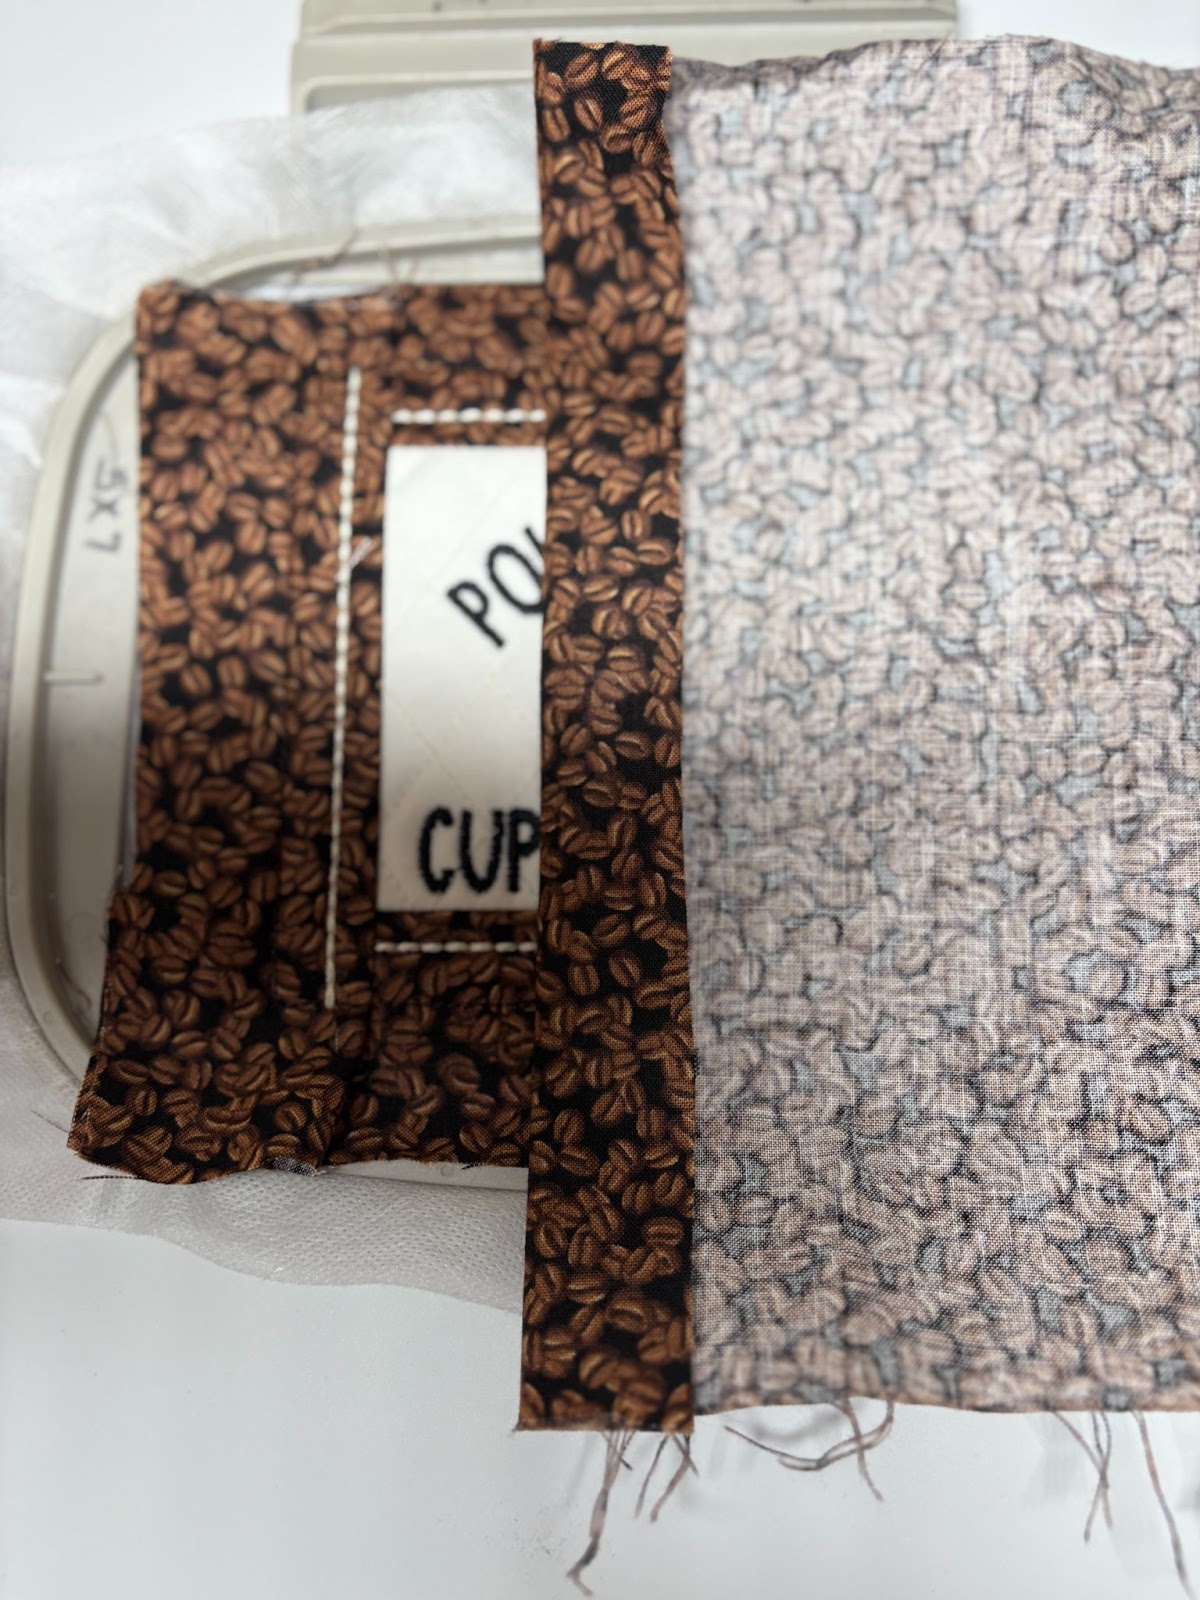
We will now create the frame around the background. Run the next step to sew the placement line for the left side of the frame.
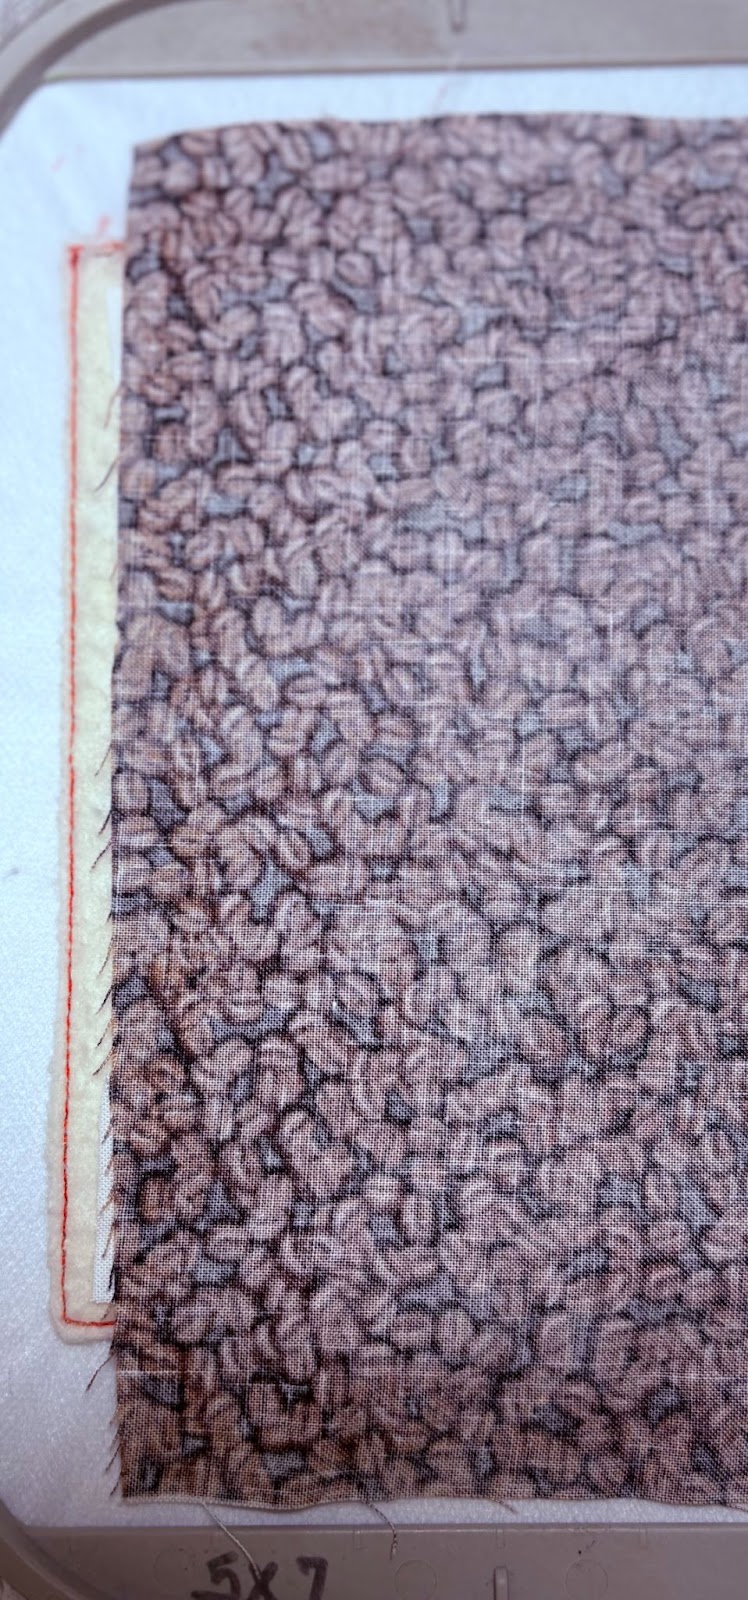
Position a strip of fabric right side down, overlapping the line by ¼”.
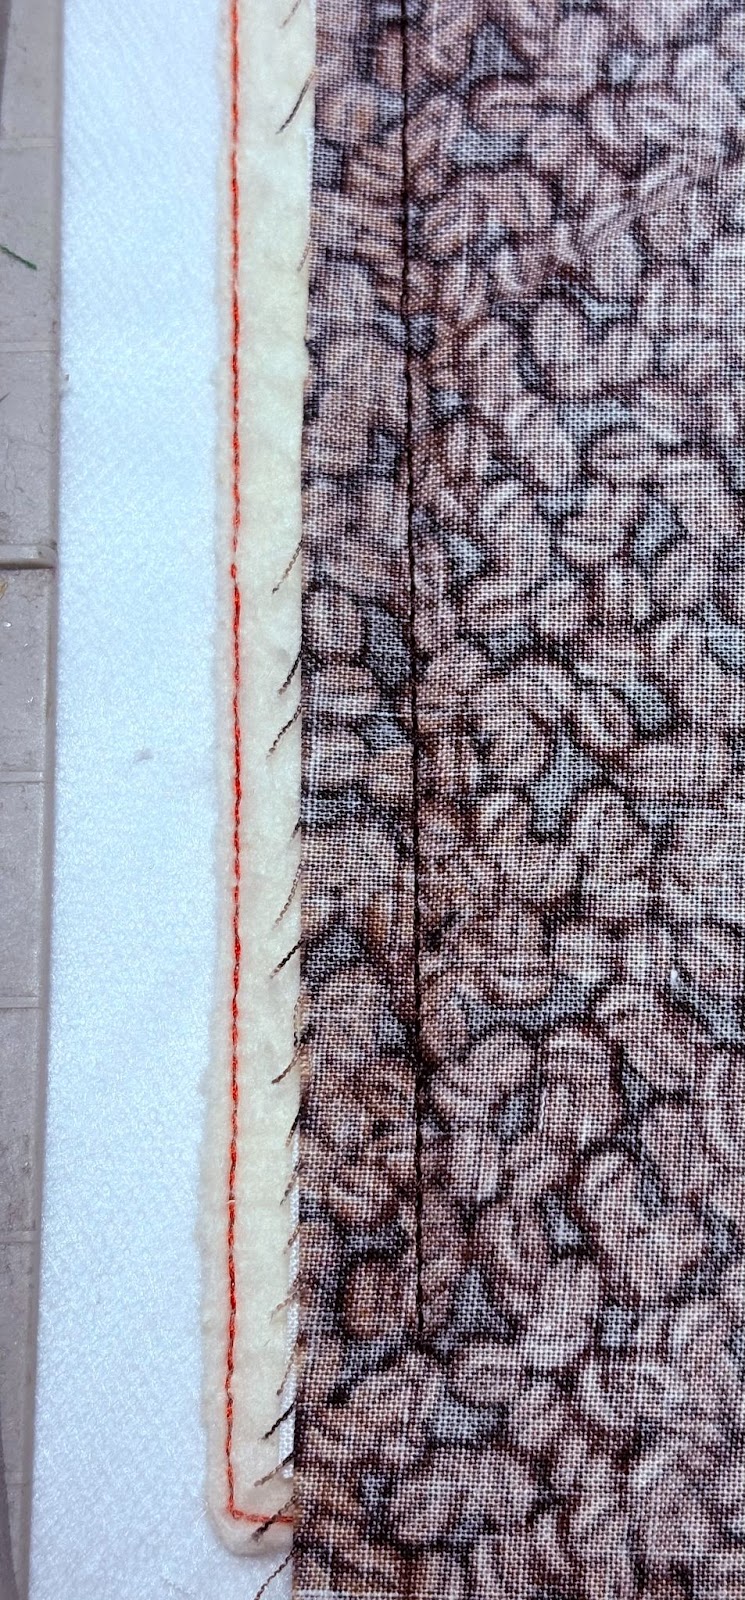
Return the hoop to the machine and run the tack-down stitch.
Fold the fabric right side up over seam and smooth it flat.
Run the next step to tack-down the fabric.
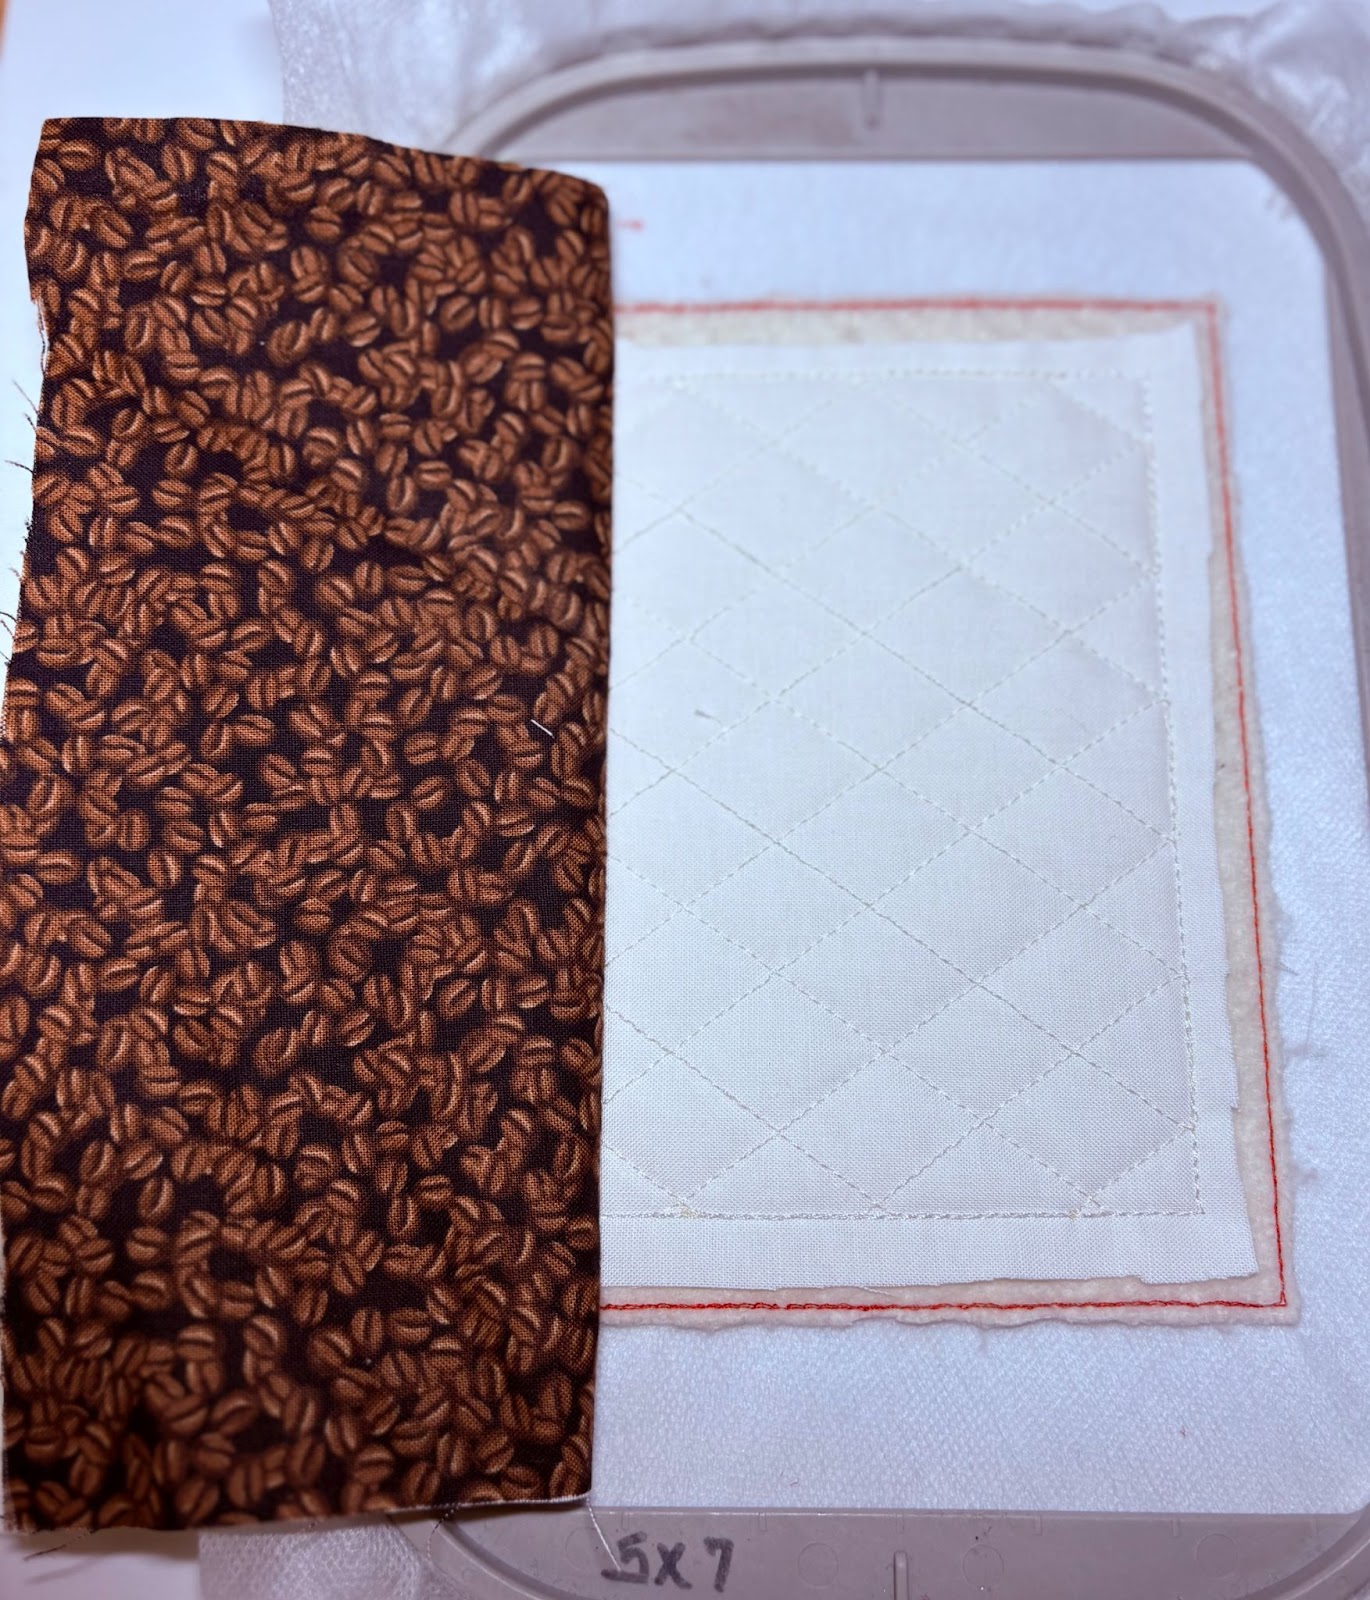
Repeat these steps for the right side of the frame.
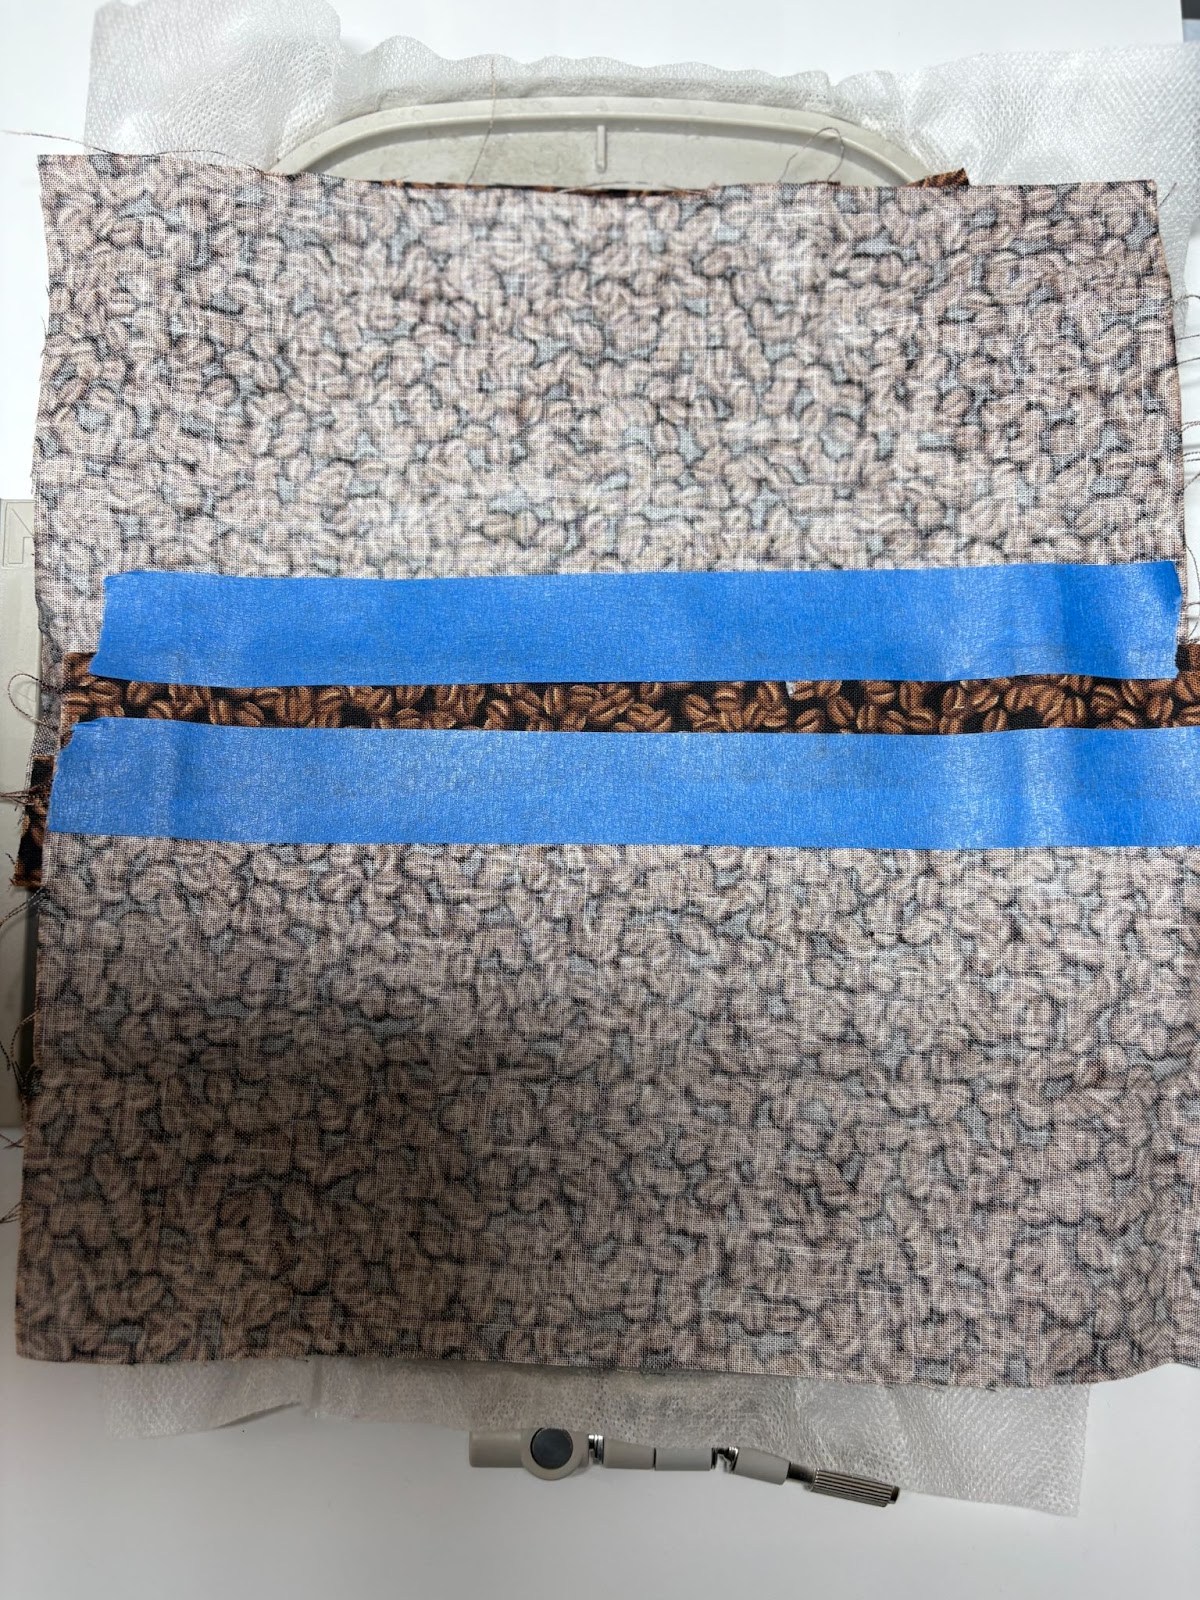
The next step involves adding a decorative stitch along the left and right sides.
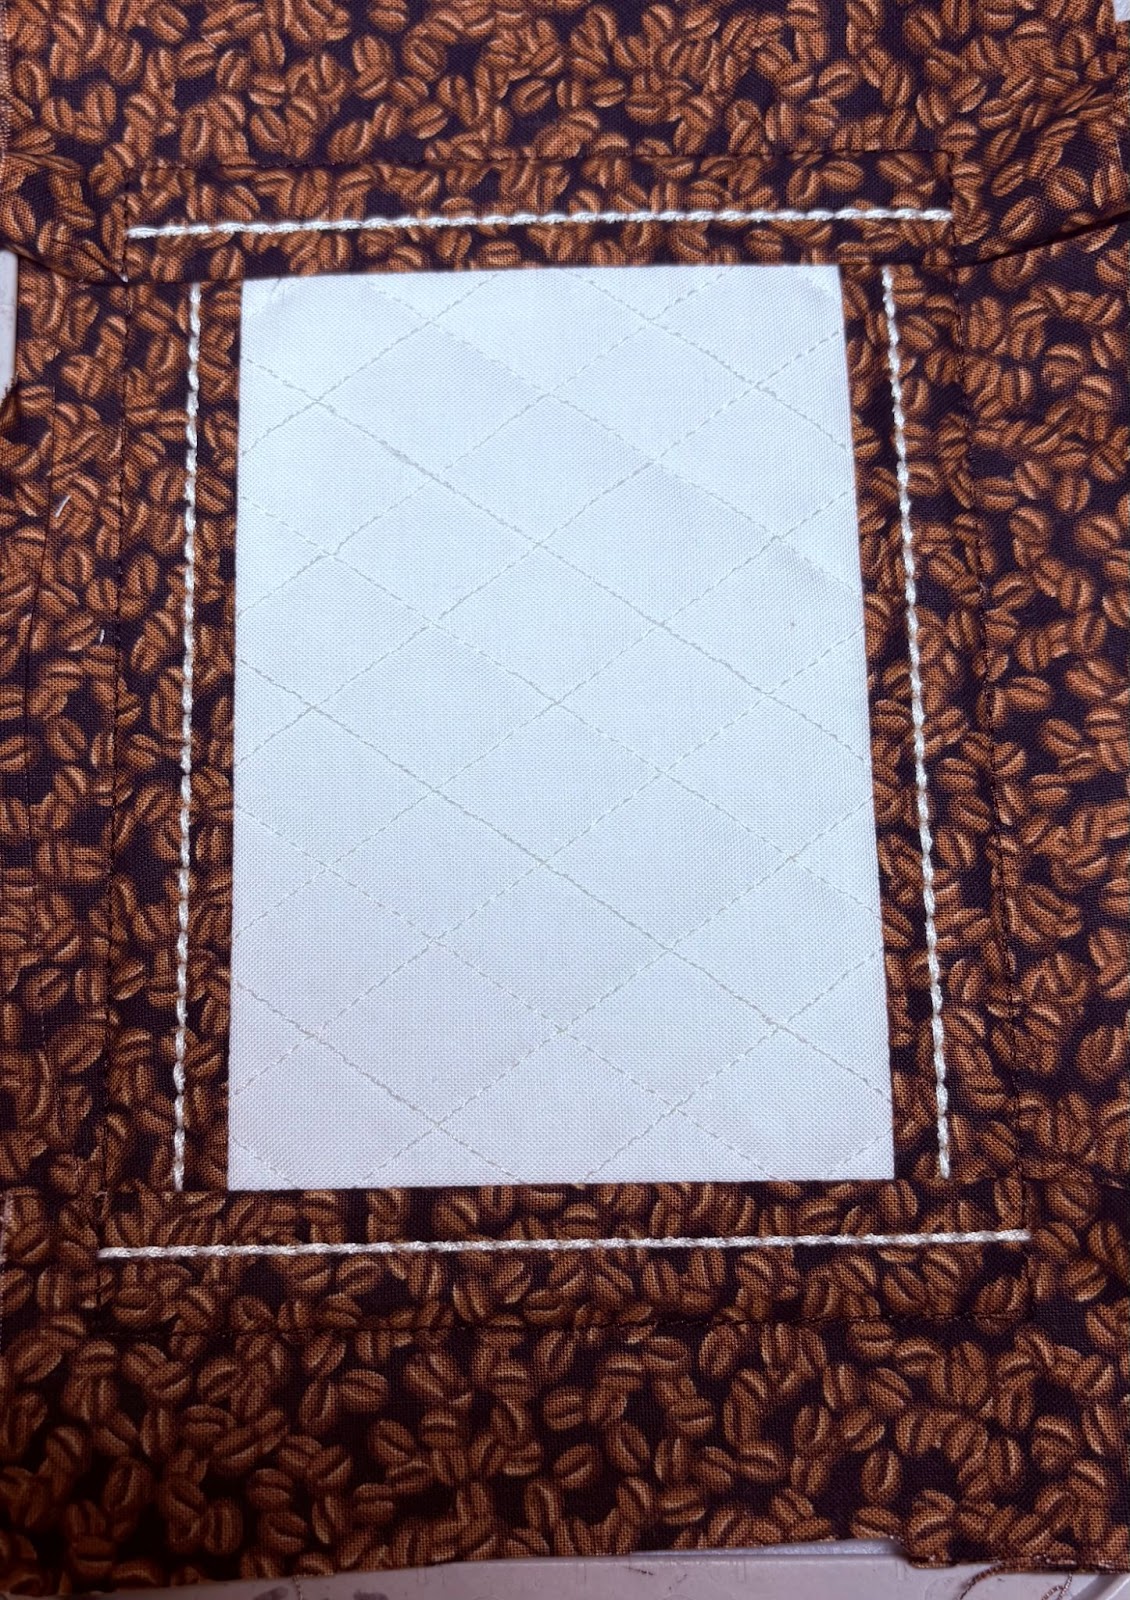
Repeat the previous steps for the top and bottom of the framing fabric.
Proceed with the embroidery design steps. Once finished, remove the hoop from the machine and place it on a flat surface. Do not remove the design from the hoop yet.
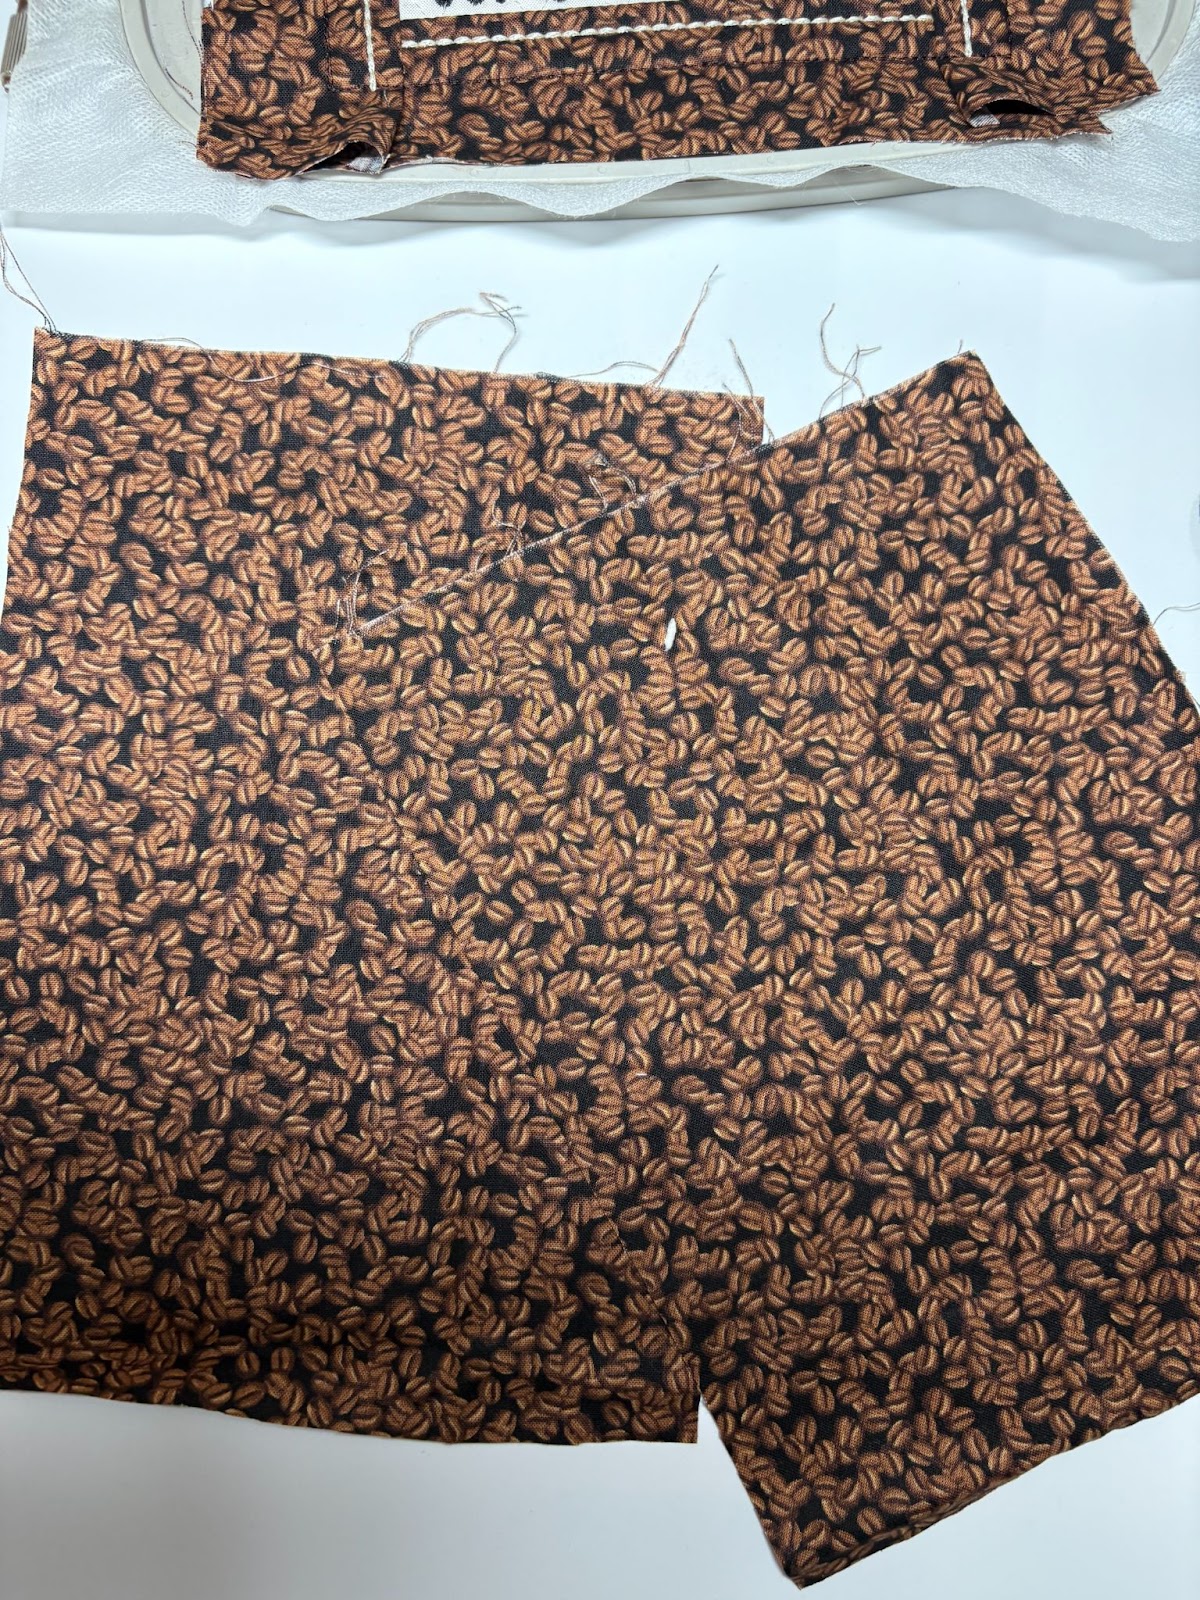
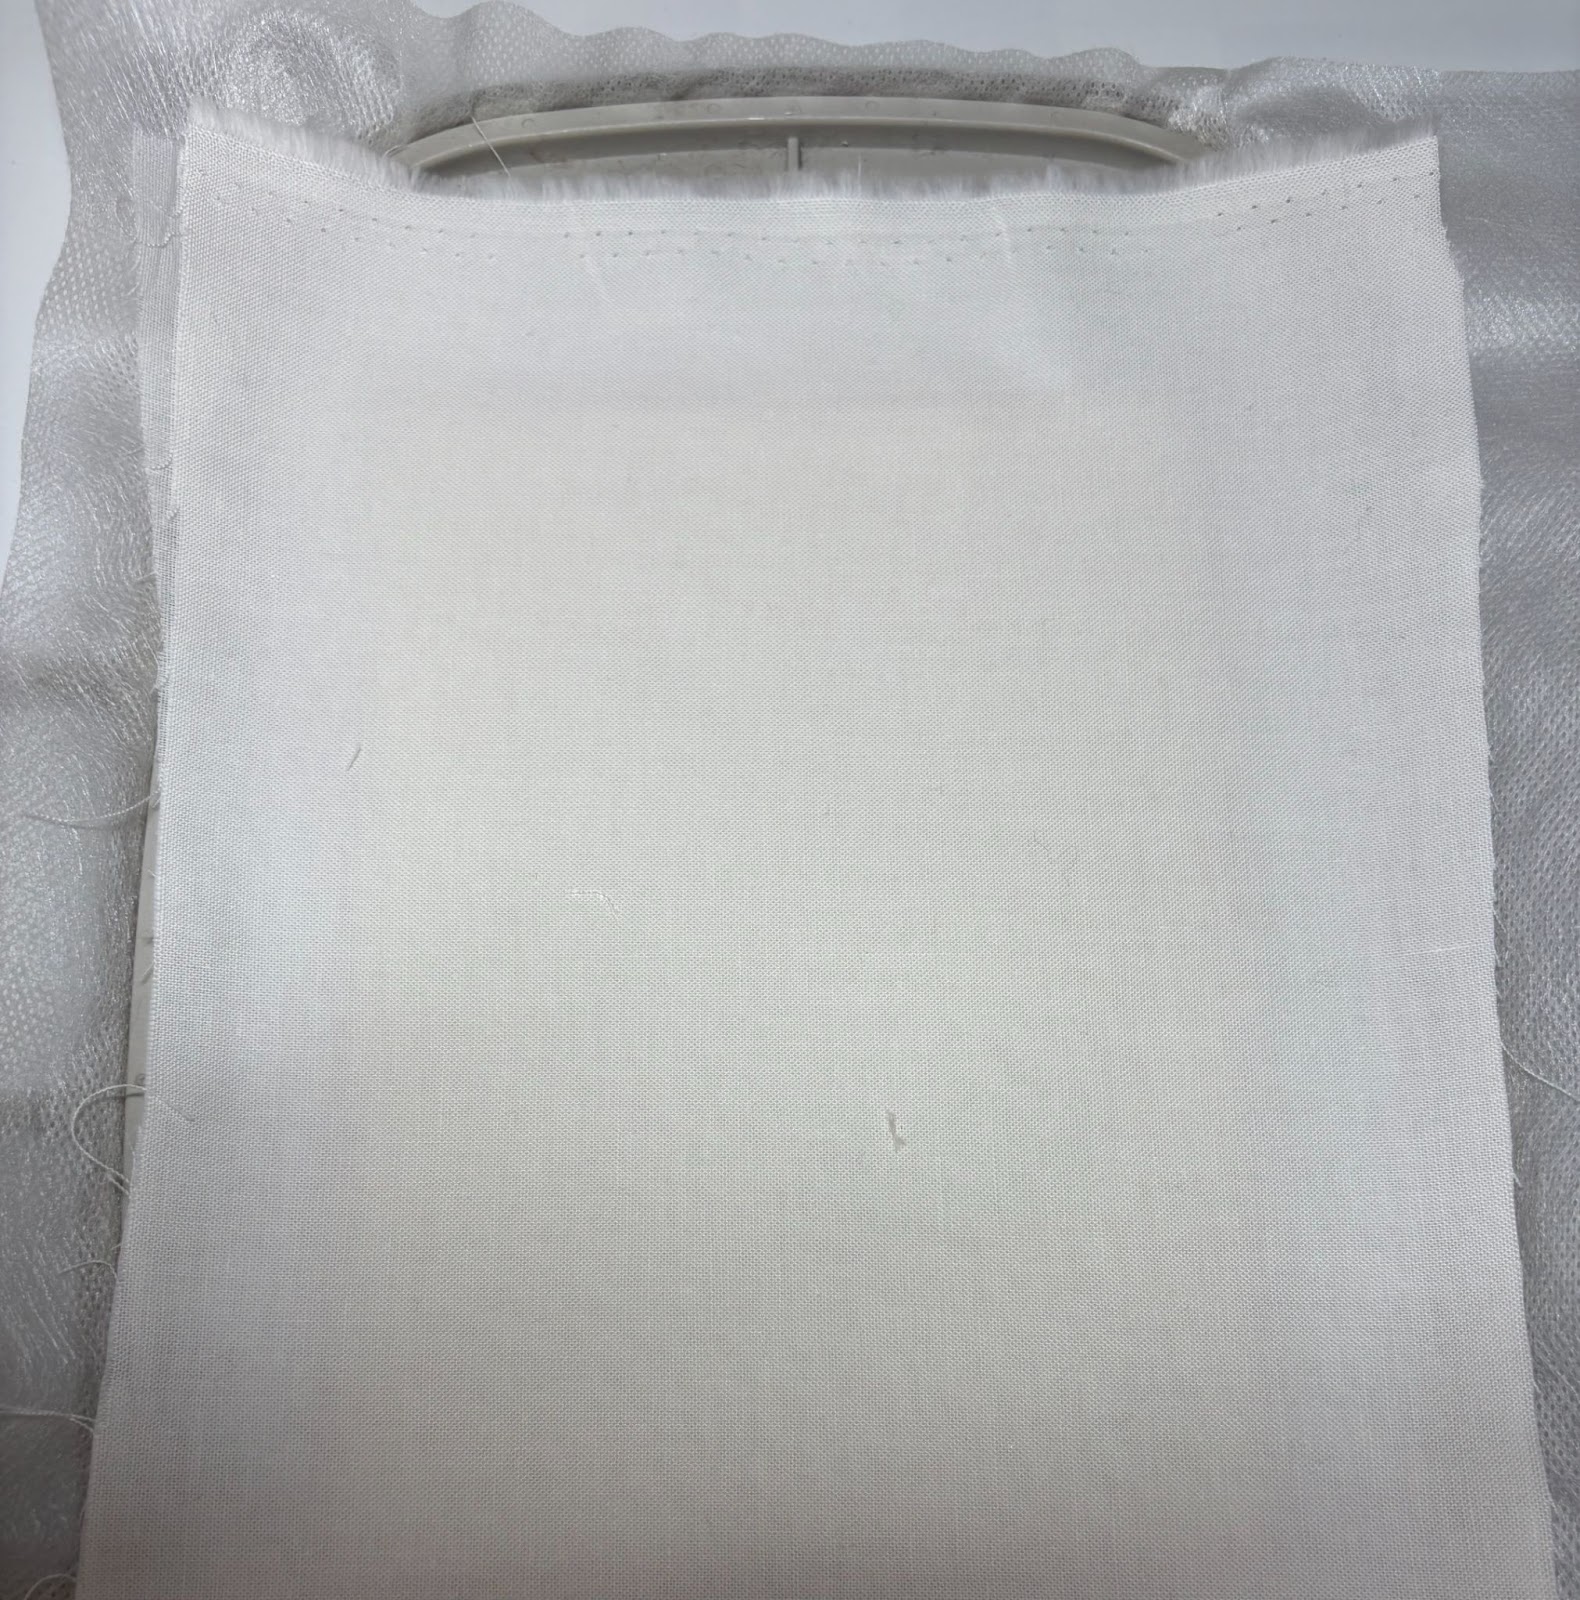
Cut two pieces of fabric for the back of the mug rug. We will make an envelope-style closure. If you are using a 5x7 hoop, cut your fabric to 7” x 9”. Ensure you have at least an extra two inches beyond the design size.
Fold over 1” on the long side of both pieces of fabric and press.
Place the first piece right side down on top of the design.
Place the second piece right side down, overlapping the pressed ends.
Tape the edges to prevent the needle from getting caught in the folds.
Run the final step to attach the front and back of the mug rug. Remove the design from the hoop and take off the tape. Trim ¼” around the design.
Clip the corners.

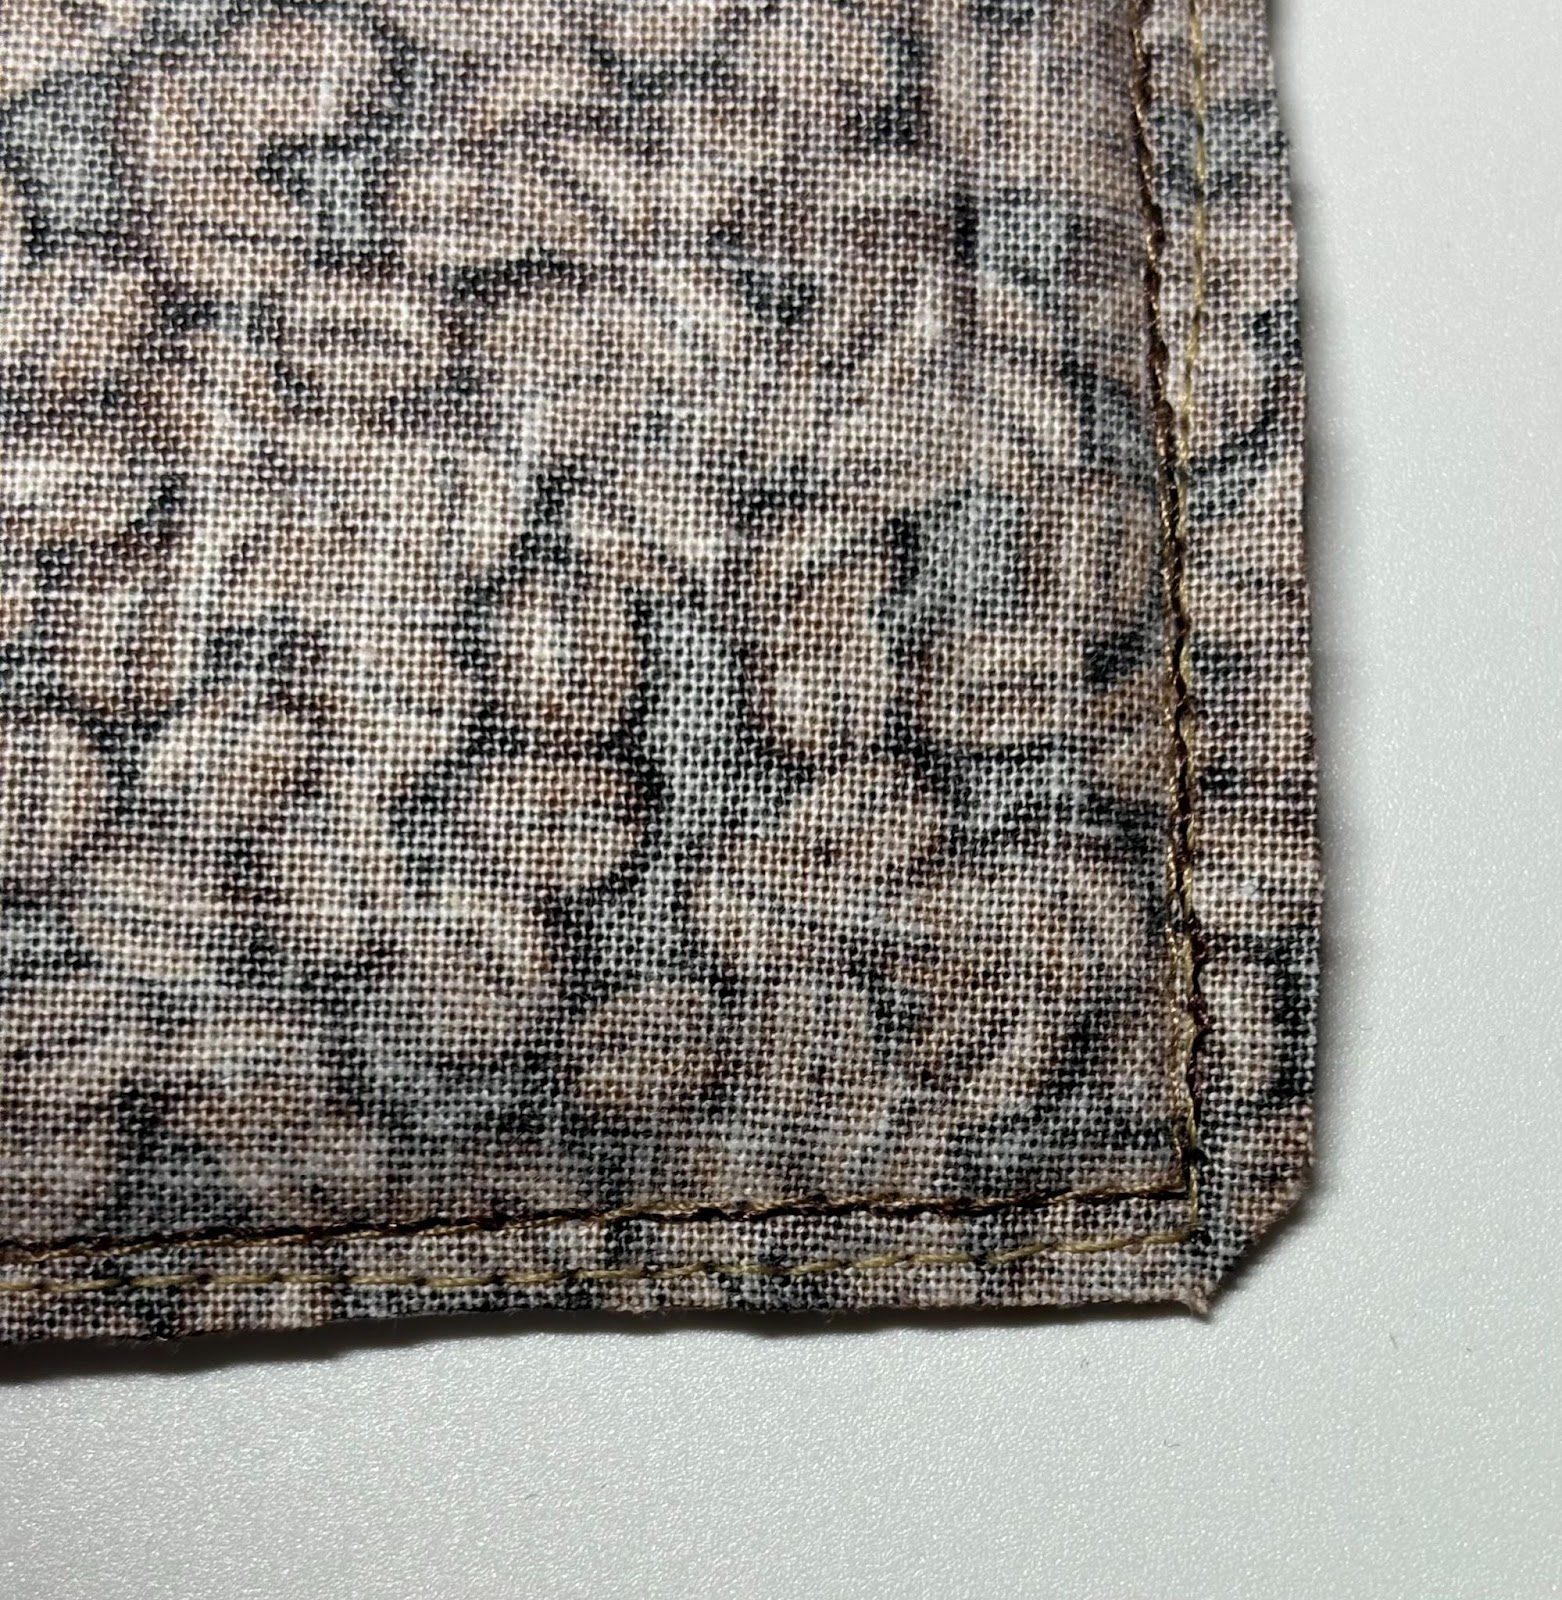
Turn the mug rug right side out and press it flat.

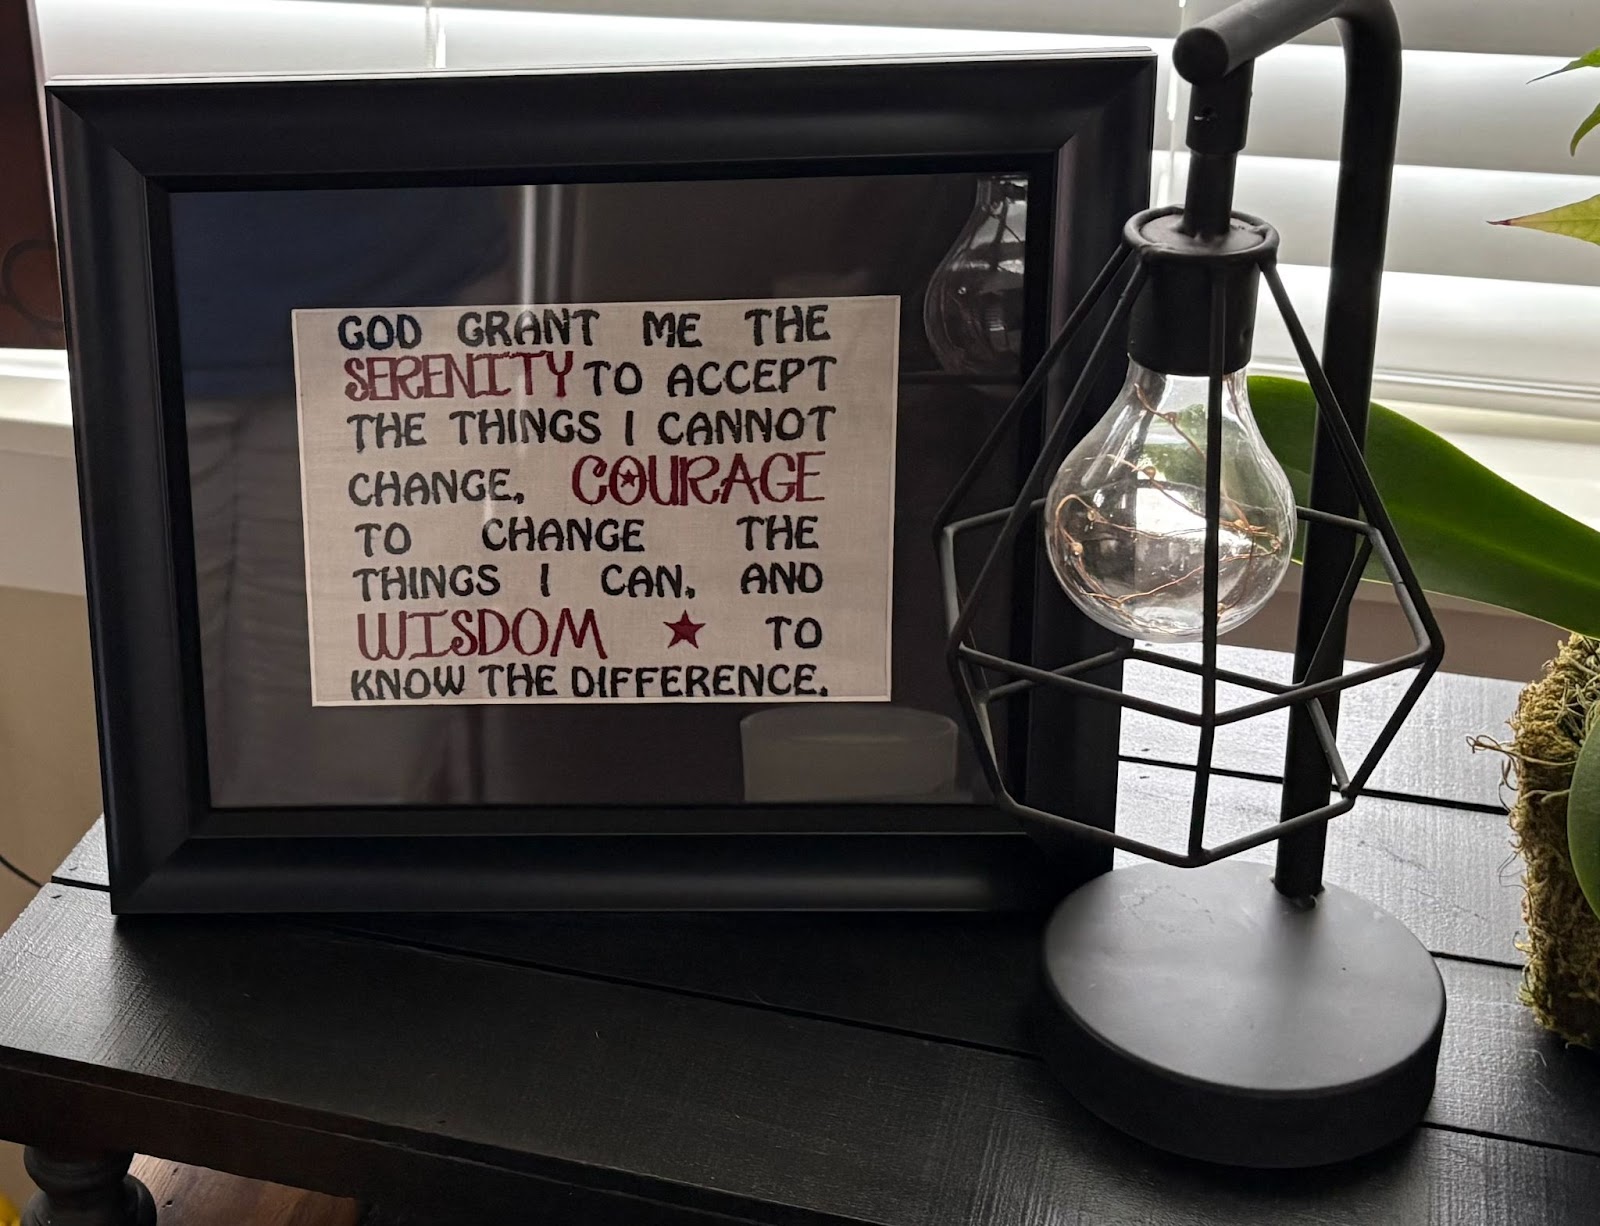
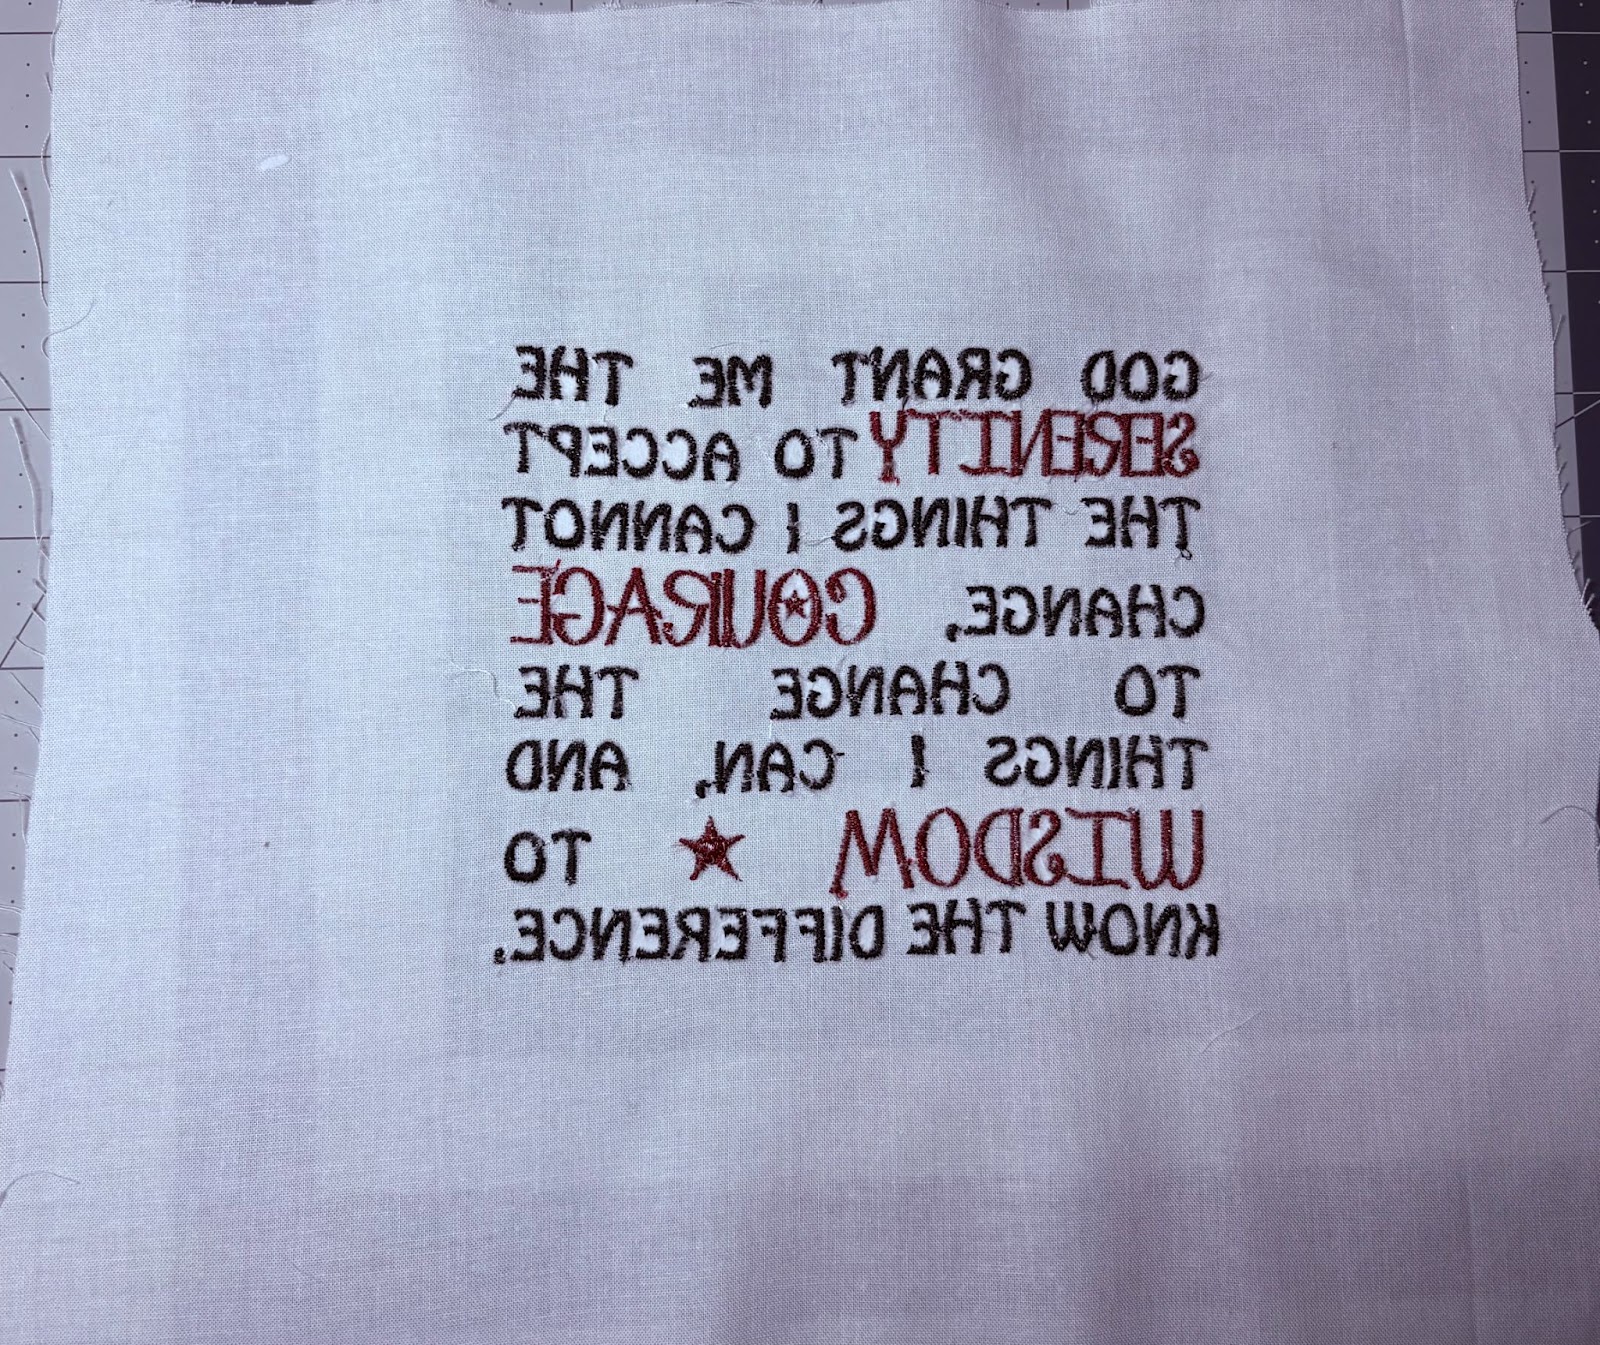
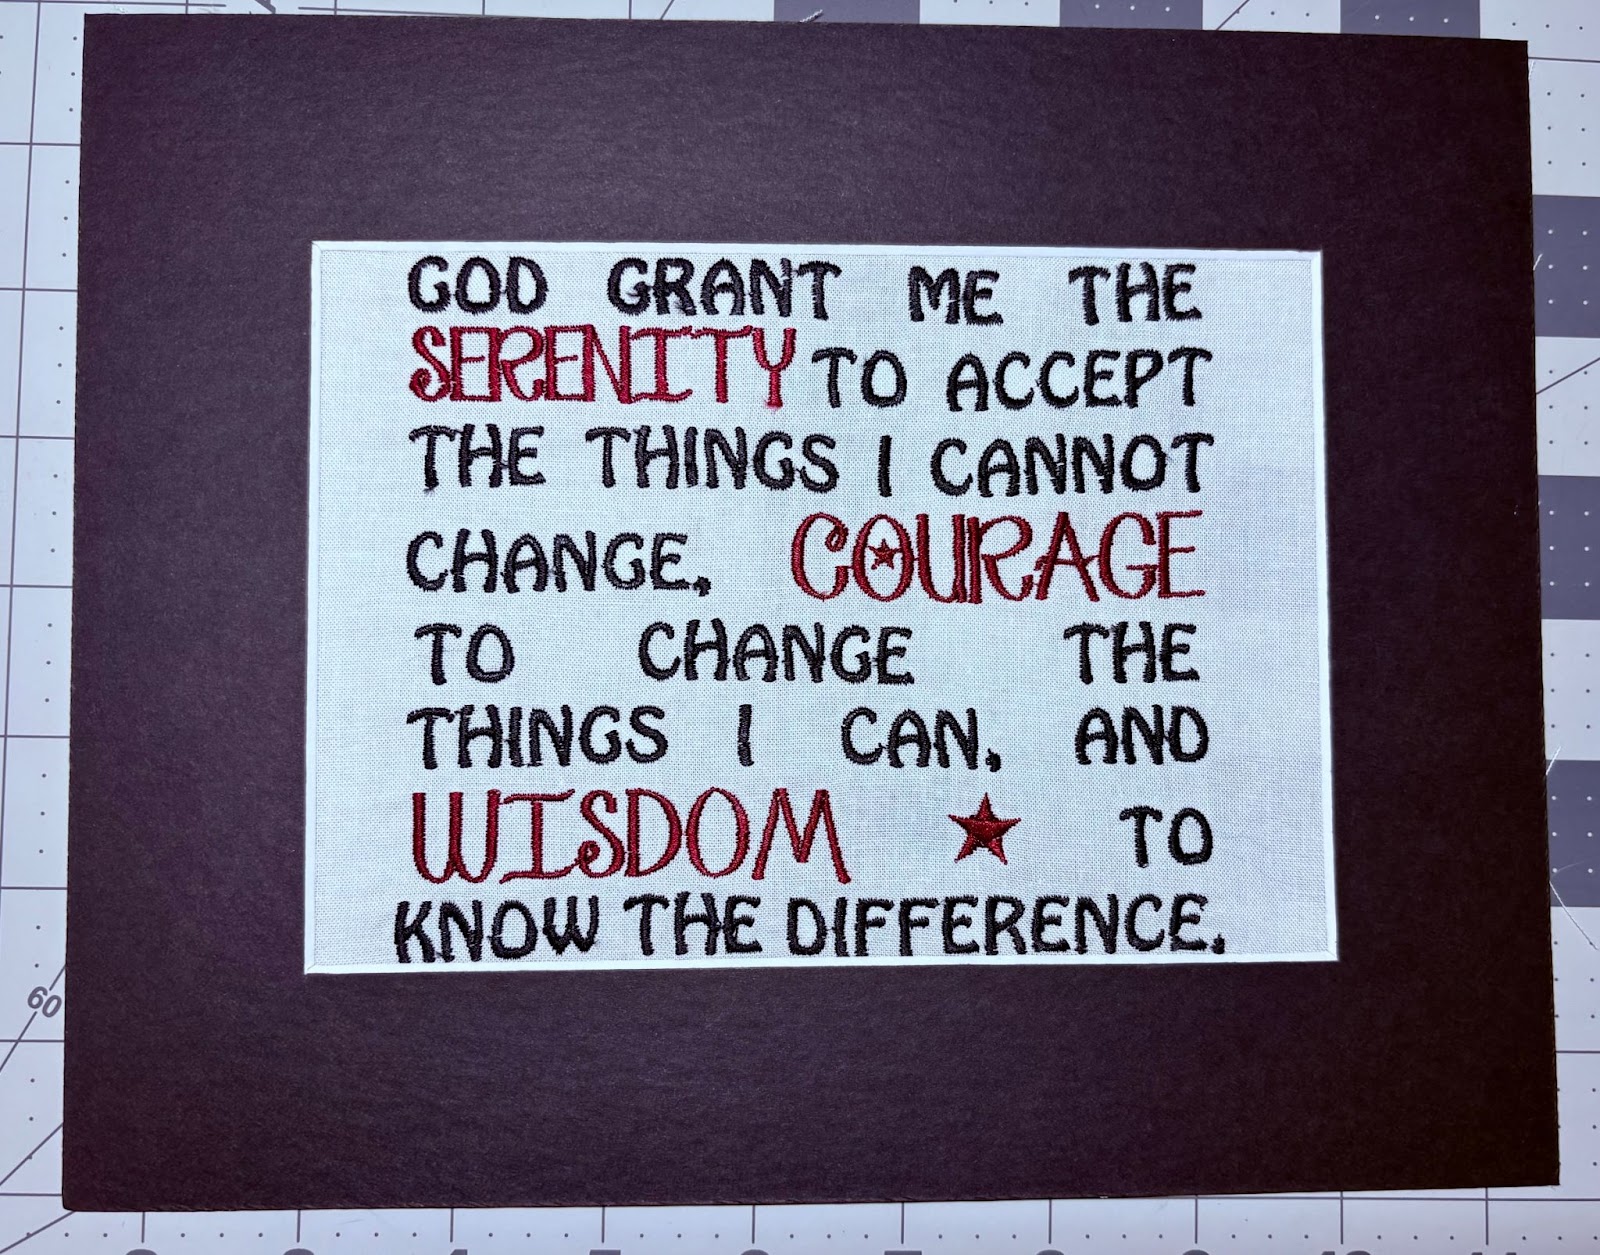
Designs by JuJu offers 96 inspirational and Bible verse designs, all available for free download. I decided to stitch out the Serenity Prayer as a gift for a good friend. With so many beautiful verses to choose from, I’m sure you’ll find the perfect one that speaks to you or someone you love. Once you’ve selected the verse you want to frame, upload it to your embroidery machine.
Cut your fabric larger than the design to allow for adjustments. I recommend cutting the fabric to 12” x 12”, which gives enough material to center the design and cover the back of the mat. After stitching, I’ll trim the finished design to 8” x 10”. Be sure to press the fabric beforehand to eliminate any folds or wrinkles.
Hoop tear-away stabilizer along with your fabric, pulling the fabric taut in the hoop. Slow the machine down to 350 spm to minimize puckering. Take the prepared hoop to the machine and stitch out your design.

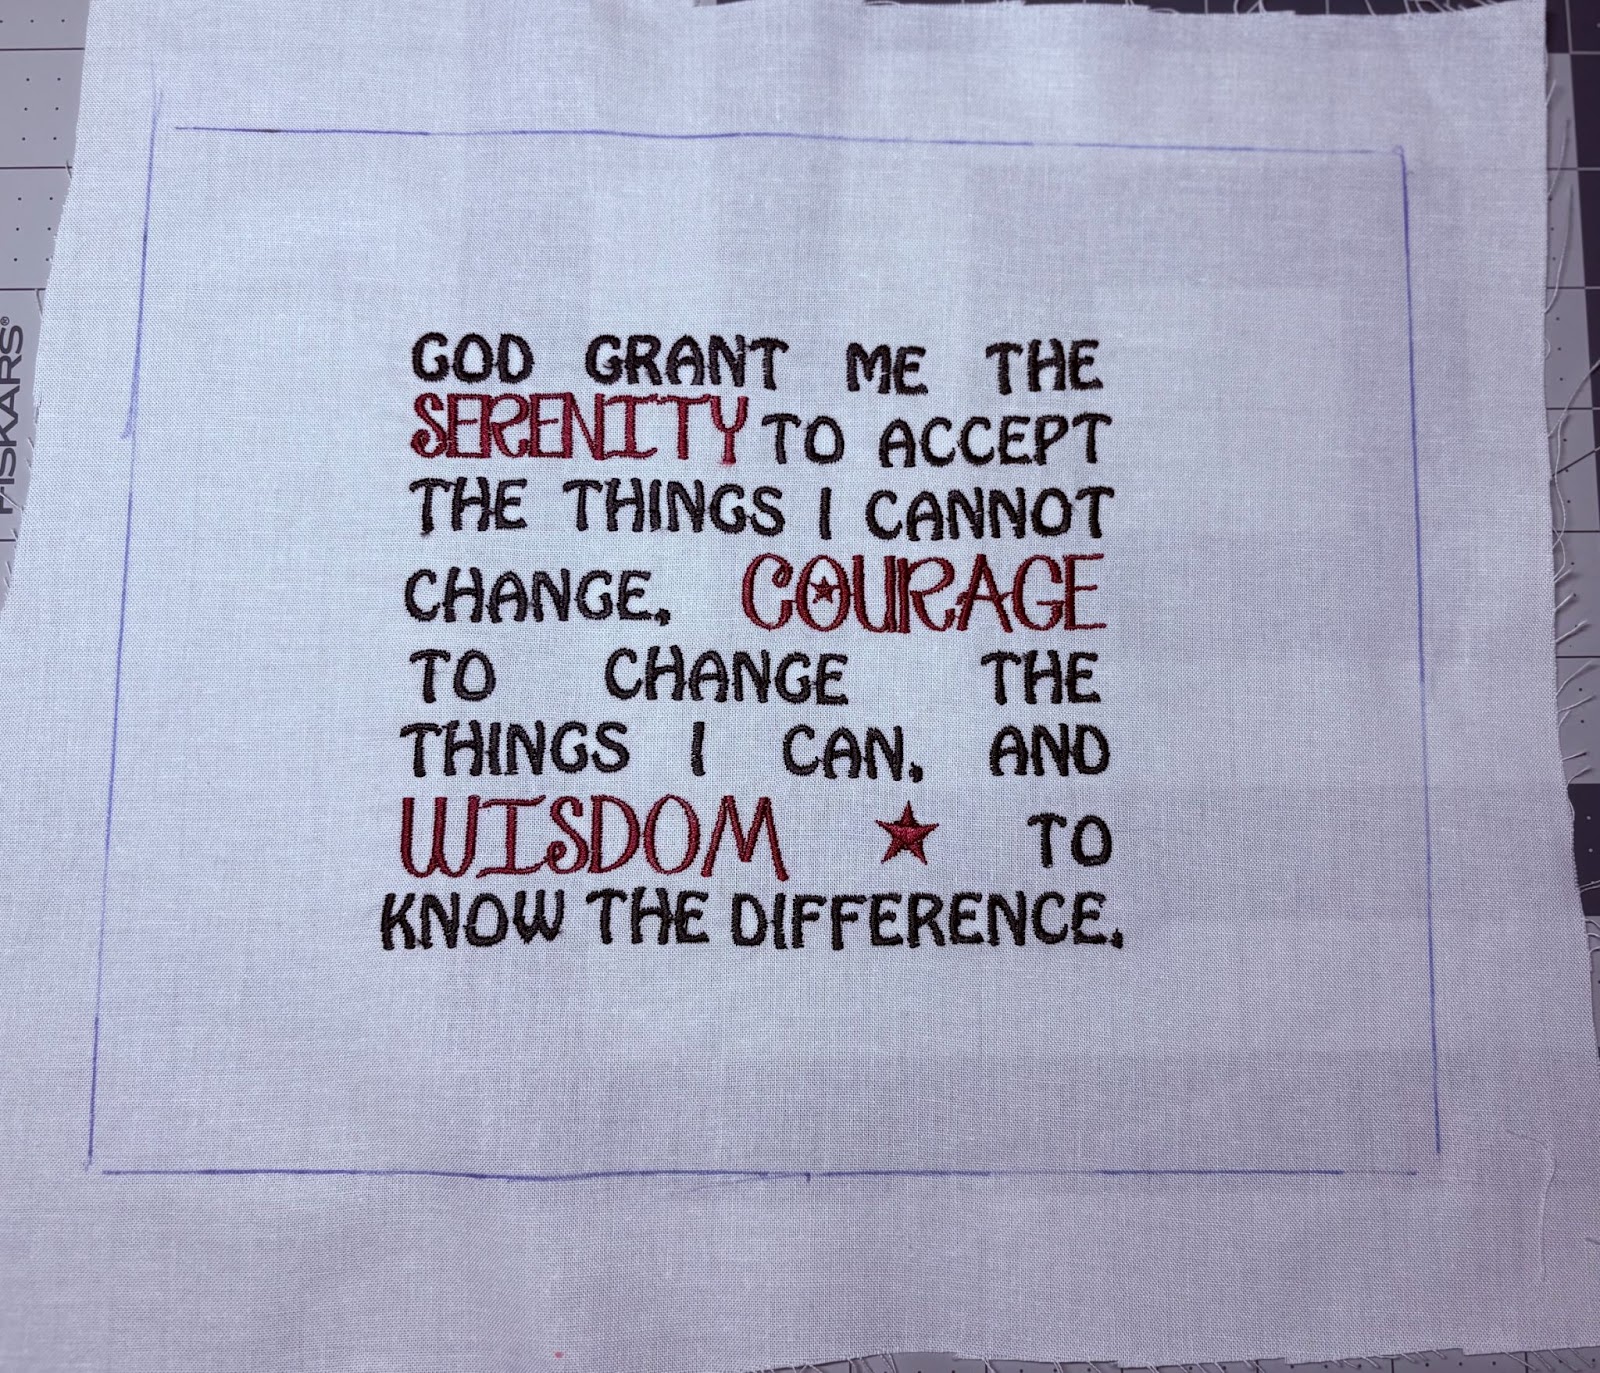
Once finished, carefully remove the design from the hoop, tear away the stabilizer, and trim any loose threads.
Spending time to clean up the back of the design will improve the overall appearance of the front, so take care to make the back look as tidy as possible. Give the design a good press.
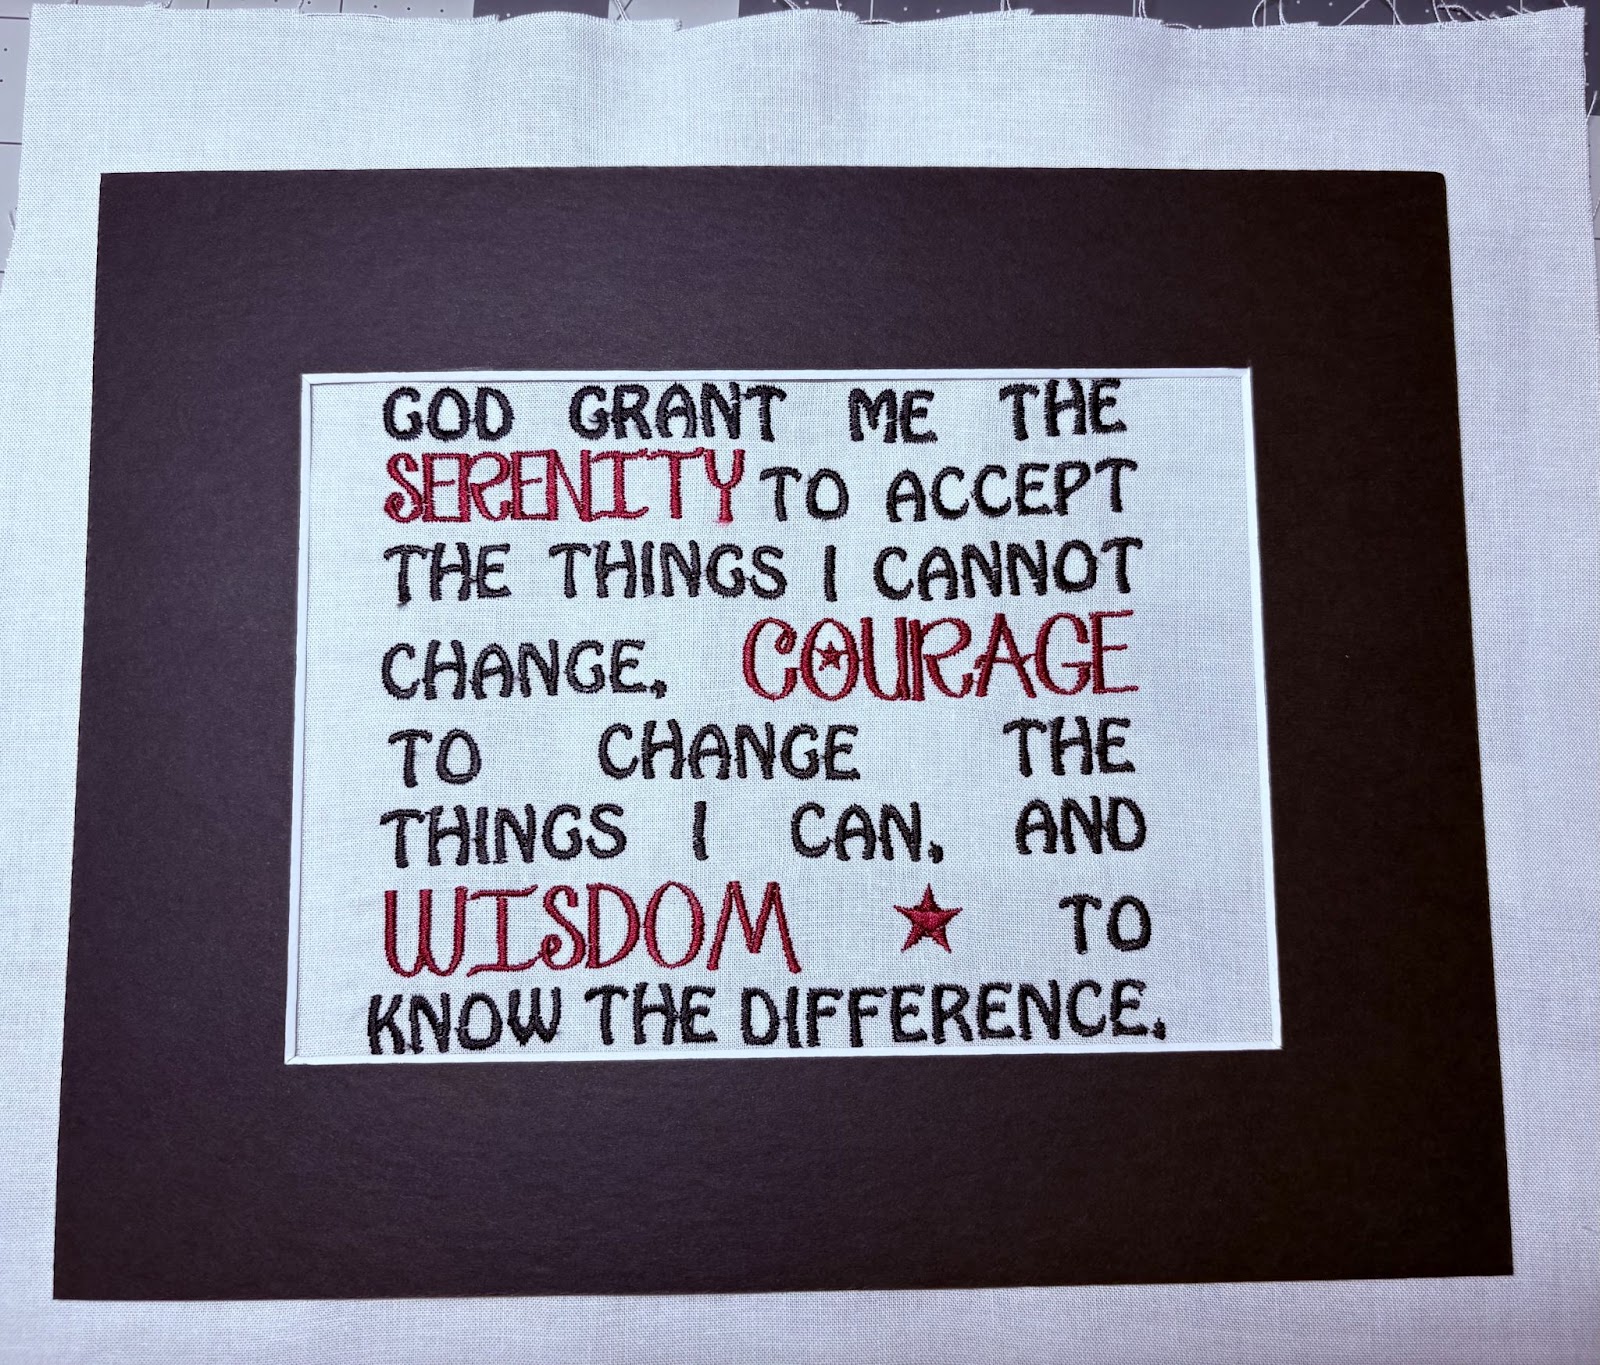
To prepare for framing, center the mat over the top of the design.
Once satisfied with the alignment, use an erasable fabric pen to draw a line around the mat onto the fabric.
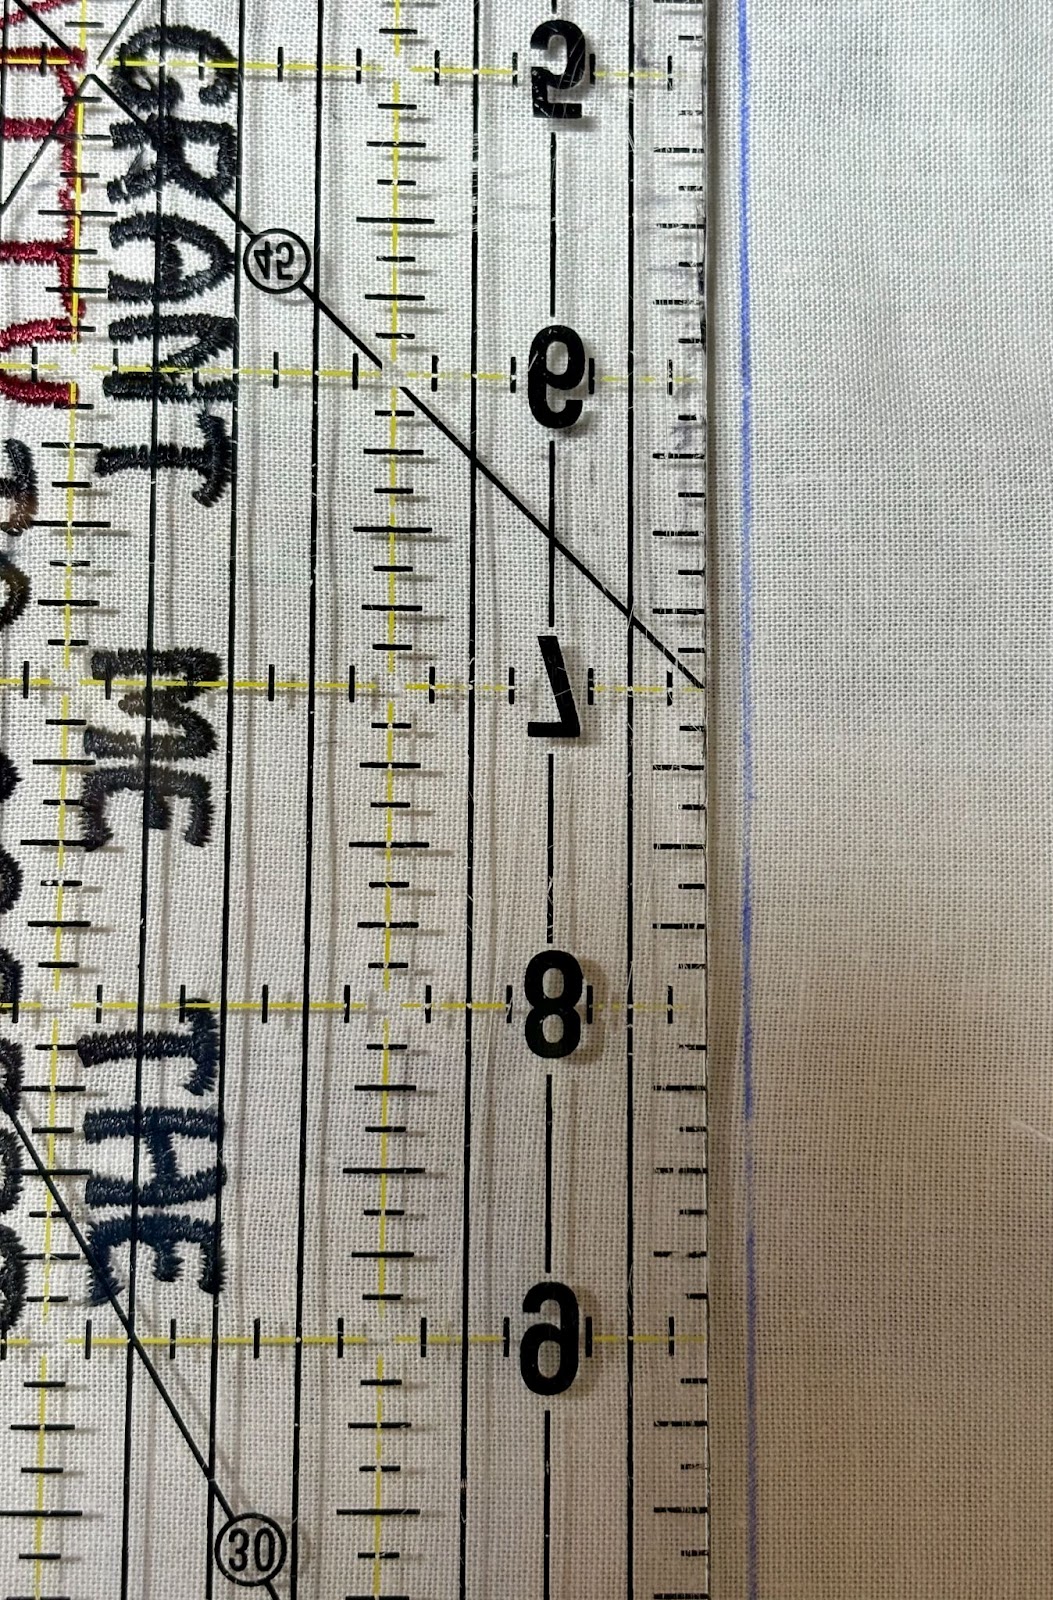
Using a rotary cutter and ruler, cut just inside the lines. After cutting, press the design again.
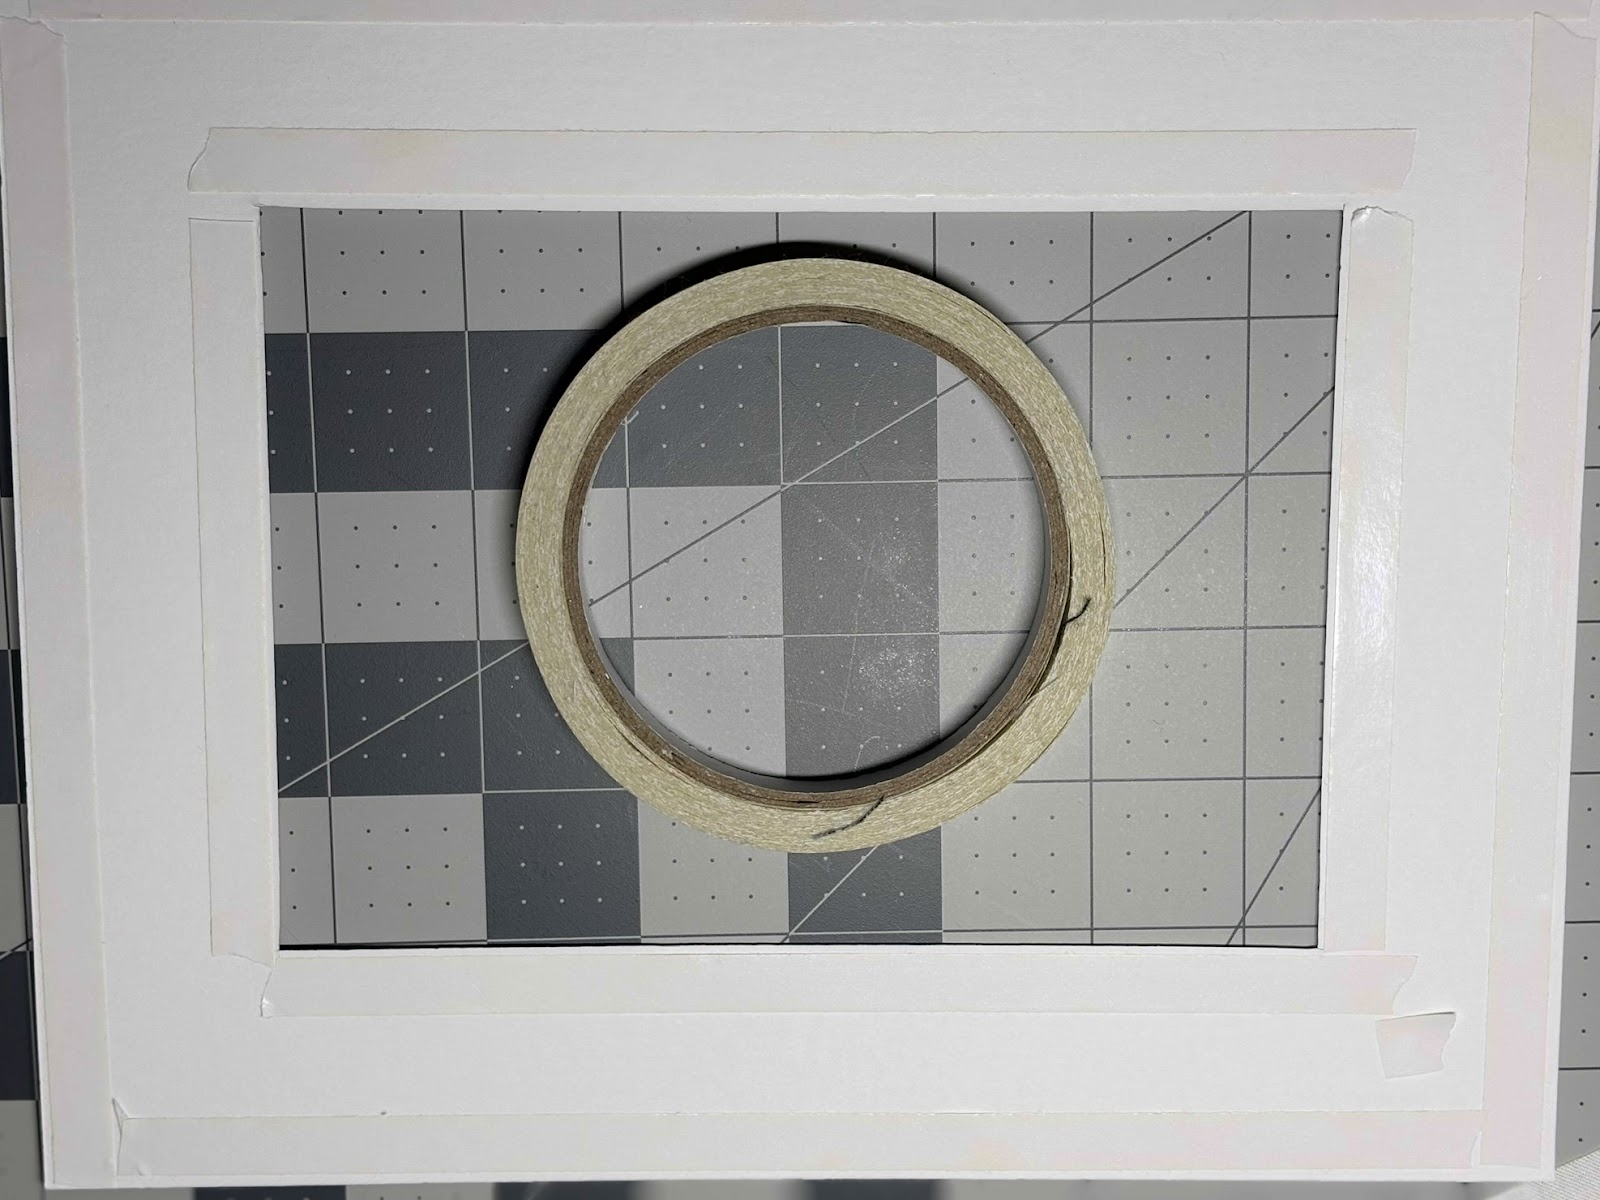
On the back side of the mat, apply double-sided tape all around the outside and inside edges.
Position the mat over the design and press firmly to secure it in place.
Frame the design behind glass or without the glass.
Try out these and any of the other free designs offered on the JuJu website. To find all the designs available, type “free designs” in the search box on the website, www.designsbyjuju.com.
Don’t forget to share your projects in the Designs by JuJu Embroidery Blessings Group on Facebook, or anywhere on social media using the hashtag #designsbyjuju. We'd love to see what you’ve been creating. Don’t keep them to yourself. Your creativity might just inspire someone else to start their next masterpiece!
