Toggle Nav
 Inspire.
Create.
Stitch.
Inspire.
Create.
Stitch.
Search
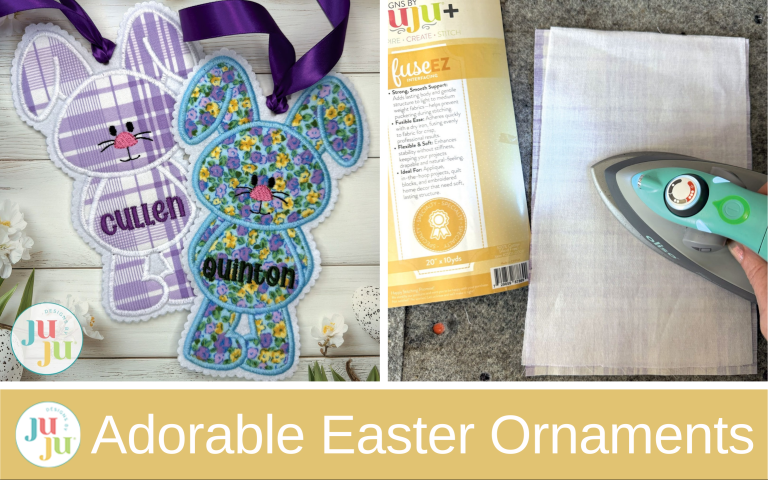
Looking for a sweet way to add a handmade touch to your Easter baskets or decor? A personalized applique ornament is a fun and simple project that feels extra special. These little ornaments are perfect for Easter baskets, Easter trees, gift toppers, or just as a thoughtful handmade surprise.
The best part about this tutorial is that once you learn the process, you can use it with almost any applique design in your collection. That means endless possibilities for holidays, gifts, and keepsakes.
Let’s stitch one together.
Check out the DBJJ team’s favorite supplies in the Designs by JuJu Amazon store. And for all your stabilizer and batting needs, Designs by JuJu+ has you covered.
This project stitches directly onto felt and finishes neatly with backing fabric, creating a sturdy ornament that holds its shape beautifully.
Follow along step by step and you’ll have a finished ornament ready to hang in no time.
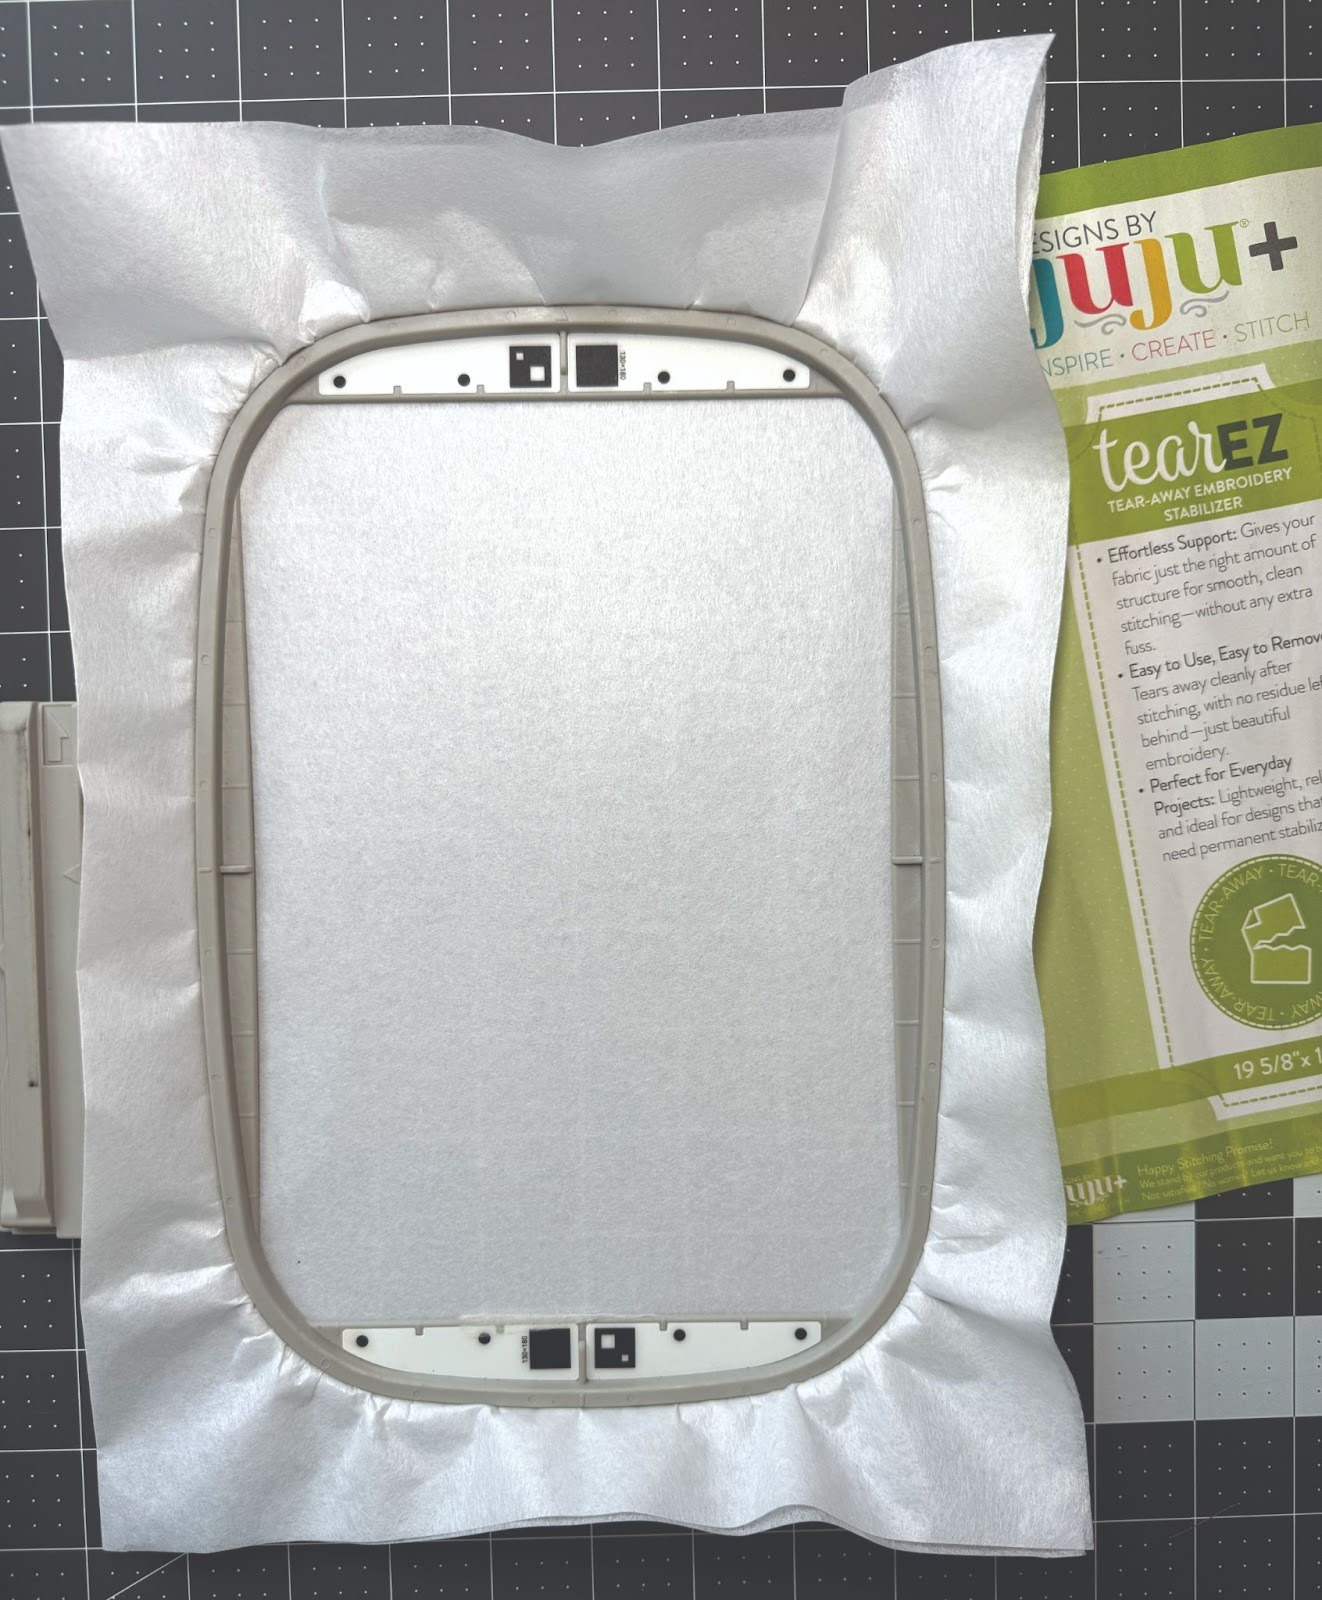
Step 1:
Hoop two layers of DBJJ+ tearEZ Tearaway Stabilizer in your embroidery hoop.
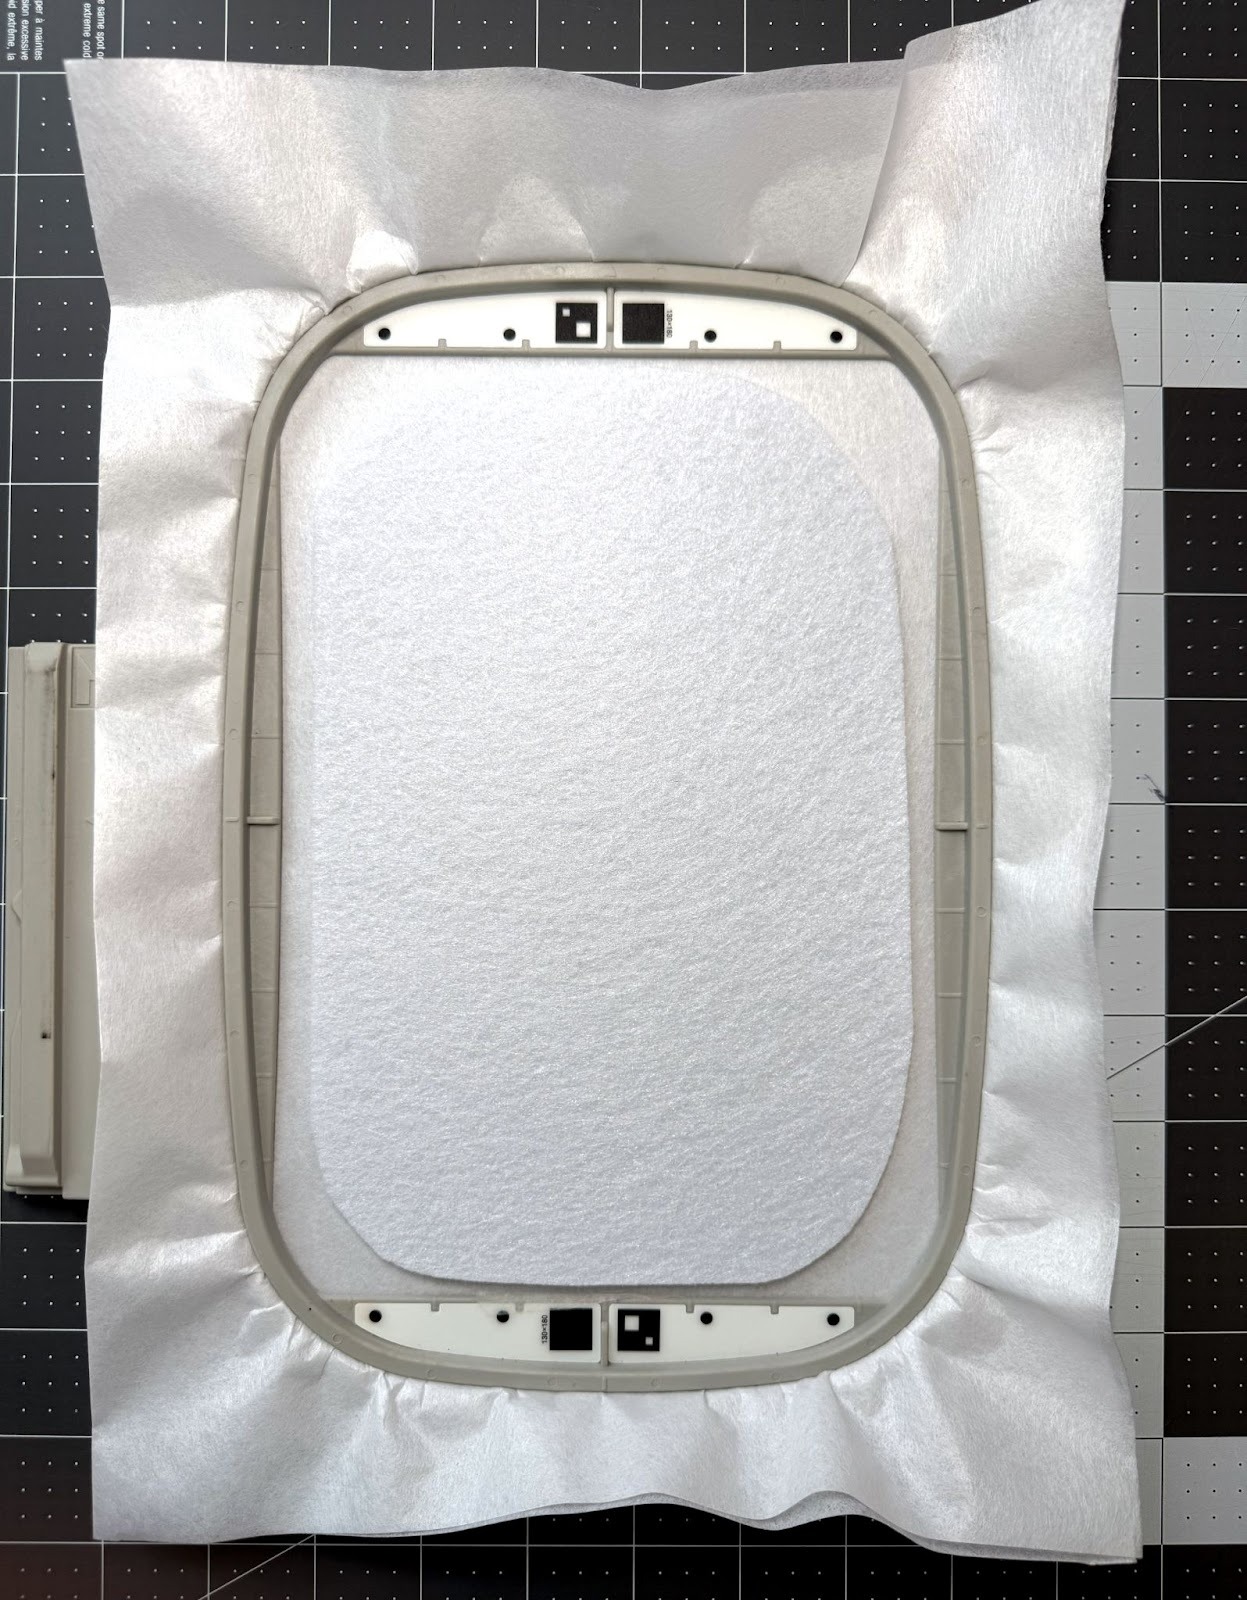
Step 2:
Place a piece of stiff felt the full size of your hoop on top of the hooped stabilizer.
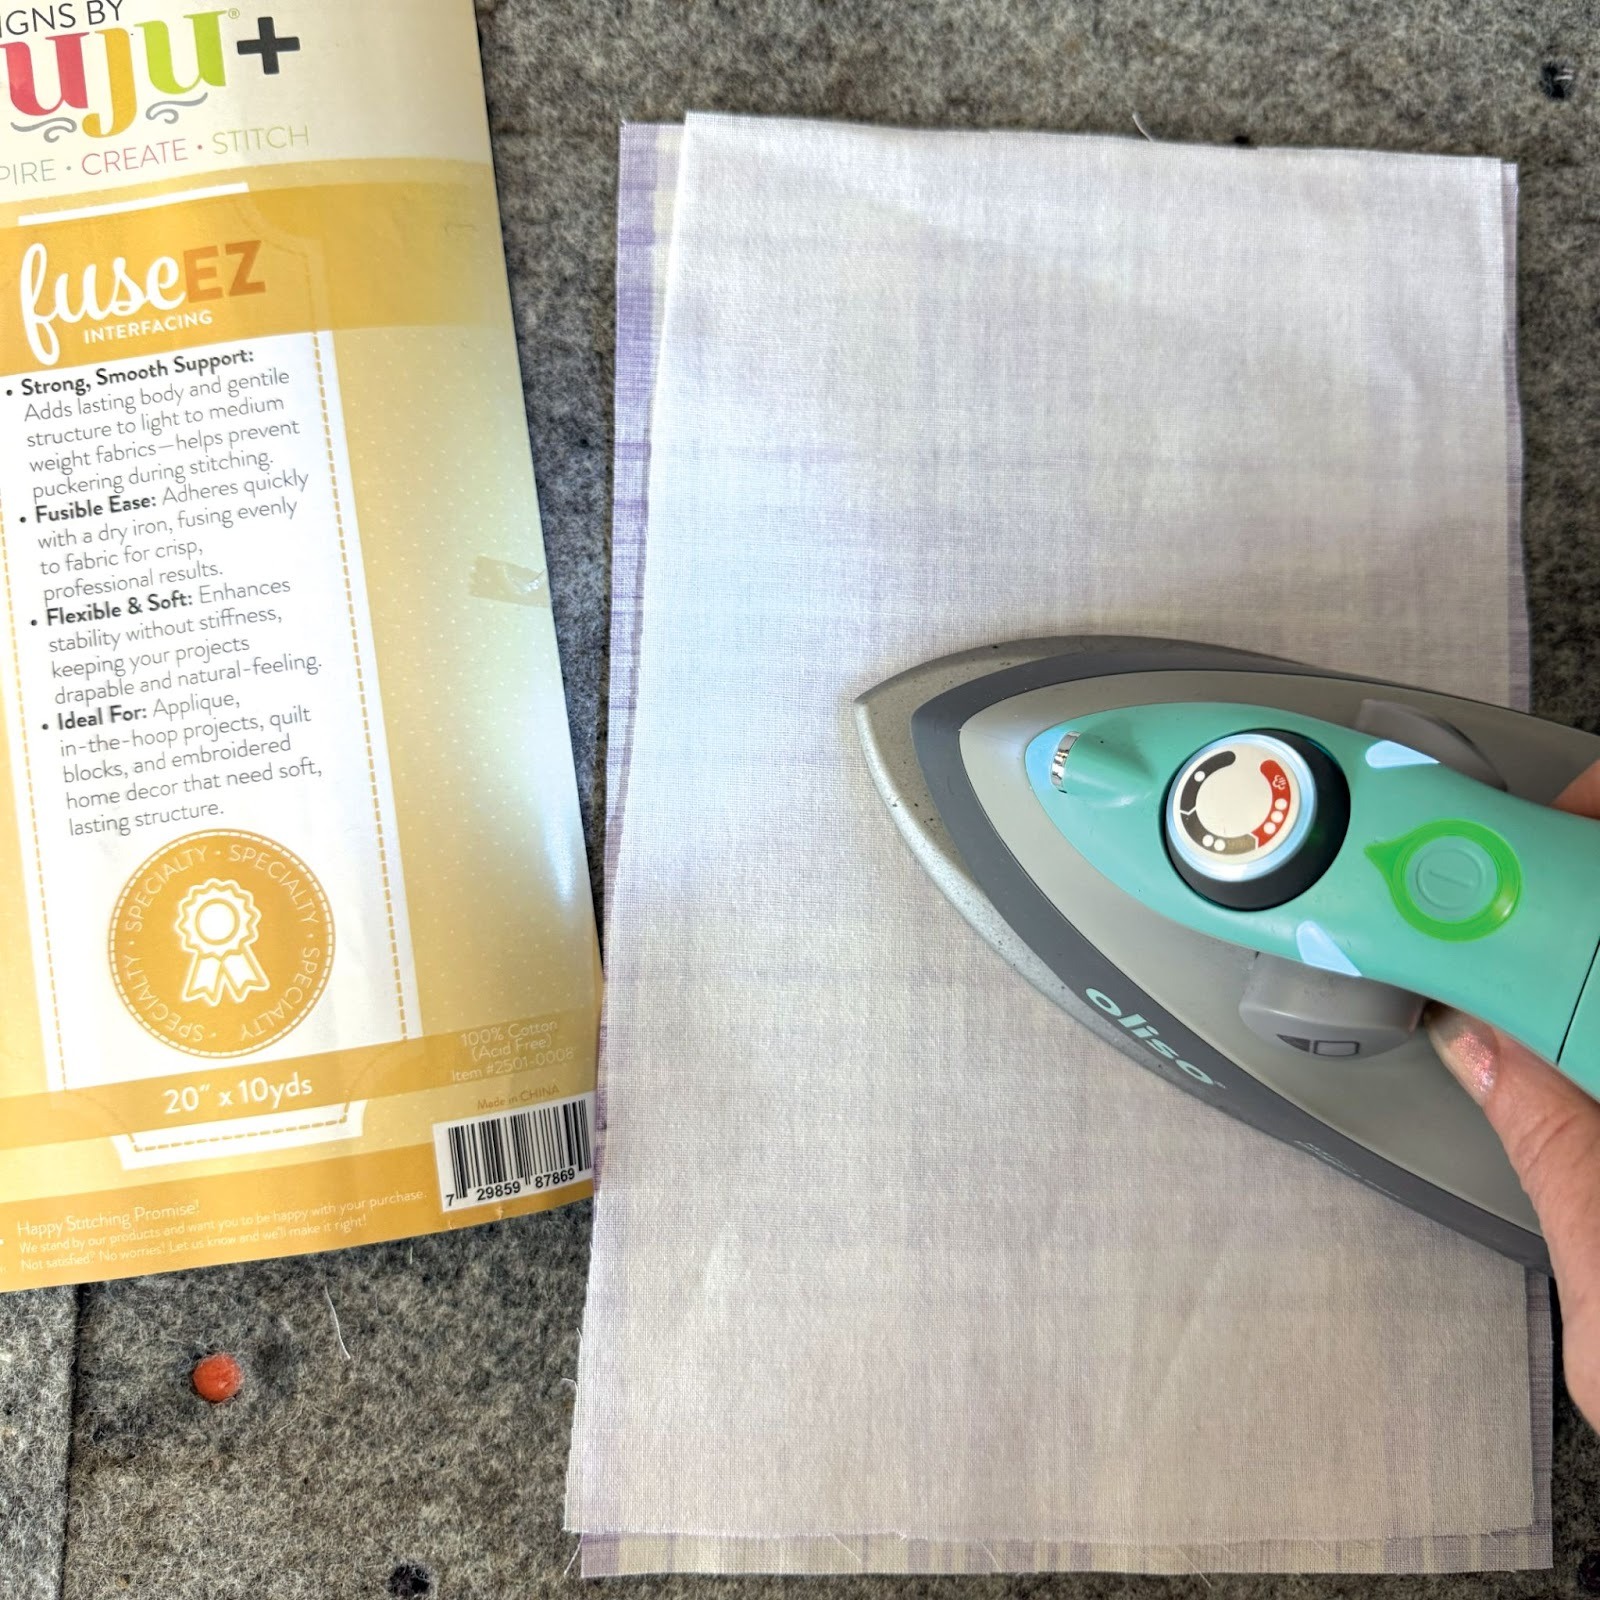
Step 3 (optional):
Add DBJJ+ fuseEZ Fusible Interfacing to the back of your applique fabrics before stitching. This gives the fabric extra strength and body, helping prevent puckering and creating a nice, clean finish.
Step 4:
Run the placement line for your applique design.

Step 5:
Place your fabric over the placement line, making sure it completely covers the stitches.

Step 6:
Run the tack-down stitch to secure the fabric to the felt.
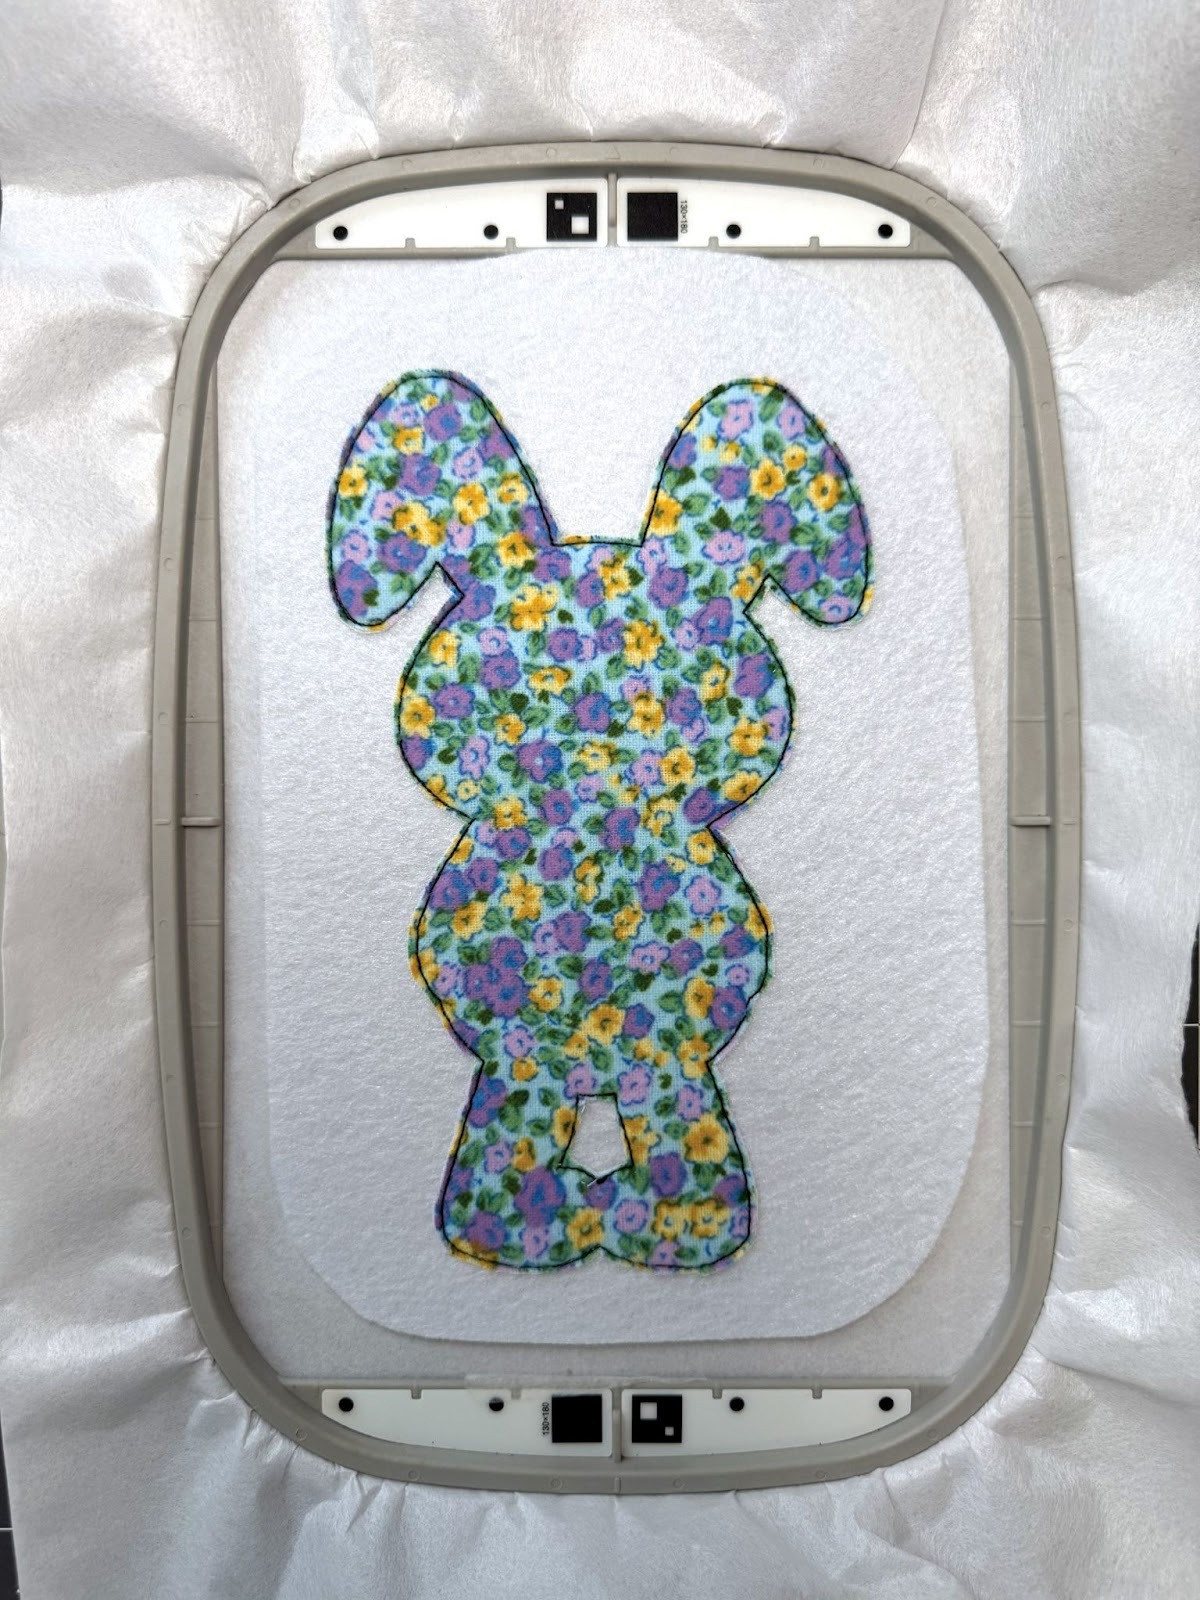
Step 7:
Trim the fabric only (not the felt) just outside the tack-down line, being careful not to clip the stitches.
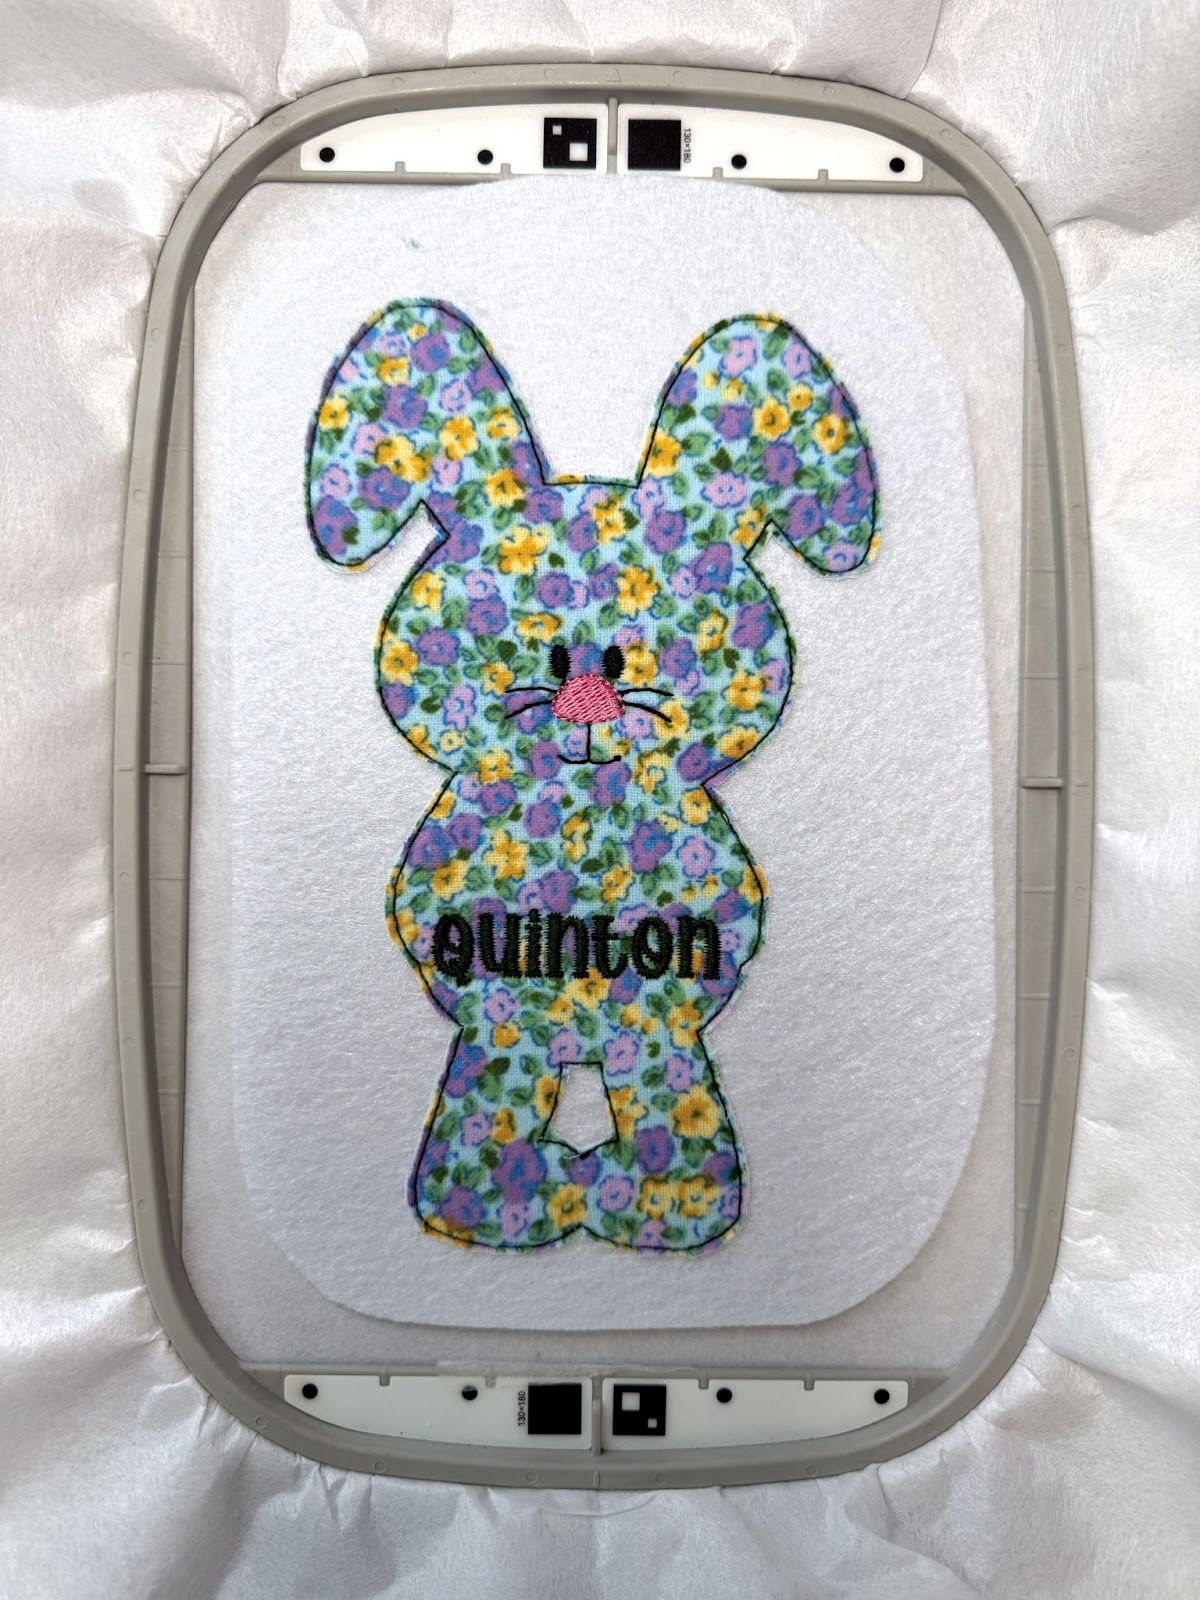
Step 8:
Continue stitching the design details, including the face and personalized name. In this example, the name was stitched using the Puddle Jumper Satin Stitch Embroidery Font.
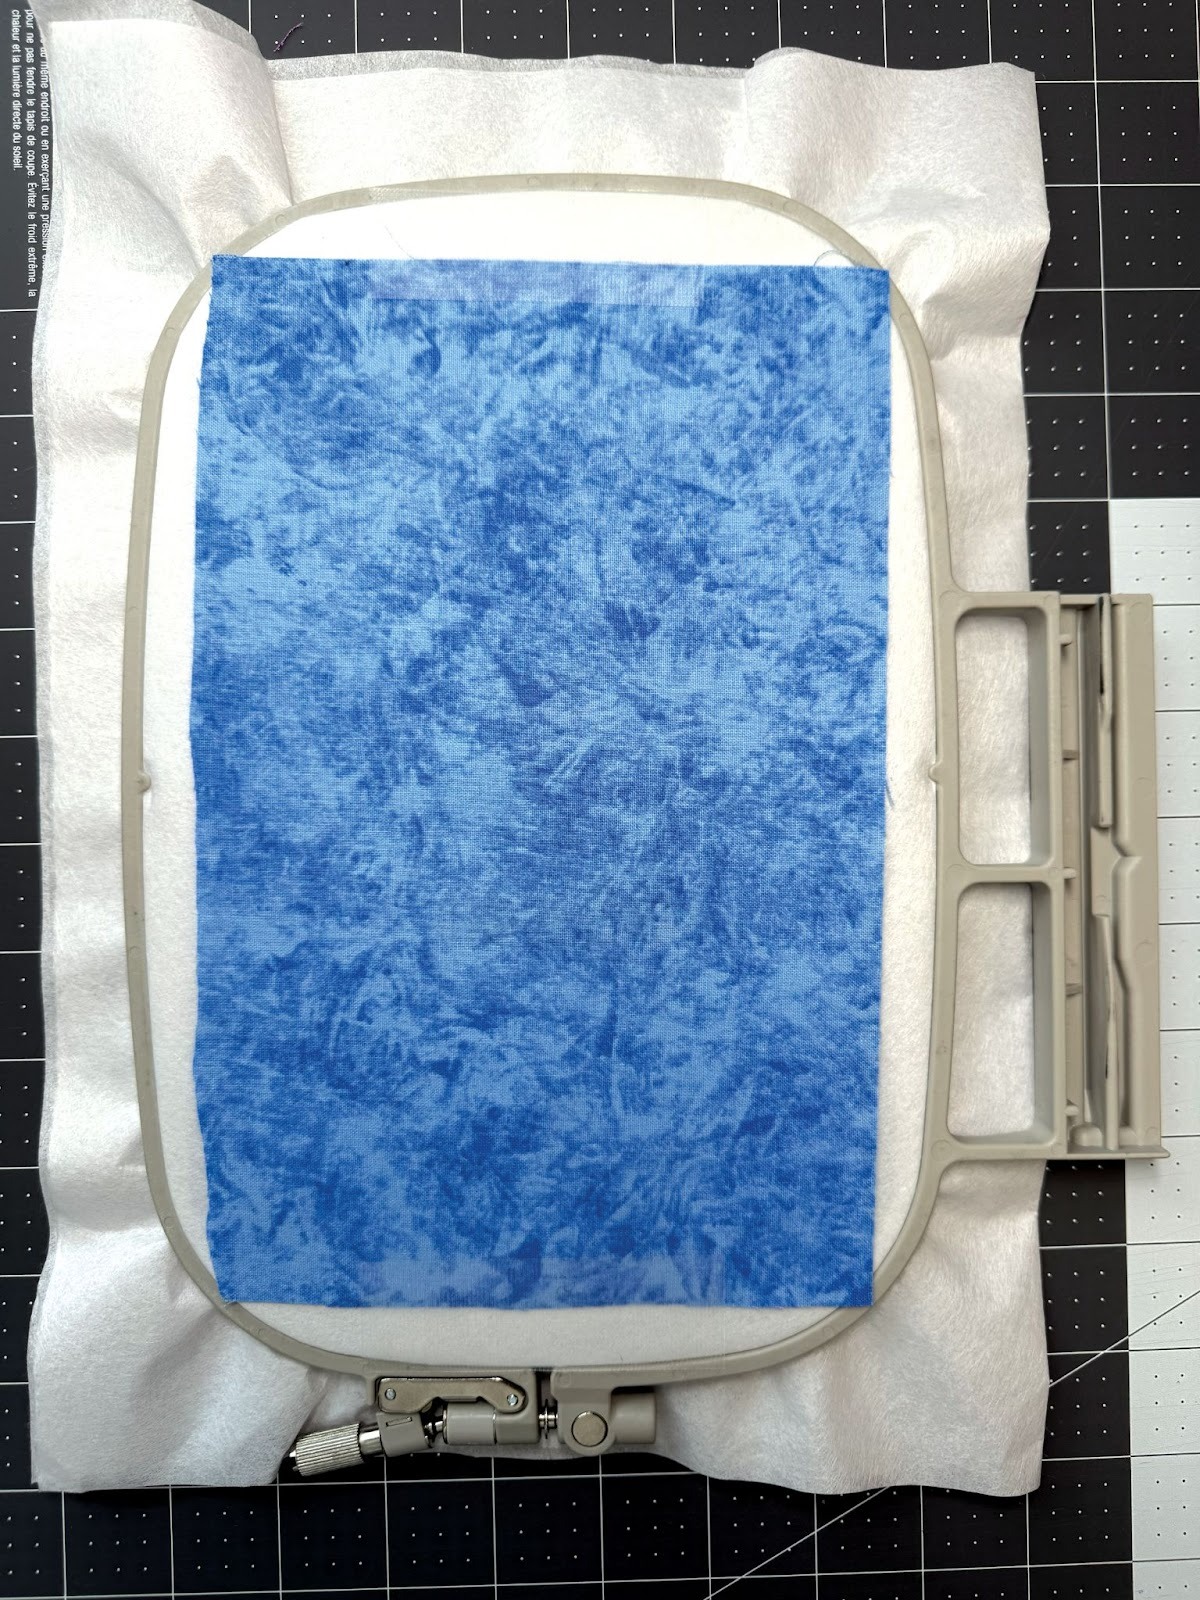
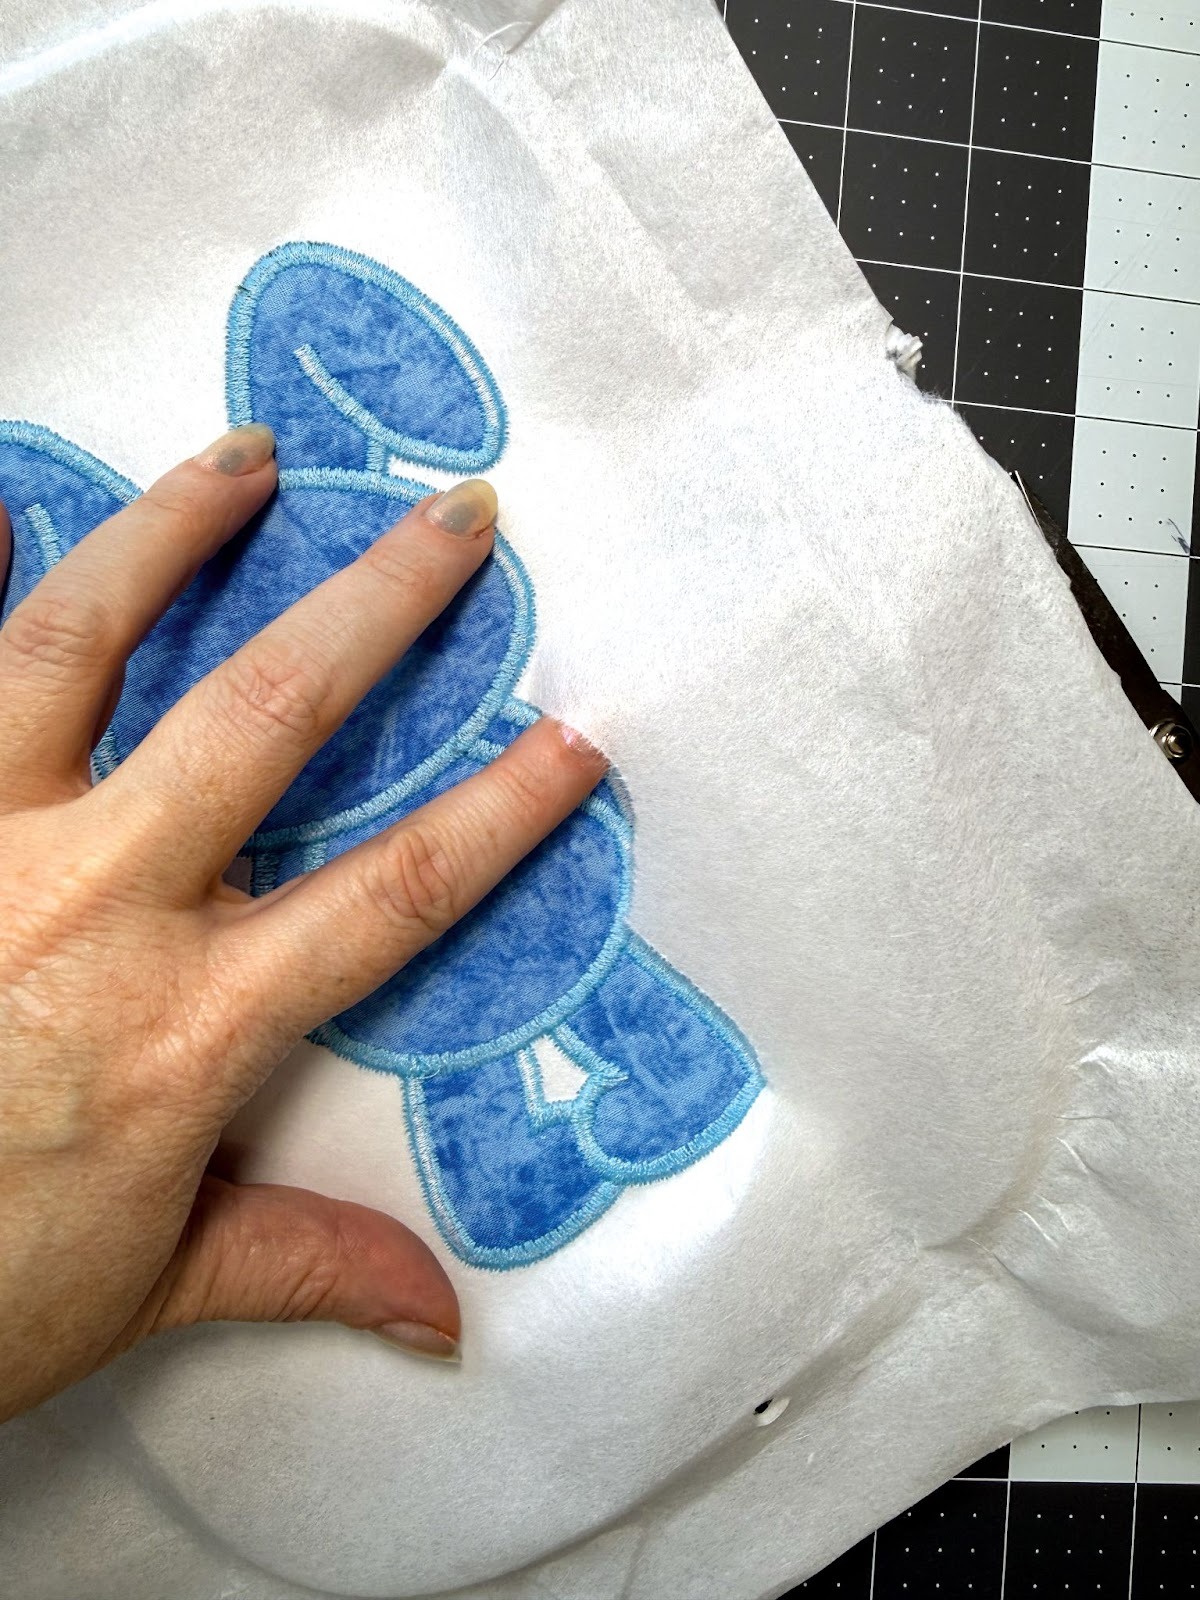
Step 9:
Remove the hoop from your machine and flip it over onto your cutting surface. Place your backing fabric over the outer placement line so it completely covers it. Use tape to hold it securely in place.
Step 10:
Return the hoop to the machine. Scroll back to the tack-down step and run that step again to secure the backing fabric.
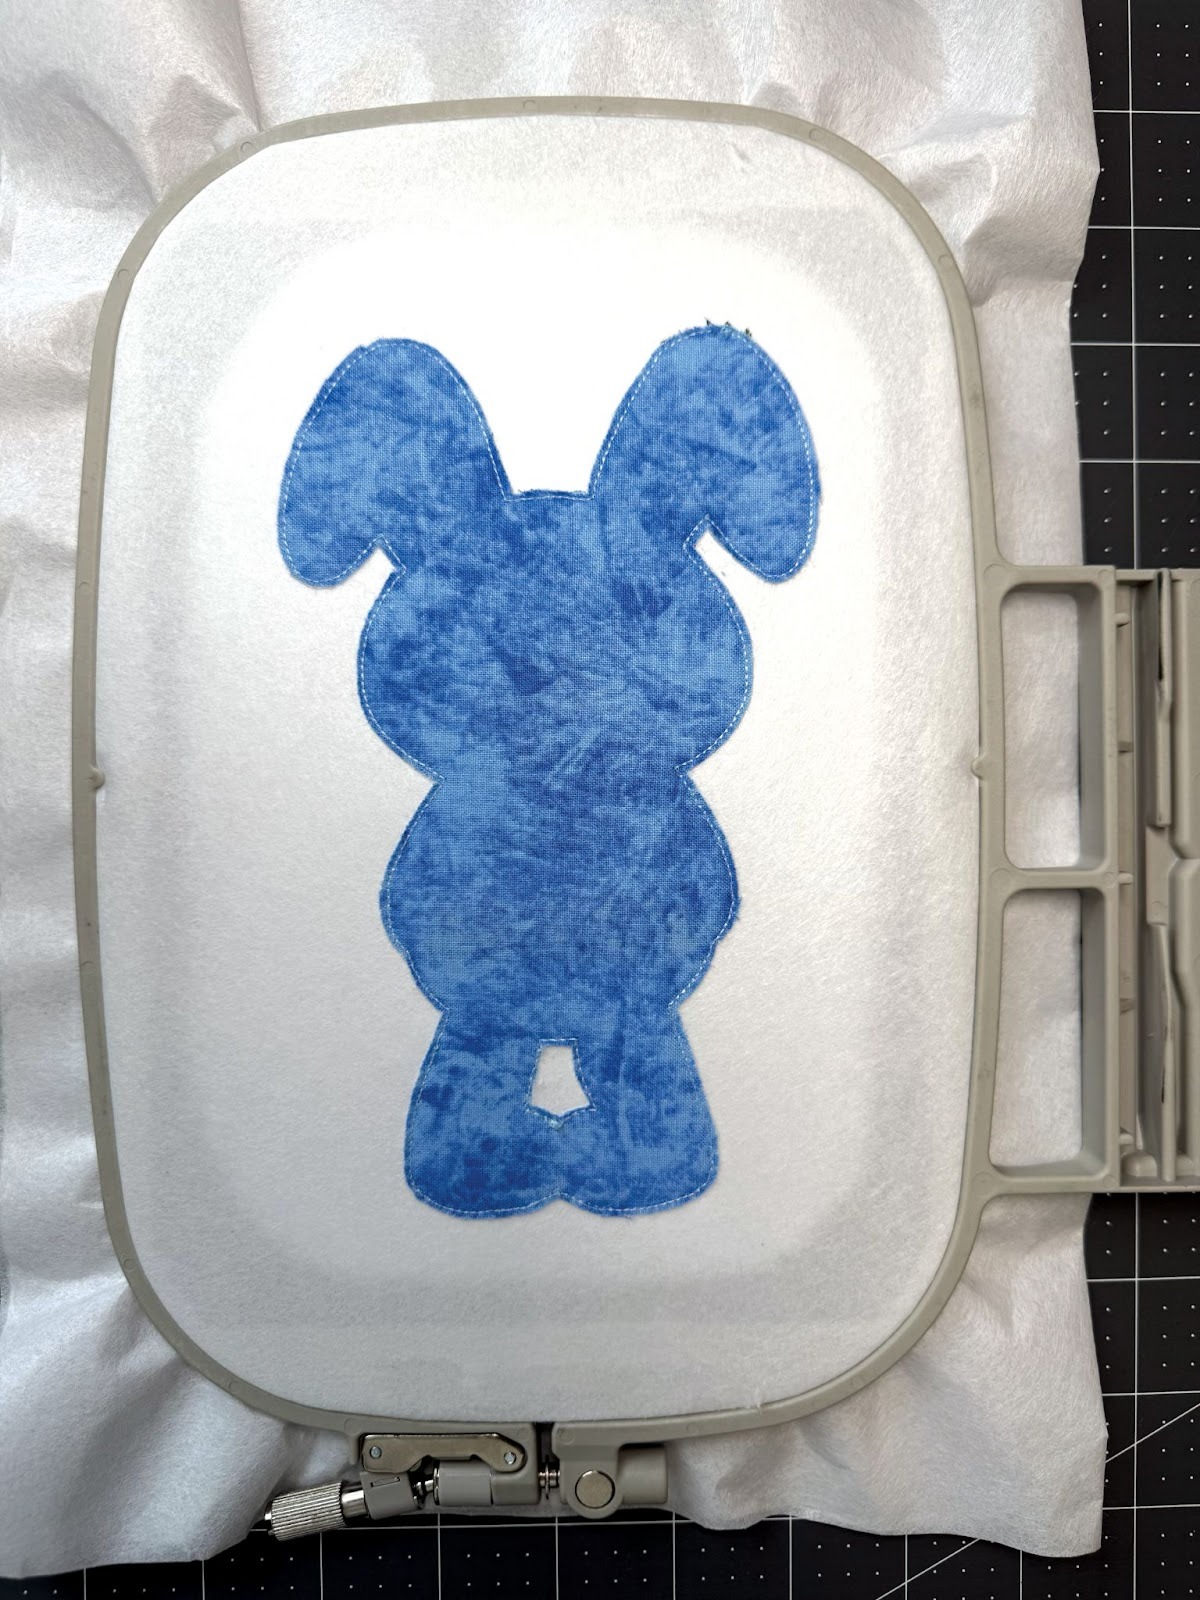
Step 11:
Remove the hoop once more and trim the backing fabric to the tack-down line.
Step 12:
Return the hoop to the machine and run the final satin edge stitch around the design.
Step 13:
Remove the hoop from the machine and take the project out of the hoop.
Step 14:
Flip the project over and gently tear away the stabilizer one layer at a time from around the design.
Step 15:
Using scissors, scalloped scissors, or pinking shears, carefully trim the felt around the design. Be careful not to cut any stitches, and leave a small space at the top where you will add your ribbon.

Step 16:
Make a small hole in the space you left at the top and thread a ribbon through for hanging.
Your ornament is now complete.
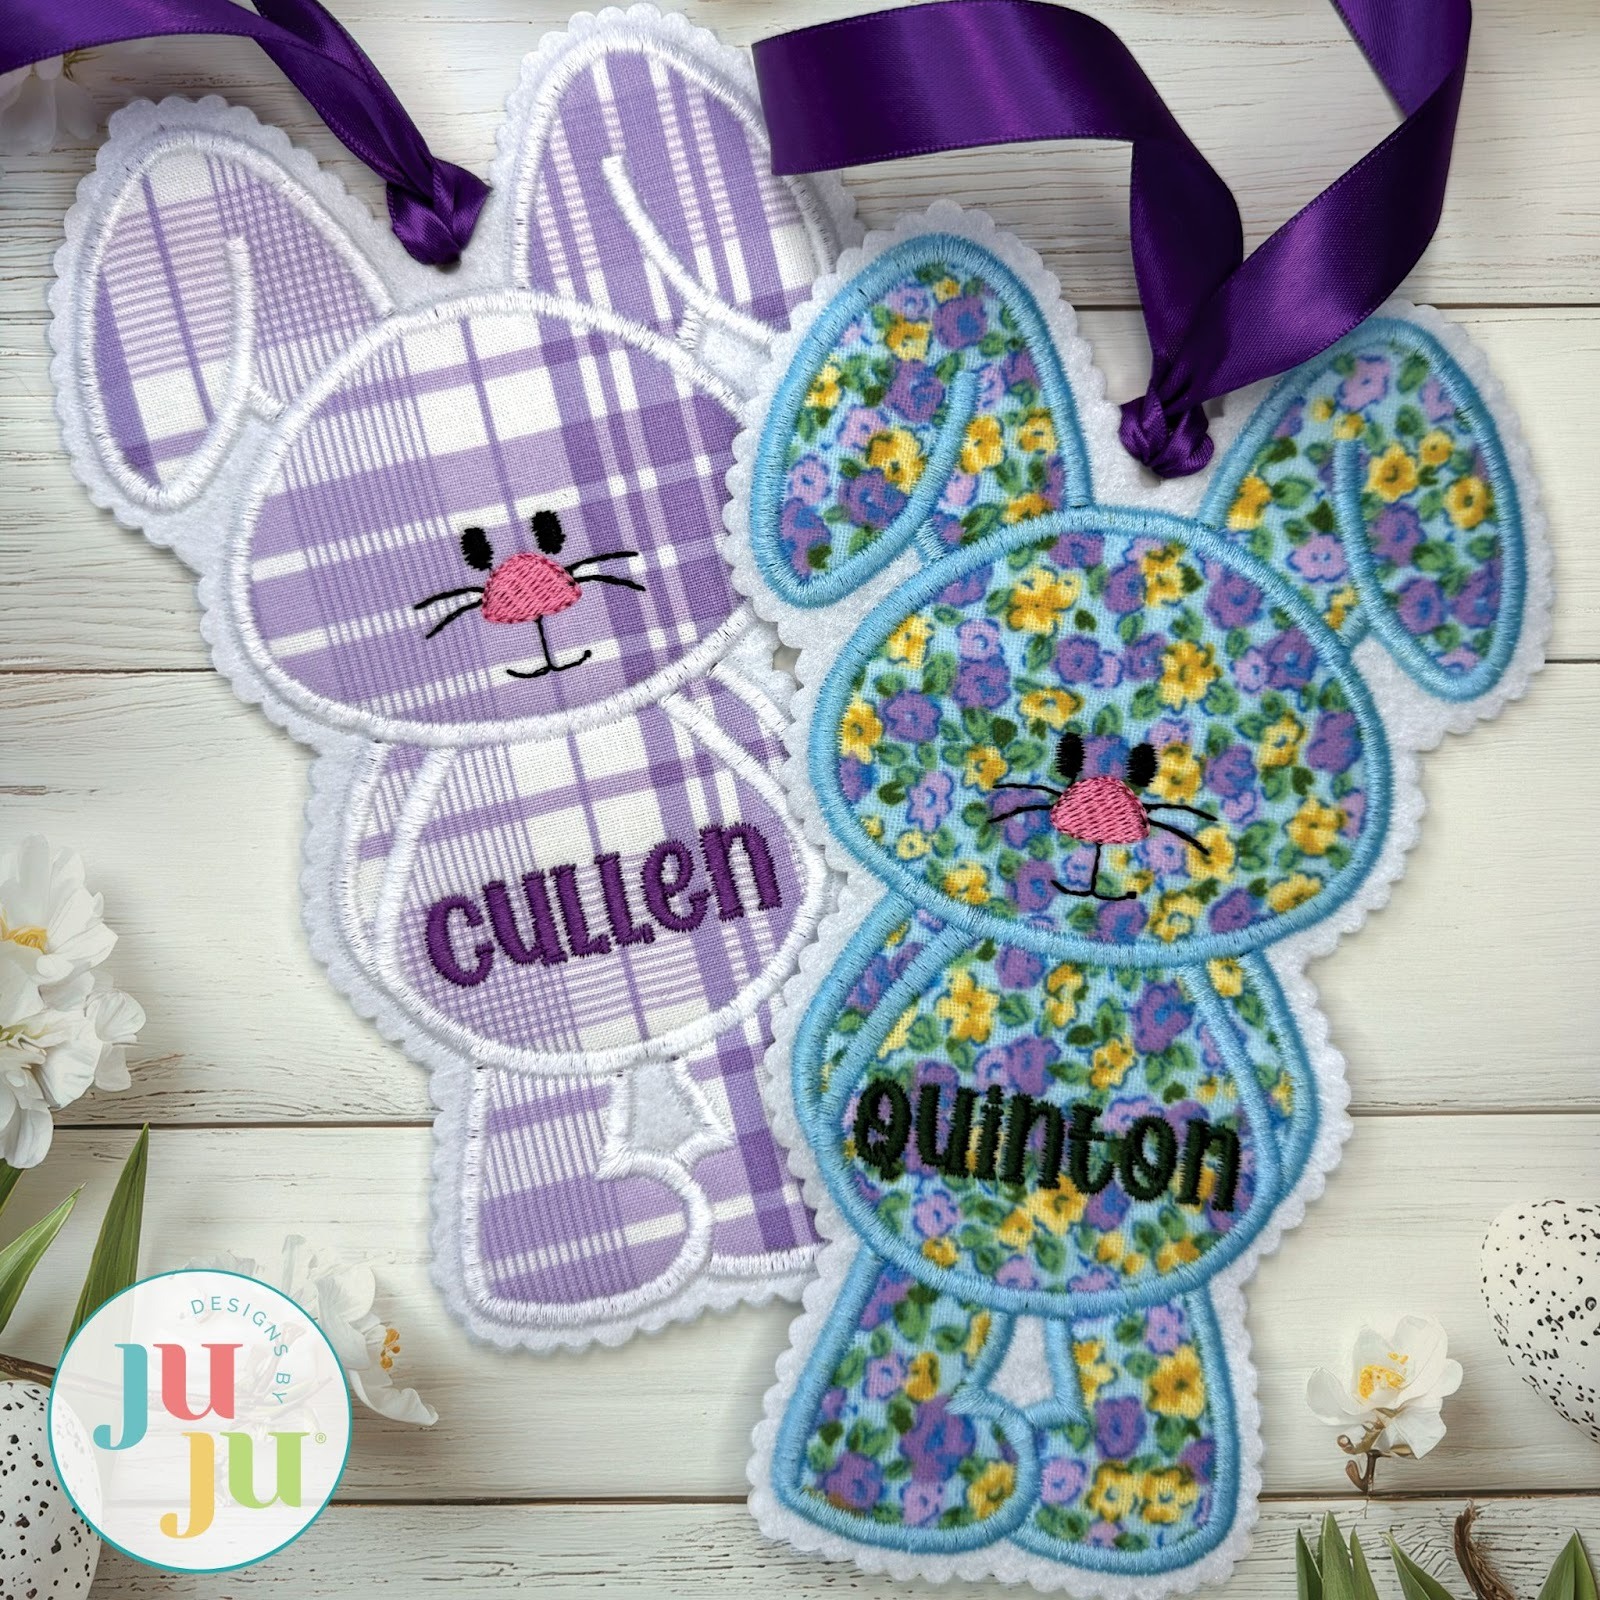
These little ornaments are such a fun way to personalize Easter baskets, decorate an Easter tree, or create a keepsake gift for someone special. Once you try the process, you’ll find it works beautifully with many of your favorite applique designs.
Share your finished ornaments using the hashtag #designsbyjuju or post them in the Designs by JuJu Embroidery Blessings Facebook Group so the community can be inspired by your work. We love to see what you create!
Happy stitching!